Hey friends! I hope you’ve been having a great summer so far!
Thanks SO much for all the kind feedback on our bathroom remodel. I already posted the scoop on the oyster shell mirror and the marble tiled floor, and today I wanted to wrap up this room with a look at the whole-wall board and batten I installed. Whenever I start a project I like to study pictures of other rooms ad nauseum, so for those of you who also like the up-close details of how it all comes together and the finished project, this is for you!
This post contains affiliate links. Click here to read more.
At the beginning of the One Room Challenge I was envisioning a square board and batten wall treatment like this one from Serena & Lily….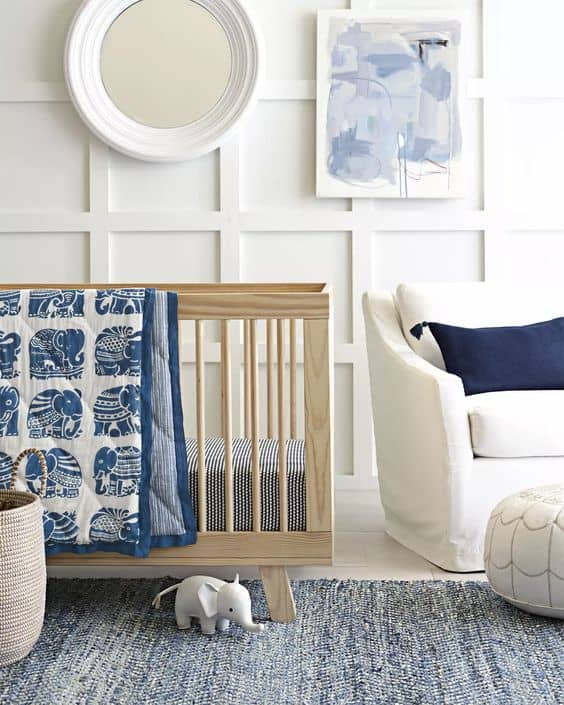
I love the square B&B and am dying to do this somewhere, but after a serious amount of measuring, sketching and drawing on the walls, I realized this was just not the space for it – too many obstacles to work around between the bi-fold doors to the laundry, window, door into the room, vanity and toilet.
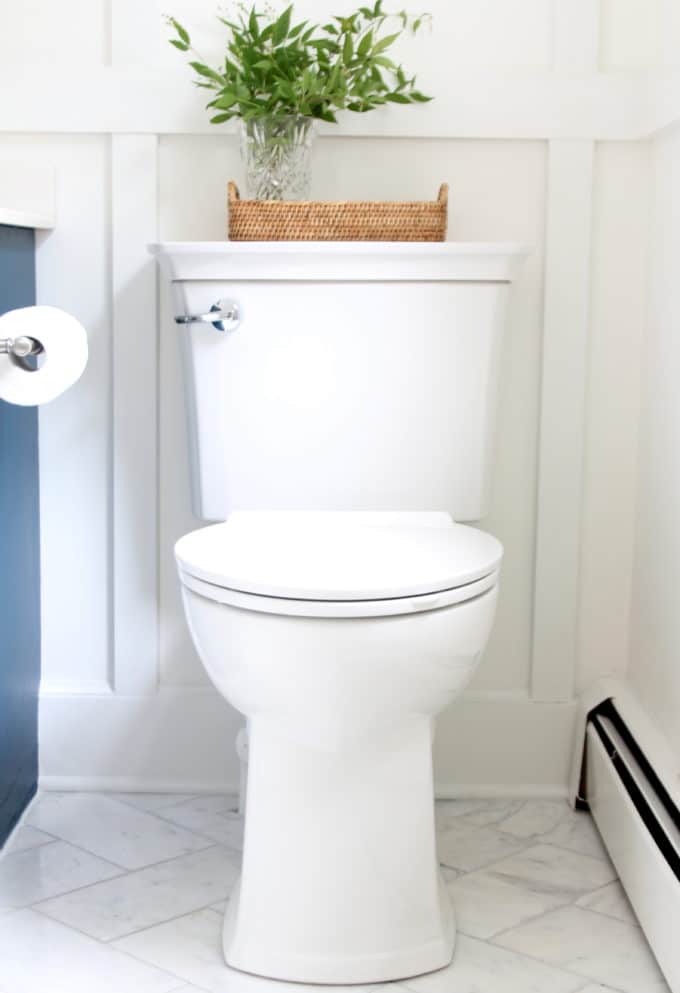
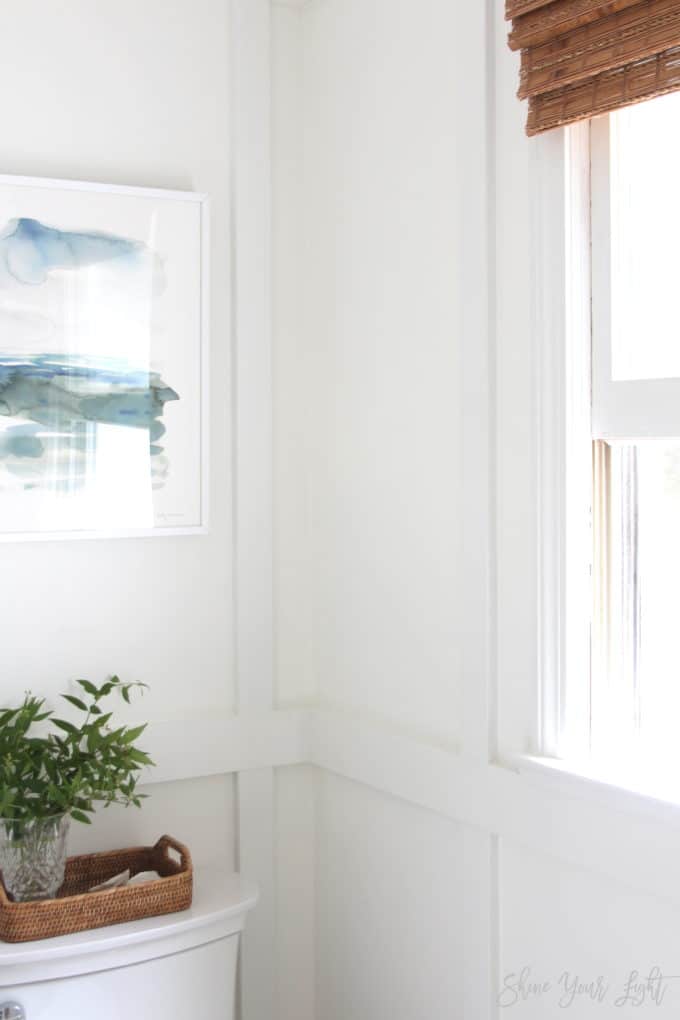
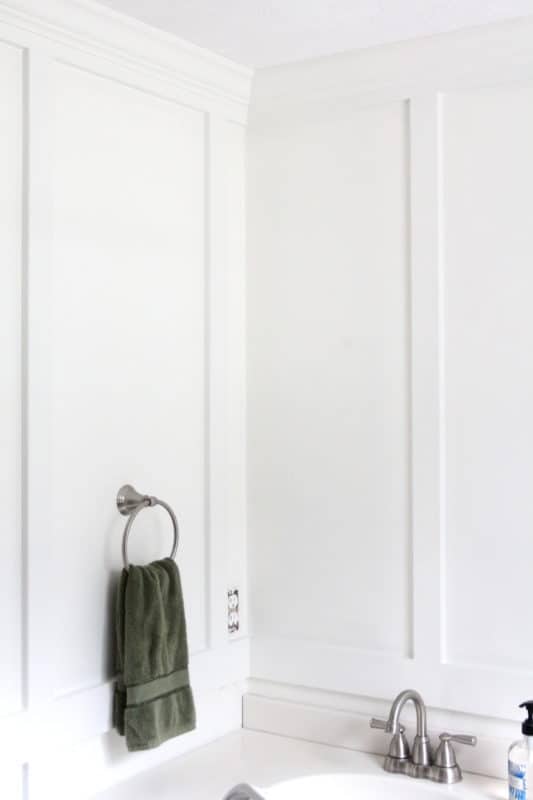
SO…Plan B. Since the position of the toilet prohibits moulding behind it – it’s flush with the wall – I created a design around the toilet.
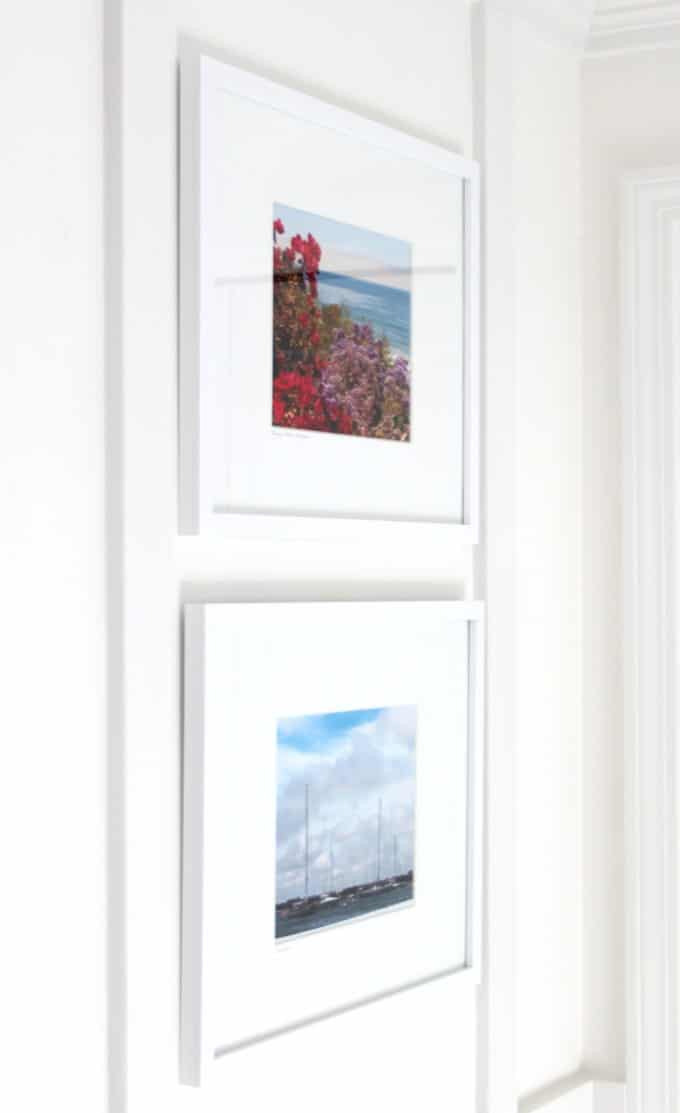
Somewhere along the way I realized the boxes that the battens created would be great for framing out pieces of art (and by art I mean photos I’ve taken on our travels)……
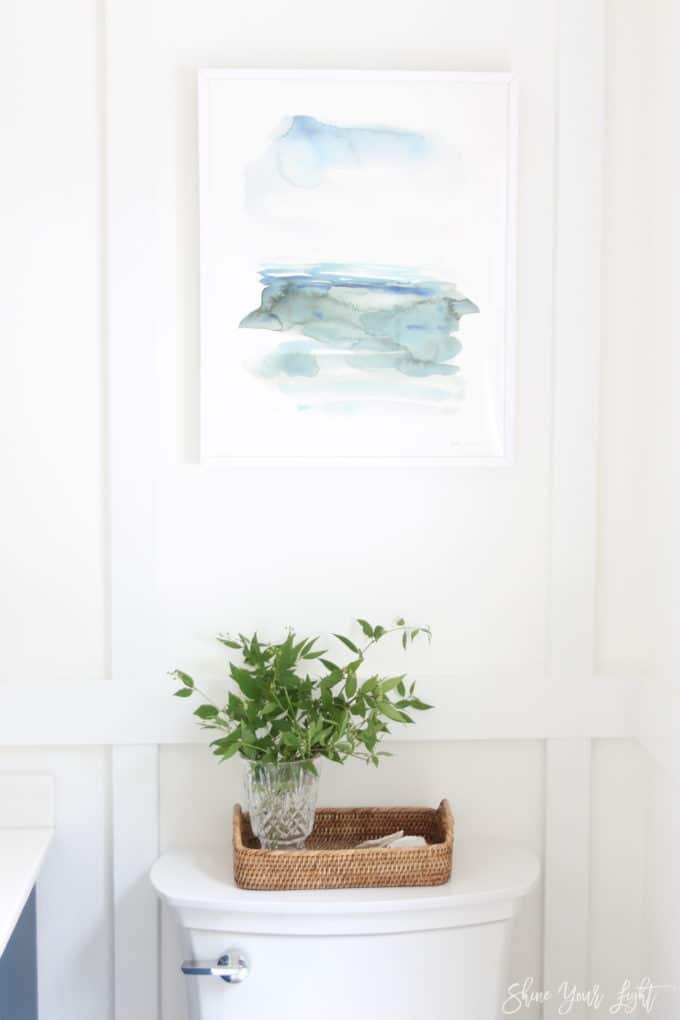
….and the Kelly Witmer watercolor that I’m obsessed with.
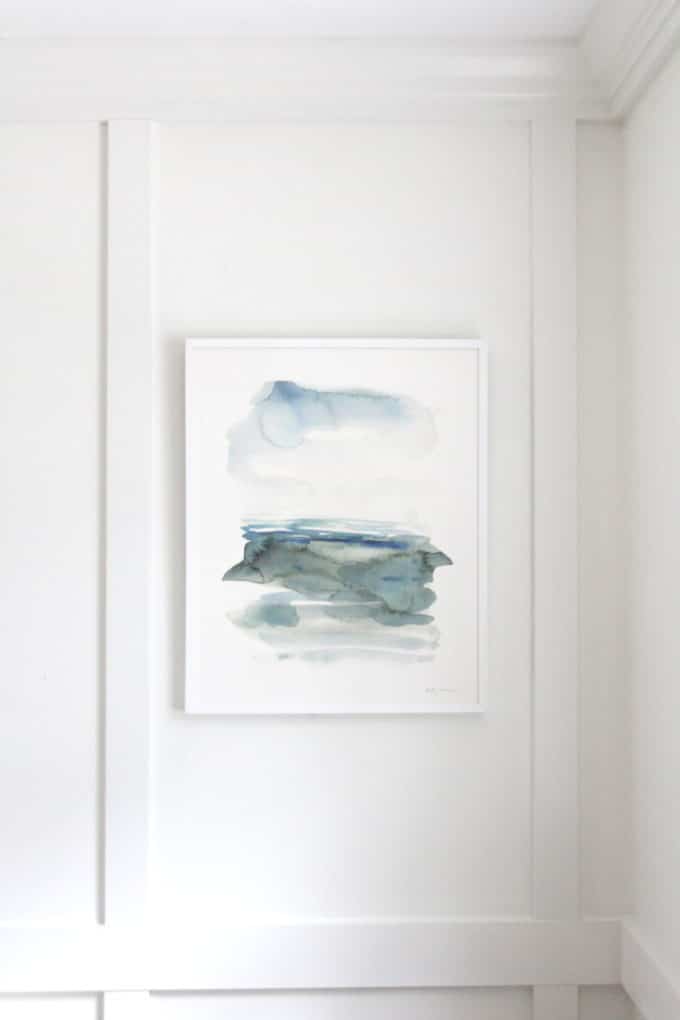
When you’re installing either half or whole wall board batten to a room, you can either have the battens abut in the corners, or wrap the boxes around the corners like I did. This worked out with the spacing I needed to use for the toilet.
Sometimes when you’re in the midst of a remodel it feels like all you do is take one step forward, two steps back……….
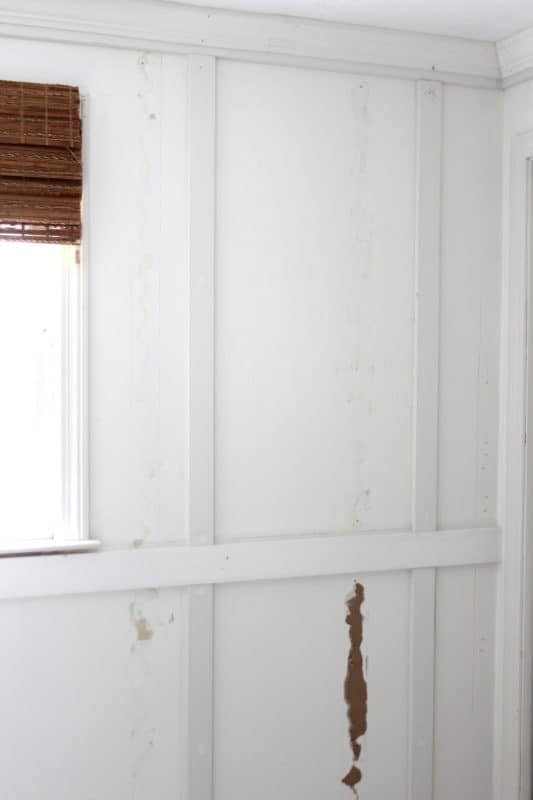
Battens, glued with Liquid Nails, attached to the walls with approximately 78 nails :), in completely the wrong spots. Removing them wasn’t pretty!
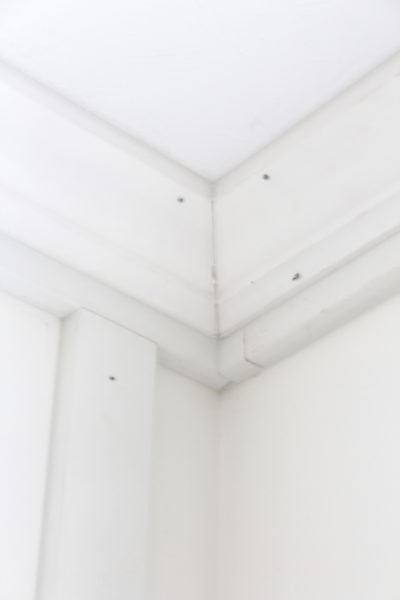
Boards sometimes get cut too short even when you measure twice. Most likely to happen when you are cutting your last piece of moulding and you either have to trek back to the store for more or make do with what you have.
All those time consuming finishing chores like sinking nails, filling them, sanding, caulking, painting and caulking some more are worth your time when it’s done and you’re happy with how it came out. I promise!! It’ll be worth it in the end!
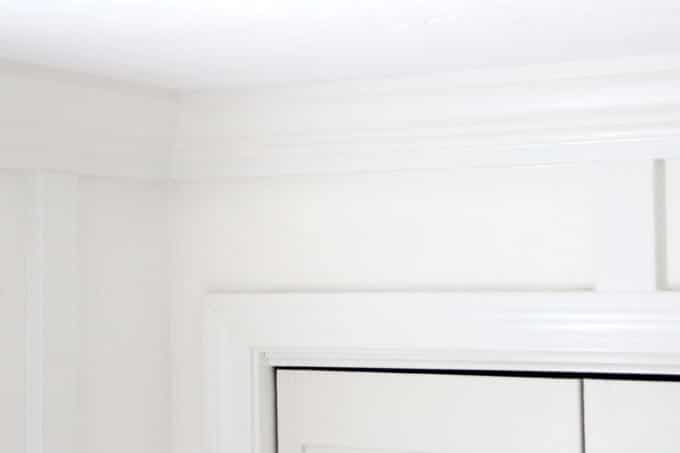
Hanging crown moulding remains the bane of my existence, although the Kreg Crown Pro jig that I bought for this remodel did help substantially once I watched some YouTube videos and wrapped my brain around how it works.
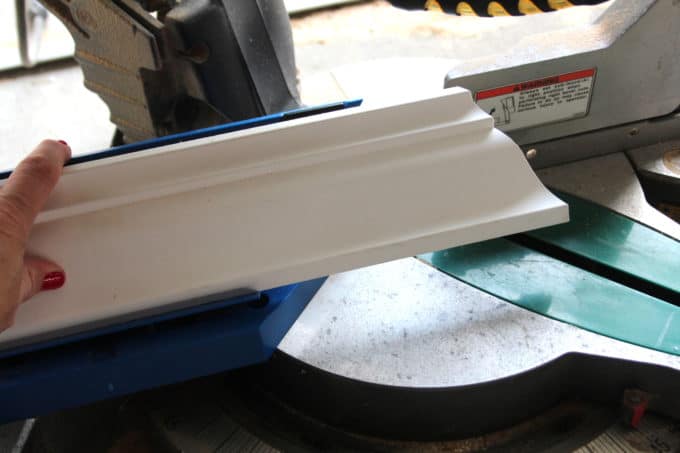
As much as it pains me to cut the right angles and join those darn corners perfectly, I just love how crown finishes off a space! I hate myself for loving you, crown moulding!!!!


Ryobi was kind enough to send me their cordless nailer to try and it was perfect for this job. It runs on the same battery pack that powers the Airstrike drill that I already had, so while I was using one battery the other one would charge, and I never ran out of juice.
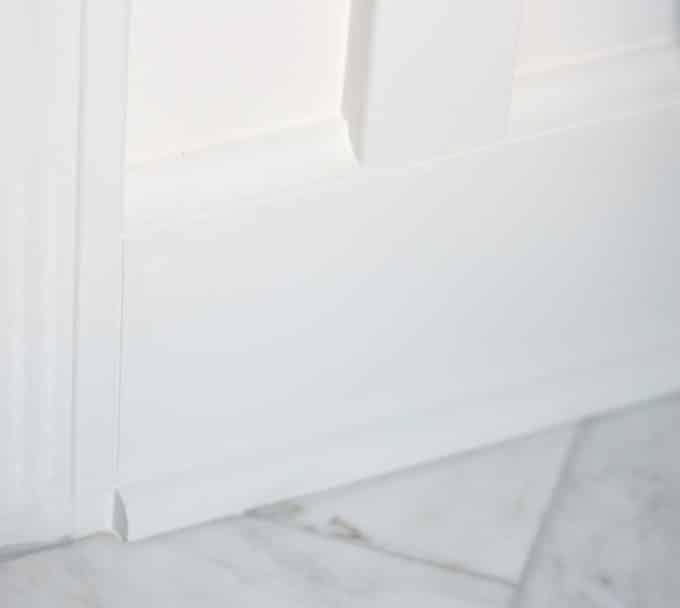
The other little detail that I wanted to note about this whole wall board and batten shebang are the baseboards. I removed the original wimpy baseboards and replaced them with 5″ board. After the battens were installed vertically, I capped off the baseboard with cove moulding. The final trim, which I debated long and hard over whether to use, is shoe moulding at the bottom of the baseboard. Although the baseboard sits on top of the tile edges, the shoe moulding disguises any poor tile cuts and I’m amazed at how that little detail really cleaned up my tile job.
One last look at this room when we first moved in (7 years ago on August 1!!) to today. The power of paint and a little woodworking, crazy right?
If you’re considering a whole wall board and batten project, I hope these random tips and thoughts will help you work through your design and figure out what’s best for your space!
Wishing you a fun weekend ahead!

SOURCES
Ryobi Airstrike Cordless Nailer
Print over toilet – Kelly Witmer’s Ocean Landscape
Frames for travel photography
Toilet – American Standard Self-Cleaning ActiClean
Wall paint – Benjamin Moore Simply White, eggshell
Trim paint – Benjamin Moore White Dove, semi gloss
OTHER POSTS YOU MAY BE INTERESTED IN
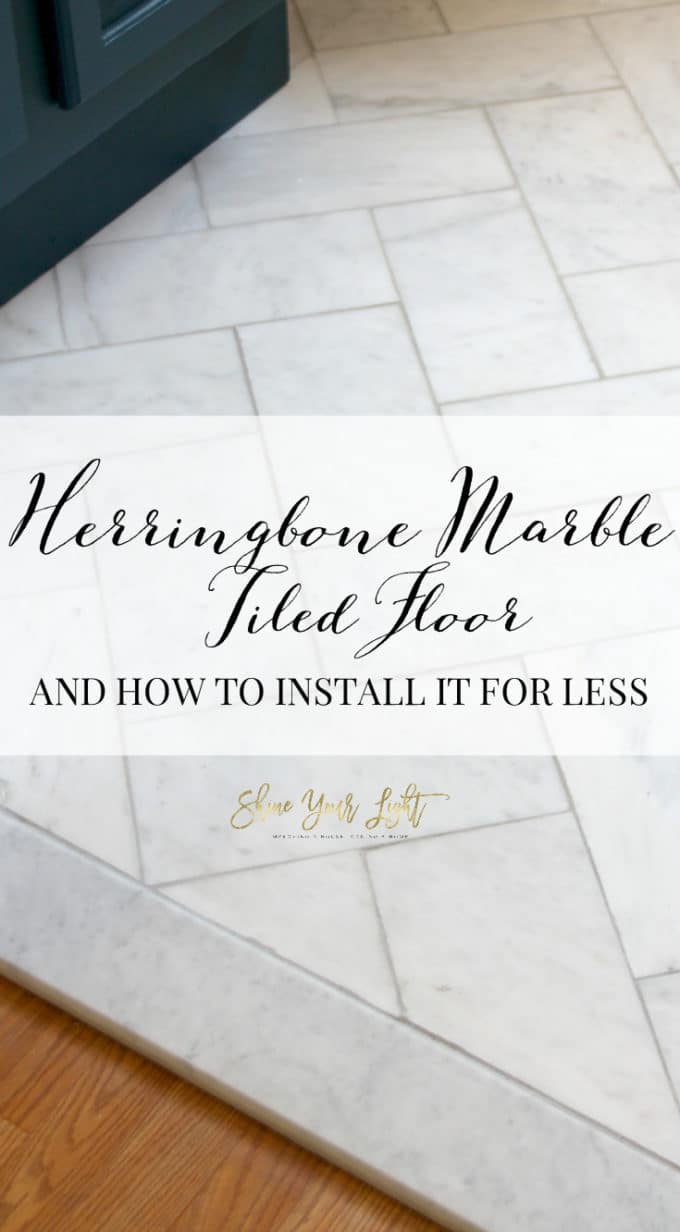
All the details on the large-scale herringbone marble tile floor.
Coastal art prints for those of us with salt water in our veins 🙂
A tutorial for how to clean and use shells to create a one of kind oyster shell mirror.



Calypso in the Country says
Lisa, I am so impressed with all the work you did on this bathroom! You must be thrilled every time you walk in there! Enjoy your weekend!
Shelley
Lisa says
Thanks so much Shelley! It was fun to work on but I’m so glad it’s done! (especially since it’s the laundry room and I’m in there all the time! 🙂 ) Have a great weekend my friend!
Michelle O'Connor Ryan says
I just shared this with my husband. I love it. Love everything about this bathroom.
Lisa says
You’re so sweet!! Thanks for stopping by here Michelle! I appreciate you so much.
Jillian says
Lisa, this makeover is amazing! And I love crown so much but I have yet to tackle it in my house. Maybe you need to come help me 🙂 I will make lunch.
Lisa says
In a heartbeat! That would make installing crown about a million times more fun!!!