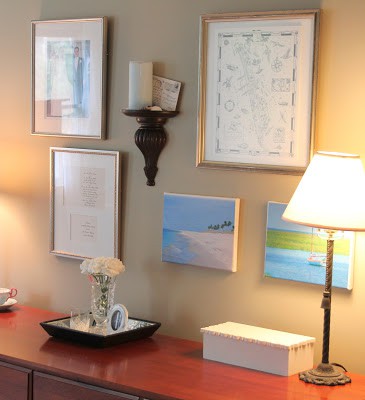
Yesterday I showed you how I’m trying to incorporate some coastal blues into our bedroom. I created this little grouping over my dresser that includes a couple of canvases that bring in the colors I want, feature special places we love to visit, and were really fun to make.
Here are a few methods of mounting photos onto canvas and creating canvas art.
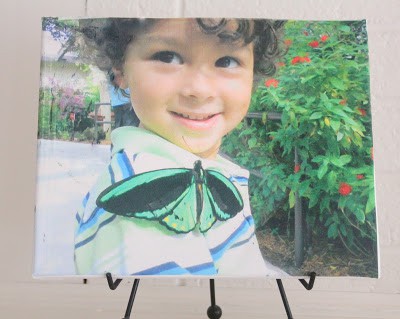
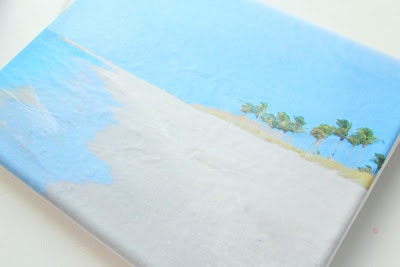
Mounting photos onto a stretched canvas (canvas that is stapled to a wooden frame) using tissue paper shows the canvas texture through the photo and therefore looks like a photo canvas you would purchase. Mounting with tracing paper is easier but has different end results. These methods are good for canvases 8×10 and smaller.
Tissue Paper Method – Any Photo
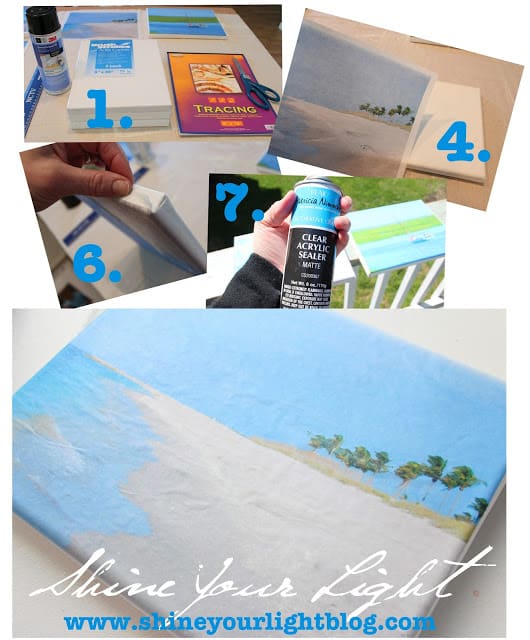
Materials needed: printer, scissors, white tissue paper, printer paper, tape, Mod Podge (I used matte for these projects), foam brush, 8×10 canvas or smaller, clear acrylic sealer.
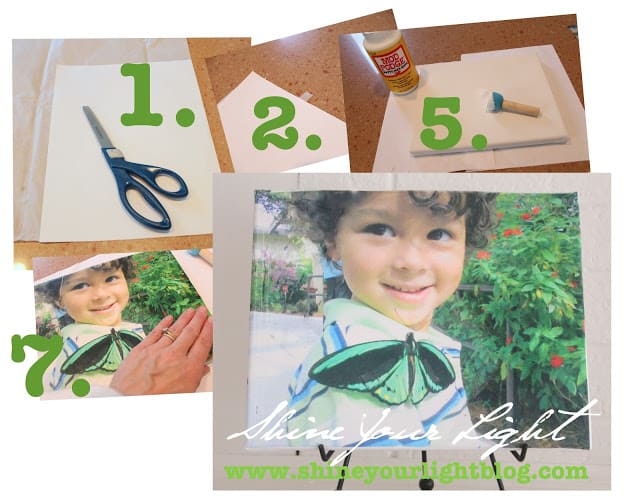
1. Using a sheet of printer paper as a template, cut a sheet of white tissue paper down to the same size (8.5″ x 11″).
2. Tape the edges of the tissue paper to the printer paper. Make sure the entire side that will be grabbed by your printer is taped together so the printer will not tear it.
3. Size your image to the size of your canvas (I used 8×10) and print image onto the tissue paper side. Let thoroughly dry for a few minutes.
4. Cut the tissue paper image from the printer paper.
5. Using a foam brush, give the canvas a medium coat of Mod Podge* (not too thick, not too skimpy!)
6. Center your photo over the canvas and carefully lay down, starting with the two top corners.
7. Using your hand, gently smooth out the tissue paper onto the canvas. Lift and reposition the tissue paper until it is smooth. Once you have worked out all the pockets of air, really smooth the photo onto the canvas with your fingers so the texture of the canvas is apparent.
8. Coat the edges of the canvas with Mod Podge and fold over the excess, taking care to fold the corners like you would gift wrap.
9. Take your canvas outside and spray with clear acrylic sealer.
Tracing Paper Method #1: Non-Textured
PROS: it is super easy to run tracing through your printer! Less wasted printer ink and aggravation than tissue paper method. Quick and easy peasy!!
CONS: does not show canvas texture as much as tissue paper method.
Materials needed: printer, scissors, tracing paper, 8×10 canvas, spray adhesive, clear acrylic sealer.
Tracing Paper Method #2: Textured
PROS: again, super easy to run tracing paper through your printer. Less wasted printer ink and aggravation. Great for creating a piece of art with dimension!
CONS: if you’re going for a smooth final product this is not the method for you (try tracing paper method #1 or the tissue paper method!)
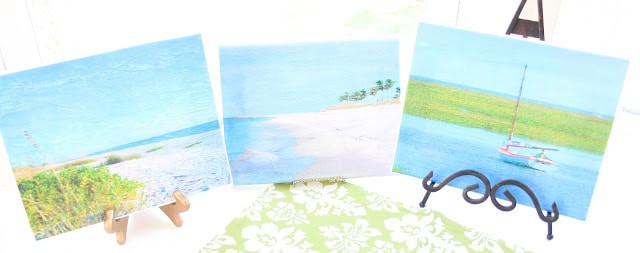
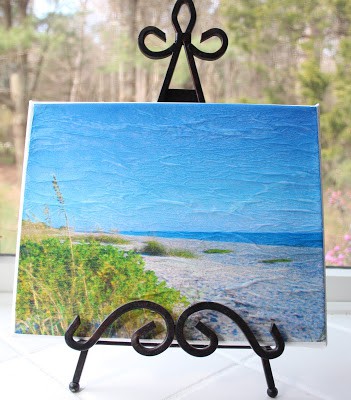
I actually ended up loving the dimension the wrinkles brought to my first attempt at the tracing paper method and created 5 landscape pictures this way. The issues with using this paper actually turned out to be a blessing in disguise because I like the end result much better for landscape photos.
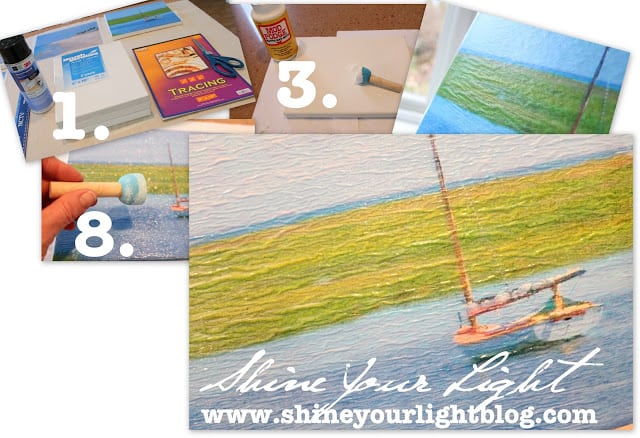
Materials needed: printer, scissors, tracing paper, 8×10 canvas, Mod Podge, spray adhesive (optional method), clear acrylic sealer.
1. Trim the edge of a sheet of tracing paper.
2. Place the tracing paper in your printer and print image. Let dry thoroughly for a few minutes.
3. Using a foam brush, give the canvas a medium coat of Mod Podge (not too thick, not too skimpy!) You can also use spray adhesive for this step for less texture in the finished product, which I did for the example (see below).
4. Center photo over the canvas and carefully lay down, starting with the two top corners.
5. Smooth image over canvas with your hand, lifting and repositioning as needed. The tracing paper will wrinkle big time if you used Mod Podge to mount. Don’t be alarmed! Push air bubbles to the sides of the canvas. Use a sewing needle or pin to release the air from larger bubbles, smoothing down as you go. This will create wrinkles that add texture to your canvas.
6. Coat the edges of the canvas with Mod Podge and fold over the excess, taking care to fold the corners like you would gift wrap.
7. Take the canvas outside and spray with clear acrylic sealer to protect the ink. Allow to dry.
8. Coat the top of the canvas with Mod Podge. This might wrinkle your image even more; just smooth out with the foam brush until you’re happy with the overall effect. I like top layer of Mod Podge for the rich finished look it gives to the art.
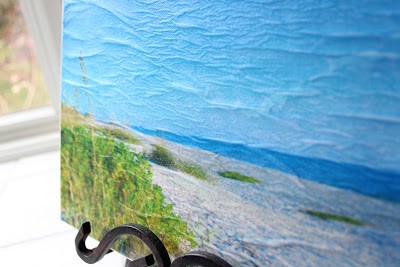
The end result of this method is a picture with dimension. The photo almost looks like an oil painting, doesn’t it?
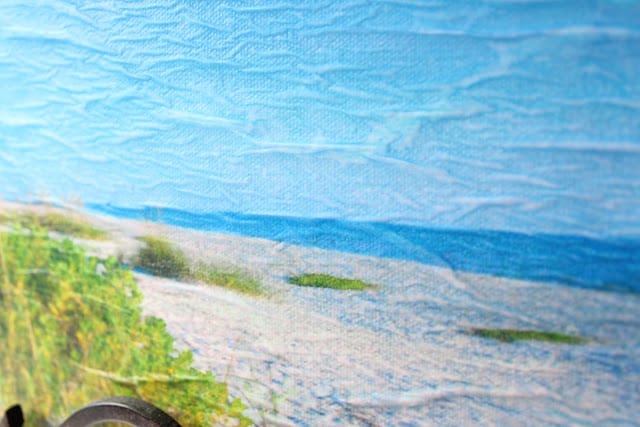
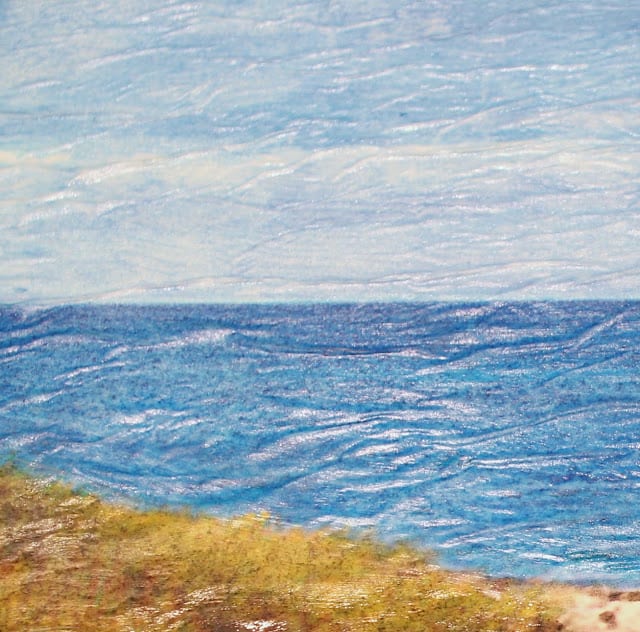
A few more shots of the art I made using Tracing Paper Method #2 to add texture to a photo……
This photo was adhered to the canvas with Mod Podge – see the heavy creasing?
This next photo was mounted to the canvas with spray adhesive, sprayed with clear acrylic sealer and then Mod Podged. The final result is smaller wrinkles and texturing.
I also discovered that if you don’t spray the mounted canvas with the clear acrylic sealer, and then coat with Mod Podge, the ink colors run together a bit, which can work in your favor to blend and make the photo look like a painting.
Isn’t it fun how you can create something totally unique just by playing around a bit?? I can’t wait to take some photos and try new landscapes. Still-lifes or cityscapes would also be cool using this technique!
If you try any of these methods, please come back and tell me about your work of art! I’d love to hear about how it worked for you!
I have not been compensated in any way for mentioning name brand products – just want to share with my readers what has worked for me.
I’m linking up to these great blogs!!






Maury Kilgo says
This is so cool! I love the textured one. It looks like you purchased it that way!
Jennifer L. Griffin says
These techniques are fantastic! I think the 3rd is my favorite and perfect for those vacation landscape photos. Will have to give this a try sometime!
Dana Frieling@ Make Them Wonder says
What a fun project, Lisa! I love the thought of wrinkles being pretty, even if we're talking about art and not faces. 😉
Barbara says
That textured one looks so good, it totally makes it pop like an oil.
Privet and Holly says
You are brave, as well
as beautiful, Lisa! Good
job with both of these
methods ~ I would never
have thought of trying
either if I hadn't seen
them, here : )
xx Suzanne
Cassie @ Primitive & Proper says
that is really neat and a great way to make your own "art". i love the more textured look!
pam {simple details} says
Can I send you my poster and canvas, please?! 🙂 They're perfect!!
Urban Orchard Interiors says
What a great idea! Always looking for ways to get inexpensive art…
-Lane
Lisa - A Room with A View says
You have great patience! I would have been nervous to get any thin paper stuck in the printer but I think this is definitely worth trying. I do love the textured effect.
Holly Lefevre says
These are gorgeous! Love trying different methods to mod podge images!