Welcome back to my One Room Challenge – finishing up all the loose ends of a room redesign!

This post contains affiliate links for your convenience. Read my full disclosure policy here.
I’ve been working on my family room that has been in progress for at least six months since Mark and I decided the holiday season was a fine time to rip apart and remodel our fireplace and built-ins. The 6 week ORC commitment was the perfect motivation to get this room completely done and actually enjoy the space instead of redesigning it endlessly in my head!!!!
Last week I talked about new pillows (in case you missed it, here’s the tutorial for the painted one), linen curtains I pilfered from my living room windows, and the new rug we scored for 70% off (still on sale by the way!!!).
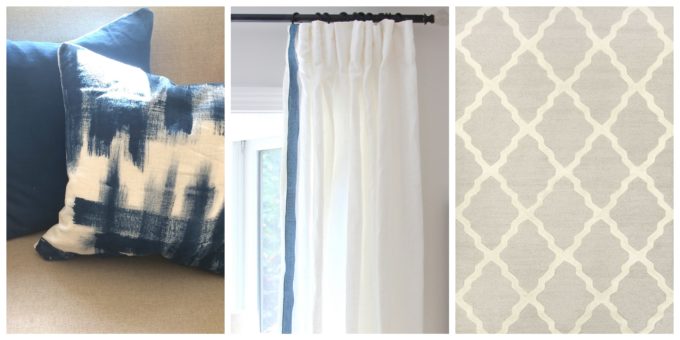
{LEFT/ Ikea Vigdis pillow covers • CENTER/ Ikea Aina linen curtains (discontinued but I found them on eBay!) • RIGHT/ RugsUSA Moroccan Trellis rug in “tan”)
This week let’s talk about the two floral club chairs that we brought with us from our last home.
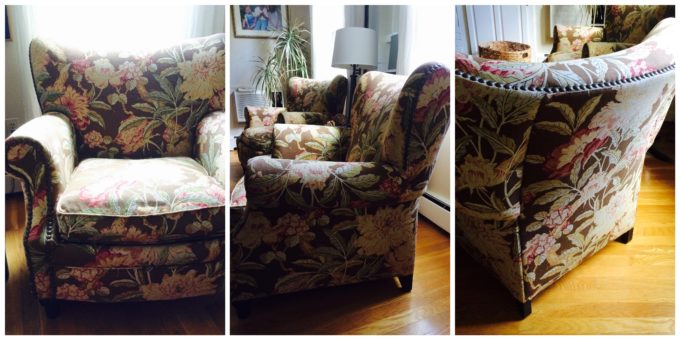
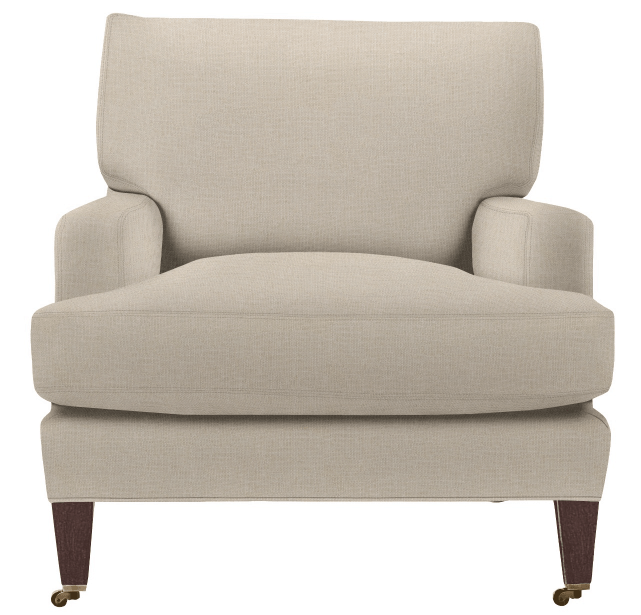
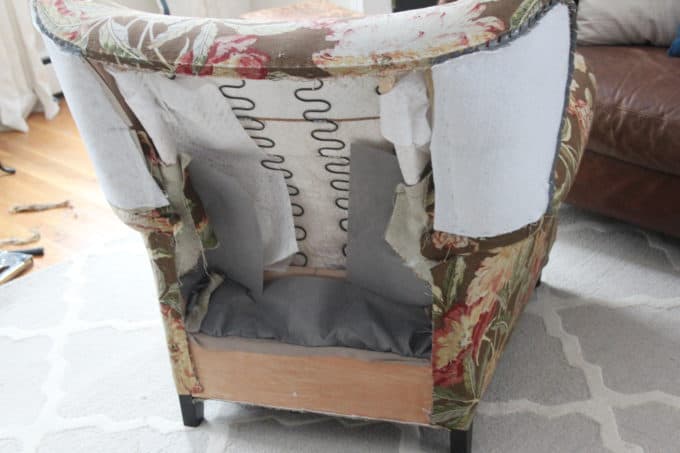
The bold floral was fun for the past decade, but it was worn and shabby in some areas, and the colors were not in keeping with the light palette I’m going for in this house. The cushions were also really uncomfortable and it was time to do something with them. I emailed these photos above to 5 upholsterers in the Boston area, and the quotes for the labor alone were upwards of $1000 each (thanks to all those darn nailheads I’m guessing!), so I decided to take a crack at reupholstering them myself with visions of all this neutral loveliness in mind……
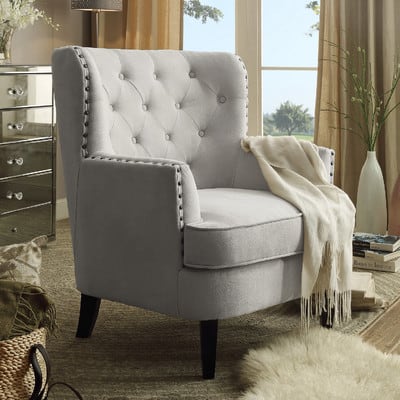
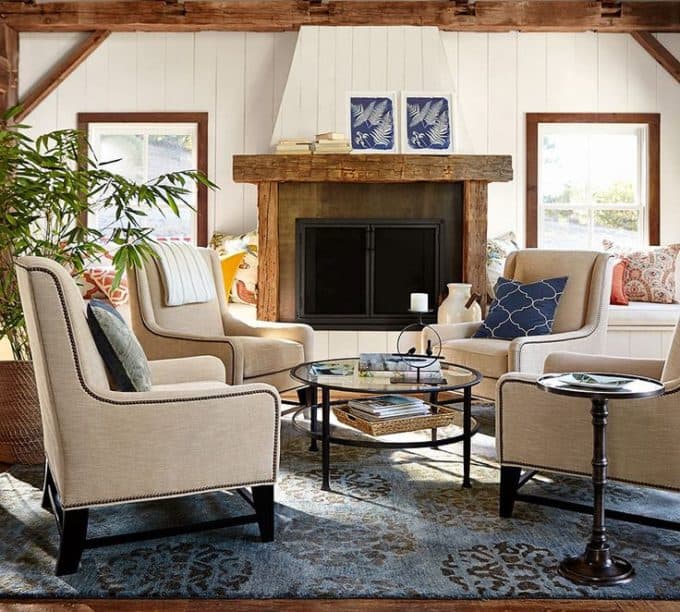
{Pottery Barn Berkeley Chairs}
I’ve covered millions of dining room chairs, headboards, and benches over the years, but I’ve never tackled an upholstery project this big. Armed with blog tutorials and YouTube videos, I took the chairs apart and reupholstered them one at a time. I also had new seat cushions and covers made because you know the sewing machine and I have a cantankerous relationship.
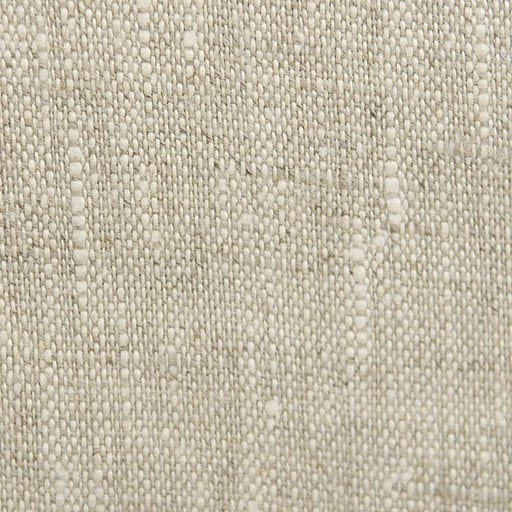
This is the fabric I went with (Luxury Denton in Linen), an 80% cotton/20% rayon blend that can take a beating.
I chose this fabric because I used a coordinating fabric from the same line (Zippy Cloud Denton) on my dining room chairs that we use every day, and I knew it was hard wearing and scrubbable.
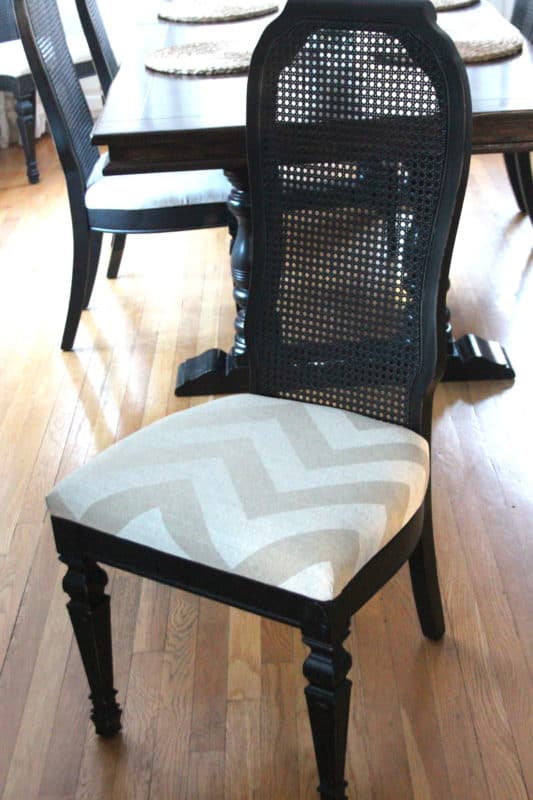
(I did these chairs a couple of years ago, right around the time everyone started saying how chevron was so OUT. I liked it in small doses then, and still do today, so go with what YOU like and forget about what is supposedly in or out!)
Back to the family room club chairs. I’m mostly really pleased with how they came out!
Except….for re-installing the nailhead.
This is where the whole “finishing up the last 20%” comes in. I am not a perfectionist but if I’m going to do a DIY or home improvement project, I might as well make it awesome, not just kind-of-awesome. Right??
Well, when I was dismantling the chairs, I discovered that nailheads are incredibly difficult to remove without bending the actual tack.
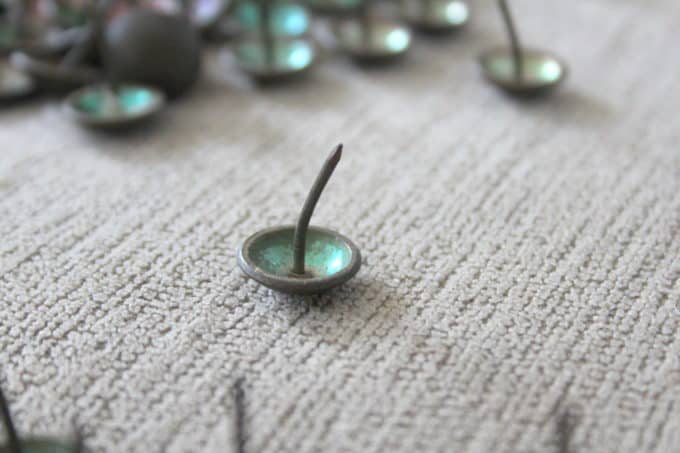
That means when they get re-installed, they don’t go in straight unless you fix them first by holding each and every nail with pliers and moving the head with a second set of pliers. These chairs EACH have around 300 nailheads so you can imagine how long and tedious the task of straightening them is!! I should have just bought new nailheads. Or chairs 🙂 *banging head against wall*
I wouldn’t even bother to re-install the nailheads if they were just decorative, but in the case of my chairs they actually hold a piece of fabric onto the chair and hide the edges of this piece. (Let’s just take a moment to enjoy how nice that boring beige fabric is compared to the old one. Ahhhhhh the freedom of neutrals!!!!!!)
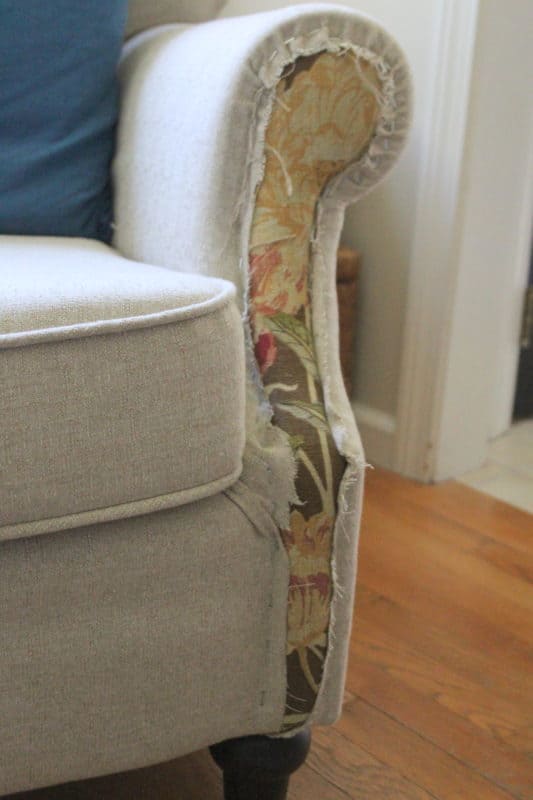
It’s a beast to align those stinkers, especially if the nails aren’t perfectly straight! I have done this arm TWICE and have already started taking the nailheads out again. Mark did one arm when I got insanely frustrated, and then he gave up too.

Except for these tricky final pieces, let’s pretend the chairs are done. I’m not sure if I’m going to attempt the nailhead again or possibly have pieces that are trimmed with welting, like on the edges of the seat cushion, made and somehow attach them without nailheads. It’ll be a big surprise for all of us.
Oh the drama of DIY!!!!!!!!!
So here we are with only TWO weeks left in the One Room Challenge and a long list of to-dos!
THE LAST 20% HIT LIST
Finish reupholstering the two chairs (humor me that I crossed this off)
Lighten up and bring some blues to our brown leather couch (pillows, throw, check)
Finish the art project for over the couch (did you see this post about an unexpected source for large scale art?)
Figure out what else is going on the walls
Build or buy doors for the lower shelves of the bookcases for hidden storage
Style the bookcases
Rug – Pillows – Curtains
Buy a new coffee table
Check out the 20 One Room Challenge designers on Wednesdays at Calling It Home, and the 200 or so linking participants on Thursdays! There is so much inspiration around the blogosphere at the moment!!

Shelley @ Calypso in the Country says
Lisa, I am SO impressed! I would never in a million years attempt to reupholster a chair! You have done a great job so far and I am so excited to see the room finished! You can do it!
Shelley
Lisa says
Thank you Shelley, you always leave the nicest comments and it means so much to me, especially when I’m dragging my feet on finishing a project!
Stacey says
I’m very impressed with you reupholstering that chair! You’re awesome!
Lisa says
Stacey thanks so much – there are actually 2 of them and it feels like the project that will never end 🙂
Jennifer says
You are so brave, wish I could upholster my own stuff! I really love your color scheme. Best of luck on the last few weeks.
Lisa says
Thanks so much Jennifer! I did it out of desperation!
Ellie says
I”m SO impressed with your upholstery job! Great texture on the fabric too.
Lisa says
Thank you Ellie! If you squint and look at them sideways they’re not half bad.
Pam @ Simple Details says
Totally in awe!!!!!!!!!
Lisa says
Thank you Craigslist Queen! I am in awe of you too!
Carol @ CAD INTERIORS says
Wow, Lisa… I would have been defeated by this DIY project just thinking about it! You are a DIY guru!!! Love the fabric and nailhead trim (even if it’s being a pain). 🙂
Lisa says
I definitely have been defeated Carol….I walked away for two months! Exactly why I signed on to this round of the ORC, because I need to be a big girl and just finish them! 🙂
Gina says
The chair looks great! I reupholstered a rocker I bought from an estate sale that had a million nail heads. Ended up using gimp trim and liquid stitch to hide all the staples. It was my first attempt and it was a task but everyone is amazed I did it.
Lisa says
Gina I like that idea much better than the dreaded nail heads. I was thinking glue but didn’t know what to use to cover up the seams. I think I need to explore the fabric store a bit and see what I come up with!
Debbie says
Lisa,
Bravo. This is a mind-bending endeavor and your tenacity is amazing. The sneak peak at the chair and all its beautiful lines, fabric and nailheads is extraordinary.. I love that you are giving them new life (up cycle). Can’t wait to see the final reveal. Go Lisa Go….
Lisa says
Well if that isn’t the nicest and most encouraging comment ever! Thanks so much Debbie, you are too kind!
Janice says
Omg! I love what you’ve done! I have attempted to reupholster a chair and had to admit defeat finally. But, you are doing a great job! I think if they were my chairs I would paint those nailheads a lighter color to blend in with the fabric. Just my taste. I do think that once they are done and set up in the room you will love them!
Lisa says
Janine I was perplexed about the color of the nailheads. They make such a statement in their current dark color. I thought about using silver but don’t have silver anywhere else in the room. Thanks so much for weighing in, I’ll have to think some more on that one!
Tiffany says
I cannot believe you took that on. Amazing as usual. I read another comment about the nailhead color. That doesn’t bother me at all. Good luck!
Lisa says
I can’t decide if I like the contrast of the dark nailheads or if they are just making a funky installation even more obvious!!!!! Hope you’re hanging in there with your rooms Tiffany!
Shelley | Crazy Wonderful says
Nail heads are such little buggers, aren’t they?!! I’m BEYOND impressed with you reupholstering those chairs. I’d say you “nailed” it. #ohyesidid 😀
Lisa says
HAAA!! 🙂 You might not be impressed if you saw them in person but at least they’re better than before!
Kris {Driven by Decor} says
Seriously I am in awe! I un-upholstered the chair I recently had reupholstered to save a little bit on the reupholstering costs and just the process of removing the zillion upholstery tacks almost did me in! I don’t know if this will help with the nailheads but when I used them on the back of my kitchen banquette I found it easiest to predrill holes for them – they hammer in easily then and are exactly where you want them to be 🙂
Lisa says
It is tedious that is for sure. Pre drilling is a great idea! I think if the nails were straight this wouldn’t be such a pain in the patootie. But I guess that’s why this thing is called a challenge!
Jennifer @ Dimples and Tangles says
I can’t believe you tackled those chairs. Actually, yes I can, you can do anything! They look amazing. I CAN”T believe your straightened out all of those tacks… I wish I would have known your problem, I bought 1,000 new ones on eBay for less than $15, so worth your time! And I used a little trick on my headboard. Once the nails are in, if they’re a little crooked you can use the tip of a flathead screwdriver against them, and tap on the end with a mallet to scoot the nailhead where you want it. That totally saved me on my headboard!
Lisa says
I think the not-so-straight nails are the part causing distress in this project Jennifer. I might get new ones…I suppose I should make up my mind soon!! 🙂
Sarah Sofia Knepp says
Lisa I absolutely LOVE your fabric choices and inspiration! You know I love blue and white! Kudos on doing the re-upholstering yourself, looks amazing! Can’t wait to see everything pulled together! XOXO, Sarah