For last week’s One Room Challenge update I shared our new rug, the curtains I stole from another room, and the pillows that I’m using to lighten up our brown leather couch. You might have caught on by now that I covet things I can’t afford. Or rather, I could afford them, if my kids didn’t constantly eat every single non-fruit-and-vegetable in the house within 24 hours of a $300 trip to the grocery store and then say “there’s nothing to eat”. Good thing they’re cute.
So what’s a girl to do for pillows when she has three teenagers with insatiable appetites? DIY, that’s what. My versions are no where near as awesome as the West Elm pillows or beautiful Kelly Wearstler fabric that inspired these designs, but they are definitely fulfilling my desire for a modern touch and splash of blue in our house, plus they were SO much fun (and inexpensive) to make!!!!!
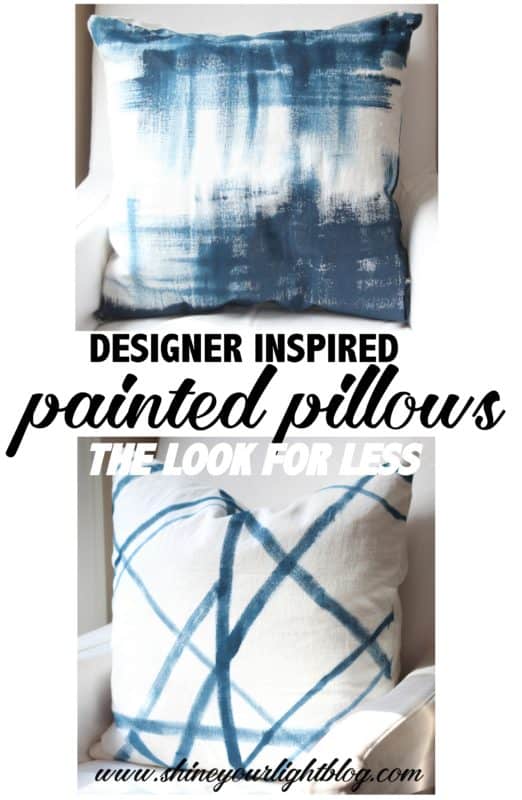
Here’s how to make my versions of these modern fabrics.
This post contains affiliate links for your convenience. Read my disclosure and policies here.
SUPPLIES
Solid white pillow covers they look and feel like linen and are only $7)
Acrylic craft paint (I used acrylic because it’s super cheap, comes in a billion colors and is water-soluble)
Water
Paint brushes
Cup to mix paint in
Paper grocery store bag or magazines
Drop cloth
Clean rag or paper towels
Iron
DIRECTIONS
Lay the drop cloth on your work surface (or hang them up in your dining room…either way sounds good!)
Stuff the pillow with paper bags or magazines so the paint doesn’t bleed through to the other side.
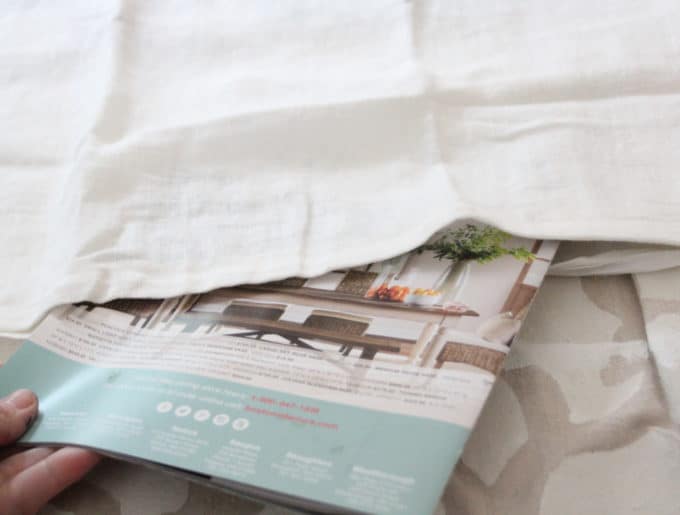
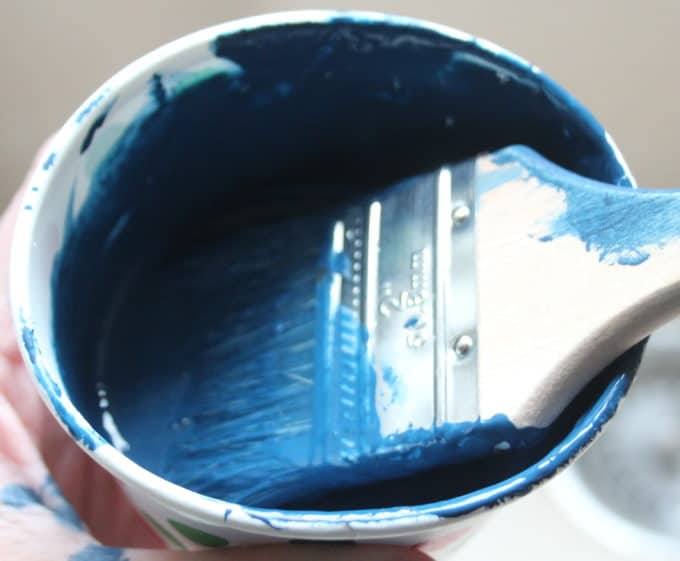
Mix equal amounts of paint and water in a cup. I started out with just a tiny bit of water but learned that the undiluted paint dries stiff and hard, whereas the watery paint can be layered and dries to a much better handle, without any stiffness. Mix the paint and water continuously throughout this project or the pigment will sink to the bottom and the lines won’t be consistent in color.
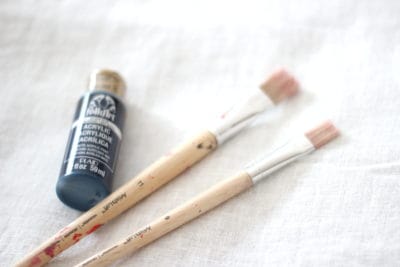
Dip the brush into the paint and dap on the sides of the cup so the brush is wet but not dripping, then make lines across the fabric.
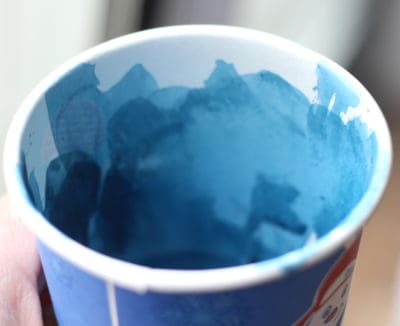
Beware that the edges of the lines might bleed, so it’s better to go light on the paint and then come back and add more later if desired. I varied the width of the lines and depth of color like my inspiration fabric.
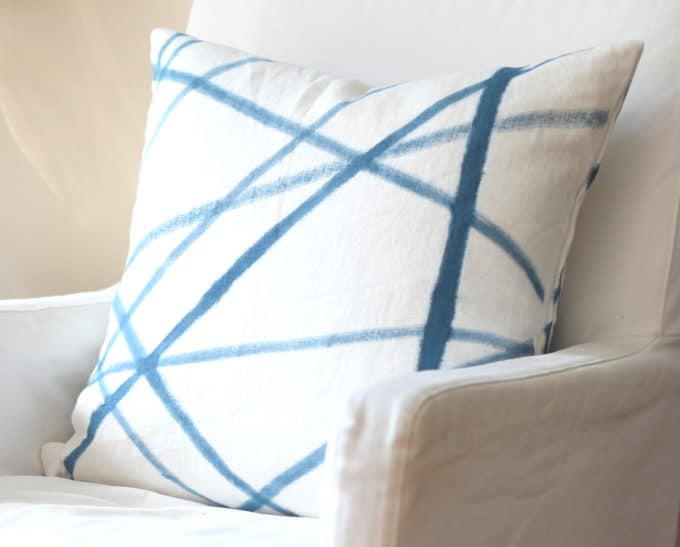
Let the pillow dry a bit, then place a clean rag or paper towels on top and, using an iron on medium-low, iron the design for 20-30 seconds to set it (no steam!). When one side is dry to the touch you can flip it over, and repeat the painting process on the other side if so desired. I let these dry overnight before using.
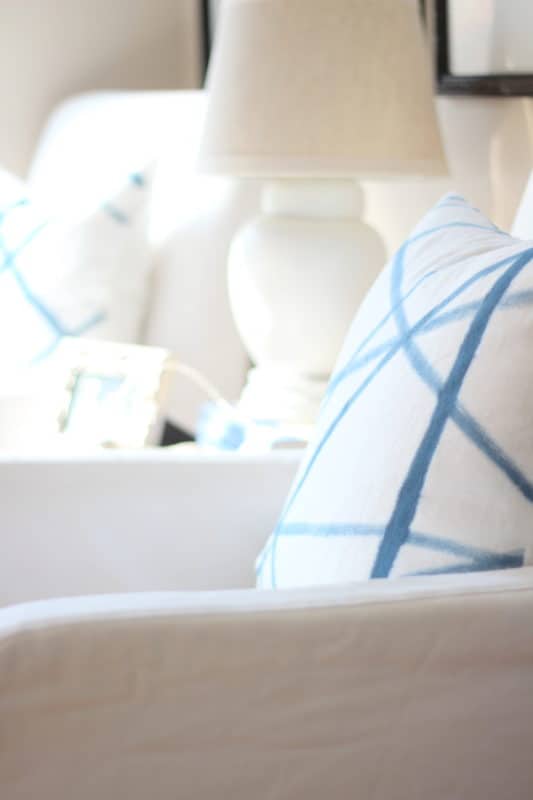
Since this is acrylic paint I don’t think it would stand up to a washing machine, but spot cleaning or a gentle hand-washing would probably be fine. You can also use fabric paint if you are concerned about washability.
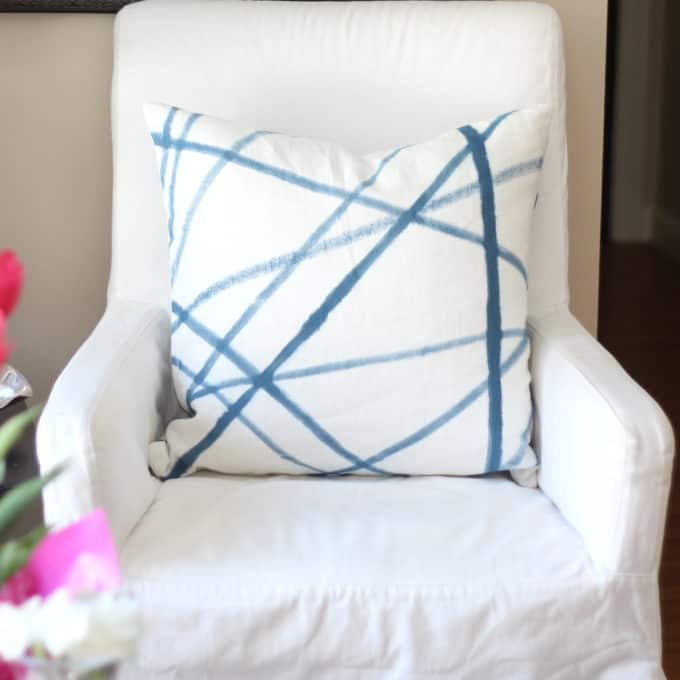
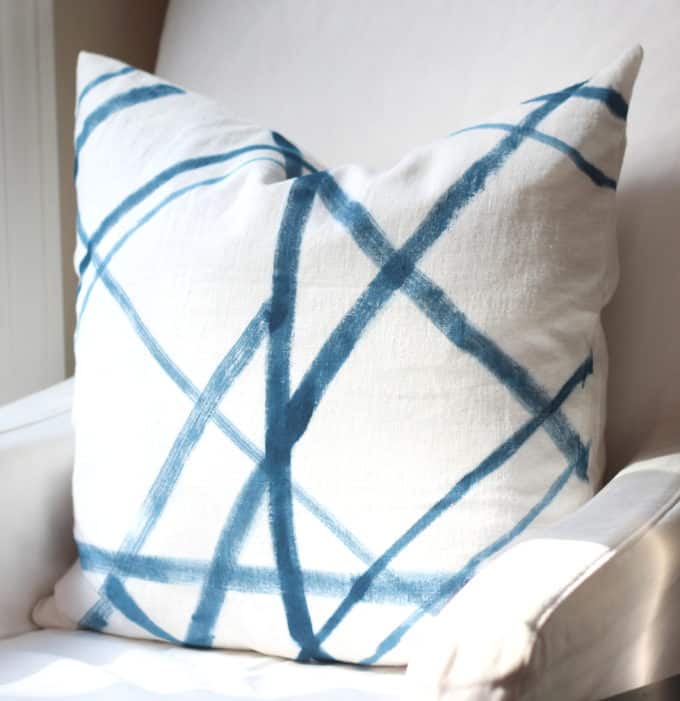
For the West Elm inspired brushstroke pillows, I used a wider brush.
I started with a brushstroke all the way across the bottom of the pillow and then added more paint in varying degrees. I love that the indigo really comes out in these pillows.
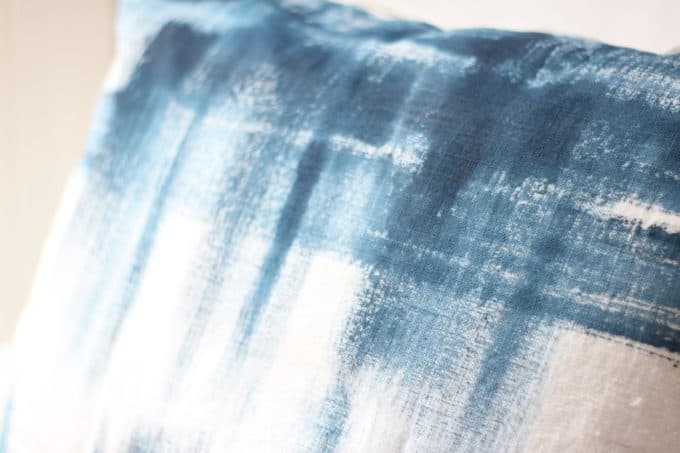
Have fun with it! If you mess it up you always have another side to work on!
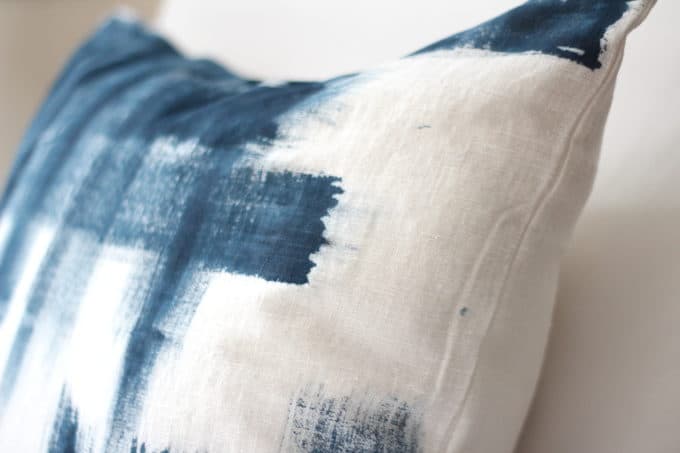
On the bottom of this pillow you can see where I started off with paint that was only diluted a tiny bit with water. The fabric is a bit stiff there and looks like paint. The other areas feel almost as soft and supple as the unpainted areas, and I like how there is more variation of color there too.
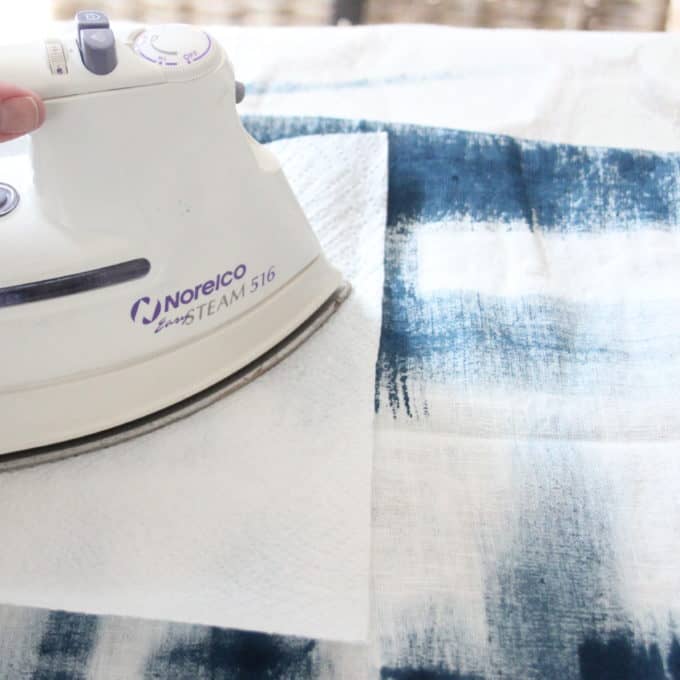
After painting, place a rag or paper towel on top and iron (no steam!) for 20-30 seconds to set the paint, repeat the painting process on the other side, and then allow to dry overnight before using.
That’s it! The trendy look for a fraction of the cost! If you’re looking for some more pillow ideas check out April’s My Five Favorites post!

Tomorrow I’ll be back with a update on the Final 20% of my family room project!!

Stacy Connolly says
GREAT JOB!! THEY ARE PRETTIER THAN THE IKEA SOMMAR 2016 THAT I WAS REMINDED OF AS I
STARTED TO READ YOUR POST.. CAN’T WAIT TO SEE THE FINISHED ROOM..
Lisa says
Stacy I saw those pillow covers when I was at Ikea last! Love the brighter blue!
cassie @ primitive & proper says
i am in love with these! they look awesome! and love the new blog look! it’s so cheery!
Lisa says
Thank you on both accounts Cassie!! 🙂
Vel says
OMG! I love your version even more! Will you sell these? I can’t paint, so I will just buy some from you! 😉
Lisa says
Aww thanks Vel! I don’t know if they are sellable but they are a super easy craft project – you could definitely tackle this!
Denise says
Love these Lisa! Adding this to my must try project list!
Lisa says
Thanks Denise! They were a fun departure from bigger projects I need to finish!
Romeogirl says
The pillows are fab. Great work!
Lisa says
Thank you so much! They were fun to make!