Hey friends! Before jumping into the next big project around here, I want to say THANK YOU all so much for your kind comments on my One Room Challenge, our family room!
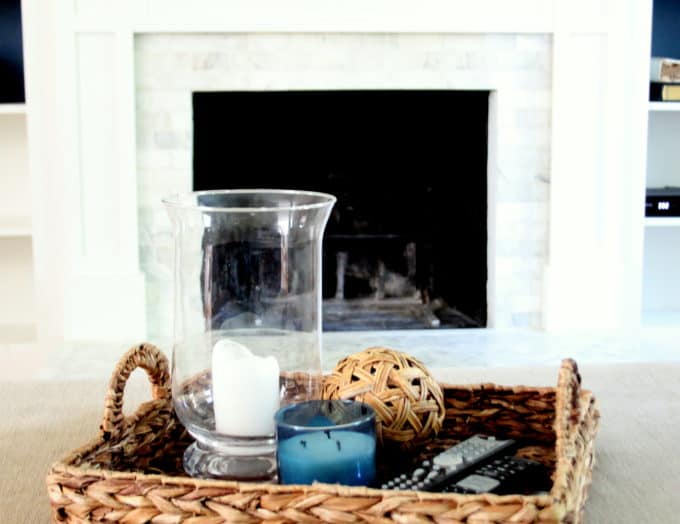
Honestly I was so touched by all of you who took the time to stop by. I’m still waiting on hinges for the cabinet doors, but my huge art arrived so I’ll be sharing those final pieces with you soon! As usual I am blown away by the hard work and gorgeous rooms that come out of that crazy 6 weeks, but most of all I love how it is such a community endeavor with everyone cheering each other on!! Thank you friends! (I’m posting some highlights over on Facebook; like the SYL page for quick and fun posts and behind the scenes project sneak peeks)
It’s time for the next home improvement adventure, which is sure to be my kids’ all-time favorite!
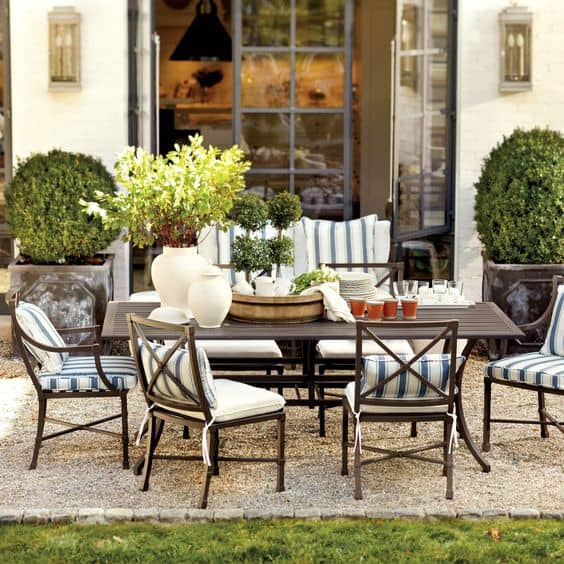
At long last, I’m embarking on creating a gravel patio in our backyard. Instead of a dining space like this beauty above, I’ll be installing a natural stone fire pit, and sharing the step-by-step here with you!
I have been obsessed with pea-stone or gravel patios forever, and after seeing Thom Filicia’s lakehouse patio with stone fire pit in House Beautiful, the vision for our backyard was born!
For the fire pit build, I’m thrilled to partner with Stone Farm, a Connecticut-based company that is a national resource for reclaimed stone and brick products, along with outdoor living solutions. Mark and I have long admired their fire pits displayed at a local landscape shop we drive by, and sometimes stop to ogle them in person. We always thought natural stone would be perfect for our rural New England home.
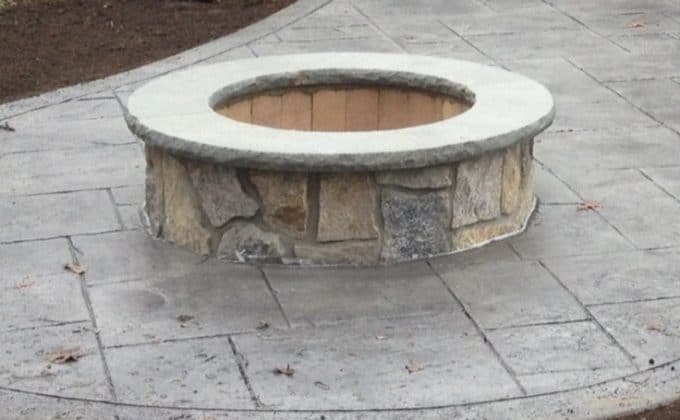
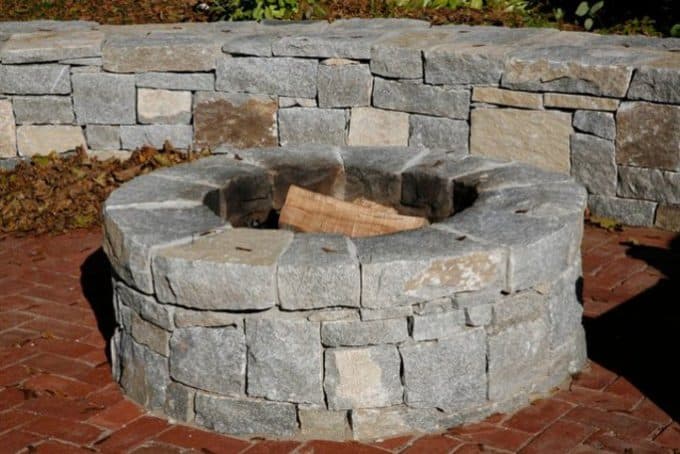
As you know, I love tackling home improvement projects (most of which are way out of my league skill-wise!) but there are some things we leave to the pros – electrical work beyond switching out light fixtures, for example, or plumbing that installed incorrectly could do serious damage to our house.
While the fire pit kits that use pavestone are really easy for a homeowner to install, I assumed this kind of fire pit involving actual masonry would require a professional to build it – in fact everyone we know that has a fire pit like these had them installed by a pro. Of course, because I’m me, I was curious to see if this was something that I could accomplish on my own, so I did a bit of research and discovered that the natural stone fire pits we loved were based on a cast concrete kit like this:
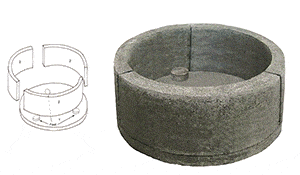
Over this concrete base, a stone veneer is installed. A little more work than stacking the pavestones, but manageable, right? Maybe??? 🙂
The other major part of this project that I am SO excited about is the gravel patio!!
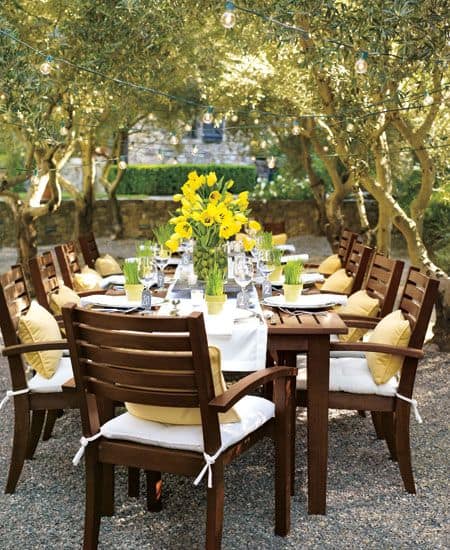
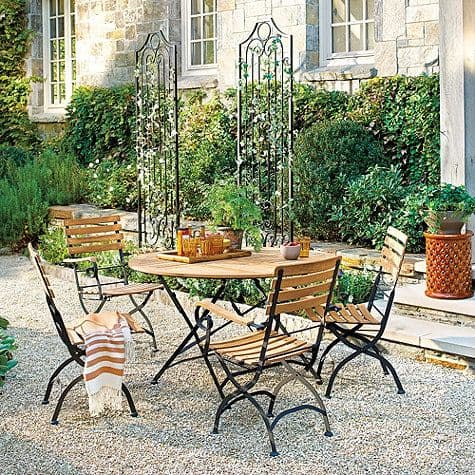
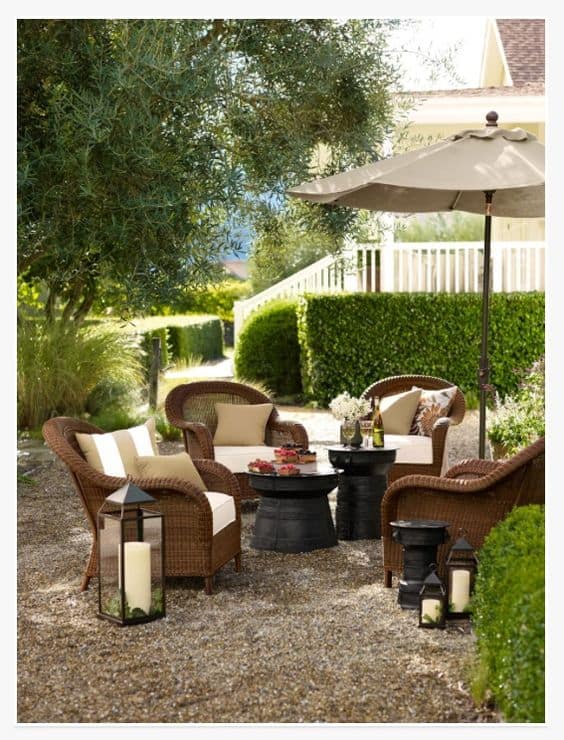 {top to bottom: Pottery Barn | Ballard Designs | Pottery Barn}
Gravel patios can be so beautiful and charming, especially with a border of seagrass, boxwoods or some other hedging that makes the space into an outdoor room.
To create the patio I’ll be removing the stepping stone path, renting a sod-cutter to remove grass (that we have toiled so hard to grow!!), creating a border, and installing layers of landscape fabric, crushed stone and then pea stone or gravel, with the fire pit in the middle.
Our backyard is basically a blank slate since we cleared a bunch of trees out and planted grass when we first moved here (you can see more of our before and afters of our deck and backyard here, it’s crazy what a forest it used to be!)
The gravel patio will be at the bottom of our deck stairs extending out from this little garden where my stepping stone path currently is. (Those windows look into a utility room off our garage where we store paint and whatnot – I tried to talk Mark into transforming it into this but he was all “Settle down Lisa” 🙂)
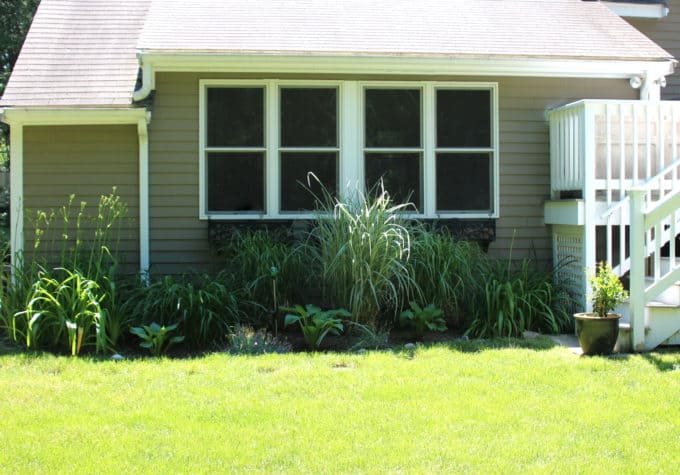
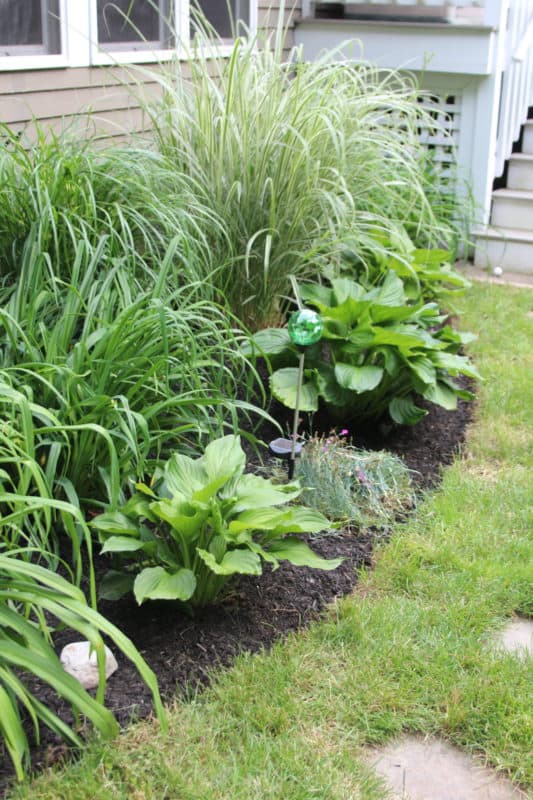
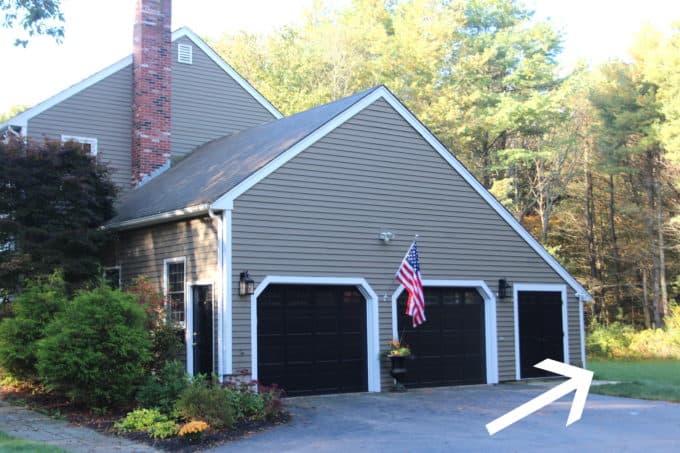
This little space is behind our garage, adjacent to the driveway, where the kids shoot hoops and muck around with their friends. The patio will extend out into the yard to keep the fire pit and stray embers away from the house. One of the benefits of living out in the middle of nowhere is that we have space, so even though the patio will take up some of our existing yard, there will still be plenty of room for tossing a football or frisbee.
Hannah’s sweet sixteen is coming up at the end of this month, so my goal is to have the project complete by then for a party with her friends. Am I crazy???? Yes I am!! But I’m also so excited to start this project and to use our new gravel patio and fire pit space for entertaining!!
I can’t wait to share the DIY process with you and hopefully have a fun new entertaining space by summertime!
For more gorgeous outdoor space inspirations, check out my Outdoor Living Pinterest board here.

Julia@Cuckoo4Design says
How great that you found a local company to partner with for a fire pit. Our portable one is getting old and I’d love to have a more substantial one too.
nancy says
we’ve been wanting to do this in our backyard…i found a firepit on clearance and want to “enclose” it with some sort of stone surround. cant wait to see what you come up with…trust that i will be studying what you do! 🙂
Cristina says
Lots of great ideas and beautiful inspiration for your patio. I’ll be following your work and getting ideas for my own patio makeover.
Vel says
I think you picked the perfect spot for it Lisa, we have a rickety old steel fire pit, so I would love to see what you do! We’re working on a playground set right now for the little one, so that’ll be our summer project for sure! Good luck!
Carol @ CAD INTERIORS says
Love your plans, Lisa! I am so excited to follow this project because I want the same for our severely under-utilized blank backyard. 🙂 We have a similar enclosed space that faces out to our backyard, which I would love to convert into a guest house/entertaining space – just like what you showed Mark. But with so many projects still left in the main part of our home, I have no idea when/if that will ever happen. 🙂