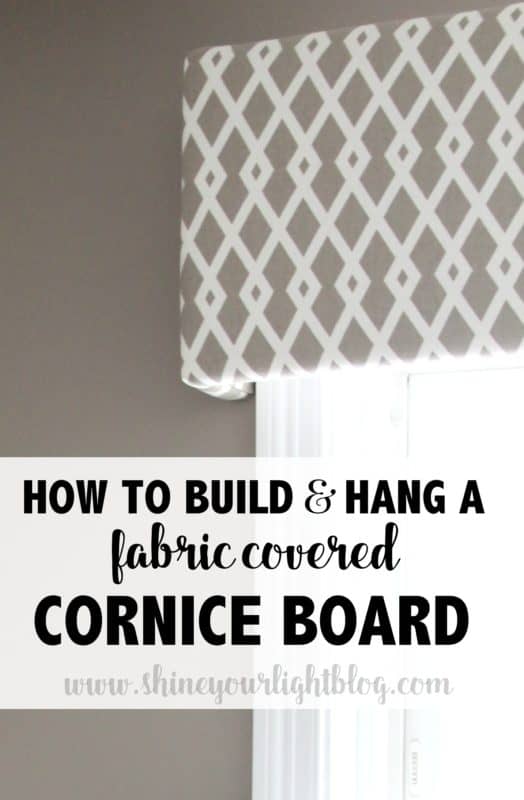
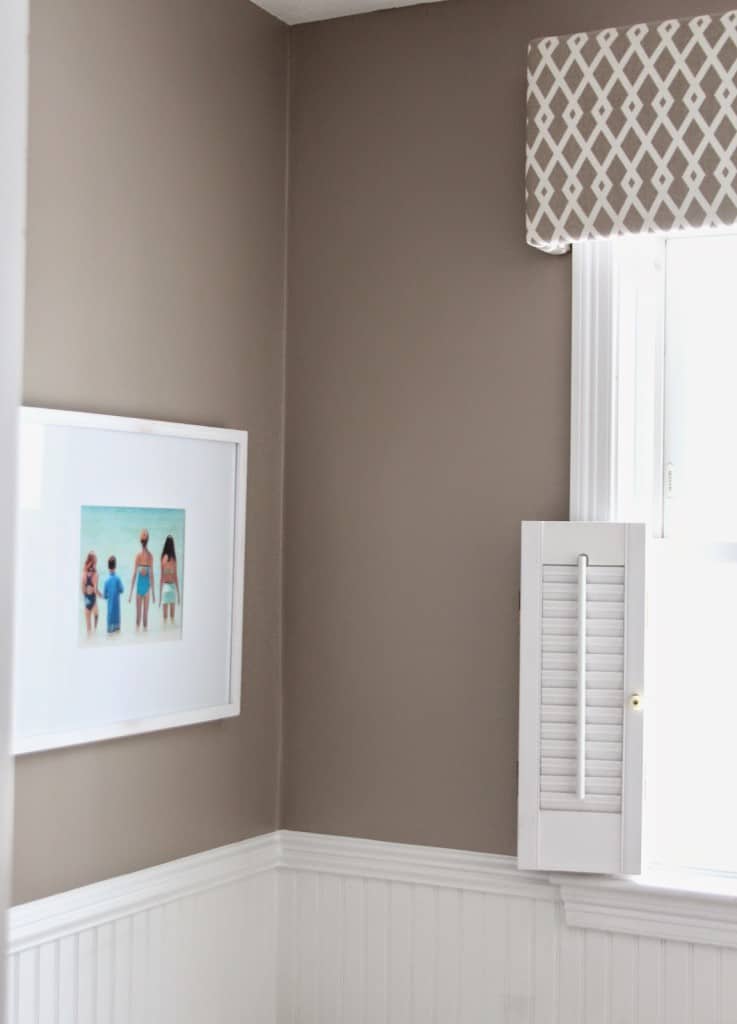
I’ve made cornice boards many times over the years, from both kits that you can purchase at craft stores (for upwards of $30) as well as DIY versions. They are truly quite easy to make, but sometimes hanging them can be a pain in the patootie.
I looked around for hanging options, and in the end I came up with a solution on my own that alleviates the need for a piece of wood across the top of the board (I always found it difficult to hang cornices on L-brackets from those top boards!) This board is basically a wide-U shape without a top piece.
SUPPLIES10″ Wood Board (length depends on size of your window) |


Drill holes for the screws to prevent splitting, and then attach sides to front with 2 or 3 screws per side.
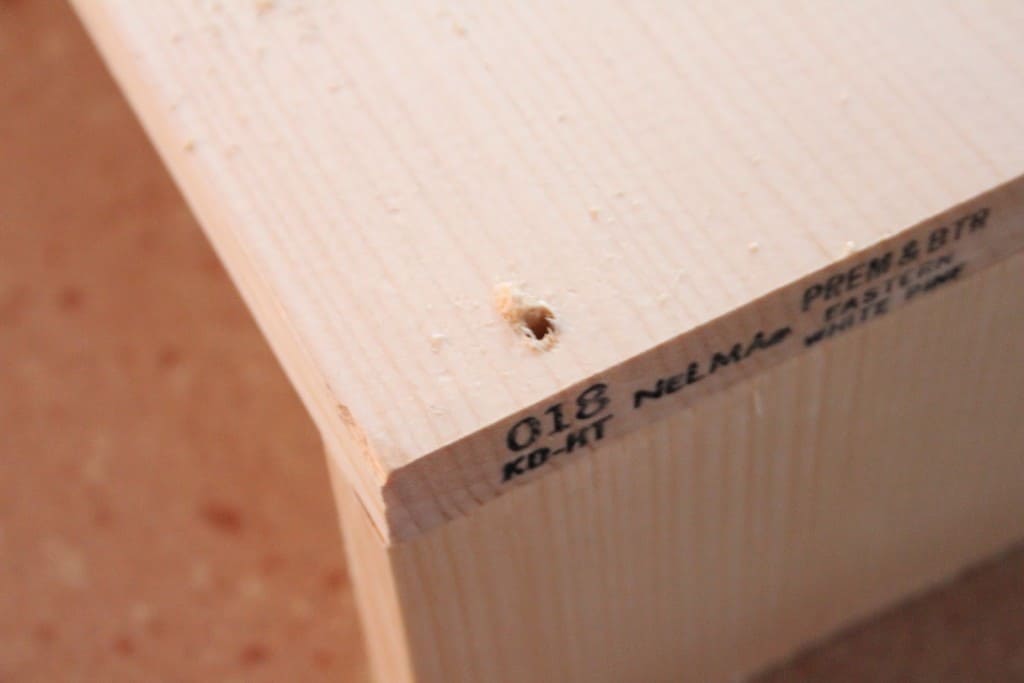

I don’t have photos of covering the board, but really it’s very easy. Keep in mind that the inside of the front piece will not be visible when hung, but the inside of the side pieces WILL be visible, so pay attention to detail there.
Lay the batting on a table, counter or floor and then place the cornice board on top, front side down. Pull the batting to the back and staple, trimming the excess as you go.
Next iron your fabric then lay it out on your work surface and place the board on top of it. Pull the fabric to the back and pick up the board to inspect and make sure it is well positioned. If your fabric has a pattern make sure it is lined up properly. You may want to use chalk on the back of the fabric to mark where the pattern is.
After inspecting and adjusting the fabric, place the board back down on your flat surface. From the long top of the board, pull the fabric to the back and staple in the middle of the board. Continue to pull the fabric and staple every 1″ or so across the top, being conscious of the pattern as you go.
Pull the fabric firmly up from the long bottom of the cornice, and staple in the middle of the back, then continue pulling fairly tightly and stapling, checking frequently that your fabric is still lined up where you want it to be and is smooth on the front. Don’t pull the fabric extremely taut or you will have weird rippling on the front of your cornice board. If any part goes amiss just pull staples out and reposition. Cut excess fabric neatly because you will need it in a bit.
After the long top and bottom have been pulled and stapled, pull your side fabric to the back, starting with the center of one side. Take care at the bottom corners to fold the fabric so that it is not bunched up here. The corners can take a bit of trial and error, just play with one a bit until you get a tidy little fold and then staple on the inside of the board. Don’t worry too much about your top corners, but the bottom corners will be visible once the board is hung so take care with making them neat and inconspicuous.
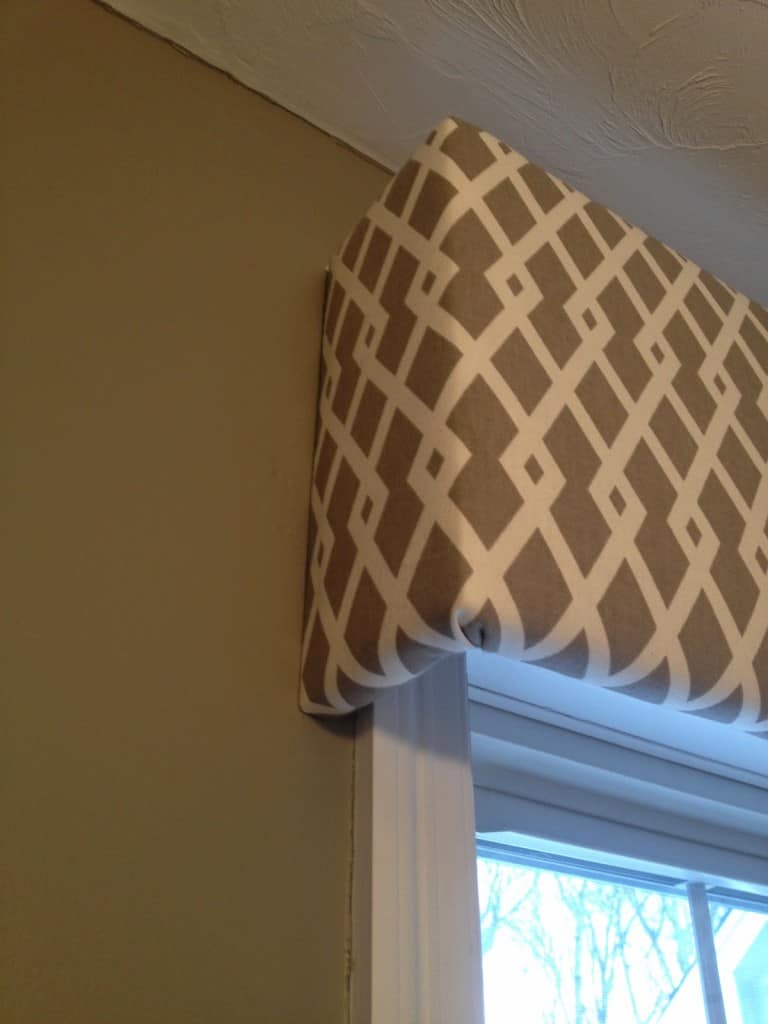
Next up, take scrap fabric and cut it an inch or two longer and wider than the inside side panels. Fold the edges over and hot glue or iron so the fabric piece has finished edges, then use hot glue to attach to the inside side panels neatly. This will cover staples and give the final board a finished look.
If you have any extra scraps you can use this to cover the inside front of the board but it’s not really necessary.

Now the important part!

HOW TO HANG THE CORNICE BOARD
As I mentioned, I have tried different hanging techniques over the years including using D rings on the back of the side pieces. The problem with this: the cornice board does not hang flush with the wall and the D-ring is visible. (Yuck…..I strongly dislike visible hanging hardware! See how I fixed that problem on roll up bamboo shades here.)
I decided to add a small recessed wood block on which to place the D-ring. This way, when the board is hung the end panel is flush with the wall and the finished presentation is much neater. This hanging method worked great!!
These blocks could also be covered with fabric but because they are so high they are not visible once hung.
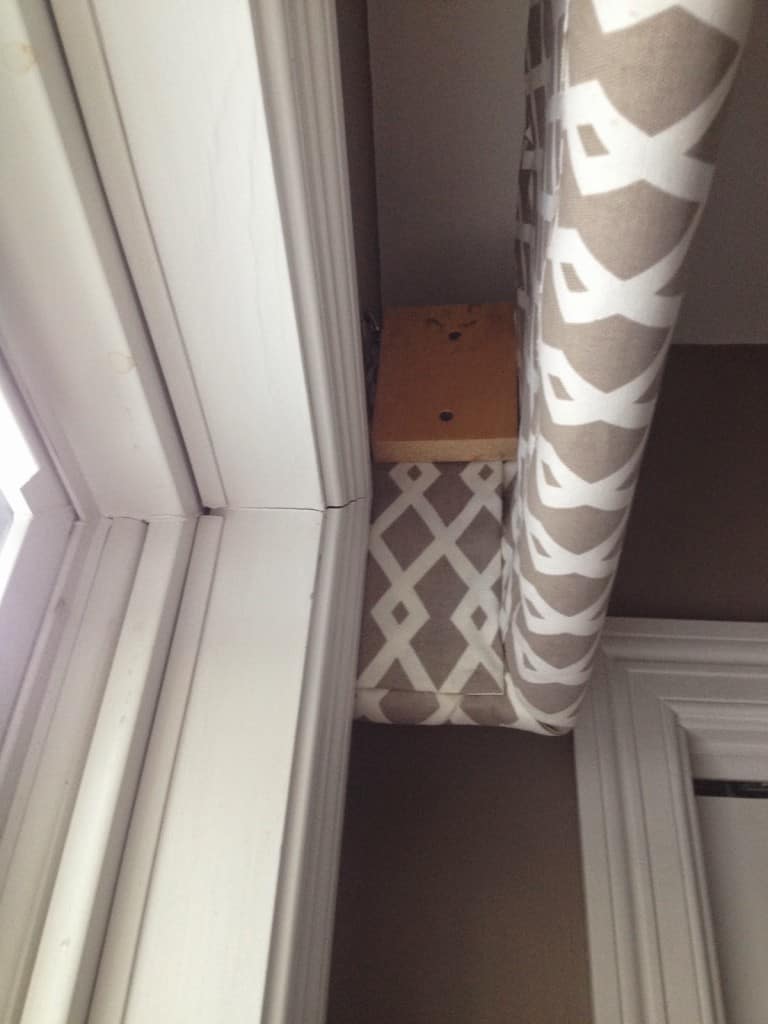
To add the “hanging block”:
The block will sit above the trim of the window, so make sure that with the block installed the cornice board can still fit over the window in the right position (see photo above). You may have to trim your block to fit. The block should be recessed at least a half inch from the back of the side panel.
Screw the blocks into the side panels, taking care to use screws that are not longer than the two pieces of wood together, otherwise the screws will poke through the side fabric.
Next, install a D-ring on the recessed blocks.
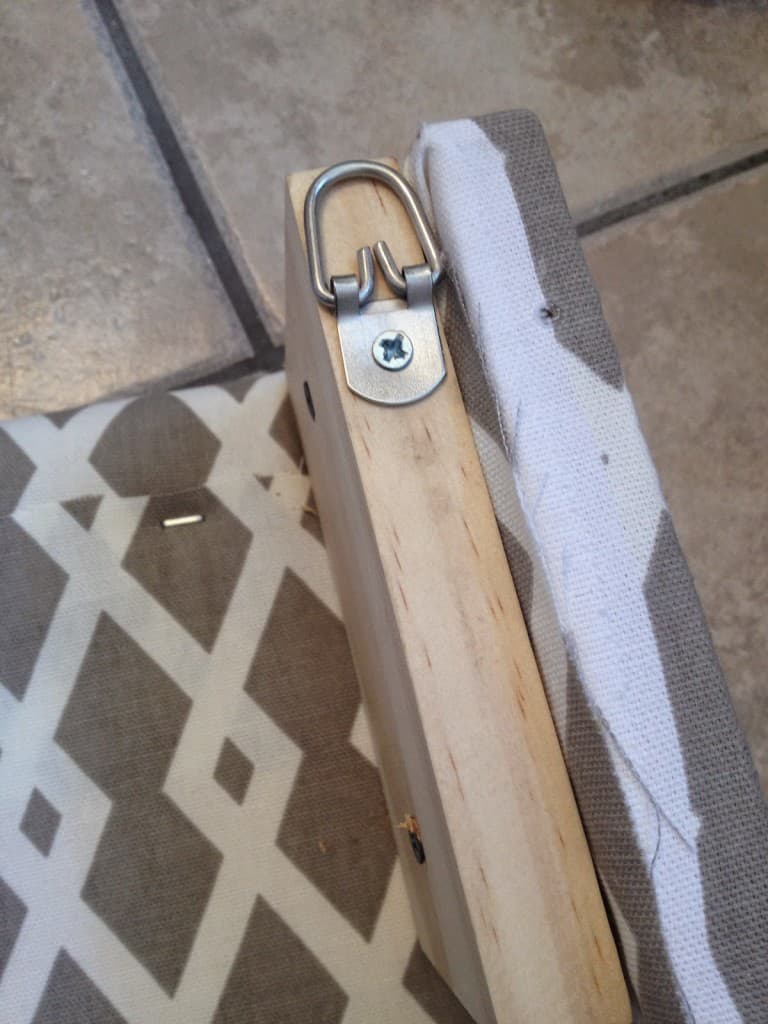
Measure the distance from the D-rings and transfer this measurement to the wall above the window. Place screws on the wall and hang the D-rings on the screws. (You may need to use an anchor if you don’t hit studs.)
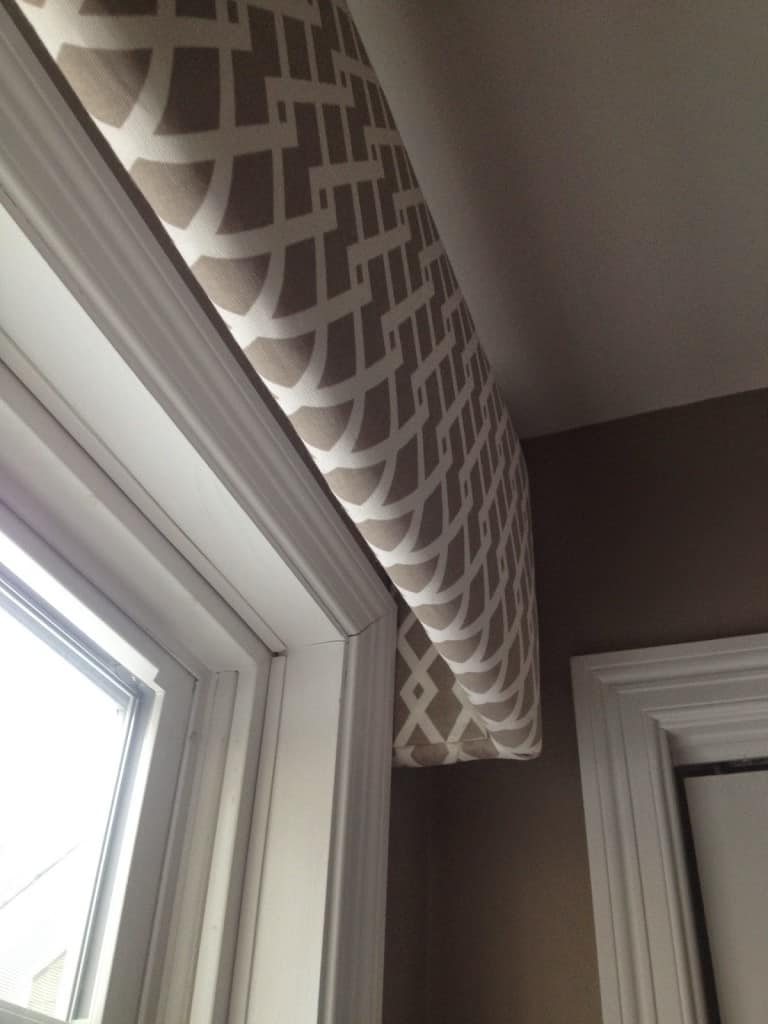
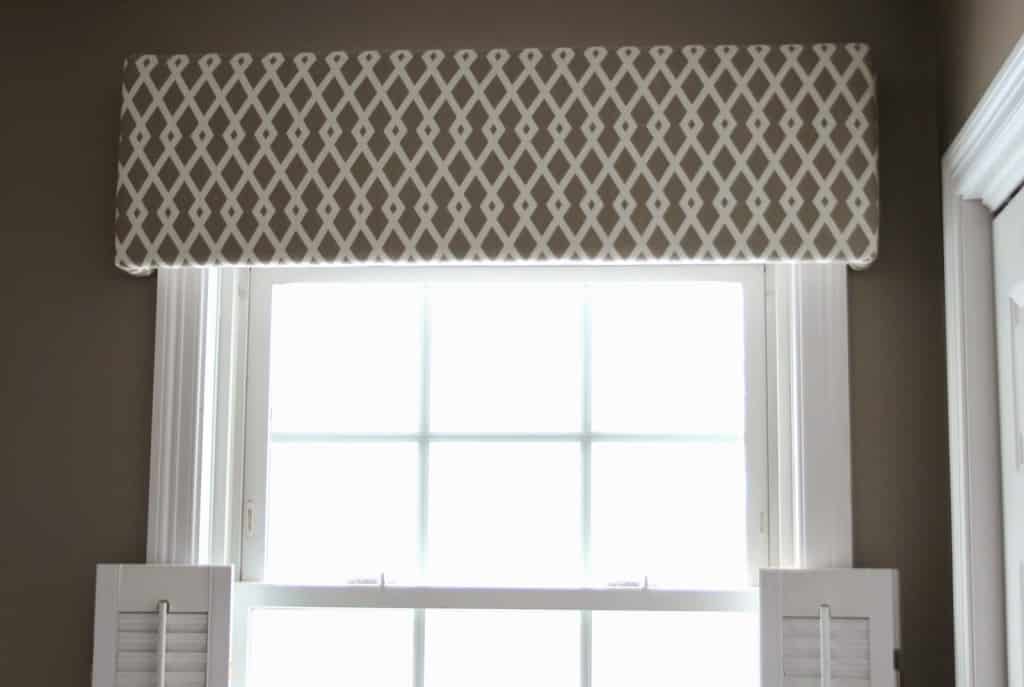
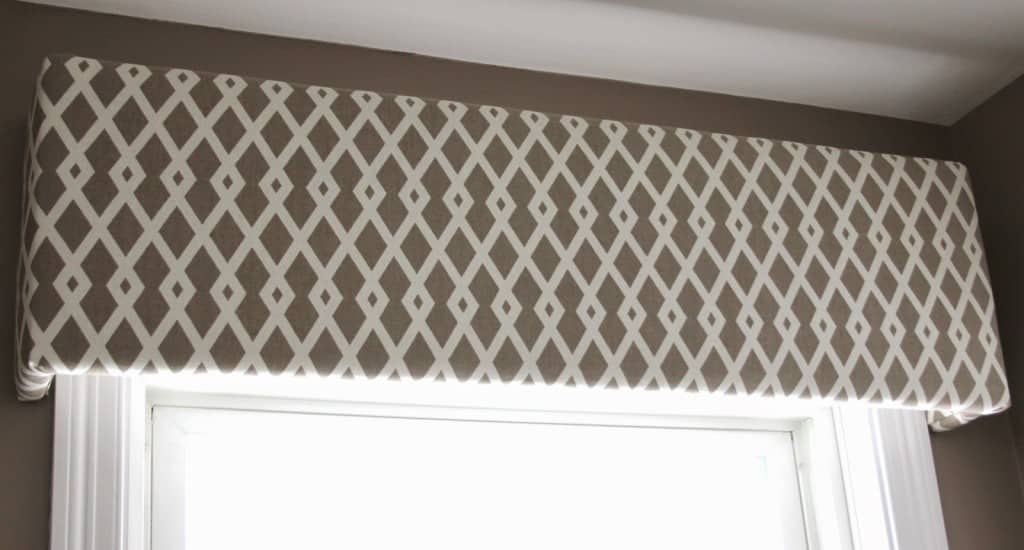
I like the top of the cornice to be in line with the top of the actual window, so it doesn’t block any light and comes down a few inches over the trim on either side.


[Best_Wordpress_Gallery id=”20″ gal_title=”DIY Window Treatments”]

Vel Criste says
Great tutorial Lisa! I've been planning and planning and planning to do this for my kitchen windows and just couldn't find a great tutorial on it! I hope this can get my hubs motivated! Thank you and it looks great!
pam {simple details} says
You smart cookie!! I've always done mine with L-Brackets and you're right it's a pain! Love the peek at your pretty room, too!
Cassie @ Primitive & Proper says
i LOOOOVE me some d-rings! love your cornices, too!
Cassie @ Primitive & Proper says
i LOOOOVE me some d-rings! love your cornices, too!
Kim says
Very clever!! And I also wanted to say I am sorry about your puppy dog. I know what it is like … and yes, life goes on, but I still see my boy out of the corner of my eye in the yard every now and then!
Brenna Morgan says
Looks fantastic! Great job!
Darlene Gemmell says
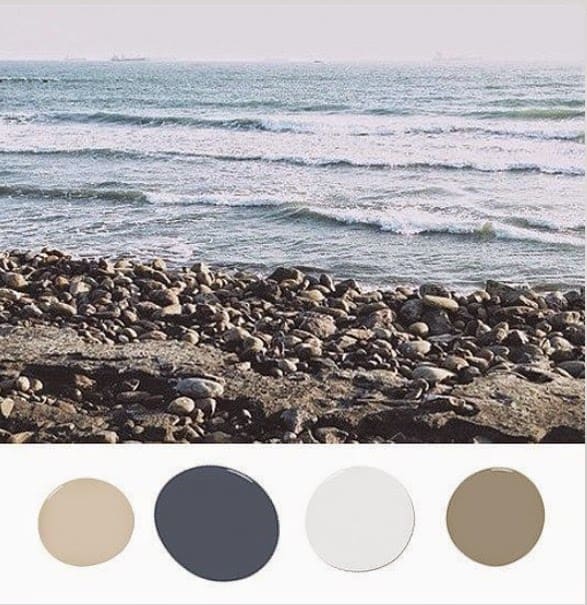
I just LOVE using nature for inspiration – and the sea is a wonderful place to start!!!
Your tutorial is very thorough. I made a similar cornice for my office and it too has geometrical fabric 🙂
http://www.BundleMeBaby.etsy.com
Mila Myk says
I looooove the color!Going for the same palette in my bedroom.
xx
Mila
milaslittlethings.com
[email protected]
Carol Sullivan says
Hi – this is very cool – and I love the D-ring idea! A question: I want to make a cornice over my WIIIIIDE sliding glass doors. Do you think the D-rings will hold a cornice that will be about 10 feet wide? Thanks so much!
Carol
Allie says
Great idea using d-ring for hanging. Can I ask, using d-ring will cornice lay flat to wall. Thanks
Lisa says
Hi Allie, yes! Because the little piece that the D-ring is attached to is recessed a little bit, it allows the side of the cornice board to lay flat to the wall!
Lou Ann spedoske says
I would like to know where to get that material that you made the cornice valance that was a geometric dark beige and white? I love it !
Lisa says
Hi Lou Ann! That fabric is Waverly Ellis and I found it at Jo-Ann Fabric. My local one still has it in stock but I couldn’t find this color online to share a link with you. There is a color called “Hemp” that is a warmer gold/beige – this one is definitely more taupe/grey. Hope you can find it! 🙂
Lisa hect says
Hi there, my window is quite long. A d ring on either end will not suffice. It’s 15 feet long! Suggestions for mounting?!!
Lisa says
Hi Lisa, in that case I think running a board across the top, fitting it between the sides like a box that is open on the bottom and back might work. You could recess it a bit and use small D-rings on the sides and in a couple spots across the top.
Julie Ann says
I just made one of these for my bathroom window using these directions and it came out beautifully! I already had some wood so the whole thing only cost me $21 to make. I wish the corner folding instructions were a little more detailed because that was the most difficult part to get right. Too bad there isn’t a way to post photos in the comments – I’d love to share my results to show other just how easy and beautiful this is!
Lisa says
Glad your cornice came out well Julie Ann!
Letti says
You are awesome, Lisa! Thanks for sharing your expertise with us! I’m doing my kitchen windows today!
LOVE the D-ring improvement–way to think outside the box!
Lisa says
So happy you found something useful here Letti! Thank you for your very kind comment! 🙂
Colette says
Hi. Just wanted to say “Thank you” for share these instructions. Yesterday after locating a Home Depot to cut the board, I made the cornice board for my craft/virtual school room. It turned out so well my husband, my husband lost his train of thought when he saw it 🤣 hanging in the room. I’m very happy with it. So thank you very much and it saved me a lot of money DIY vs. someone making a custom piece in a workroom.
Michele says
I am NOT crafty, but was able to follow your directions to make a lovely cornice for our new media room. Thank you for sharing your great design!
Lisa says
Oh I’m so glad Michelle! Hope you love them!
Brenda says
Lisa, thanks so much for your instructions on making a cornice board. They are so easy and informative. I’ve had friends make me some from Styrofoam. I didn’t realize something as light weight as cardboard can be used. I’m in a wheelchair, and didn’t help with the styafoam, but I know I can do these with little or no help. I was afraid I’d break the Styrofoam, but you can’t break cardboard, on bend. Lol. Nothing permanent. I’m So anxious to get started!!
Thanks so much, and your Cornice board looks great. Good job.
Constance Galati. says
Thank you fir one of the simple, easy and clean cut way of doing this!
bill the handyman says
i think those look out of date. the in thing is to use blinds with the hidden strings
Lisa says
A lot of people still like the look of cornice boards but I agree blinds are very popular too!
sharon a saunders says
Thank you so much for this detailed tutorial!! I have seen many and yours so far is the best!
Lisa says
So glad you found this tutorial helpful Sharon! Thanks for your kind comment!
Lynne says
do you use drapery fabric or will any kind of fabric work?
Lisa says
For this project any fabric that is not sheer should work well, I don’t think it has be to be drapery weight.
Sheryl Kemble says
Nicely done! I like your ideas. I have made cornices in the past but will revise how I do it with your ideas. Thank you!
Leanne says
Thanks so much for this! I was not looking forward to covering my indoor cornice boxes and now I am confident!
Lisa says
Glad you found this tutorial useful Leanne!
Jerry says
Hi! Just what I’ve been looking for. Especially love the hanging board idea and will give it a try. Thanks for the detailed steps!!! Perfect!
Leslie Smith says
How did you decide how much of the window to cover? I am trying to figure out the size for my windows.
Lisa says
I like to expose as much of the window as possible so I hung this cornice board to just cover the top trim of the window.
Amanda says
This has been one of the most informative descriptions of pelmet making n hanging, with no nonsense talk.
Thank you.
Stephanie says
Hi! I was wondering, when you screwed the wood blocks for the d rings to the back of each side on the cornice, how did you prevent the screws from twisting and ripping the fabric underneath them?
Lisa says
Hi Stephanie, you can hammer a small nail through the fabric to make a pilot hole before screwing into the block.