
SUPPLIES

PHOTO
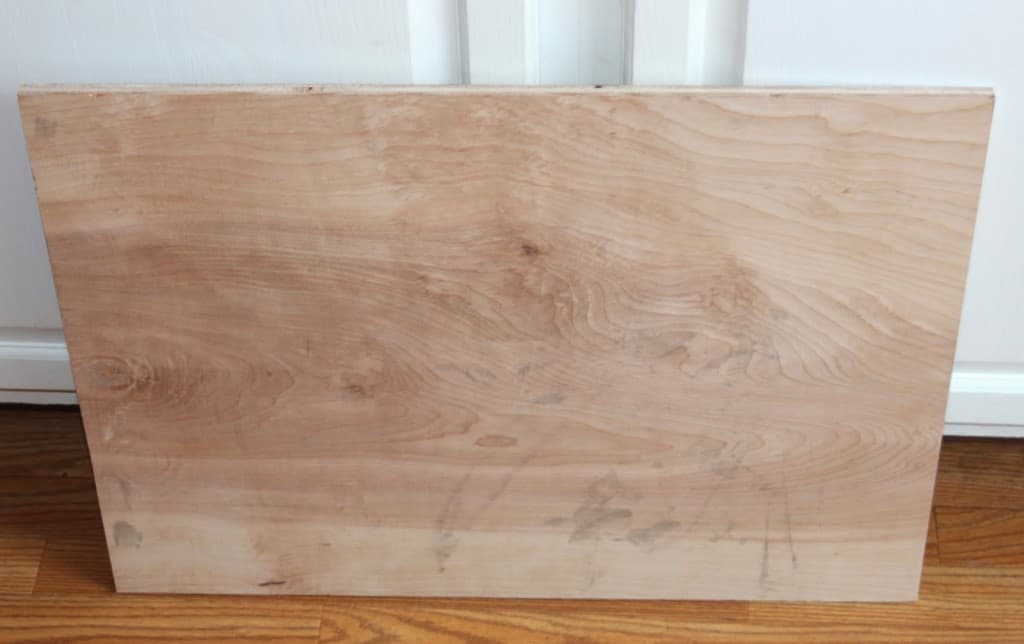
WOOD
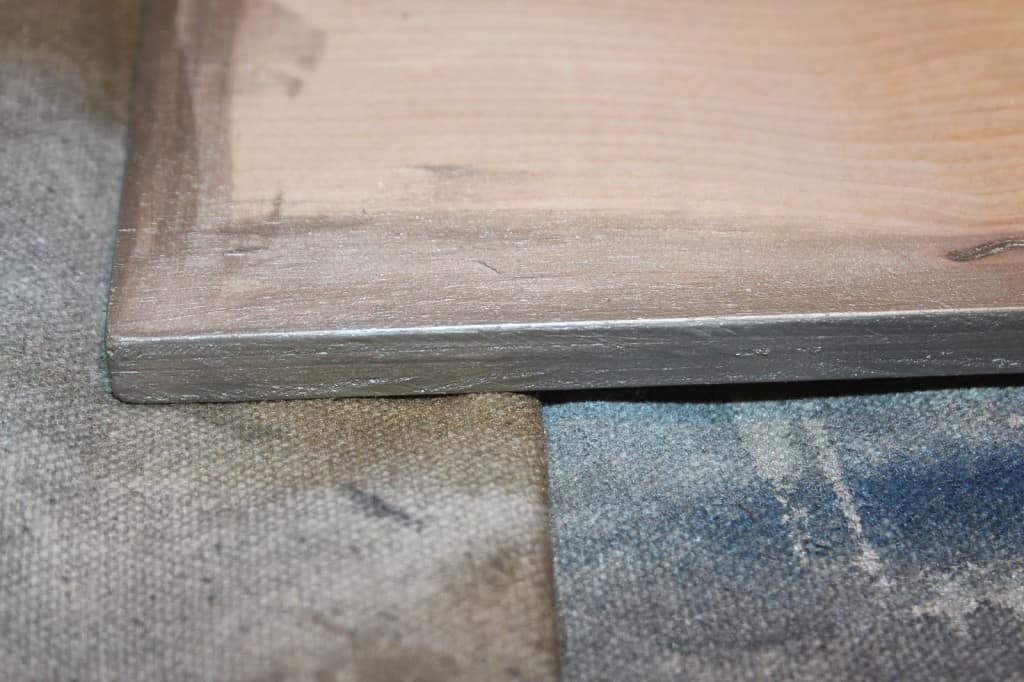
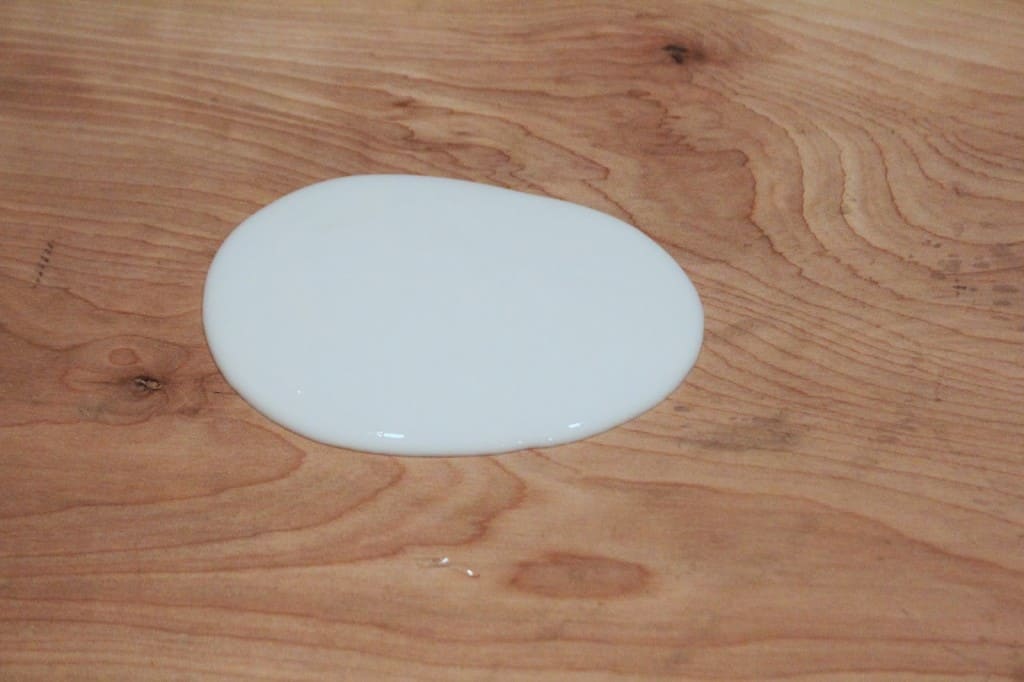
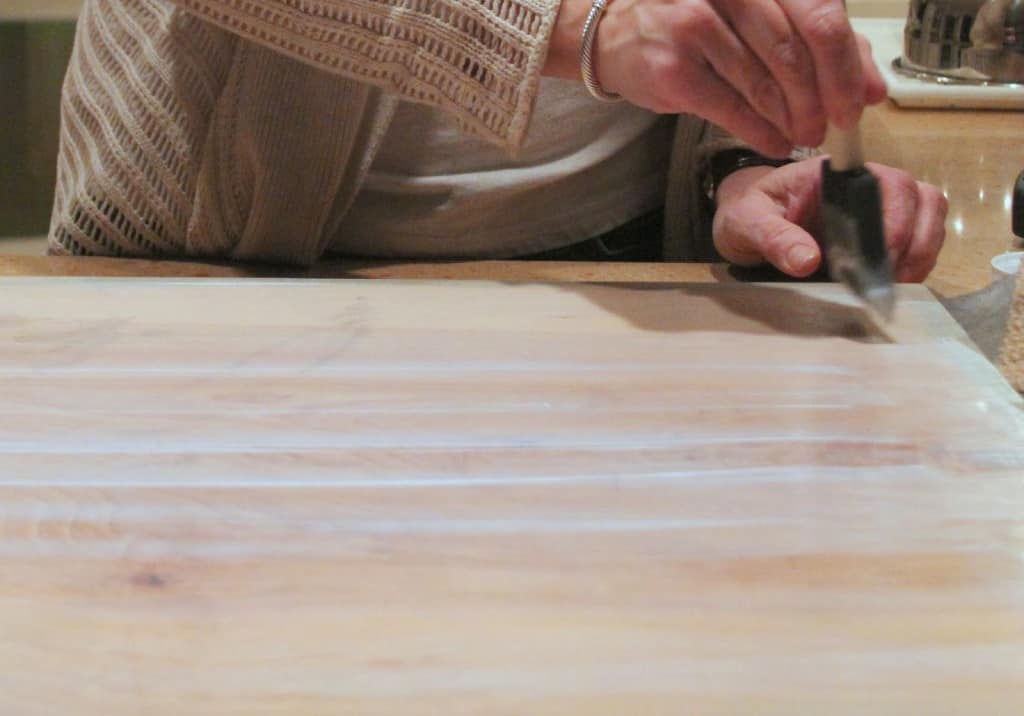
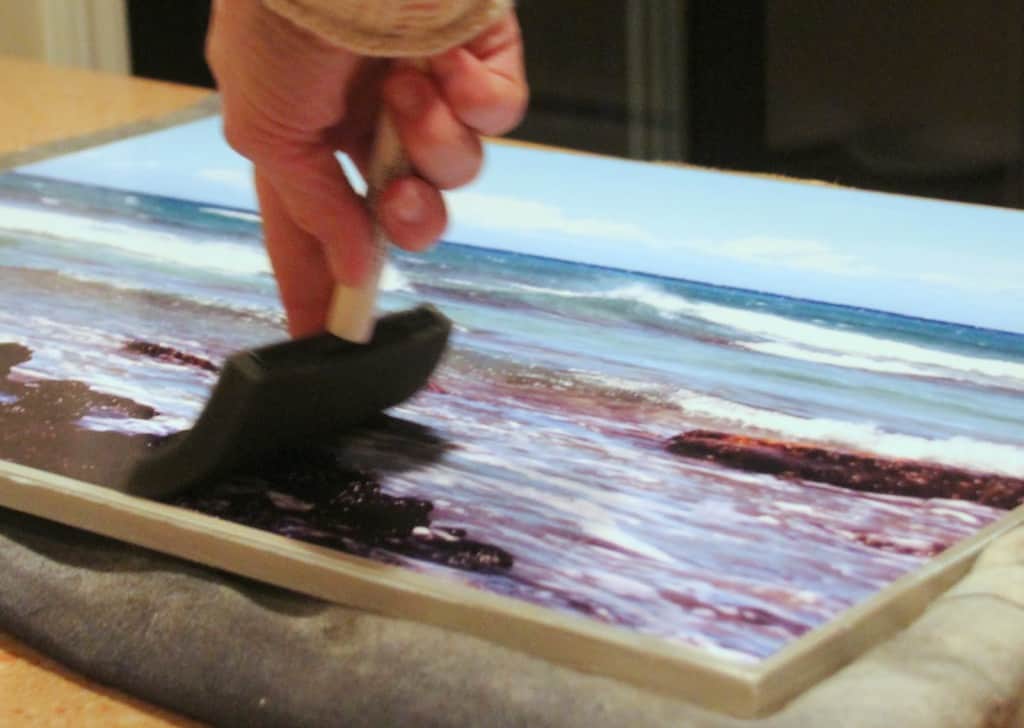
-A tip to help you spread that final layer of Mod Podge on top of the photo – have a bowl of water and paper towel nearby. When the Mod Podge starts to cure and gets more difficult to spread, dampen your brush a tiny bit – it will give you a few more minutes of work time. However, keep in mind that texture is a good thing – it will give your photo depth and make the light bounce off of it in interesting ways when you look at it up close.

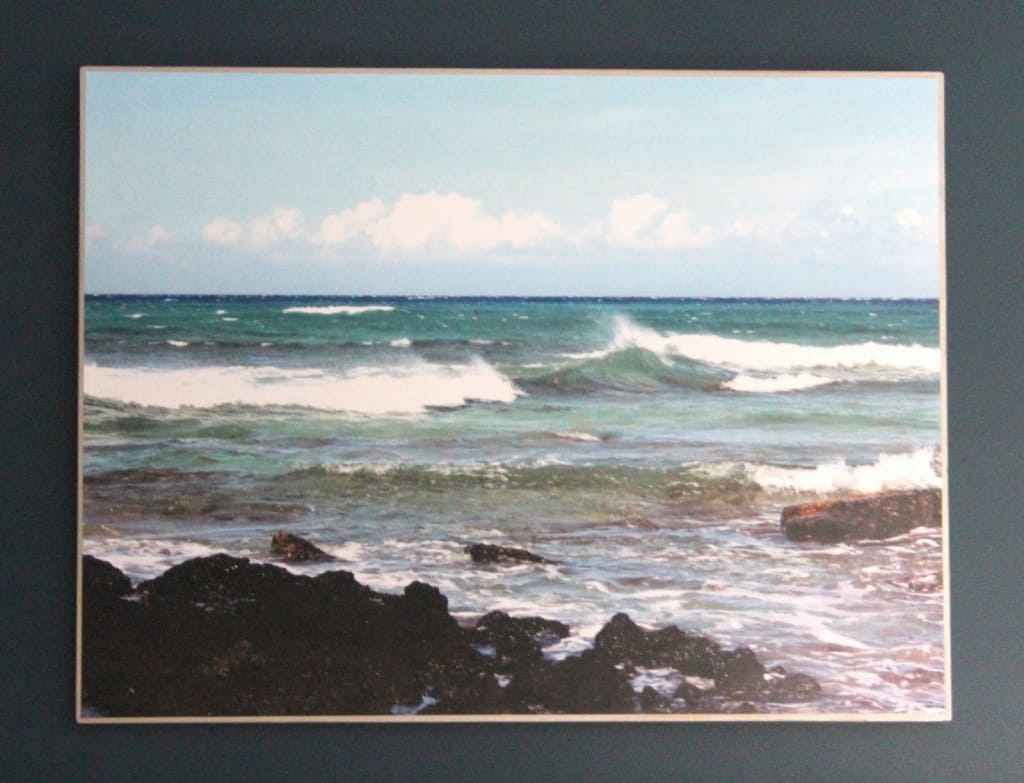
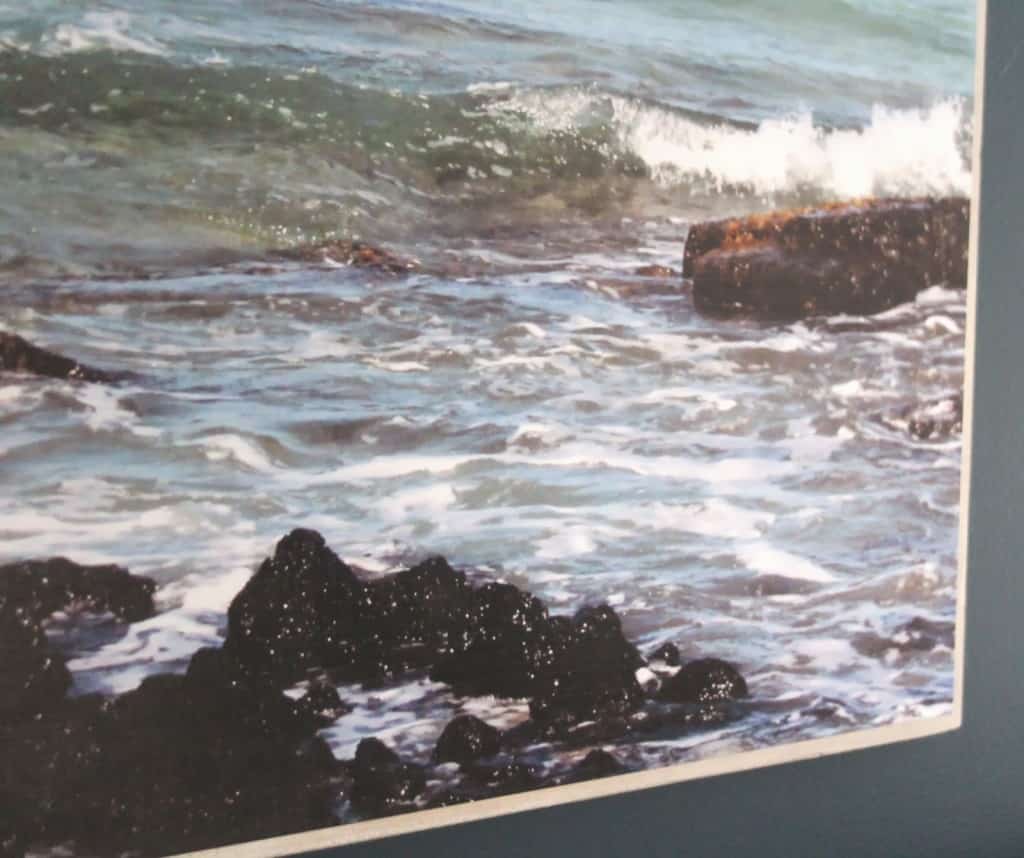
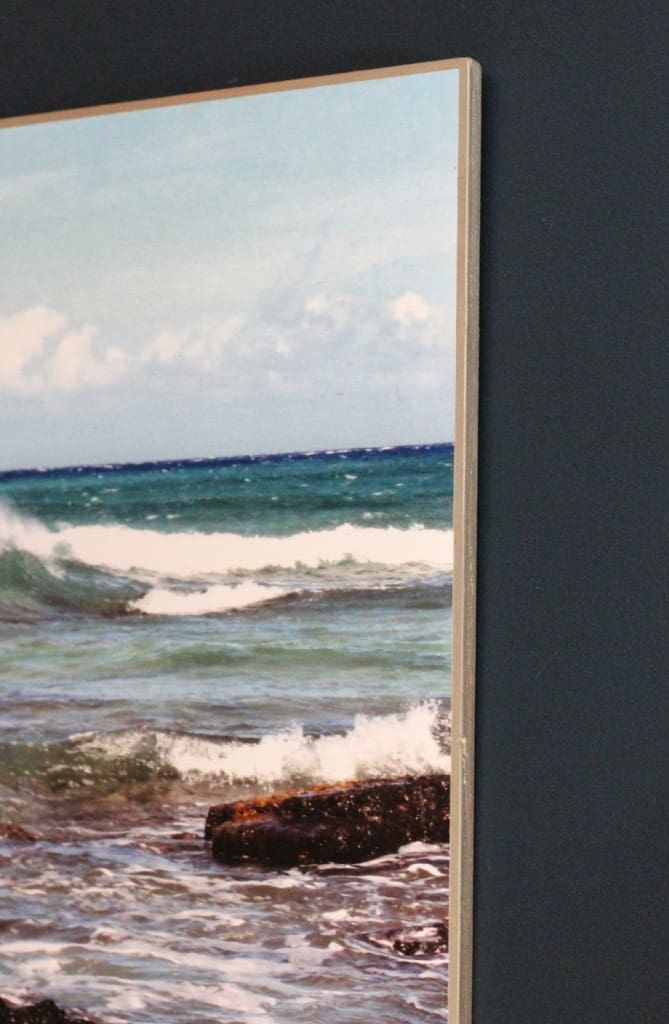
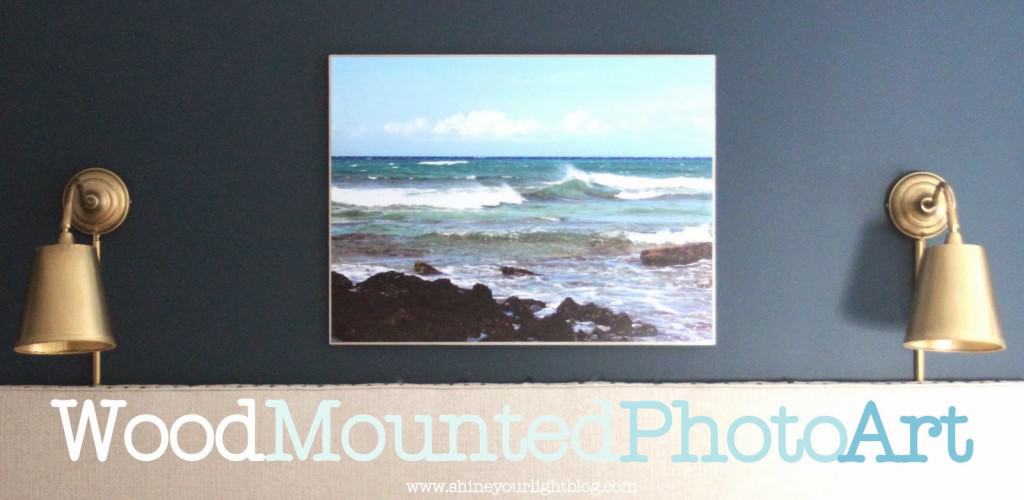
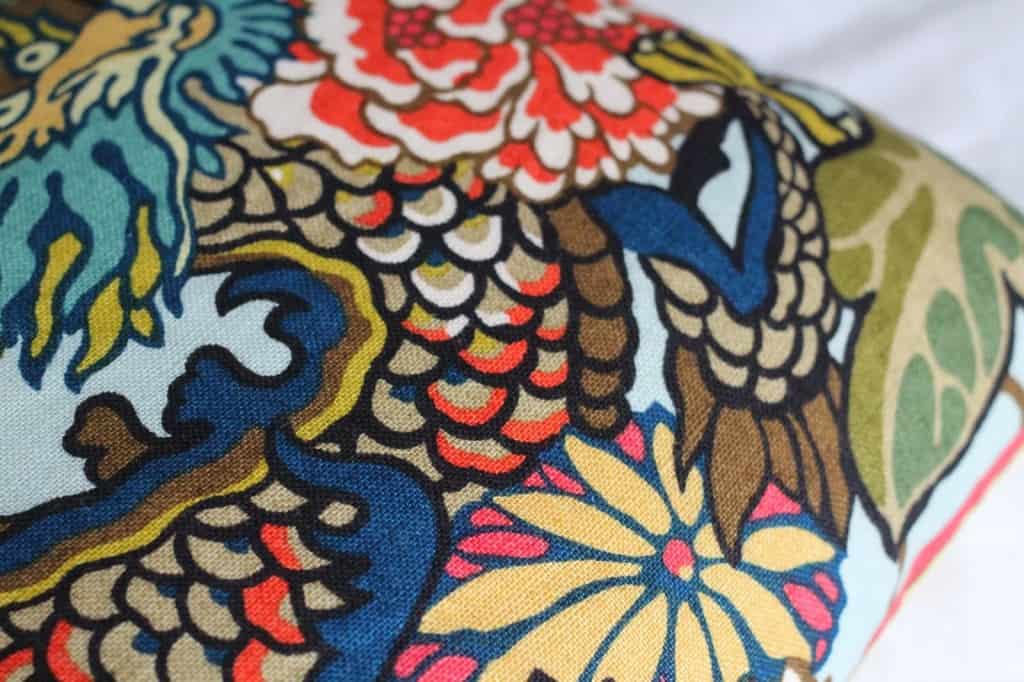
The colors in the water reminded me of my Aquamarine Chiang Mai dragon pillow that was in my living room. I don’t know if I’ll keep it up here but it’s a fun pop of color for the winter.
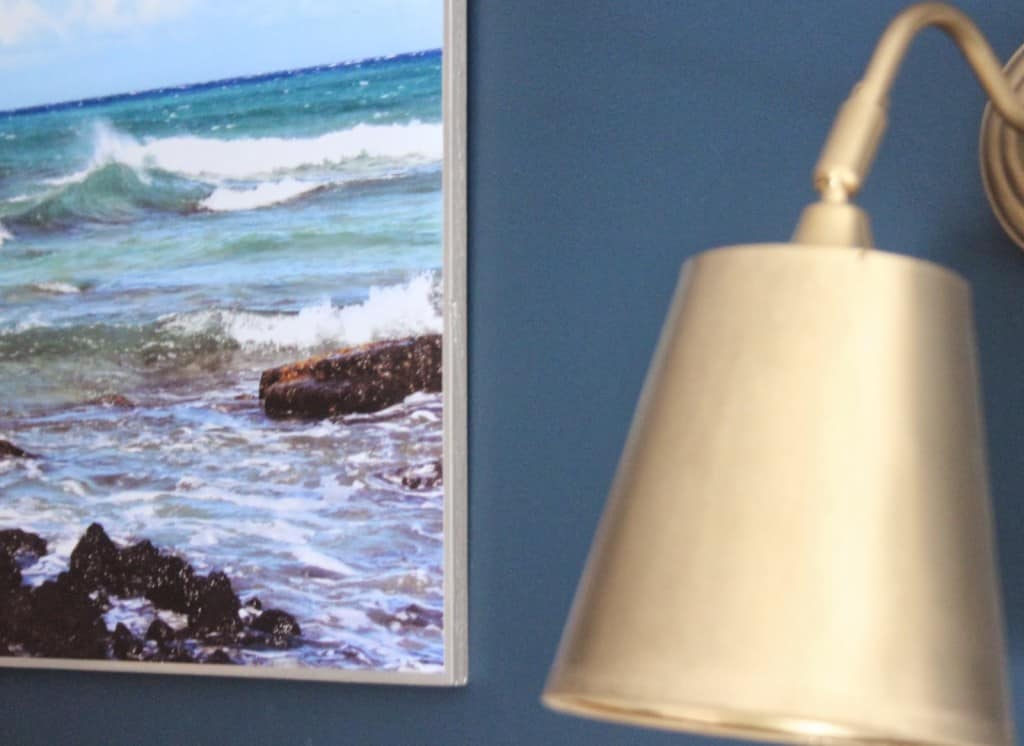
After saving and planning for years, I’m crazy grateful that we were able to go on that adventure to Hawaii and make one of our dreams a reality. Looking at this photo every day reminds me – even when my house is a mess, the bills need to be paid, the kids are being challenging, and I’m grumpy – how incredibly blessed I am!
Art that is easy, inexpensive and special – what could be better?
For another fun photo + Mod Podge project, check out this post on tracing paper and tissue paper canvas art.
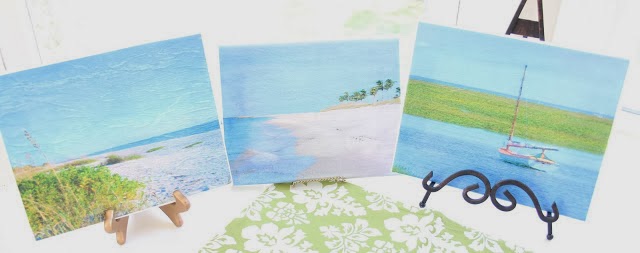
While Staples is running their 50% off sale I’m off to make another masterpiece. And if you make wood mounted photo art send me a photo – I’d love to see it!
Have a wonderful day my friends.

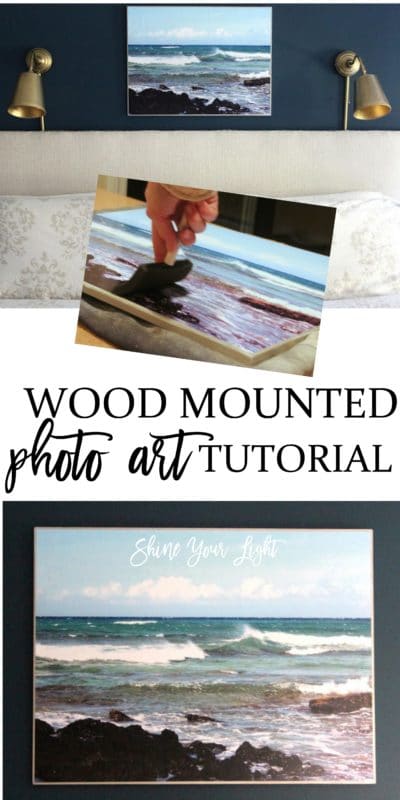
Pin for later!

Kris @ Driven by Décor says
Can I have some of that DIY mojo that you've got going on?? Love your new artwork and so clever how you did it for such little $$ – the perfect thing to wake up to every morning!
Kim @ Plumberry Pie says
Everything looks fantastic! Loving what you got going on in there.
Calypso In The Country says
Great job Lisa! I love how it turned out and I love that Staples has such good prices for those!
-Shelley
Val says
I love this project and I need to start be creative. You're amazing.
stephanie at Stephanie Kraus Designs says
Love this idea. All I need is the wood but I'm stuck inside with this nasty snowstorm! anyway – please explain d ring and how to attach! Would love to replicate!! thanks!
stephanie at Stephanie Kraus Designs says
Love this idea. All I need is the wood but I'm stuck inside with this nasty snowstorm! anyway – please explain d ring and how to attach! Would love to replicate!! thanks!
Vel Criste says
I actually thought that art was store-bought! Fabulous Lisa, I really have to try your technique someday!!!!! Glad your enjoying your room even more dear and yes, you are blessed indeed!
Cassie @ Primitive & Proper says
it looks so good! i noticed it yesterday and wondered! 🙂
Dana Frieling says
What a gorgeous shot, Lisa! So glad it climbed out of the camera and found its rightful spot in your room.
Kim says
Love it … great DIY and looks so good! We are all so blessed and Nice to have something to remind you every day! xo
pam {simple details} says
It couldn't be more perfect than to have a beautiful reminder of your family's memorable trip! I agree, better than any home improvement you would have spent the $ on! Btw, everything looks so great against that rich wall color!
Tiffany says
Wow, you're on fire lately! Love this. So pretty against your walls.
Tiffany says
Wow, you're on fire lately! Love this. So pretty against your walls.
Privet and Holly says
Beautiful! I was just thinking
today that I want to enlarge one
of my own beach photos for my
bathroom, which has sort of a
lake/ocean theme. It's so nice
to bring a favorite memory into
a personal area where a lot of
time is spent and where it will
be seen and appreciated daily.
Thanks again for the inspiration,
Lisa!
xo Suzanne
Jennifer @ Dimples and Tangles says
That looks REALLY fantastic, Lisa! I've done something similar several times but your method is a little bit different. I'll try it next time! I think that's the perfect choice for your wall.
Ashley Jo says
This looks amazing! And I agree, I love how the extra wood frames out the picture. What an amazing job.