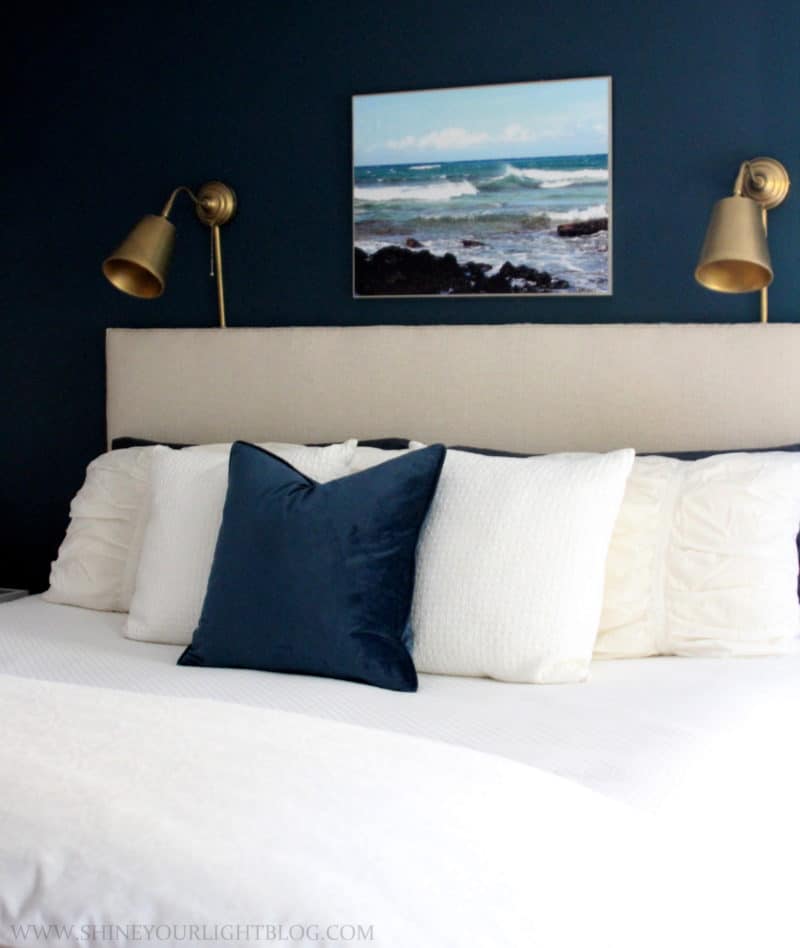
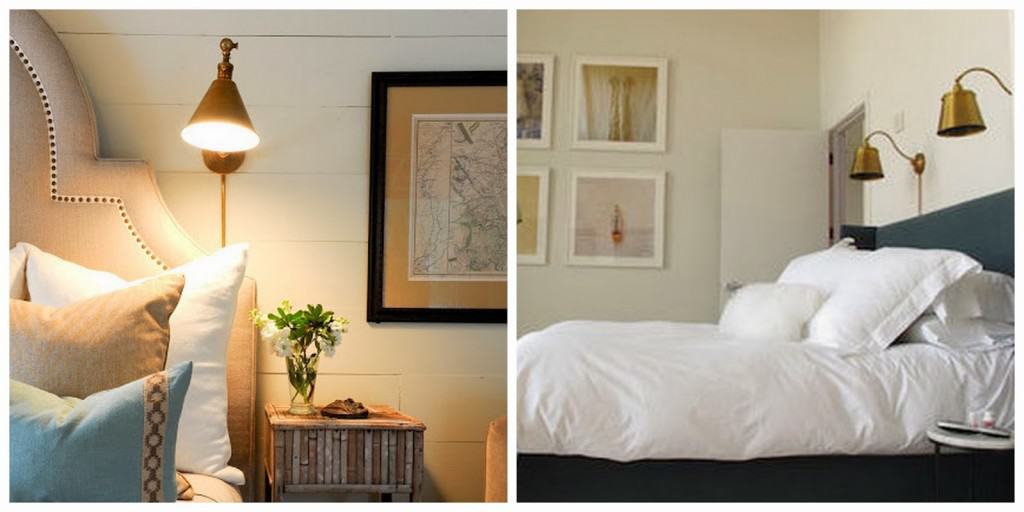
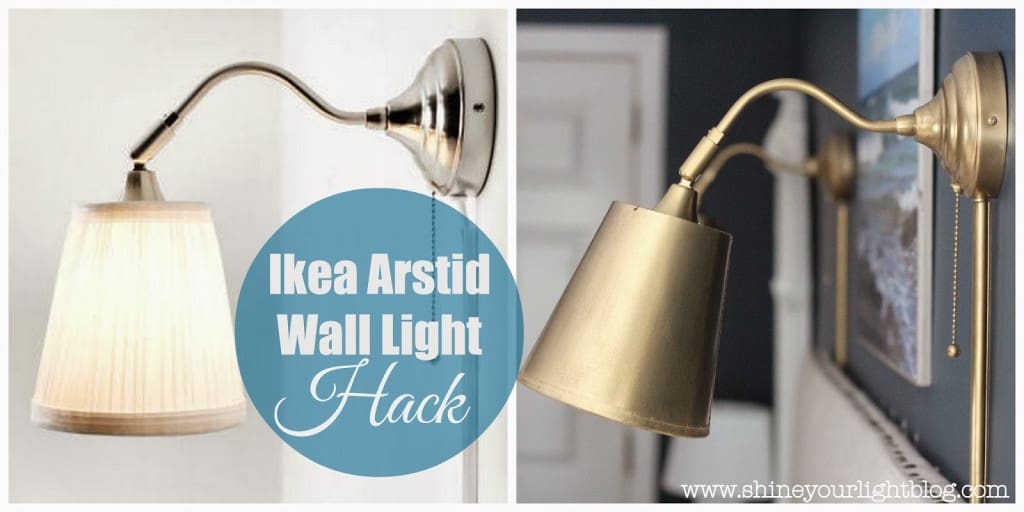
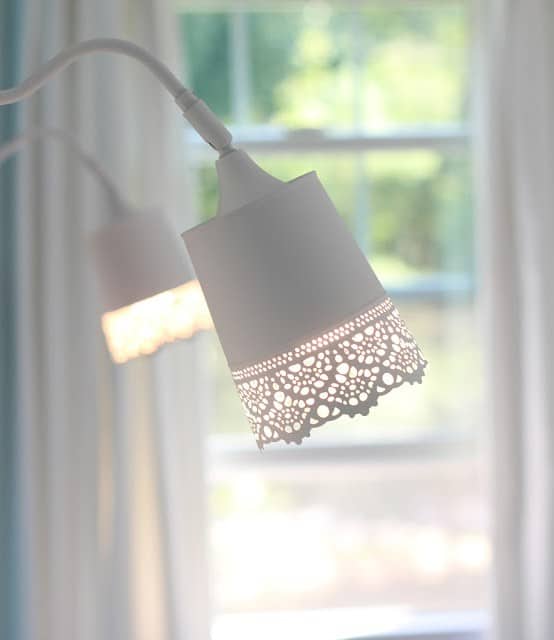
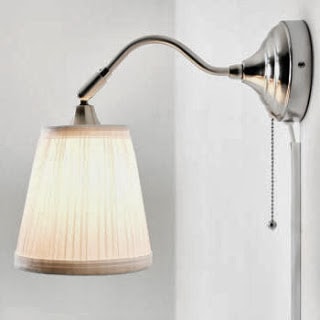
The gooseneck of the Arstid is similar to the Shades of Light sconce, and I thought the lampshade that came with it could possibly be reworked. At the time I did this project the Arstid only came in this silver finish but now Ikea also sells the same light in a brass finish so all you need to do is revamp the shade!

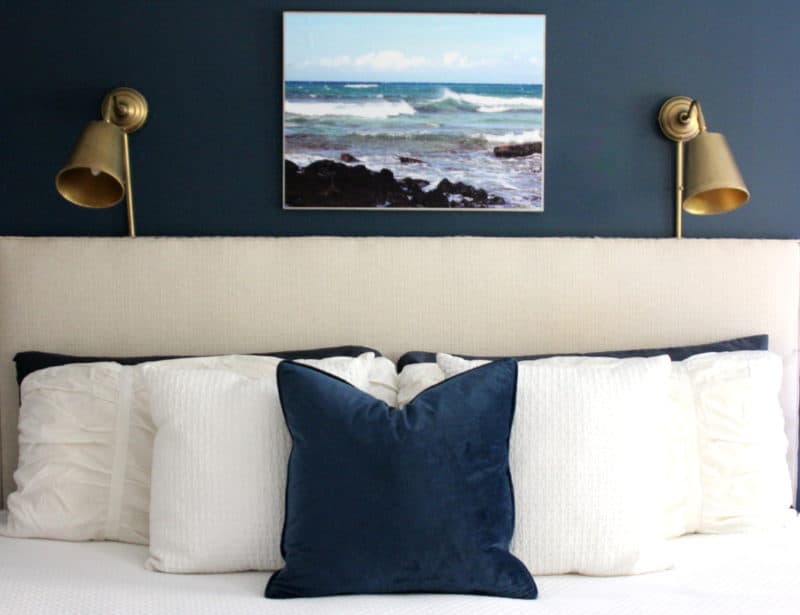
IKEA WALL LIGHT HACK – HOW TO APPLY AN ANTIQUE BRASS FINISH

Start by removing the fabric from the shade. Work carefully so you don’t dent the plastic shade base.
Some of tape that holds the fabric on at the top and bottom is stitched at the seam – after clipping the stitches it’s easy to remove the fabric tape and material. The plastic shade base is attached to the inner metal frame with stitches also, so be careful not to clip those stitches.
After removing the fabric from the shade base, a bit of adhesive residue remains at the top, and a lot at the bottom. Goo Gone on a paper towel will take off the bit at the top, but is impossible to remove entirely from the bottom of the shade. The photo on the left below shows how apparent the adhesive is after being spray painted, so I went to plan B – cover up the adhesive at the bottom of the shade with painter’s tape.
Place a long piece of painter’s tape on your work surface and slice in half with a utility blade so the strip of tape is only about 1/2″ wide, then place it over the adhesive and wrap it over the edge of the shade. Use your thumb nail to smooth out any wrinkles. This gives the edge of the shade a more finished look when painted.

Next, spray paint. If you didn’t score Ikea’s brass Arstid and are painting the body of the light, cover the lightbulb socket with painter’s tape before spraying all the components with several light coats. Make sure to spray your shade’s inside as well as out. Hold your shade over a lightbulb to see if you have given it good all over coverage, otherwise when you turn on the light you will see imperfections.

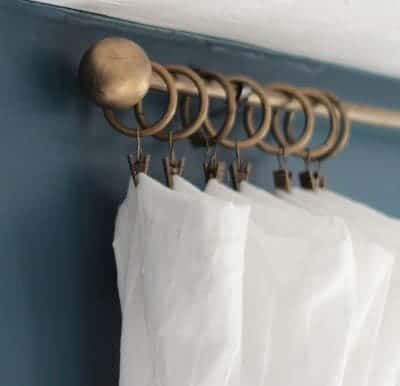
“Antique” the gold finish. After everything was dry, I gave all the pieces an antique brass finish like I did on the ping pong ball curtain rods. A tiny bit of black acrylic paint is all you need to tone down the bright gold of the spray paint (right) and give it a little more dimension (left).
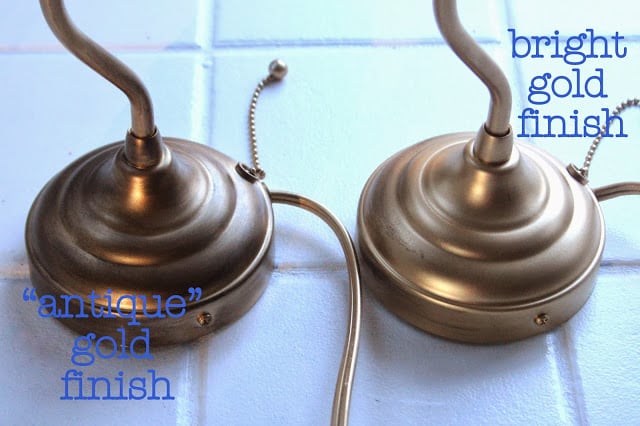
To apply the black paint, wet a paper towel and ring it out so it is just a bit damp, then dab the paint on it. The dampness gives you more time to rub the paint on and then off the piece. This is especially useful for applying acrylic paint onto a painted metal surface (like the wall lamp base). On metal too much water makes the paint sit on the surface of metal in little droplets, so jump a slightly damp paper towel is all you need to make the paint easier to work with but not so thin that it won’t stick to the surface.
Wipe the paint onto the piece, and then wipe off to leave a sheer residue of the black over the gold spray paint.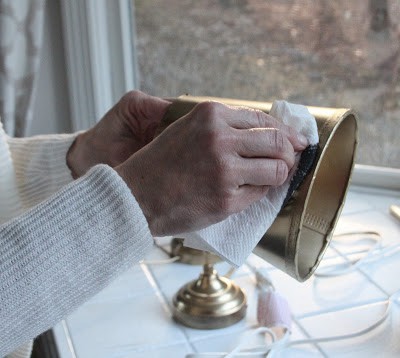
Note: the paint really clung to the tape at the bottom of the shade, and was near impossible to remove. I ended up respraying one shade, letting it dry, and then went VERY LIGHTLY on the tape.

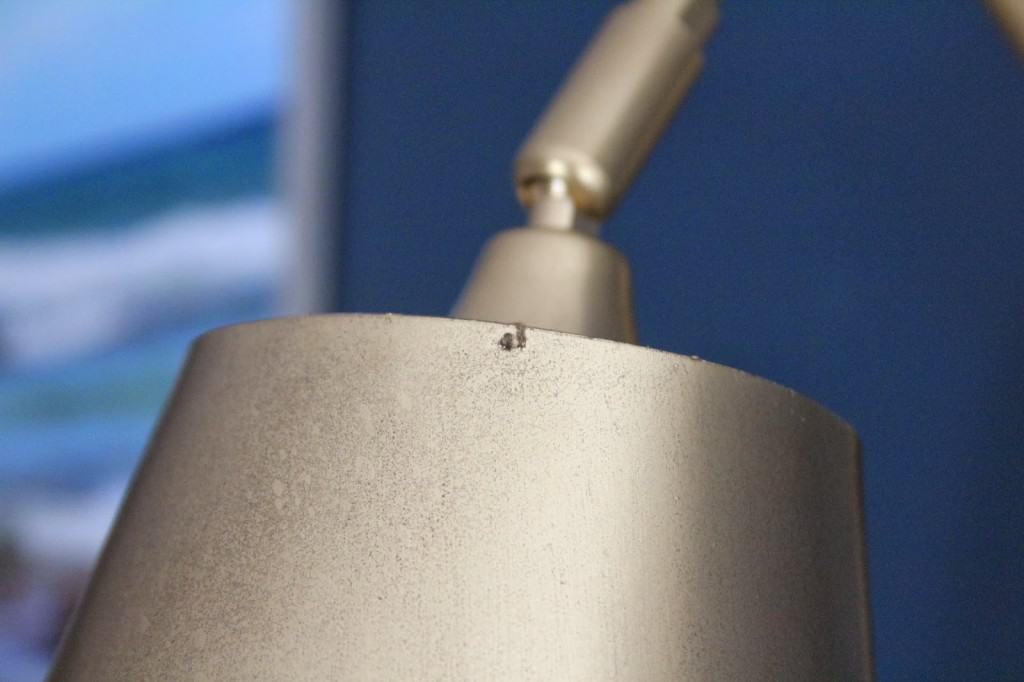
The 3 little stitches that hold the plastic lampshade base to the metal frame at the top are still visible after painting the shades. I thought this, along with the visible tape at the bottom of the shade, would bother me, but once the lights are mounted to the wall those imperfections are barely noticeable.


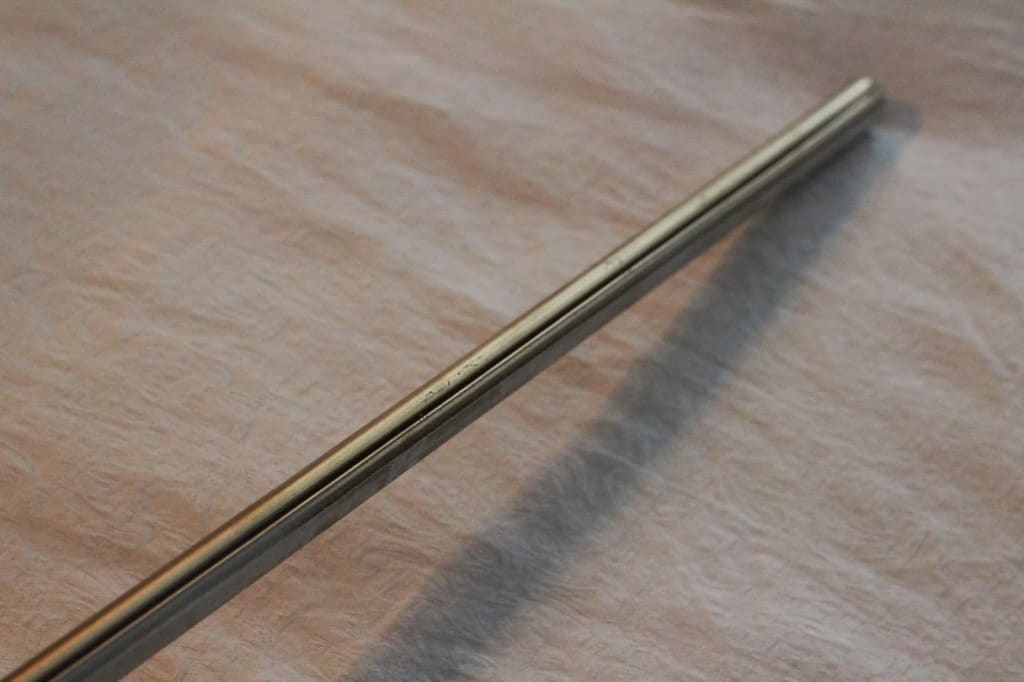
Install the cord cover. I used an inexpensive plastic cord cover with an adhesive back that I spraypainted along with the light components. For an upgrade you could use a real brass cord cover.
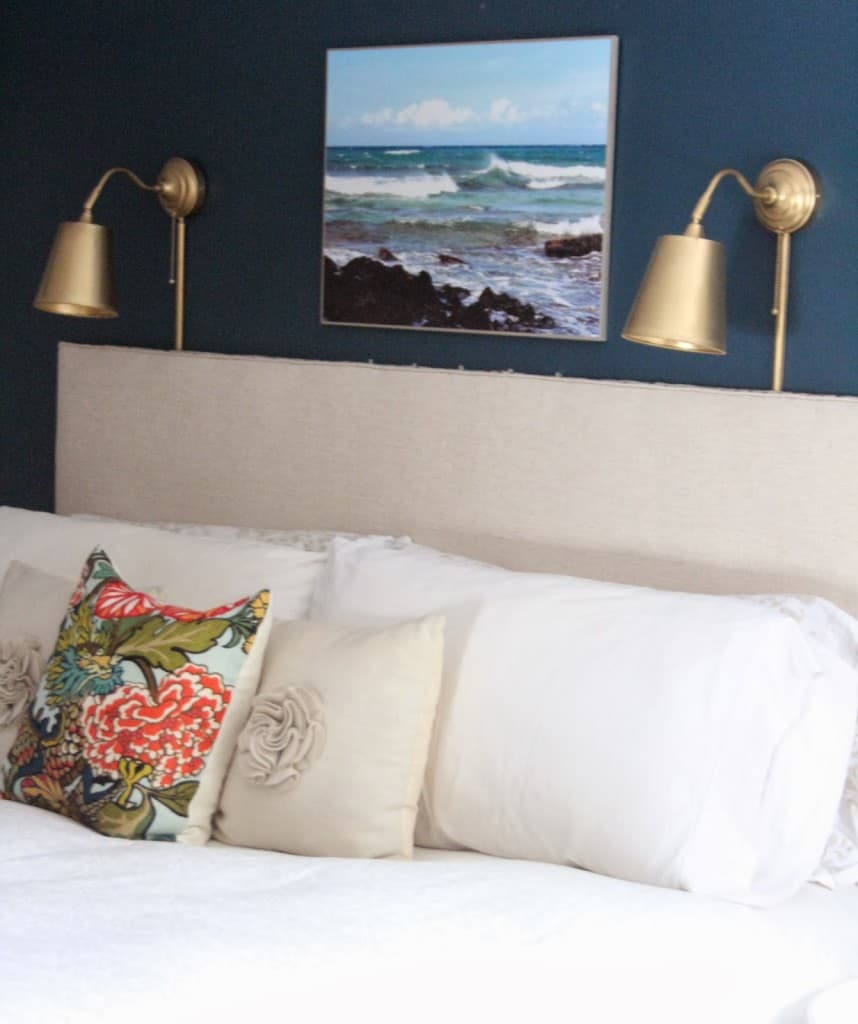

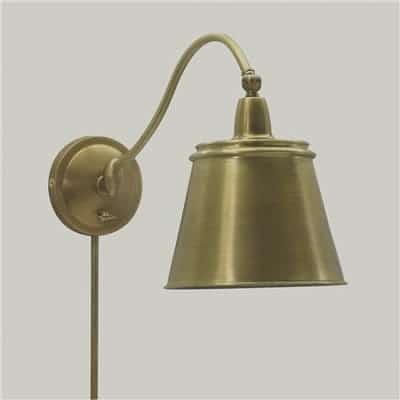
What do you think?
If you like this Ikea hack, don’t miss how I used these same wall lights along with metal planters to make these lights for my daughter’s room!
If you enjoyed this post, I’d love for you to sign up for my weekly newsletter for the latest DIYs and designs for home and garden!





Denise @ frazzled JOY says
They look great Lisa!! What a bargain!! Great job 🙂
Cassie @ Primitive & Proper says
brilliant, lisa! pun totally intended, too. 🙂
Beth of designPOST Interiors says
Great hack! And congrats to you for completing rooms!
Jenny says
Wow! I had to do a double take on your before and after shots! Great hack, and a great look! I love the antique brass against the Gentleman's Gray – so classic and timeless!
[email protected] says
Looks so great Lisa! Such a great way to change them up 🙂 xo Kristin
Cathy Wall says
Now that is an impressive hack! Love the color/finish you chose and your vision! They look great mounted on the wall above your bed.
Kris @ Driven by Décor says
I'm in 100%, complete and total awe of your lights! I actually like how yours ended up looking better than your inspiration lights! Any decorating mojo you feel you had lost is definitely back!!
Stacey {steward of design} says
Super job! They look so good. Love them against that wall color too.
Tracy Laverty says
Lisa- this is a great D.I.Y. I love how the lights look in your room above your bed! Amazing job! I've been planning on doing this same look on the lights in our library. Beautiful look. Thanks for sharing.
Vel Criste says
Absolutely fabulous Lisa!!!!! Your version looks so high end! Genius!
Jane says
Oh I love these!! And would love to have light sconces in our Master. I love the navy and gold combo too!
Betsy Dambrosia says
I'll tell you what I think….. I think you're amazing!
Tiffany says
I am blown away. So so impressed. They look amazing against that Gentleman's gray.
pam {simple details} says
Lisa!!! What an impressive hack clever girl, they look so high end, I'd never guess Ikea! I like how the tape finishes off the bottom nicely, too! And, against your wall color – holy cow, gorgeous!!
Jennifer @ Dimples and Tangles says
You are smart, smart, smart! I never would have considered those sconces with the awful pleated shades, but your makeover is fabulous! I love your painter's tape trick for the edge…must remember that! Those sconces just took your whole wall up another notch or two! Gorgeous!
NanaDiana says
GREAT knockoff, Lisa. I love them. xo Diana
Bethany DeVore says
such a great idea and end result! Pinning!
Andrea says
Lisa, this is AWESOME! Now I want to make a quick trip to Ikea. I love how you toned down the shiny gold too. This is seriously brilliant girl.
Linda {Calling it Home} says
Lisa, these are fantastic. I promise that when I move I will finish a room before I start another. Good for you.
Mary Ann at classic•casual•home says
You are so amazing!!! I love them. Can't believe you are painting in a white sweater!
Dana Frieling says
I. love. this. hack. Why, oh why, must these lights be so insanely expensive? So glad you outsmarted the system, Lisa!! They look beautiful in your room.
the cape on the corner says
fabulous job!
Julie Workman says
Incredible! Thanks so much for sharing – now I can totally 'I-told-you-so' my husband 🙂
Keya Davis says
oh my goodness – this is amazing! I have been wanting those lights so bad, so, so bad – I hope you are okay if I do a little rip-off of your hack. Best thing I've seen in so long!!!
Heather says
These look fantastic!! I have the same lights sitting in a basket looking for a new home. Thanks for the inspiration!
MariB says
I wanted these lamps so bad but none of my local Ikeas carry them 🙁
Kim @ Plumberry Pie says
Genius! I'm a bit behind in my blog reading. 😉 Lisa, I love how this turned out! Want to do this when I move back to the states. Hope all is well. Haven't made it to Ireland yet, but would love any tips from you to start planning. Take care and happy new year!
Beth of designPOST Interiors says
You are a dang genius!! You have saved me so much money and sanity with your quick tips and hacks!!
{Hi Sugarplum!} says
Amazing!!!!! Such a great hack, Lisa!!! Love them in the room! xo
Summer Hogan says
Love, love, love this DIY! Great hack friend!
theappreciationfactor says
Really BEAUTIFUL job. Was referred to you by May Richer Fuller Be and will be back. While I don't have a need for these – I found myself WANTING to make these and make the need. I'm also thinking I could do this project for above the fireplace as it has plugs for scones, but none. I think I'll spray them silver.
Thanks again for the idea and inspiration!
TAF theappreciationfactor.wordpress.com
theanatomyofdesign.com says
so clever! what can't gold spray paint do?!? these look fantastic, especially against you dark wall.
Stephanie says
Hi! so clever! What brand/color of gold spray paint did you use?? Golds can be so different 🙁
Lisa says
Stephanie I can’t recall the exact one I used but it was most likely either a Rustoleum or Krylon. They are my go-to spray paints. Another reader shared that Ikea just came out with a gold version of the Arstid light by the way!
Alyson says
IKEA now sell the lamp in a brass color – the shade still needs work but the base color is similar to yours.
I actually went to Ikea to buy the lights and copy your hack and was so relieved to find them in brass.
Lisa says
That is so great to know – thank you for sharing about the new brass version Alyson!!