Welcome to the first official installment of ShineKids, a little corner of this blog dedicated to fun things for the kiddos in your life!
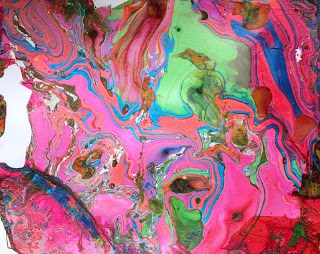
This week I shared a swirl painting method with enamel paints that my kids and I just discovered. We dropped oil-based enamel paints, the kind that come in little jars for painting model cars and the like, in a bucket of water and then dipped canvases and paper in the paint, yielding bright and vibrant swirled designs.
You can also use acrylic craft paints and we tried this method as well. This is a good project for younger kids because the clean up is easier than with enamel paints.
How-To: Swirl Paint With Acrylics
Protect your work surface with a vinyl tablecloth or newspaper, and set up an area with newspaper for your artwork to dry. Wear clothes that can get paint on them…dried acrylic paint doesn’t come out of clothes easily.
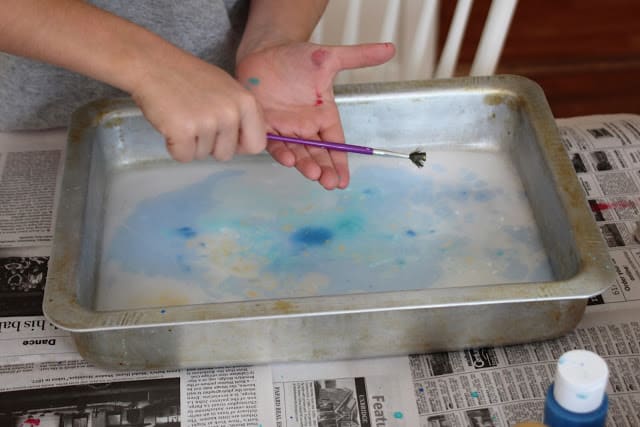
In a 9×13 pan, combine 1/4 cup of Borax powder and 3/4 cup water. (If you don’t have Borax, you can also use liquid starch , or add a couple drops of dishwashing liquid to the water. The Borax, liquid starch or dishwashing liquid helps the color to adhere to the paper.)
Use ramekins or plastic cups to water down acrylic paints – about a teaspoon of paint to a couple drops of water. Mix with a paintbrush until paint is thinned out.
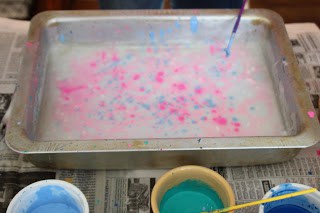
Then – the fun part – “flick” the thinned out paint onto the surface of the water. Seanie had seen a marbling artist use this technique on YouTube. He held his hand out and struck his fingers with the paintbrush, sending paint droplets onto the surface of the water.
The paint spreads out into a thin film on the water, or clings together in droplets. (If the paint is not thinned out, it will sink to the bottom of the pan.)
Continue to flick paint into the pan until you are happy with your color combination. You can use a thin paintbrush to gently move the paint droplets around, swirling the colors together, but don’t mix them too aggressively or your colors will run together too much.
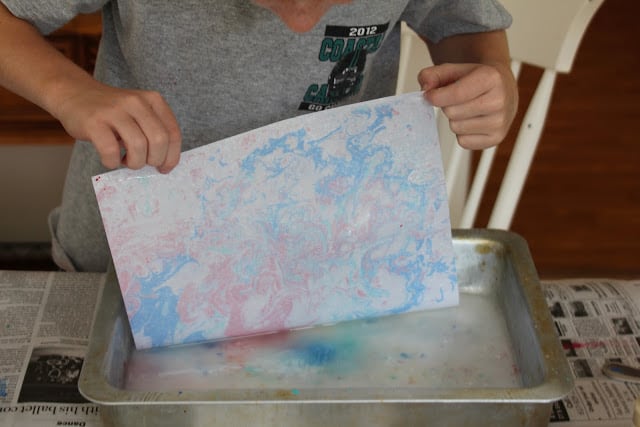
Take a piece of paper and lay it on top of the water. Immediately you will see the paint clinging to the paper. Peel back a corner of the paper and slowly lift it from the pan.
Lay the paper on newspaper to dry.
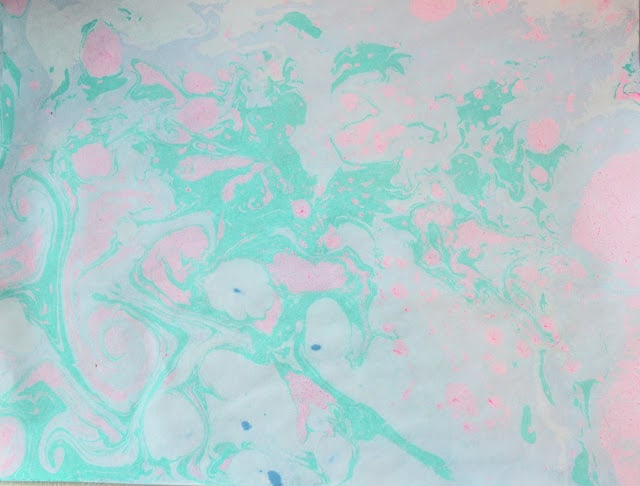
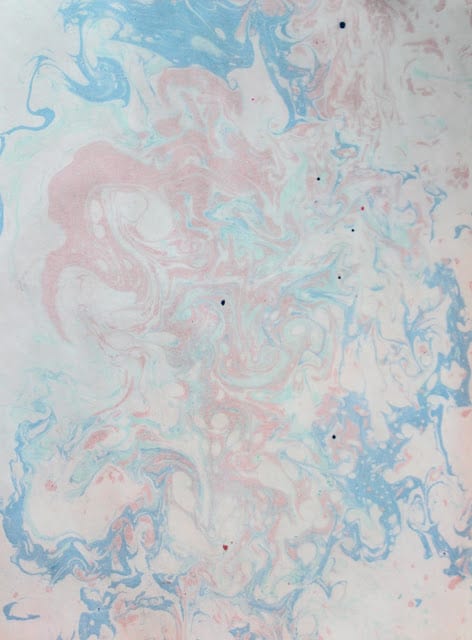
So exciting to see the different designs each time!
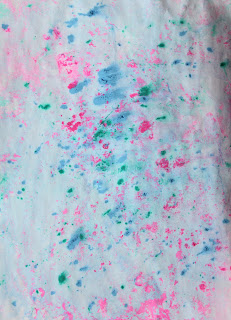
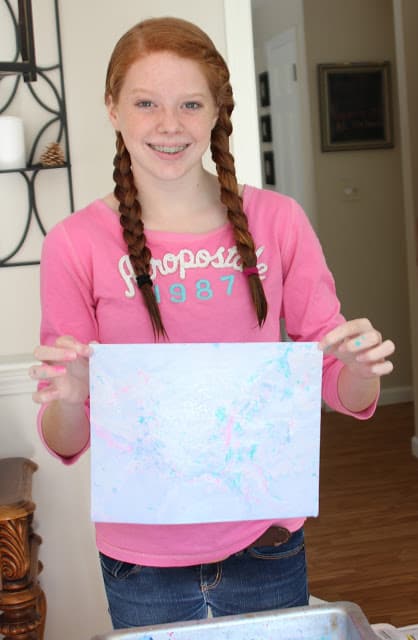
Hannah chose not to swirl the paint at all and got a splatter effect:
Some uses for this swirly artwork: cover a journal, make into cards, cut up and use for gift tags, or just enjoy as is.
My kids LOVED trying this painting method, and it was equally fun for me. One of the best parts of being a mom is experiencing childhood all over again with my munchkins, and seeing their delight when we do something cool! It was a bit messy – but I’m so glad we tried it! You should give it a whirl!
Coming up on ShineKids: more swirl painting – Hannah’s method for nails. Also: getting crafty with duct tape and printable scavenger hunt lists for indoor and out!
If you’re looking for some more fun ideas for kids, how about these?



Suzy www.savedbysuzy.blogspot.com says
Ummm, speaking of being a good mom…you are AMAZING! I've been wanting to try marblizing paper with my kids, so I'm definitely pinning this method to try. What kind of paper did you use? Regular copy paper?
Kim @ Plumberry Pie says
very cool!
Jennifer @ Dimples and Tangles says
So incredibly fun! My kids have been begging to paint something. I think we'll try this one!
Andrea says
Ah, my kids would love this too. And you're right, the possibilities are endless. Thanks for the great idea.
Karissa says
How neat! Thanks for sharing! I am adding your site!