Welcome back to my 6-week bathroom makeover frenzy….

…where I take a perfectly fine and functioning bathroom and rip it apart, all in the name of good old fashioned fun and home improvement!

and this little darling, our nephew, making his First Holy Communion! (We absolutely adore him!!!)

I’ve been working on the bathroom here, there and everywhere, and I’m so excited at both the direction it’s headed, and at the prospect of this renovation being DONE!
This is kind of a wordy post so if you just want to see the progress I’ve made, scroll on down through the messy pictures and use your imagination at how this is all going to come together. Details dispersed ad nauseam for interested parties. Affliliate links are included in this post for your convenience.
As a refresher, this is the plan:
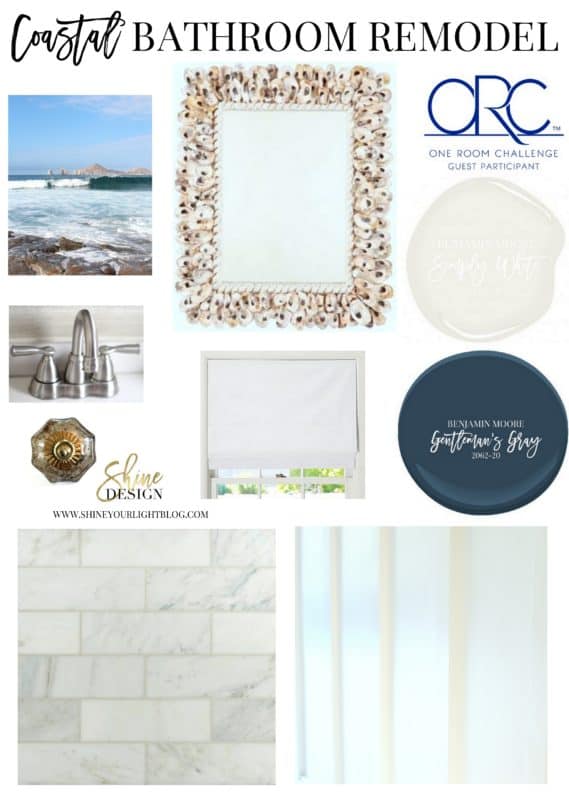
A quick update from the previous weeks’ projects:
I talked about moving the laundry closet’s bi-fold doors forward two feet to enable me to hide our mountains of laundry BEHIND the bi-fold doors instead of on the floor of this bathroom that all our guests use.
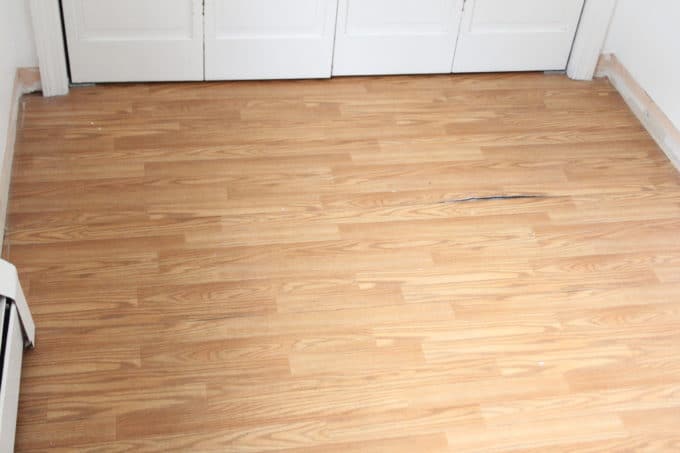
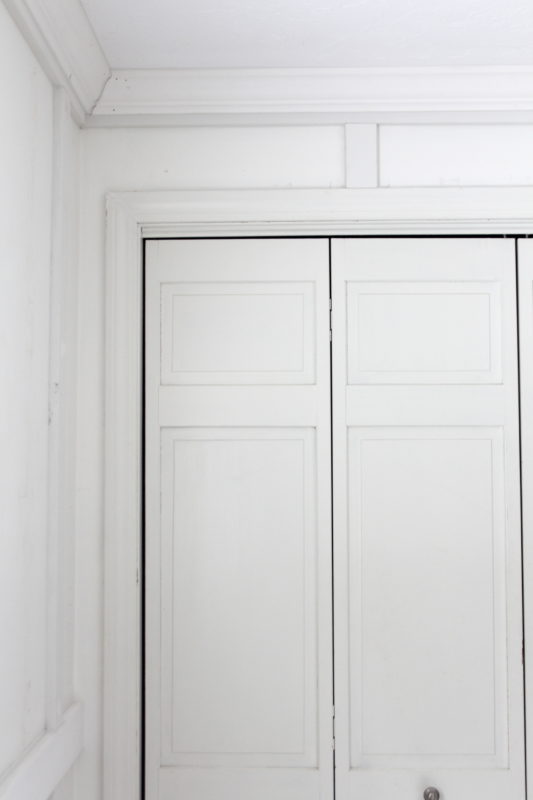
Once I started digging into this a bit, I realized moving this wall was a bigger pain in the patootie than I wanted to take on. Moving the washer and dryer out, demoing the wall, rebuilding it, installing drywall, skim coating the drywall, replacing the trim, and moving the washer and dryer back in – a lot of work just to hide the laundry baskets. So I put the trim back on and called that part of the reno done 🙂 CHECK!
Next up, removing the linoleum flooring. If you’re removing linoleum flooring, make sure to determine whether it contains asbestos first. Check out asbestos.com for more info!!
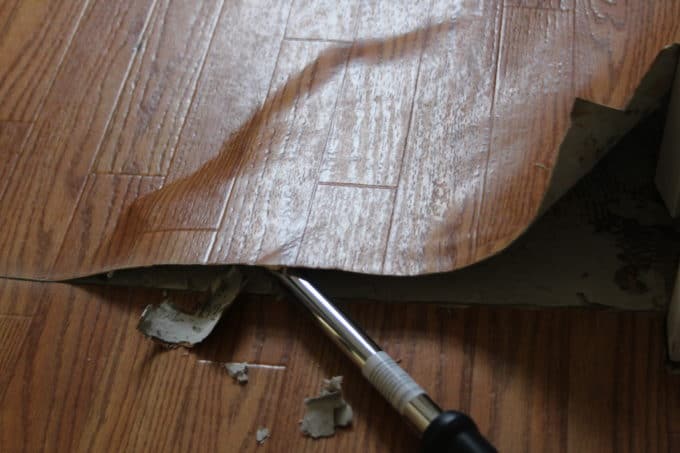
Linoleum sheet flooring runs through our kitchen and into the bathroom. Since we’re not ready to replace the kitchen flooring yet I used my Dremel to cut the flooring at the doorway into the bathroom, and at the bi-fold doors in front of the laundry. I have the cheapest model (I bought the Dremel 200 that came with a bunch of accessories) and I can’t believe how useful it is and how many projects we’ve used it on (sanding the detailed apron on the limed dining table, and removing a built in shelf when I remodeled the fireplace, just to name a couple!)
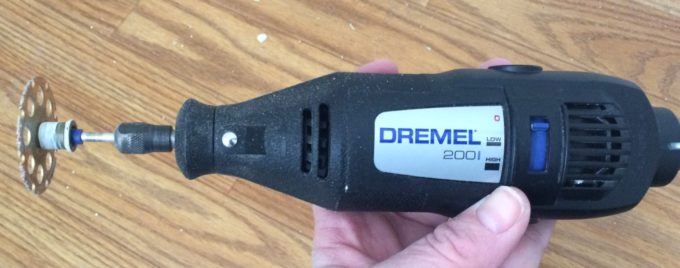
I already had this cutting wheel in my Dremel arsenal (there are a million different accessories you can get for this thing) so I tried it on the laminate and it worked like a charm.
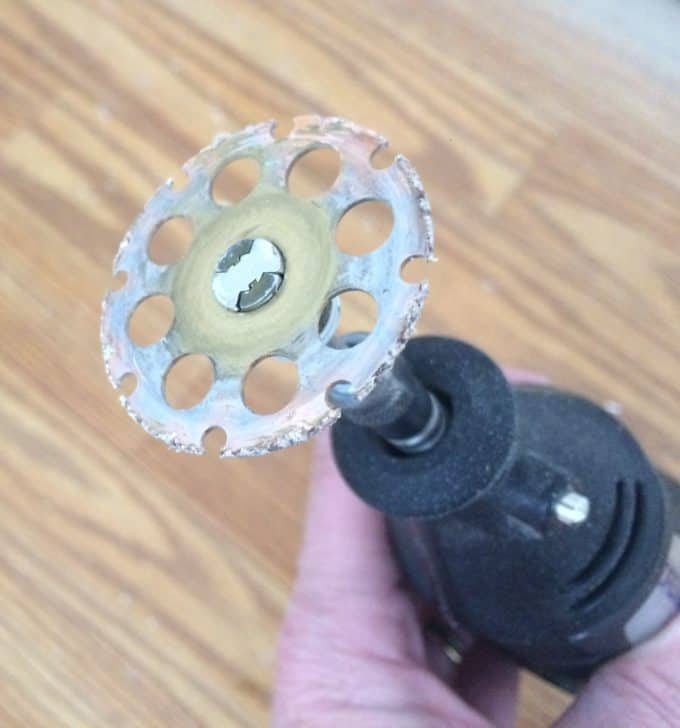
Definitely a job that necessitates a mask and goggles – it makes a huge mess (and that dust is probably not too healthy to breath in).
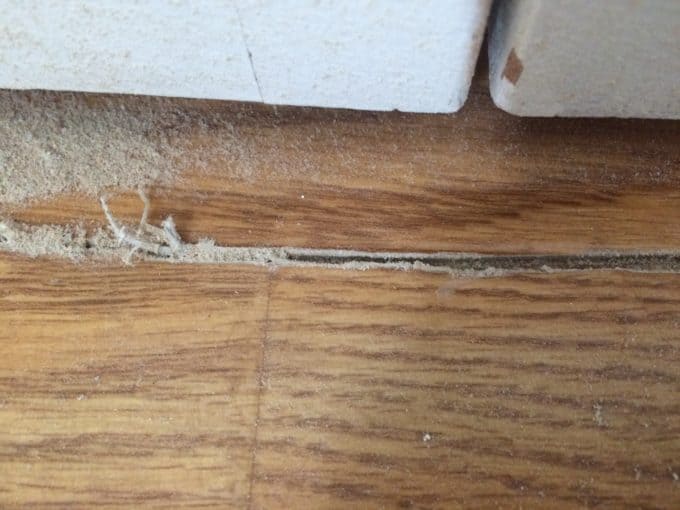
Once the doorways were cut, some areas of the linoleum pulled up pretty easily……
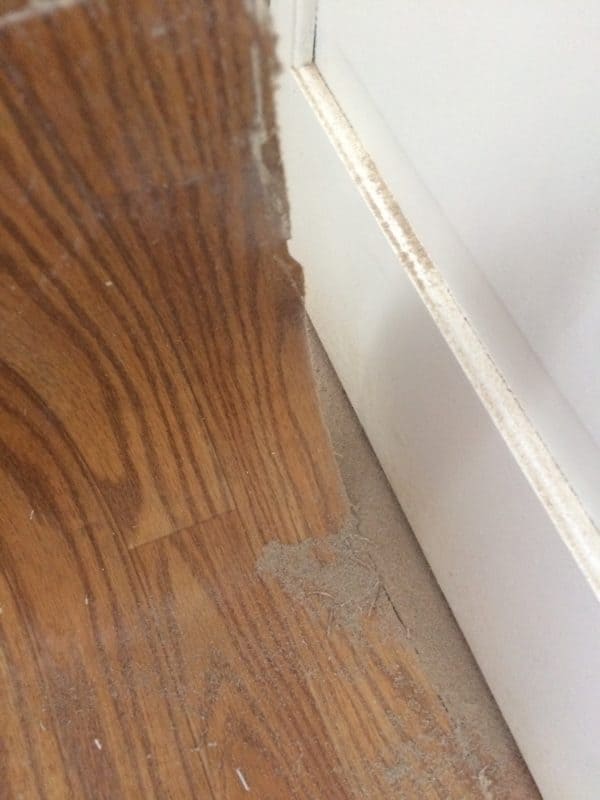
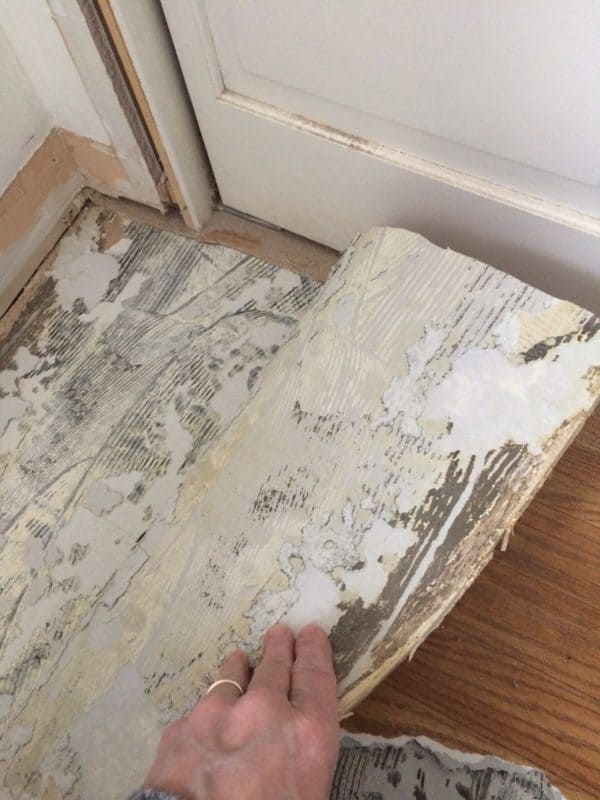
….but most of it had to be heated to soften the adhesive (I used my blow dryer), and tediously scraped off with a hand-held floor scraper.
You can buy a long-handled scraper (I couldn’t find one on multiple hardware store treks) and you can also rent a power scraper (Home Depot has them), but I thought since the bathroom is a small room I could get away with the hand-held one. I WAS WRONG! I used it, but it was a tough battle to remove most of the laminate.
Now I’m left with the plywood subfloor, scraped of any residual laminate backing, and it’s in pretty good shape so I’m keeping it and will talk about preparing the subfloor and tiling this little room another day.
Moving on…..the very exciting part of this week…..
Installing moulding to the walls:
Although we’re replacing the toilet (yeehaw!!! I can’t wait!) the pipe in the floor that the toilet sits on can’t be moved away from the wall without some major plumbing that I want no part of, so my square board and batten deal was out of the question. Instead, I drew up a design around the width of the new toilet (similar in size to the existing one).
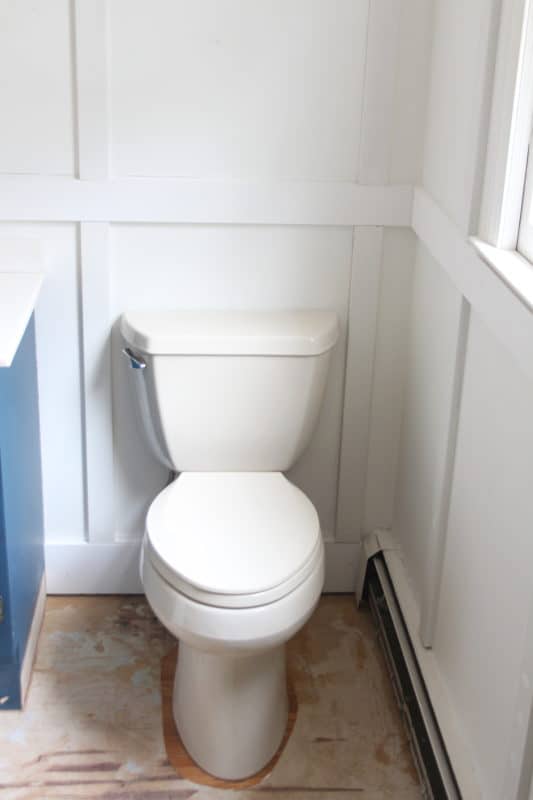
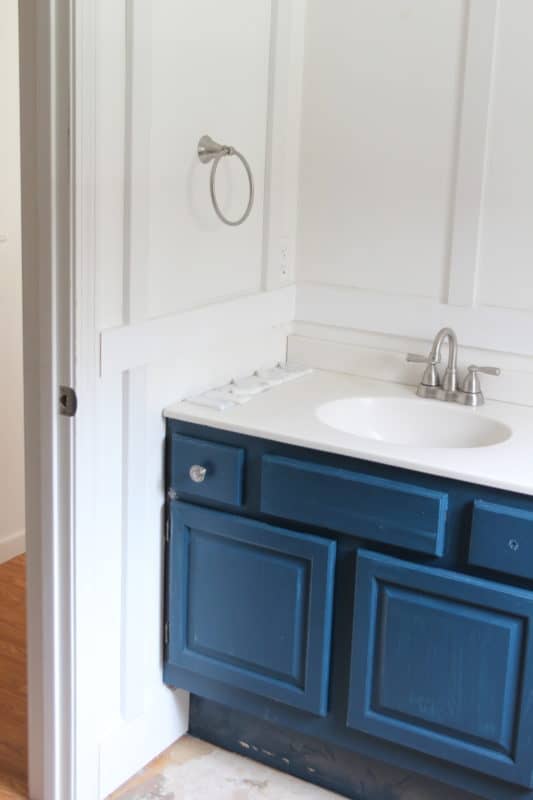
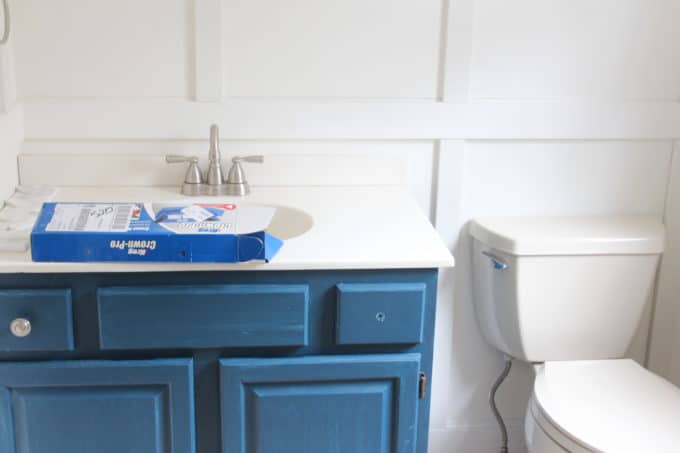
As with any carpentry job, there are obstacles and dilemmas and sometimes a little trial and error. I had measured a millions times and drawn the whole plan on the wall with pencil and a level before I started installing the moulding, but when this wall just looked all wrong once the moulding was up. I ripped it off and reworked the plan so I would have boxes somewhat centered on this wall and it’s twin on the other side, in which I’ll be able to hang pictures.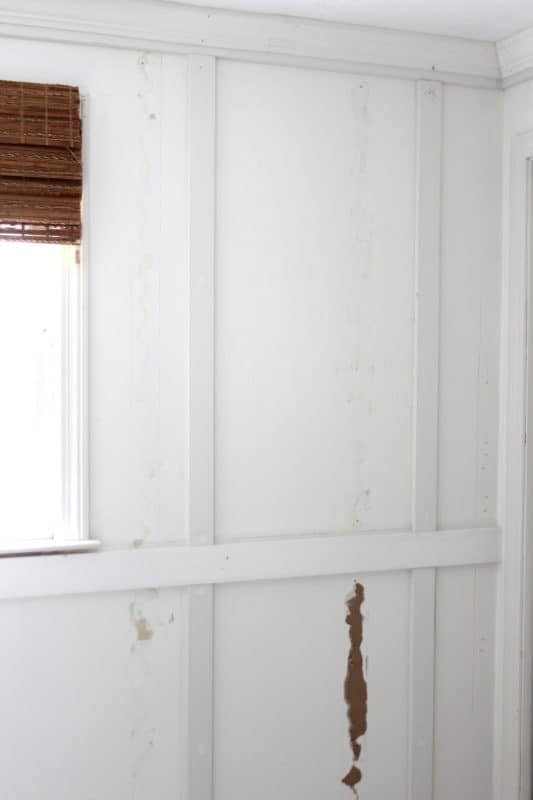
I also installed crown moulding over a base to make it a little more substantial.
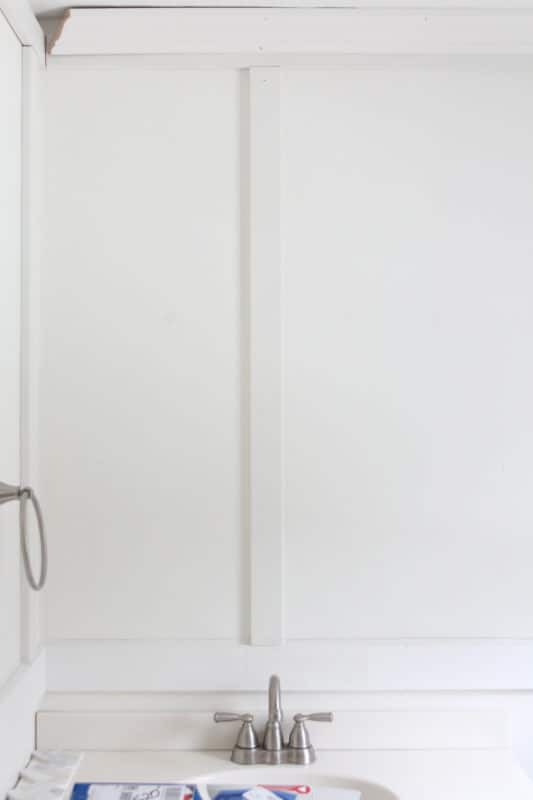
Installing crown is the bane of my existence…..no matter how many times I’ve done it, there still seems to be some trial and error the next time. I’ve tried lots of tips and tricks and have used both the coping method and mitering both pieces of a corner, and it still makes me crazy every time.
This time around I bought the Kreg Crown Pro after reading some reviews of it. It comes with an angle finding tool that tells you the exact angle of your corners, and the Crown Pro itself adjusts to the spring of the crown (meaning the angle that it comes off the wall).
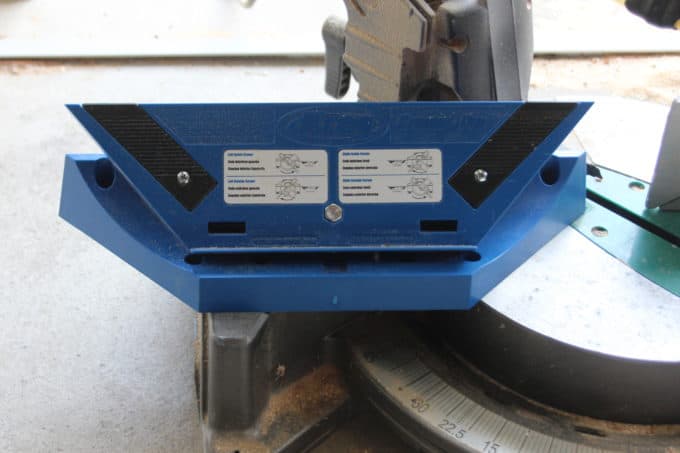
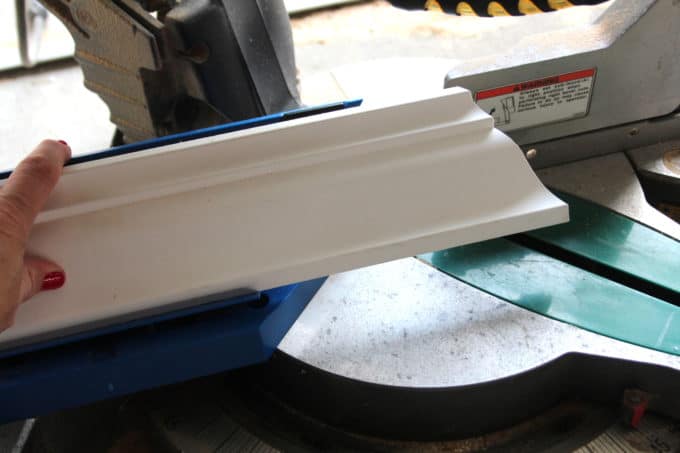
It sits on your miter saw and the crown rests on it in the right position. You have to hold the crown tightly agains the Crown Pro to make the cut.
My first corner went up beautifully, and I was feeling on top of the world, made my whole family come in and admire my mitered masterpiece, set off fireworks and had a plane fly overhead with a banner saying LISA IS THE QUEEN OF CROWN.
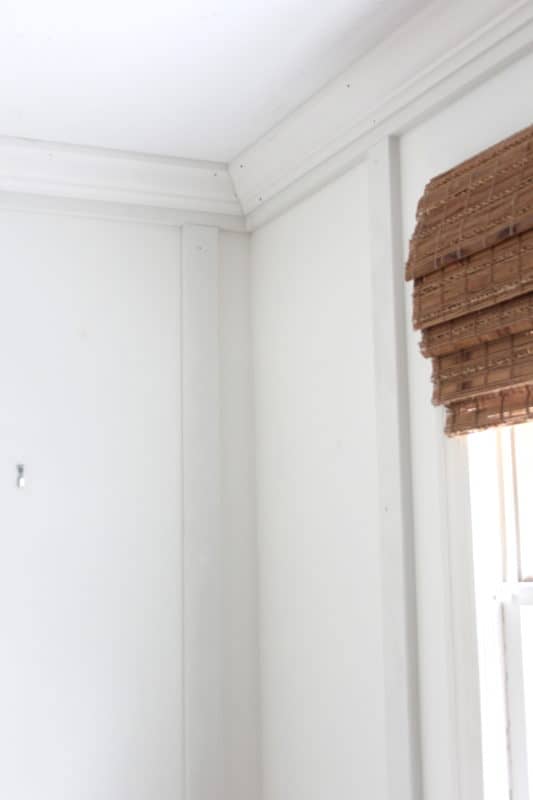
And then, with major gusto after my first masterpiece, I went after the second corner.
I completely and utterly failed this corner. I cut the piece a smidge too long, and then trimmed it too short, and then I needed to lie on the couch in the fetal position wimpering about how I CANNOT DO THIS ANYMORE and despising crown and yet wanting to install it to every room of our house as soon as possible and hating myself for loving it and vowing to give up carpentry forever and ever.
And then I got over it and installed the rest of the crown and it was done.
For the record once you wrap your brain around how the Kreg Crown Pro works, it does make it easier to cut your mitered pieces close to perfect. There’s definitely a learning curve though, so I highly recommend using scrap pieces to make an inside corner and outside corner so you get the gist of it before cutting your actual (expensive) pieces of crown for the wall.
Now I am puttying 50 million nail holes and caulking around every single board I installed, and then the walls and trim will get a finish coat of paint. Already the bathroom feels so much more special and interesting with the moulding installed, I can’t believe the difference!!
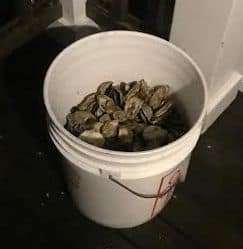
Here’s the next DIY that’s in the works for this week! My amazing niece and her fiancee scored me a big, STINKY bucket of oyster shells that I’ll be bleaching the heck out of, and then scrubbing, and probably misting repeatedly with lavender essential oil until they smell like a spa, and then hopefully transforming them into the Ballards mirror of my dreams.
Left to do:
The painting
The floor!
The window
The light?
The beautifying.
The freaking out.
The getting it done by May 11!!!
Thank you so much to Linda of Calling It Home, the mastermind and host behind the One Room Challenge, and media partner House Beautiful!
Check out all the One Room Challenges here, the scope of some of these projects and the designs are incredible! Cheers to my ORC comrades….you’re almost at the finish line!
Thank you for stopping by!

Did you catch this coastal art guide last week?


Katie says
Oh my gosh you are amazing for doing all that carpentry work yourself! Crown is so hard!!! Your oysters should be fine in bleach and water sitting outside in the sun for a few days, scrubbed and rinsed! I have a bunch I’m working on too for a mirror and other projects!
Lisa says
Thanks so much my friend! And I can’t wait to see what you do with your oyster shells! I’ve used other shells before but not oysters, so excited to make a mirror with them. I always loved the one from Ballards!
Carol @ CAD INTERIORS says
WOW! you are fearless and amazing!
Lisa says
Aww – you are kind and encouraging!! I think I’m mostly in over my head but it’ll all get done!
Denise says
You are getting there friend! The molding looks great!! And, your kiddos looked awesome on prom night! Fun times!!
Lisa says
It is such a joy to see my own and all the kids I’ve known for years all dressed up and off to have a fun night! Isn’t it the best?! I love all of them and it’s such a careful and happy time of their life!
cindy hattersley says
You are making me tired just reading this!! Chlorox…lots of chlorox for the oyster shells!! I can’t wait to see the finished product!!
Lisa says
The shells are being bleached as I type 🙂 Hopefully they will live up to my expectations otherwise there is a mirror shopping trip in my weekend plans! Thanks for visiting Cindy!! XO
Sarah Sofia Knepp says
Oh Lisa your bathroom looks absolutely beautiful! That wood work on the wall is STUNNING! Can you come over and teach me how to do this please! I’m impressed with all your DIY’s, especially removing the linoleum flooring. You know I love blue and white and this is turning out to be a dream bathroom. Can’t wait for the reveal next week! XOXO, Sarah
Lisa says
Sarah thank you so much my sweet friend!! If I can get our floor tiled by next week it will be a miracle, but at least it a million times further along than 5 weeks ago right? Good luck on this last week, I know you are going to knock it out of the park!