HEY FRIENDS!! How was your weekend? Hope you enjoyed it!
Last week I mentioned that my fire pit build is finally done. We still need to get some furniture for this space and we’re also going to be landscaping around the perimeter of the patio, which will bring so much to all this hardscape, I can’t wait!!! In the meantime, we’re all happy to be at the point in this project where we can use the firepit and enjoy our backyard this summer. It’s been tons of fun already.
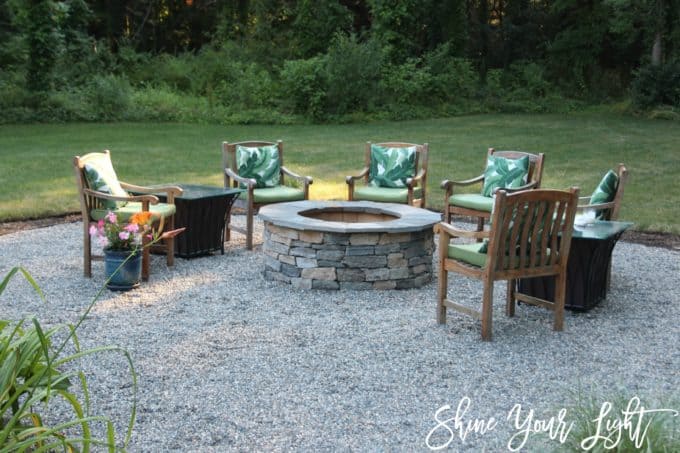
I’ll take you on a tour of the whole space in the near future, but today I wanted to talk about the pea stone since I know many of you also like the look but wonder if it’s a good material to use in real life. Here’s my take on it.
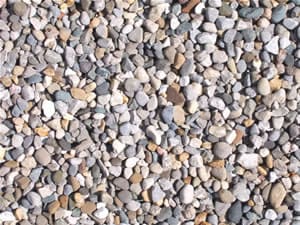
First up, what the heck IS pea stone? Pea stone is under the umbrella of gravel and gets it’s name because the stones are small and, shocker, pea-like in size. At least around here in New England, pea stone is generally harvested from rivers where the rushing waters have worn away the hard edges so the stones are rounded, making them comfortable to walk on on bare feet.
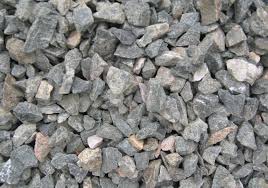
In comparison, crushed stone can be found in a similar size to pea stone, but the process of breaking up the stone in a machine causes the pieces to have hard, angular edges that make the material suitable for driveways, but not so nice for bare feet on a patio. I looked at crushed stone because I liked the color options, and it is literally HALF the cost of pea stone. However, if you walk on the two stones, pea stone wins out hands down.
It’s hard to show the texture and feel of it with a picture, but the pea stone has no sharp edges…
while the crushed stone does.
We actually have a large gravel parking area next to our driveway, and trust me, when the car windows are down, it starts pouring out and you go running out in your bare feet to put the windows up, the gravel is a killer on the tootsies!!!
SOOOOO all this to say, pea stone is a step up from crushed gravel and for that you pay, but it’s still a highly economical way to create a patio – for all the materials necessary, in our expensive neck of the woods (New England), it was about $400 all in for the pea stone patio. Honestly though, I always wanted a charming and beautifully landscaped pea stone patio, so the comparatively low cost of using this material vs. blue stone pavers or other natural stone was a bonus to getting the look I wanted. (I’m still working on charming and beautifully landscaped 🙂 ).
Without further ado, here’s how to install a pea stone patio.
I listed affiliate links to all the supplies I used at the end of the post. Read more about affiliate links here.
1 | CLEAR THE GRASS. My son Peter and I did this a month ago by renting a sod cutter. You can read about the process here. It was a pretty hefty job but the sod cutter made the bare ground perfectly even and ready for the pea stone.
2 | INSTALL EDGING. This is a biggie when using gravel in landscaping……contain it with a border of some kind. Our driveway parking area has a pressure treated wood border that works great if you are installing a squared off design.
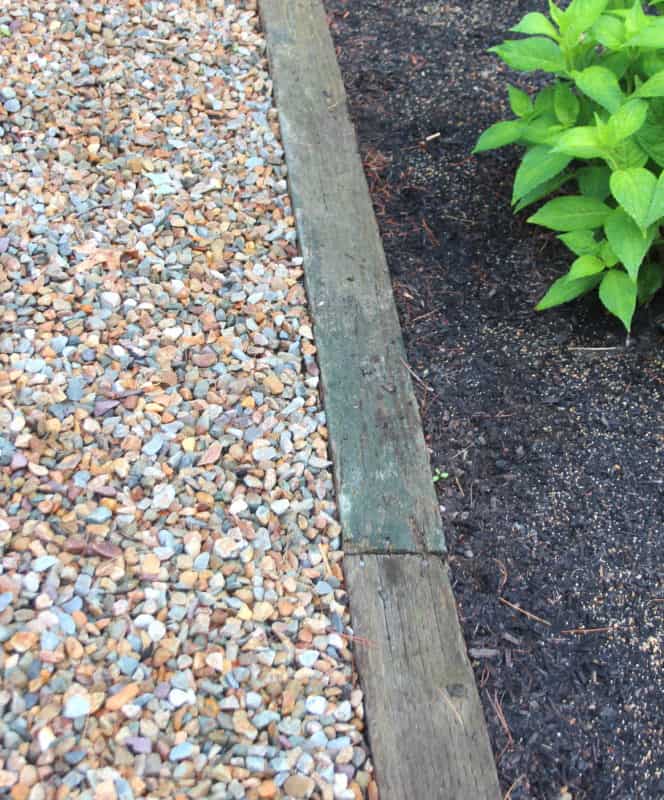
This is what Thom Filicia’s gorgeous lakehouse firepit has around it.
Cobblestones make a beautiful border…

{Historic European Cobblestone}
I wanted to use them, but at $3-5 per stone ($400 for the amount I needed) they were out of my price range. Our patio is rounded, so I went with black powder coated metal edging that can be curved. I was a little leery of metal edging at first because it’s not all that aesthetically pleasing in and of itself, but look at the difference it makes between the patio and the gardens!!
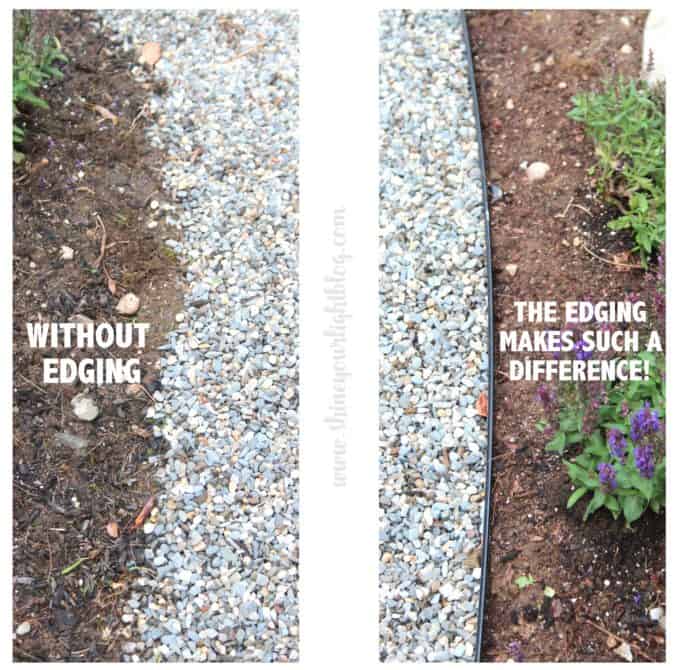
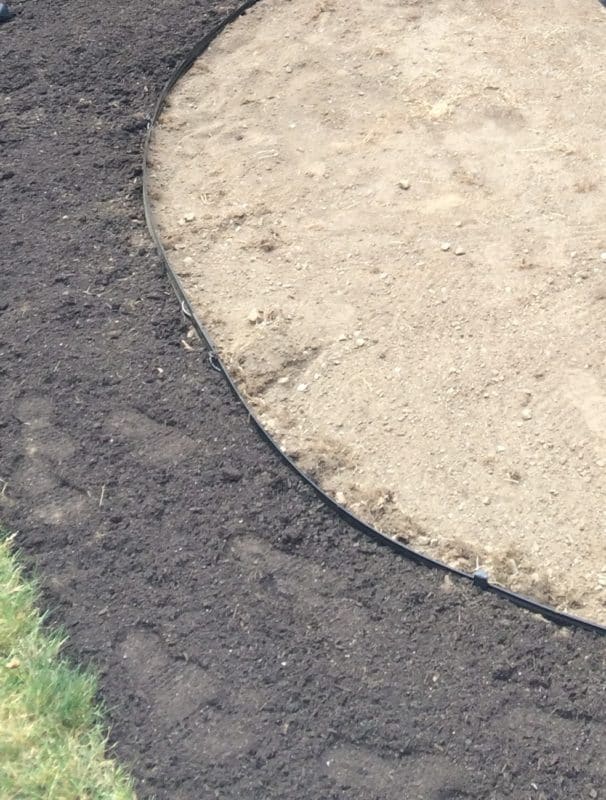
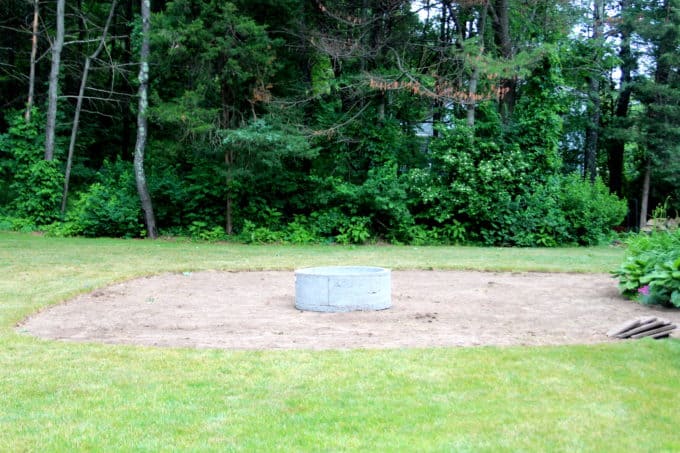
We had taken into consideration the width of the garden around the patio when we removed sod, so to install the edging I measured in about 2-3′ from the grass and dug a channel all the way around. The edging comes in 8′ lengths and the ends slide together to create one continuous edge. Once the edging is in place, a rubber mallet is used to drive stakes that come with it through the side and into the ground, securing the edging in place. The edging is buried about 2″ deep, giving the garden and the patio about a 2″ border.
Here is a closeup of both two pieces joined, and the stakes driven through the edging into the ground.
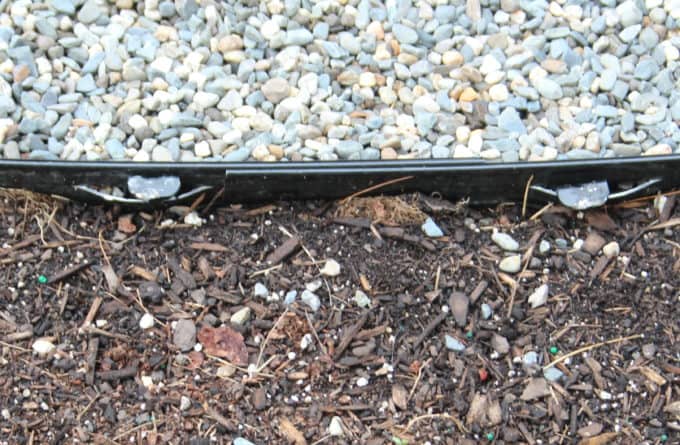
Of course driving stakes into rocky New England land is not exactly a piece of cake……I can’t tell you how many times I had to stop and dig out a huge boulder that was in the way of the stake. There were several stakes I couldn’t drive all the way in at all and Mark went at them with a metal hammer (which kills the powder coated finish but is more effective than the rubber mallet by far). Mark ended up cutting a few of the more stubborn stakes with a sawzall and filed down the edges, because they refused to drive in any further.
Once the gardens are filled with plantings and mulch I’m hoping the metal will disappear, but in the meantime it’s pleasing to the eye to have all the pea stone contained.
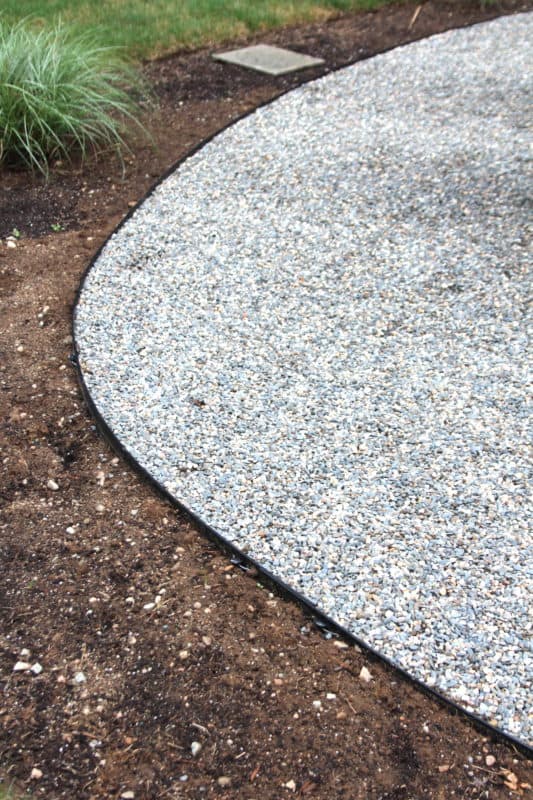
3 | INSTALL LANDSCAPE FABRIC. After the edging is installed, but before the pea stone comes into play, I strongly suggest you install a weed barrier.
In the gravel parking area next to our driveway, keeping the weeds at bay is a constant battle. I don’t think landscape fabric controls weeds forever, but if it can cut down on their growth at all, I am all for it!!
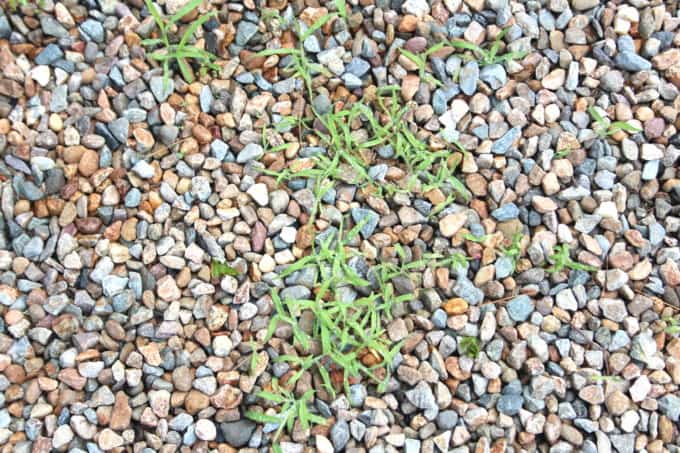
Motivated by our troublesome driveway gravel, on the dirt patio we laid down one layer of landscape fabric, overlapping about 8″ as I had read to do. After a couple weeks with the pea stone, a few minor weeds have popped up through the fabric. I recently read that under a pea stone patio, TWO layers of landscape fabric are often used, and since the fabric is fairly inexpensive and easy to install, if I had it to again I would add another layer.
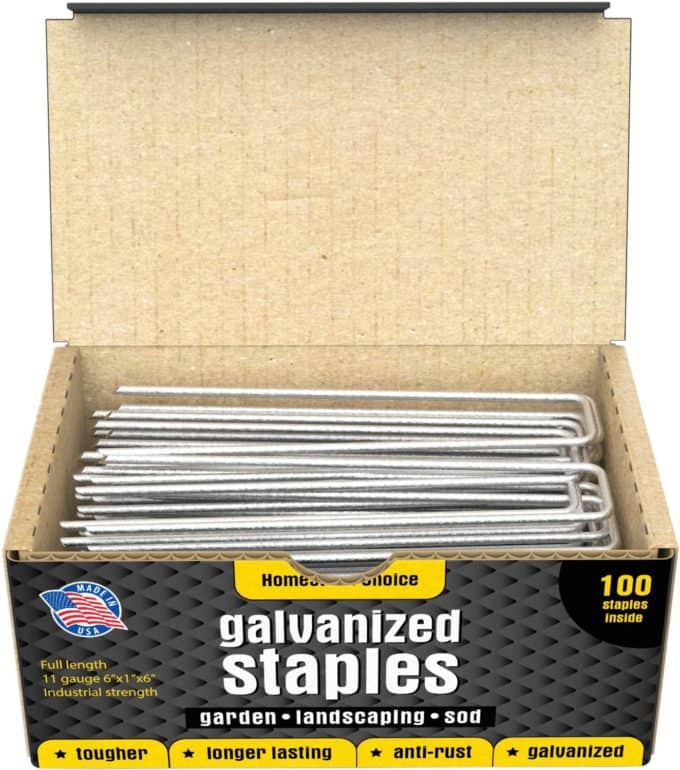
Actually laying down the landscape fabric is easy as pie. Hannah helped me with this part. We rolled the fabric across the dirt and over the metal edging, secured the sheets inside the patio with rust resistant galvanized metal pins that we banged into the ground with a hammer, then trimmed the excess.
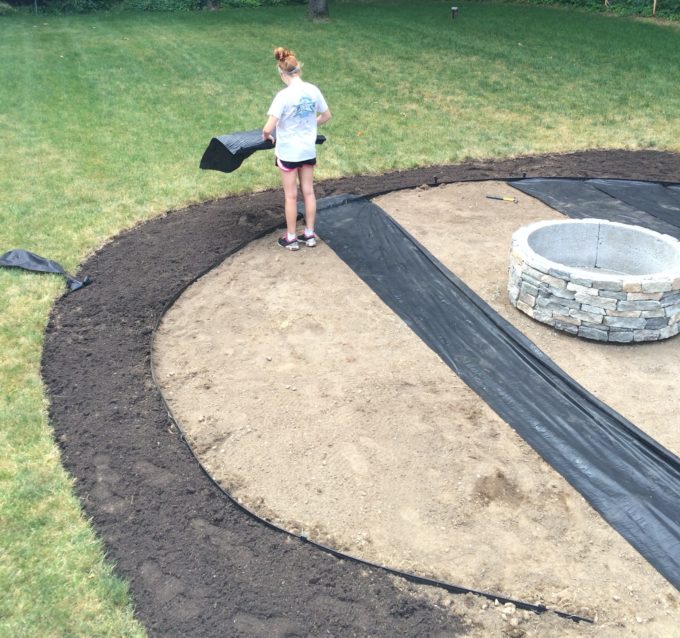
We added the pins (aka staples) along the overlap too so the sheeting would stay in place when it was time to install the pea stone. For the most part these go in easily but a few times I had to knock them in with a hammer. Darn rocky soil!!
Laying the landscape fabric goes really quickly – maybe a half hour to do this area.
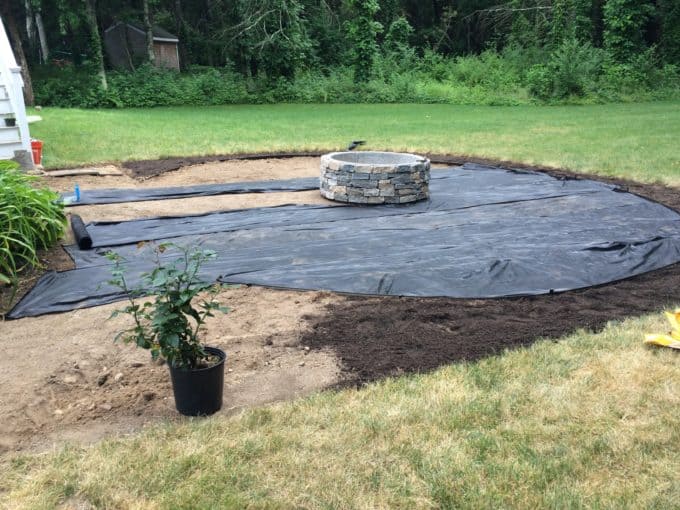
(I installed the stone veneer on the outside of the fire pit before the pea stone arrived, and then finished up the rest of the fire pit after it was installed.)
4 | INSTALL PEA STONE. Now that the sod is cleared, the area has been contained with edging, and landscape fabric has been installed to inhibit weed growth, you’re ready for the pea stone!
Compare various stone yards in your area for color and cost. I was trying to match the color of the gravel on our driveway but could not find anything like it (a mix of brownstone and gray.) In the end I used a peastone that was more gray than brown, but is variegated so there is a bit of brown and lighter stones in there too.
The stone yard delivered the pea stone and because the patio is right next to the driveway, they were able to back the truck up and dump it right onto the landscape fabric. Woohoo!!! That made spreading it about a billion times easier than having to load up the wheel barrel and make 50 trips from the driveway to the patio. I had the pea stone all spread in about 30 minutes with a shovel and bow rake.
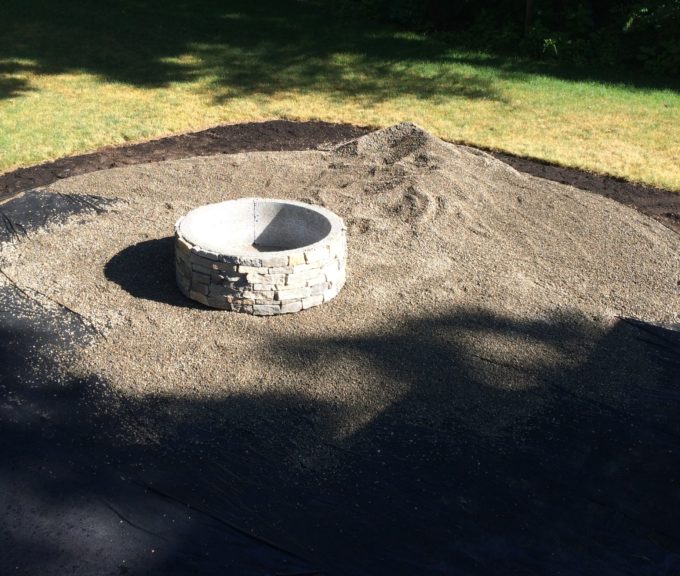
(It’s so nice here early in the morning when there is shade. I love having my coffee out here!)
I wanted about 2-3″ of depth, and the stone yard advised me to get one yard of stone for every 10 feet of space I wanted to cover. For my roughly 18×18′ area I had two yards delivered; however possibly because it was our initial install of the stone, we definitely need more.
Here it is all spread, and I was really starting to freak out with happiness about this project coming together! (You can see the stakes that wouldn’t drive all the way into the ground in the background, pesky little suckers.)
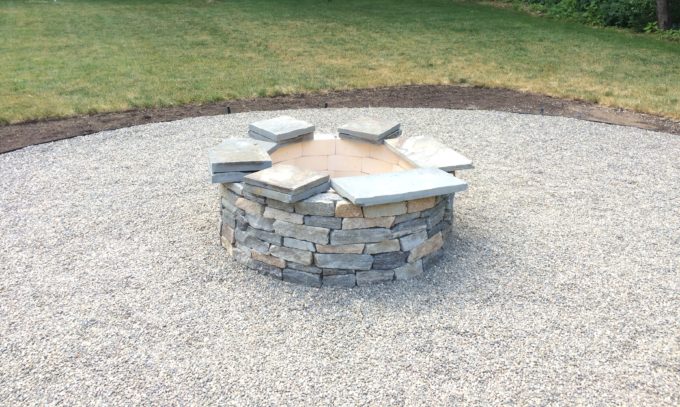
As soon as the pea stone was done I got to work on finishing up the fire pit which I’ll give you the scoop on soon.
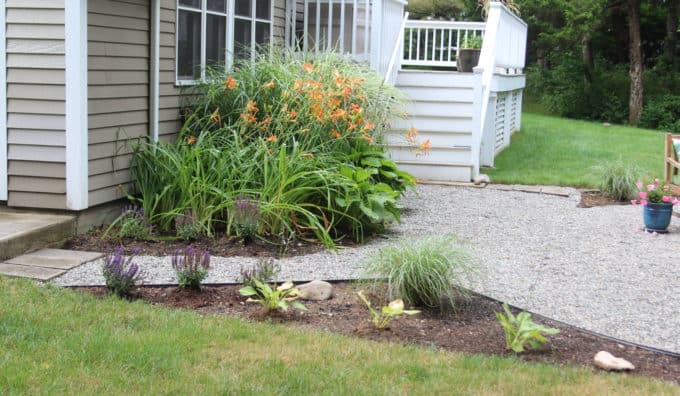
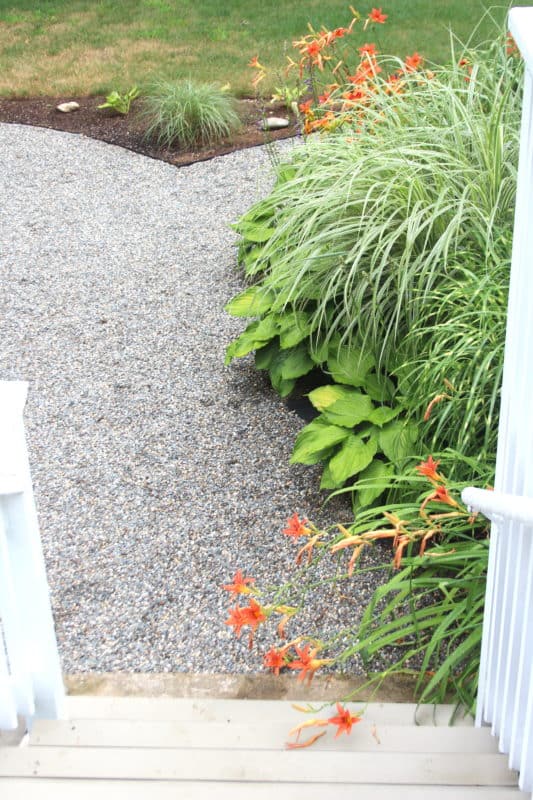
At this point you still have to squint to see the vision, but eventually we’ll have plantings all around the patio that will make it feel like it’s own outdoor room (and hopefully create a bit of a sound barrier for the sake of our neighbors!), our grass will green up again (did I mention I hit an irrigation line with the sod cutter??? oops), our house won’t be painted 7 different colors and my dream patio will be done. In the meantime it’s tons of fun to bring the dream to life little by little!

If you have no intention of ever creating a pea stone patio then thank you for sticking with me through all these posts. I’ll get to the pretty and entertaining parts of this patio project soon, I promise!
For interested parties, here are the supplies and sources for this post. Let me know if you have any questions, I’m happy to help if this is a dream of yours too!!
Powder coated metal edging (I bought mine at a stone yard but it is similar to this one)
*Stone Farm partnered with me on the fire pit portion of this project. I asked them to work with me because Mark and I have long admired their products and I really wanted to share how to build a natural stone veneered fire pit with you. Stone Farm is a national resource for reclaimed stone and brick products, along with outdoor living solutions. Many thanks to Stone Farm and Stone Age Manufacturing for making the fire pit project possible.

cassie @ primitive & proper says
it looks so amazing! this is similar to what i want to do in our front yard by our fire pit! pinning to save and show chris.
Lisa says
Thank you Cassie! The fire pit thing is fun isn’t it? The pea stone project is a good one for the whole family to partake in 🙂
Sharon says
It looks wonderful, Lisa! I’m blown away by your handiness and work ethic through this project. I think I’d have quit sometime during the yard stake portion. 😉 Looking forward to seeing it styled–it already looks like a million bucks!
Shelley | Crazy Wonderful says
It is already so gorgeous as it is, I can’t even imagine how it’s going to look when everything else is done! So super impressed with this project. Makes me want to add some pea stone to our backyard walkways (aka worn paths of dirt in the grass). You are amazing!
betsy says
What an amazing job you did! Just love it and can’t wait to experience it myself!
Lisa says
I can’t wait to have you sitting there next to me too!!!! <3
Vel says
OMG Lisa, your patio looks professionally installed!!!!! I’m so jealous! Wish I had a similar space for that!
Steph says
Looks amazing and thank you for the walk through on the installation! Plan on doing this exact process next Spring on ours but unfortunately it wont sit close to my driveway like yours LOL Enjoy!
Lisa says
Thank you Steph! We are really enjoying the pea stone! It’s not for everyone but I love the crunch of it, and it was a great DIY project as far as installation! Good luck with yours next spring!
Steph says
My bad…new I should have double checked. It’s Pergo Max Crossroads Oak. Sorry and thank you for encouragement!
Rae says
Did you have to stamp the pea stone down?
Lisa says
No, we raked it. Over time it did settle a bit and the next year we got another load of pea stone to fill it in some more.
Madison says
@Lisa, I am just discovering this post and it is exactly what I’m hoping to do in my backyard, since excavating the area is next to impossible due to tree roots. How did this patio hold up for you over time with putting the pea gravel directly over the landscape fabric? Any updates would be so awesome thanks! 😊
Lisa says
Hi Madison, the pea stone patio has held up great! I got a second load of pea stone the 2nd year after the first load had settled a bit and it’s been really easy to maintain. As I noted in my tutorial, if I had to do it over again I would do 2 layers of landscape fabric, but overall the weeks have been minimal and in the fall the patio cleans up nicely with a leaf blower.
Carole says
Great work, love pea stones I have just finished in 2 areas with crushed stone around my patio at my condo. I used the mesh paper once I pulled out the grass. I used bags of stones. I am a senior and can not pickup the bags. But with help from Home Depot and friends were helpful to put 20 bags in back yard. I used mini bricks where had to edge. I will be putting potted plants around. So much easier than having to put bags of soil and dig flowers. I am so proud to be able to do this on my own as a senior. If there is some way to sent you a pic I will, finished to day.
Thank you and enjoy your fire pit.
Carole
Lisa says
Carole, your project sounds lovely. I would love to see a picture of it finished! You can email a picture at [email protected]! Thanks for stopping by!
Joanne says
I love this firepit idea and completed it in my own backyard! I do notice that my chairs sink in a bit when people sit around the fire… any ideas on how to remedy that??
Jenifer says
Very nice job. I really like what you have done.
Cynthia says
I love your idea and instructions.
I live in New England also and was considering a stone patio yet upon reading your article I am going to use pea stone instead. Thank you so much!
Mike Allain says
Hi Lisa, we love the color of your pea stone but we haven’t found anything in Massachusetts or the northeast similar to yours. Can you please let us know where you purchased it from? Thank you.
Susan says
Hi,
This was so helpful! I’m going to do the same….however, we want to do wide walkway leading to back yard and part of the backyard all the way up to our house. Probably hard to visualize but I have a vision…lol. We’re in Cape Cod and on the waterfront (fresh water) so options are limited. Wondering if you knew a reasonably priced place to get pea stone here.
Thank you for sharing!!!! LOVE IT!
Susan
Lisa says
Hi Susan, I had our pea stone delivered from Southridge Farm & Nursery in Walpole, MA after pricing out product from various stone yards and looking at colors available. Best wishes with your project!