The other day I showed you some of the older pieces of furniture Kim and I were working with on the Habitat living room we furnished this past December. We had a couch and loveseat donated from an estate sale and while they are not super chic, they’re clean, in great condition and neutral, so we decided to freshen them up with the rest of the room design.
We talked about the direction we wanted to go (lots of white with a punch of purple, the homeowner’s favorite color!) and then I threw together a board to keep our vision on track as we hunted down things for this room. Affliliate links included for your convenience.
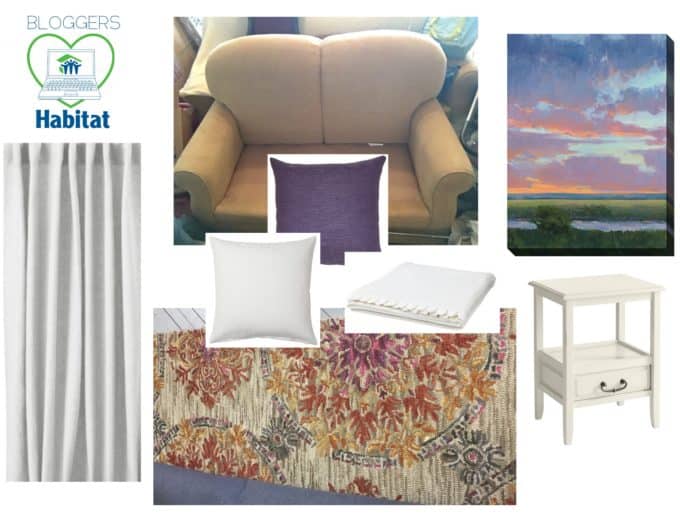
Kim donated a really pretty rug that is perfect with the gold of the couches and also has a bit of purple in it, and from there I looked for some art that would tie it all together and fill up some of those empty walls.

The homeowner had a landscape painting that she really loved in another room of the house, and so with that in mind I searched for something in our color scheme that might appeal to her.
I am a huge fan of Kim Coulter’s work…..

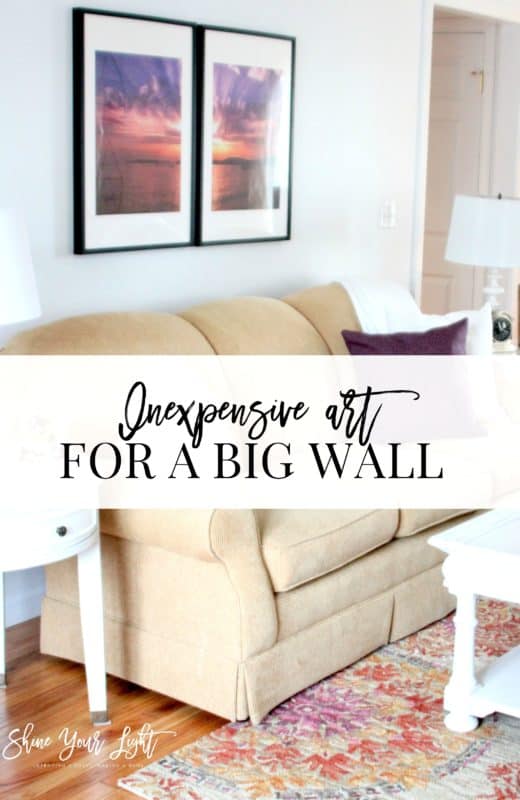
….but alas, we didn’t have the funds to buy such a piece, so I used this as my inspiration to create some art for the big wall over the couch.
This is no comparison to a Kim Coulter painting, but it definitely worked with the rug and brought some cheer to the room! (excuse the blurry photos, I brought the wrong lens and no tripod with me on install day).
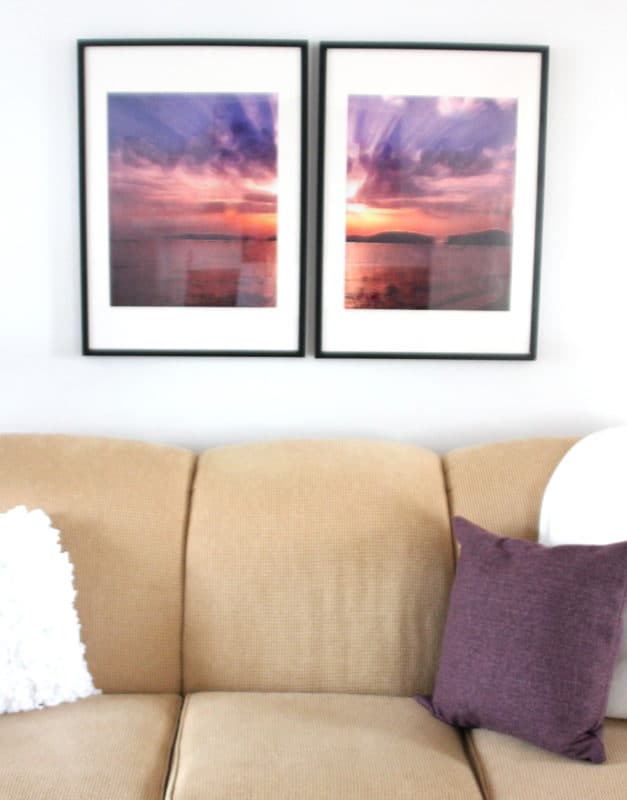
An iPhone photo of a sunset in Maine.
Because of it’s low resolution, it would have been pixelated when blown up, so I used the Brushstroke app to soften the edges and give it a painted look, then had it printed as a 24″x36″ poster at Staples.
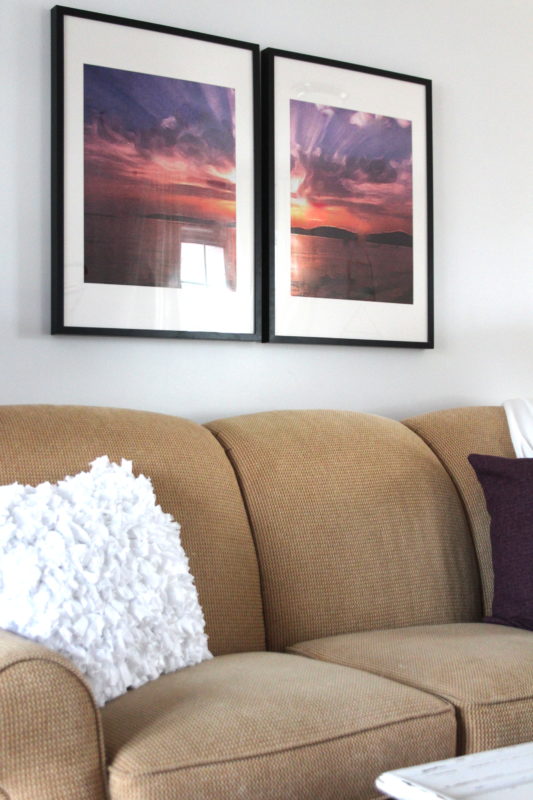
I cut the poster right now the middle and framed the pieces with Ikea’s Ribba frames (that now come with white mats!!) The mat openings are about 16″x20″, and the poster cut in half yielded two pieces 18″x24″. I traced the mats onto the poster pieces and trimmed the outside edges so the sunset would meet in the middle.
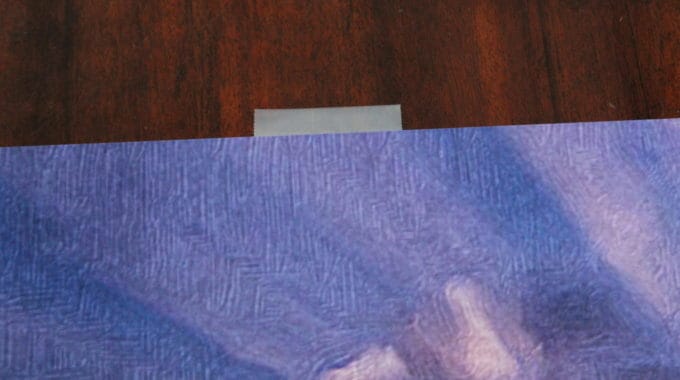
Here’s a quick matting tip….lay your picture on a table, put a piece of tape on the top center of the back of the picture with the adhesive side facing you, and then place the mat over the picture. This way you can adjust the placement of the mat perfectly.
The homeowner of the Habitat house can always change out the art in these frames down the road, but for now they bring a little happy color to the space.
I used to own a custom picture frame shop and appreciate high quality framing, however just because professional framing isn’t in your budget doesn’t mean you can’t make your walls beautiful!
A few quick tips for making cheap art look a little nicer.
1 – Consider modifying a low resolution photo with an art app like Waterlogue or Brushstroke. Using your own photo can be personal and special, but if the picture isn’t high resolution it won’t print in a large size very well. Making a photo into a faux watercolor or oil painting will disguise the blurriness of your blown-up photo (and is super fun and addicting!)
2 – Matting a picture can elevate it to a whole new level, even with a thin, cheap mat like what comes with the Ikea frames. A mat makes the overall dimensions of the piece bigger (great if you’re trying to fill up a big, blank wall) and it automatically makes a picture feel a little more grand.
3 – Dividing and framing a cheap poster adds visual interest and makes it a little more special. A 24×36 poster can be divided into two frames that have 16×20 mat openings, or a grid of 9 8″x10″ frames (3×3). Inexpensive paper maps are fantastic for dividing into several frames, or make huge block art out of a picture you blow up and print at home.
4 – If you’re buying cheap frames, go with a narrow, simple profile (shape of the frame moulding). There is nothing high-quality about Ikea’s Ribba frames – the molding is cheap and the glazing (glass) is the thinnest plastic (I don’t even think it’s plexiglass). However, because it’s a super simple profile, your eye doesn’t linger on the frame. A more ornate frame draws the eye to it, so stay narrow and simple.
For more ideas for the walls of your home, check out the Art Project Gallery!
Pin this for later!

Laura @ The Tiny House Farm says
That looks really nice! I love the color scheme you came up with. Great post!
Lisa says
Thank you so much Laura! The homeowner loves purple and it was fun to use it in this room!
Karen says
Stopping by via Thistlewood Farms today. Thanks for the info about framing photos made into posters.
Question: Can you recommend any good art apps for Android systems?
Lisa says
Hi Karen, thank you for coming over for a visit! There is a painting app for Androids called Brush Stroke via Google Play, but I’m not sure if it’s the same one as the iPhone app. You can check it out here! – https://play.google.com/store/apps/details?id=water.logue.brush.stroke&hl=en