Hi friends! Are you enjoying all these beautiful fall tours all over blogland this week? I love seeing all the subtle ways everyone is bringing autumn into their homes. I lamely opted out of jumping into a tour of homes this season because I’d have to actually be HOME to make my house pretty and share it with you all. I’m guessing you don’t want to see the piles of laundry on the floor or the half-done projects strewn about so you’re welcome that I saved you from that loveliness 🙂
In May I started a patio and natural stone fire pit project as all you regulars around here know. The project spanned across the whole summer and I left off on sharing the process with how to install a pea stone patio. I know only about 1% of my readers care to know every last detail of how to build a fire pit with a kit, but I learned so much that I figure it has to be useful to someone, somewhere!!
We are enjoying our new outdoor space so much and it’s definitely a project that a handy DIYer could throw down!
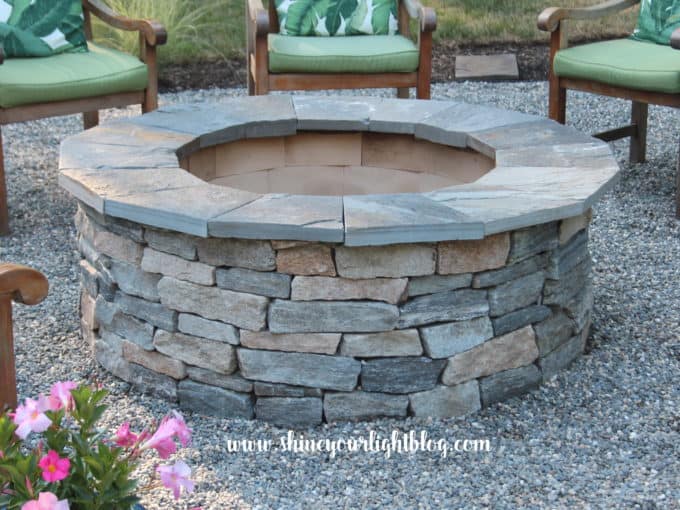
Click here to see all the posts in the fire pit and pea stone patio build.
Today’s lesson…….
FINISHING THE INTERIOR OF THE FIRE PIT
I included a supply list at the end of the post, including some affiliate links. You can read more about affiliate links here.
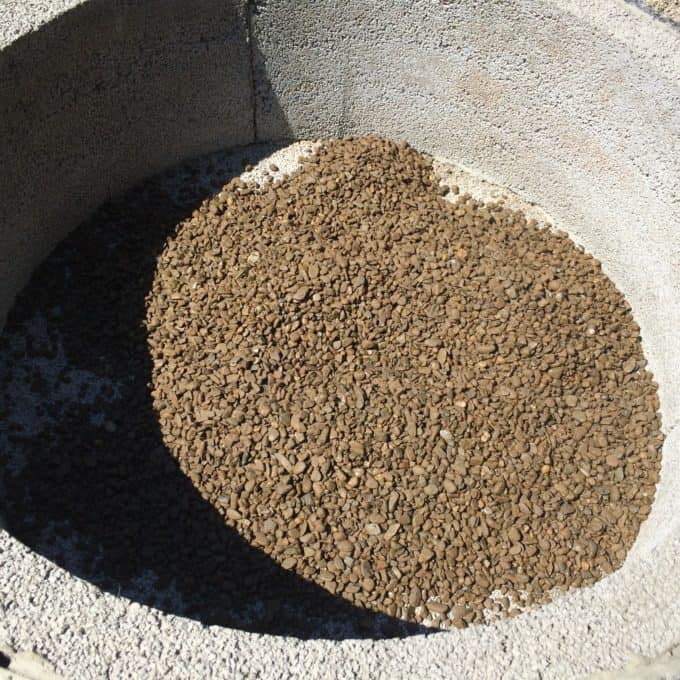
LINE THE BASE. For the base of the fire pit you can either install fire brick or sand. We opted for sand because the installation is SO much easier, it’s much less expensive, and it’s a piece of cake to clean up.
We layered 2 bags of play sand over 2 bags of all-purpose gravel from our local hardware store. Just tear open the bags, pour in, bam, done. Easiest part of this whole project!!!

LINE THE FIRE PIT WITH FIRE BRICK. Stone or regular brick can crack under high heat. Lining a fire pit with fire brick, also known as refractory brick, will create a solid, well built pit that will stand up to blazing fires for many years.
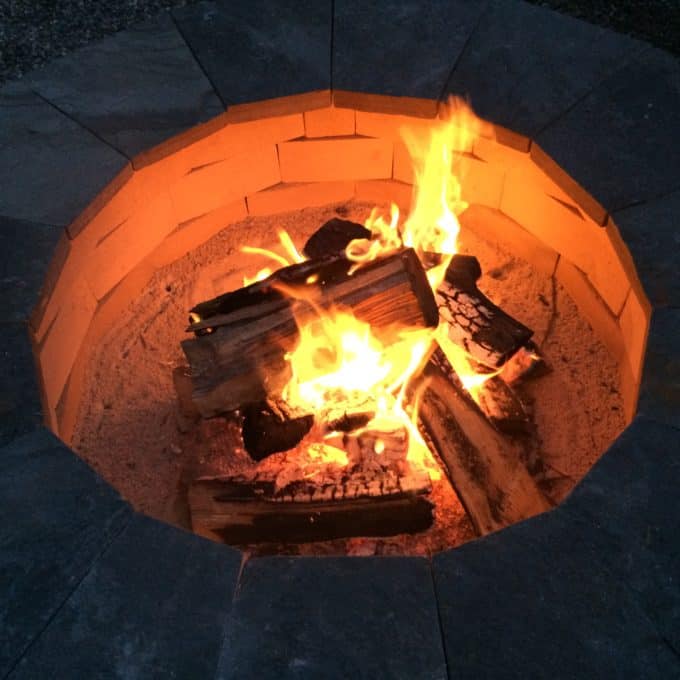
Forgive me for not sharing more pictures of the installation of the brick…..they somehow went missing!
1 | First, estimate how many bricks you will need. I added the gravel/sand base first to build up the bottom so I could build up 3 layers of bricks that would be even with the top of the pit. Take into consideration the design of the brick installation – I figured out that I would need more bricks if I “soldiered” the bricks (standing them side by side with their narrow side facing out) or “sailored” them (standing them side by side with the wide part of the brick facing out) than if I layed them horizontally with their wide face side out. I was able to return almost $50 of brick just by orienting the bricks this way. (yeah……fire brick is not cheap.)
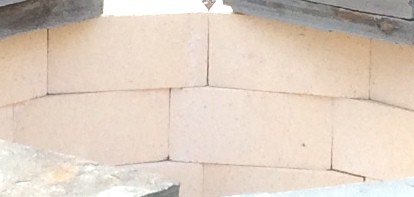
Fire brick can be purchased at stone yards. My local big box stores carried them in some locations but not all, so a stone yard is probably your best bet.
2 | Next, mix up refractory mortar (I used Heatstop refractory tolerant cement on the recommendation of local mason). I used a measuring cup and mixed a small amount by hand with a little trowel. This cement has a 2:1 ratio of cement to water. Start with the water in the bucket first and then add the cement to avoid a big clump of dry cement on the bottom, and mix just like you would a cake mix, until it’s smooth. It dries in the bucket really quickly so mix it up in small batches and start installing right away (see how it is already setting on the trowel?)
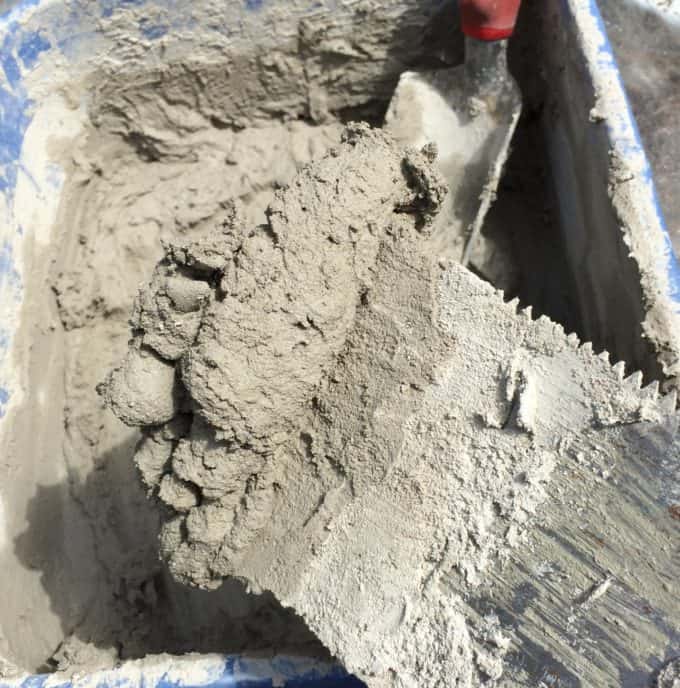
3 | Use a trowel to apply the cement to each brick. Start with a bottom row all the way around. Keep in mind that since you are installing brick to a curve, it will actually only touch the fire pit kit on it’s edges, so a substantial amount of cement is necessary in the middle of the brick to compensate for that gap. You following me? 🙂
4 | Cut bricks to fit. If you end up with a small gap at the end of a row, you will have to cut a brick to size. To cut the brick, you’ll need a brick set, a chisel and a hammer. Measure the gap and mark the brick. Use the chisel and hammer to score the brick (I found it helpful to score it on all 4 sides to get a nice clean break.) Then, hold the brick set on top of the score mark and hit with the hammer. They don’t have to be perfect – once you get that pit fired up no one is ever going to notice if it’s not!

5 | Allow the cement to cure thoroughly. I read online that a fireplace or fire pit built with refractory cement and bricks can be used within 24 hours but my stone mason guru recommended 3-4 days minimum to allow the cement to really set.
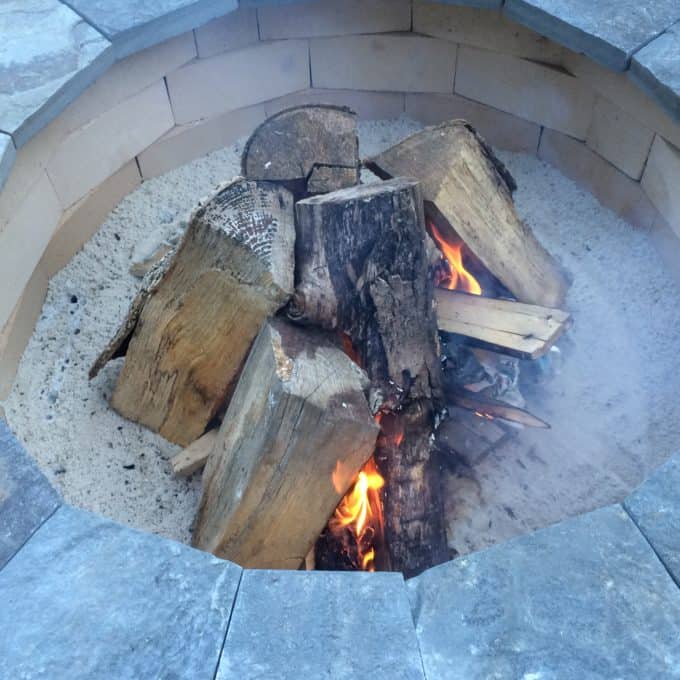
The last piece of the fire pit build using a cast cement kit from Stone Farm is my favorite part – the capstone! I’ll share with you how I managed to save $$$$$$$$$$$$ on that and install it myself in the final tutorial, coming up Thursday.
And then you’re all invited over for s’mores and wine and music and snuggling under cute plaid blankets by the fire!
Supplies for this post:
all purpose landscape gravel (2 50lb. bags)
play sand (2 50lb. bags)
fire (or refractory) brick
bucket
water

Vel says
I always enjoy how you make your difficult DIYs seem so easy with your steps Lisa!!!!! Yes, I am enjoying all the Fall home tours right now, have a great weekend!
Lisa says
I can’t wait to see your tour Vel! Your seasonal decorating is always so inspiring!!
kristin says
WOW your firepit is awesome, so much hard work but you make it look so easy 🙂 I adore the pea gravel. Have a great week!
XO
Lisa says
Kristin, thank you so much! We are really enjoying it! xx
Jack A says
Did you allow for any drains so you didn’t end up with a spa after a hard rain?
Lisa says
The base is sand so the rain hasn’t been an issue at all in the 4 years since I built the fire pit.
Jay says
Hello! What grade brick did you use? (for example SK-32). Have you noticed any cracking on the bricks after 4+ years of use?
thanks,
Jay
Lisa says
Hi Jay, I actually don’t know what grade the bricks are but we bought them from a local stone yard and they are specifically high heat bricks for fireplaces and fire pits. We have not had any cracking at all.