Maybe it’s the result of what feels like the longest winter ever, but I’ve been feeling the urge to throw a party. I don’t have a reason, but who needs a reason?

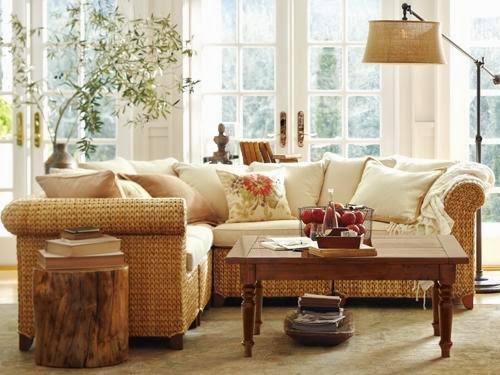
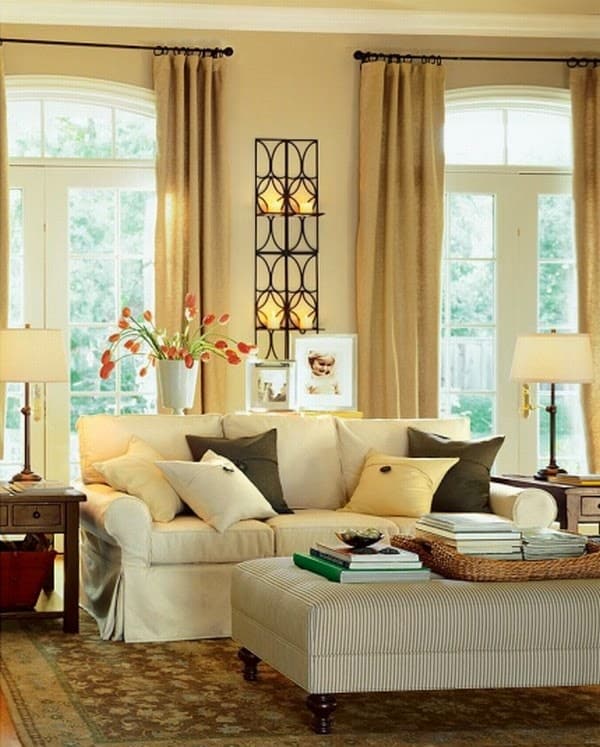
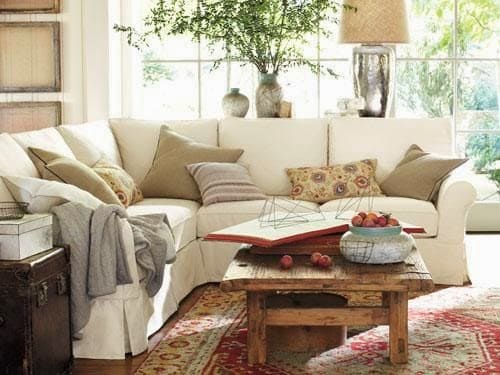
If you’ve been around here for a while you know my dream kitchen includes a built in beverage station that I can keep our barware and liquor in, as well as the coffee maker. Until that dream materializes, I am using our DIY bar cart for storing wine glasses and for mixing drinks when we have friends over, and it’s great for entertaining a small group. (I especially can’t wait to use it on our deck this summer!)
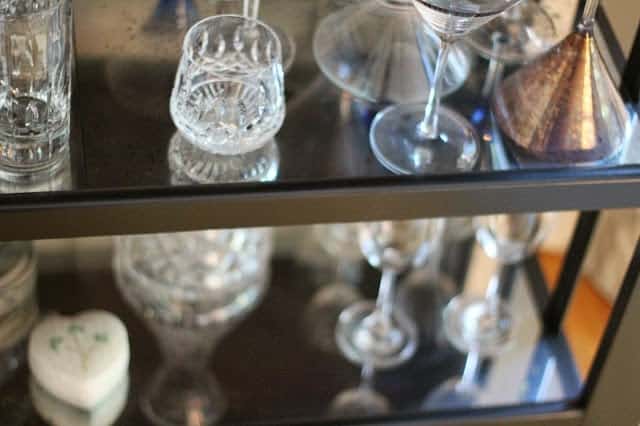
For large crowds, I like to set up a larger beverage area so guests can help themselves. Since my built in beverage center is still a figment of my imagination, I make do with the space I have to work with in this house.
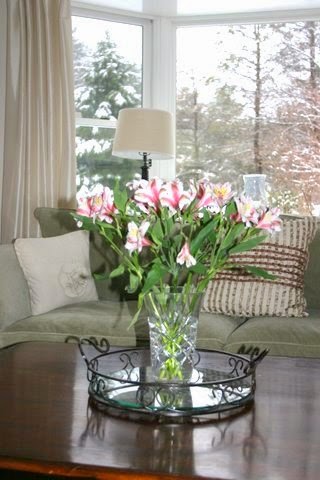
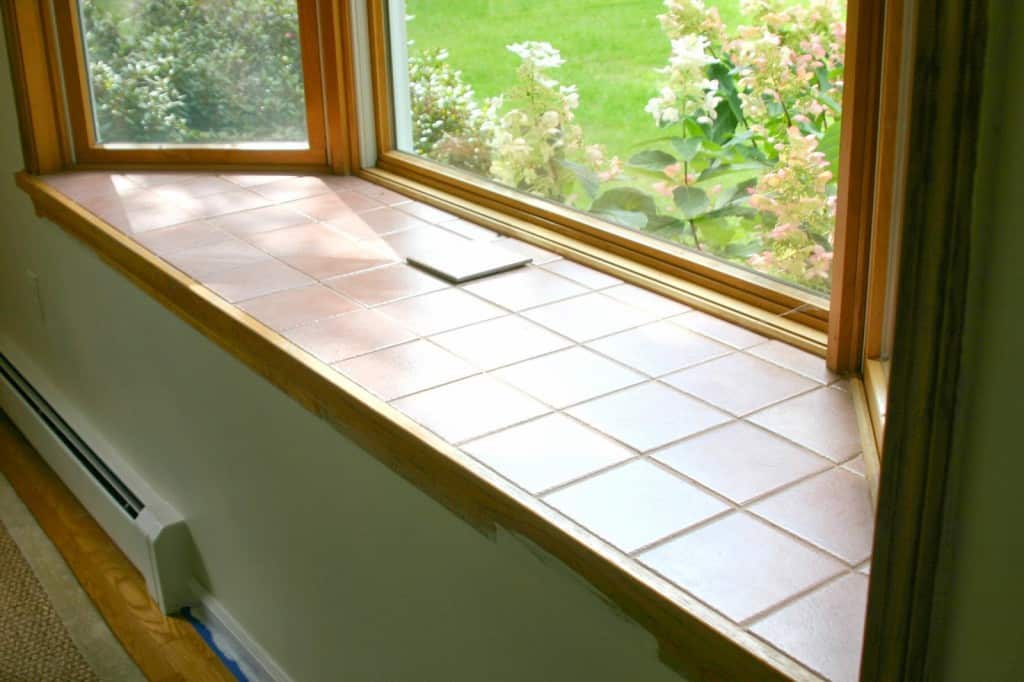
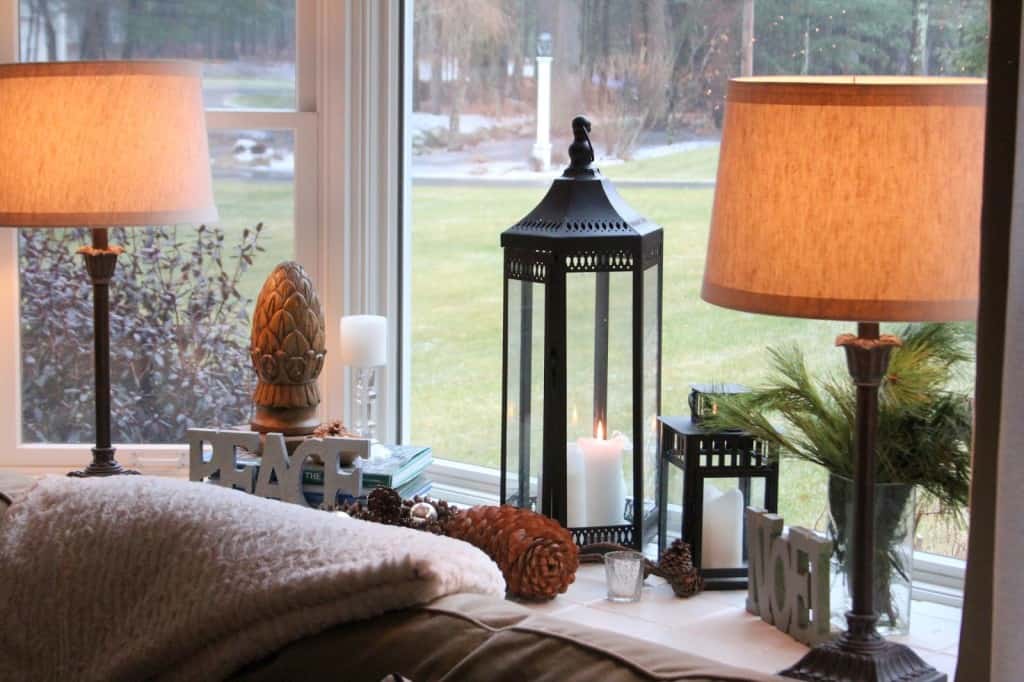
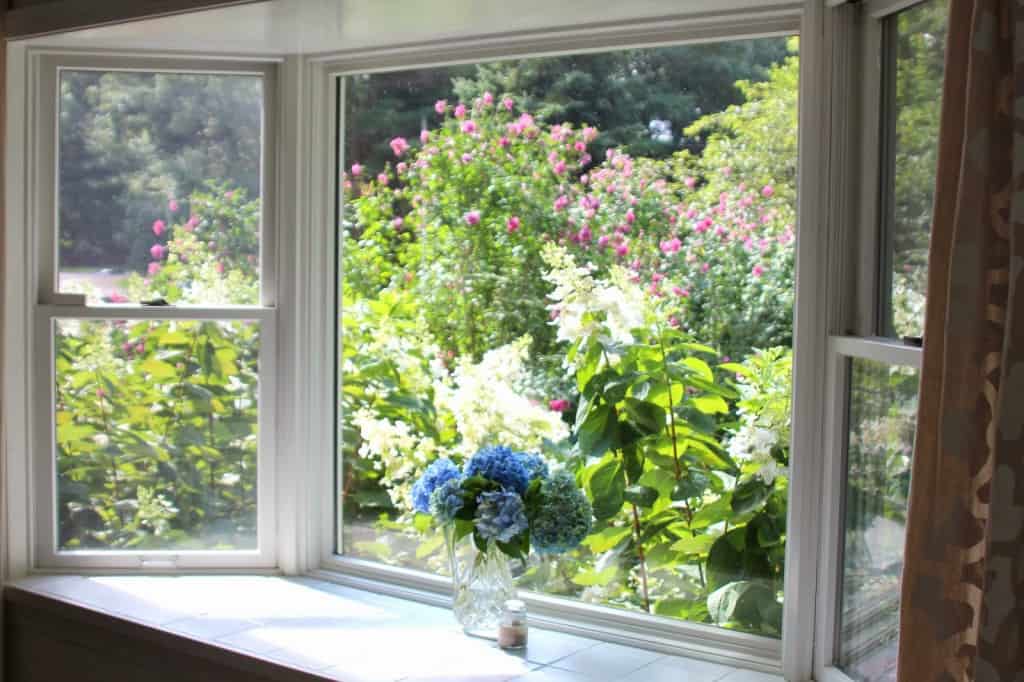
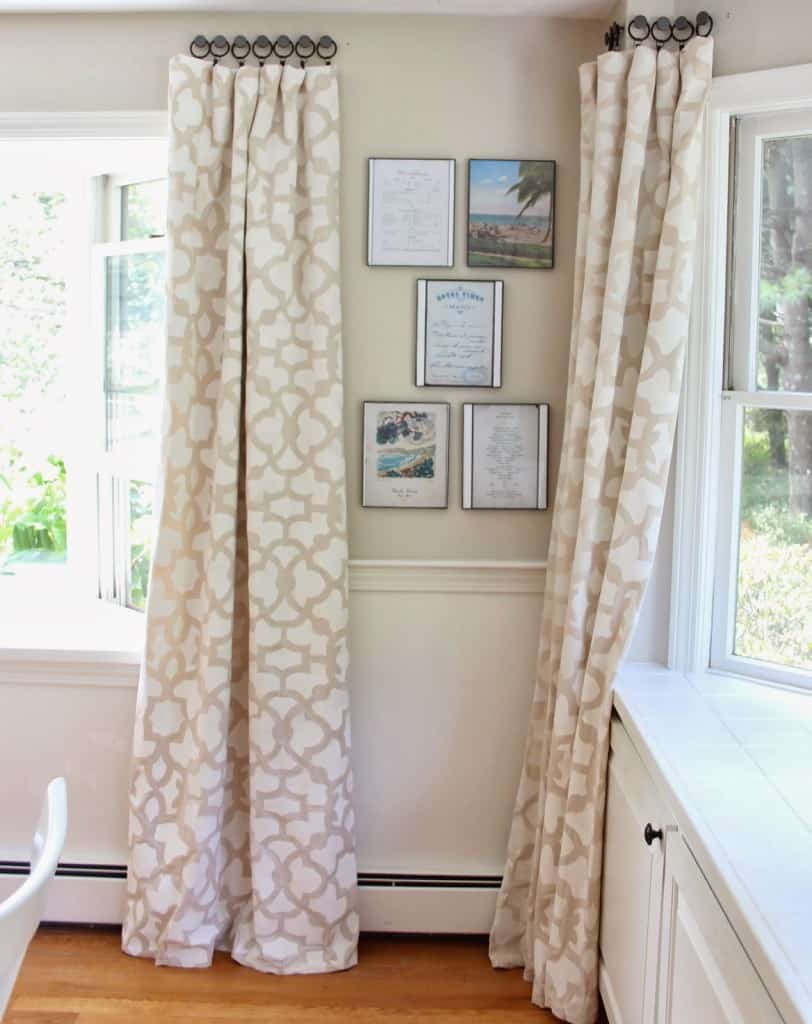
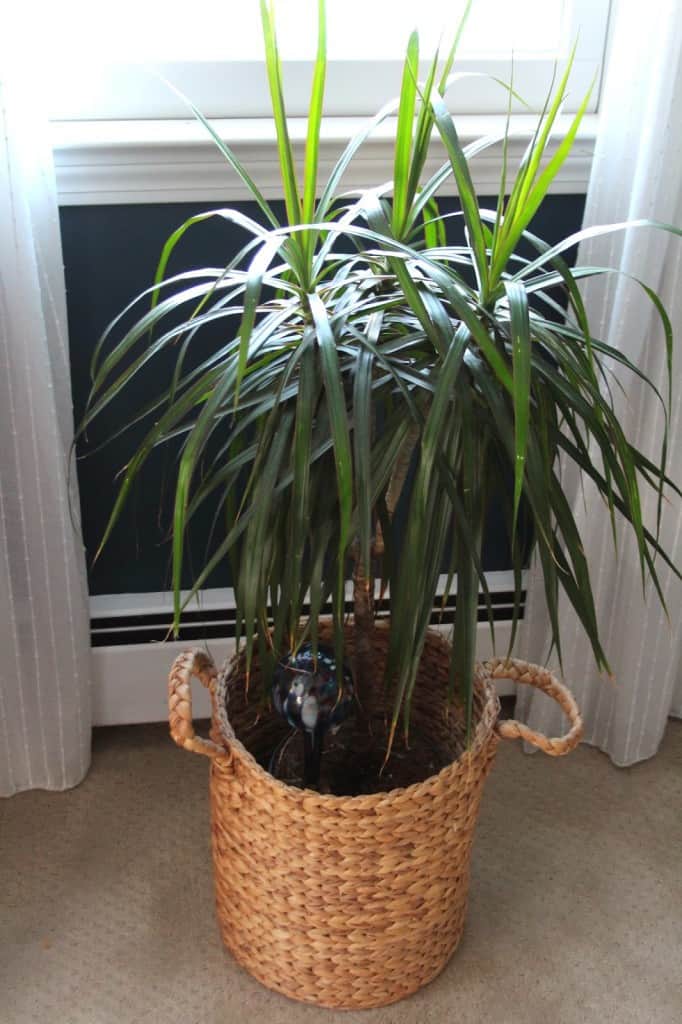
Here’s an idea for those of you with bay windows.
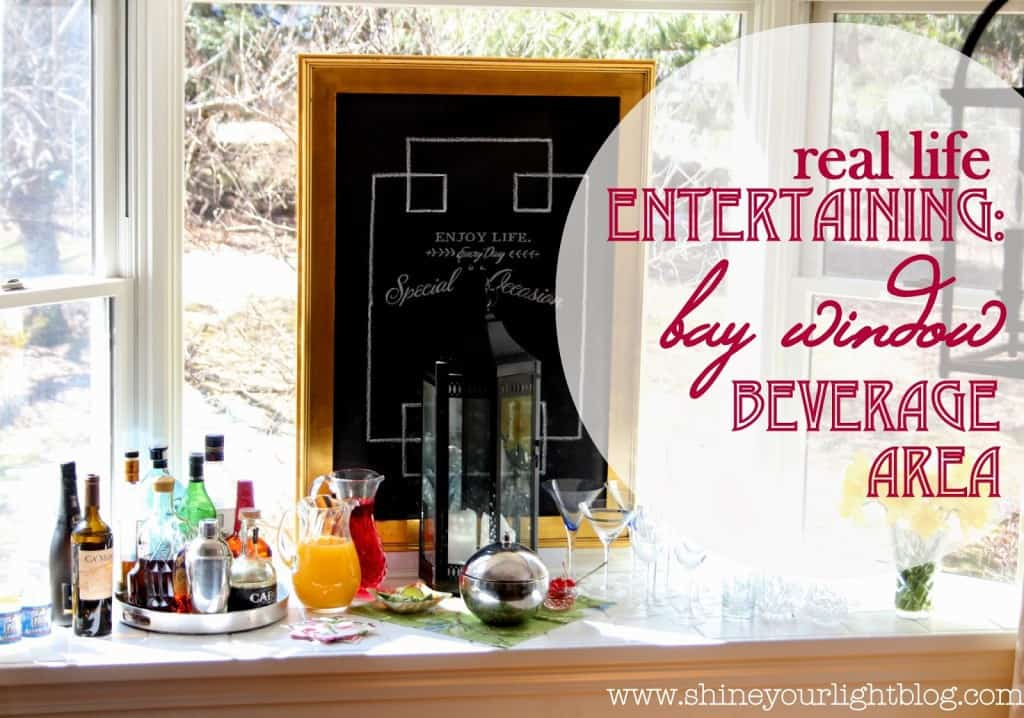
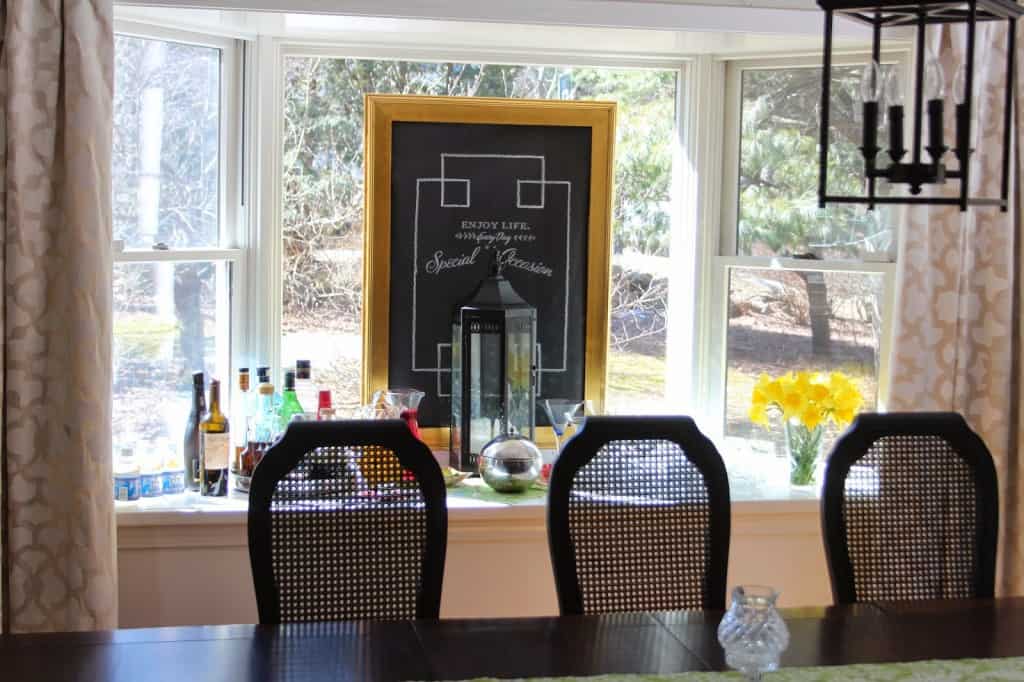
Using one of our dining room bay windows that I talked about last week as a bar keeps my kitchen counters free of bottles and cans while I’m preparing and serving food, and also keeps the flow of guests moving into various rooms.


If you’re using a window sill for a bar or buffet, a framed print or a chalkboard propped against the window adds some visual interest at night (or in this case, in the winter when the garden is not in bloom!) A mirror is another great idea, especially if candlelight is reflected in it.

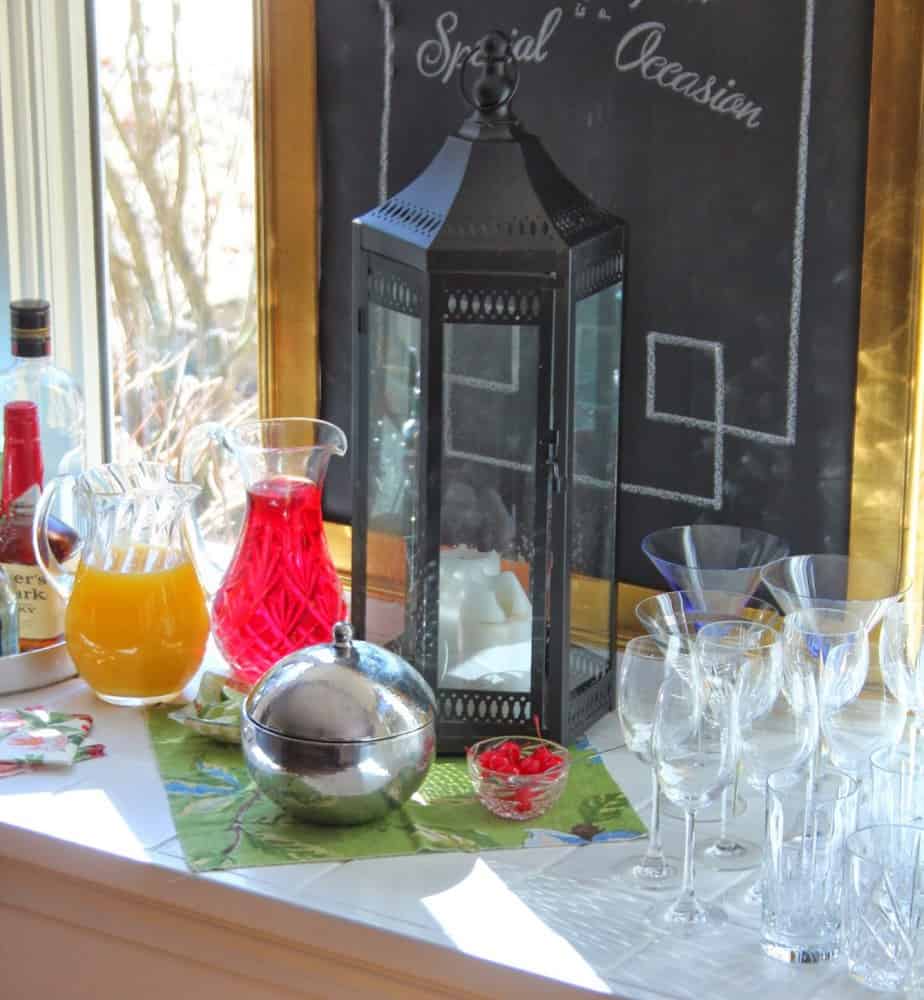
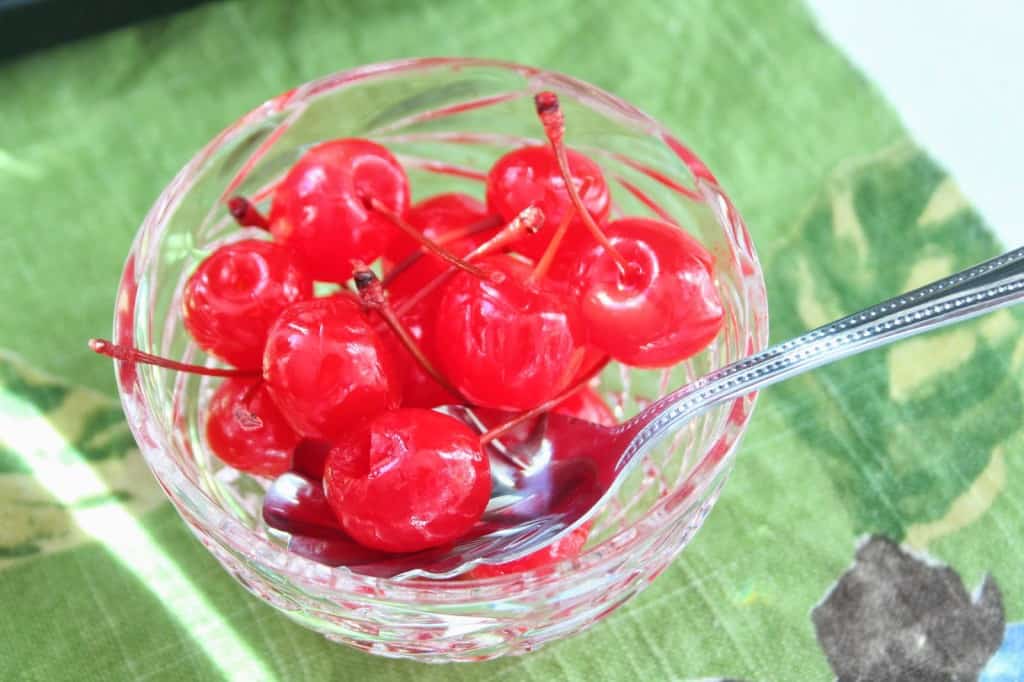
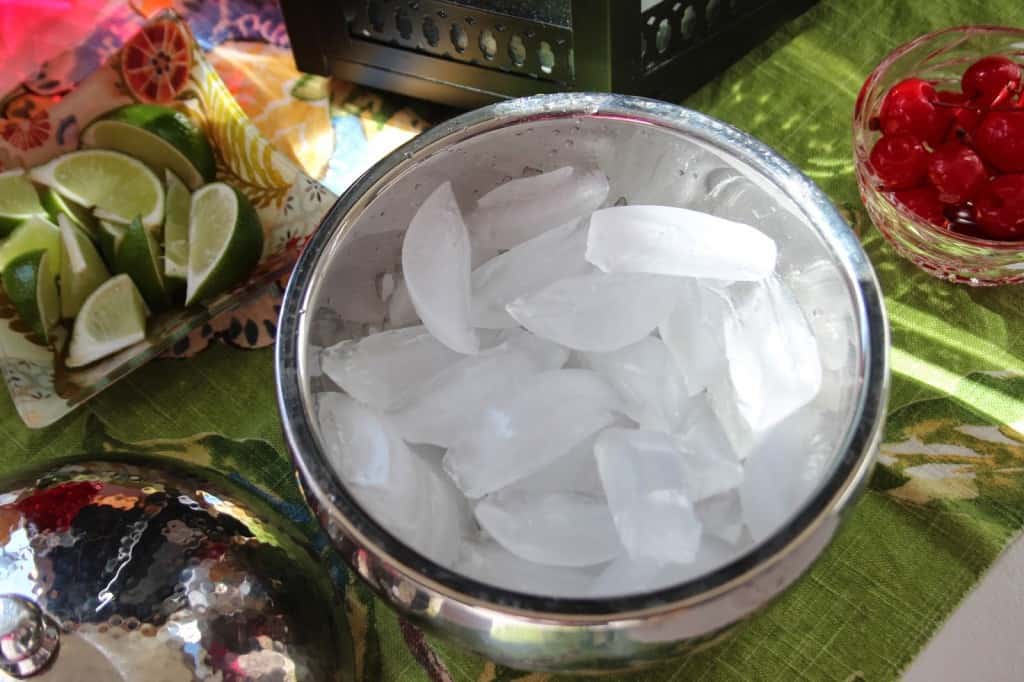
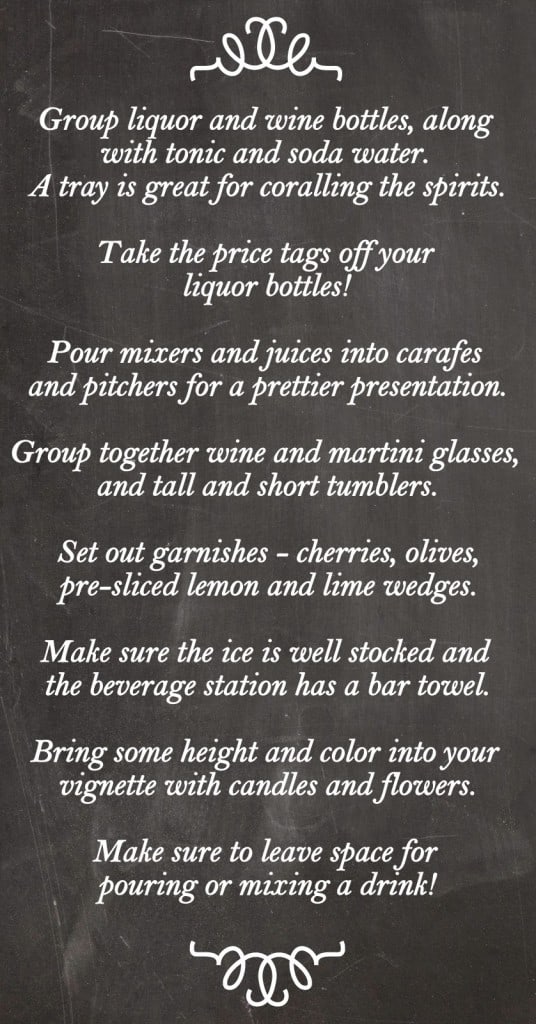
Some quick tips for setting up an organized well stocked and stylish bar:
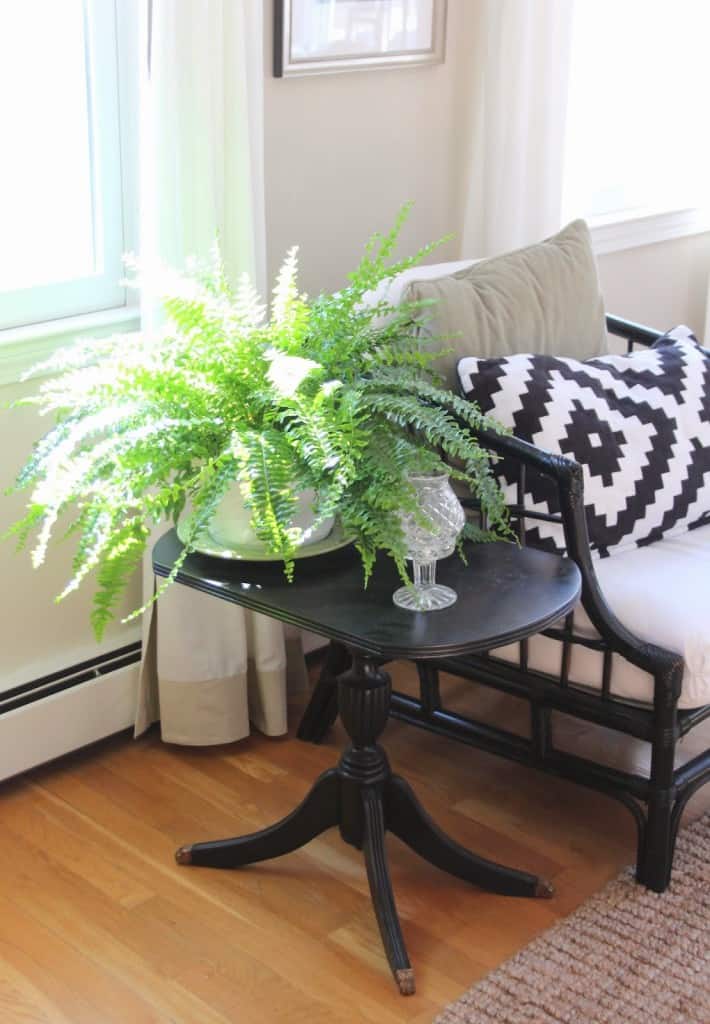
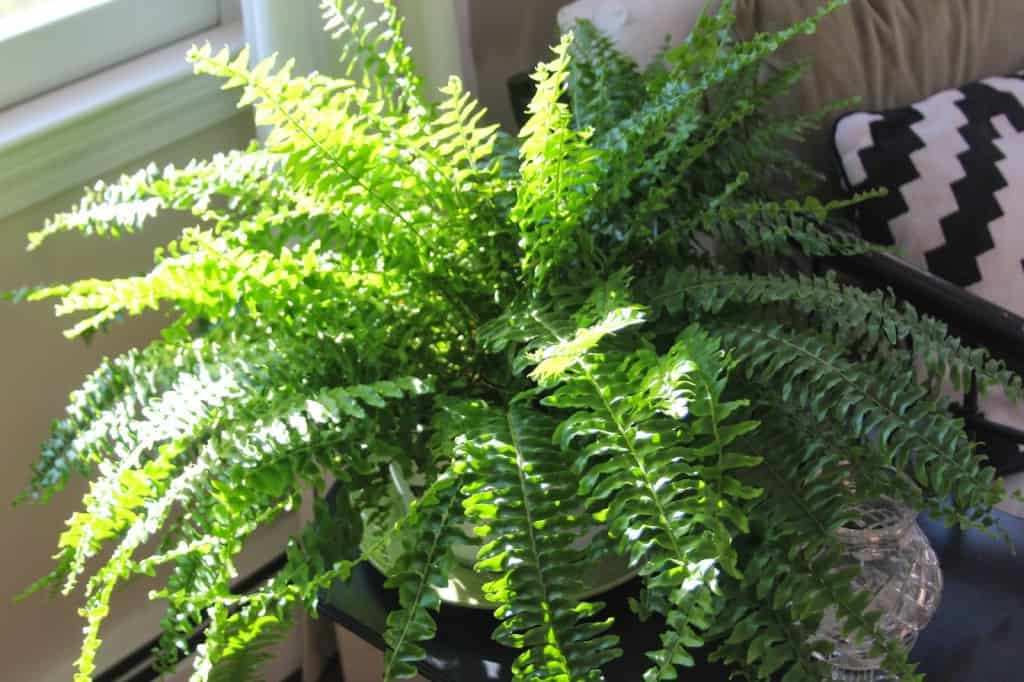
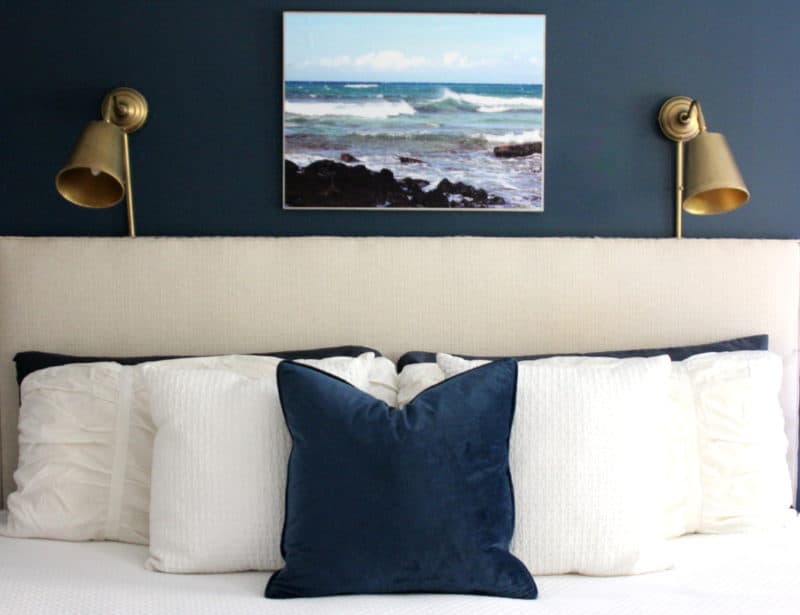
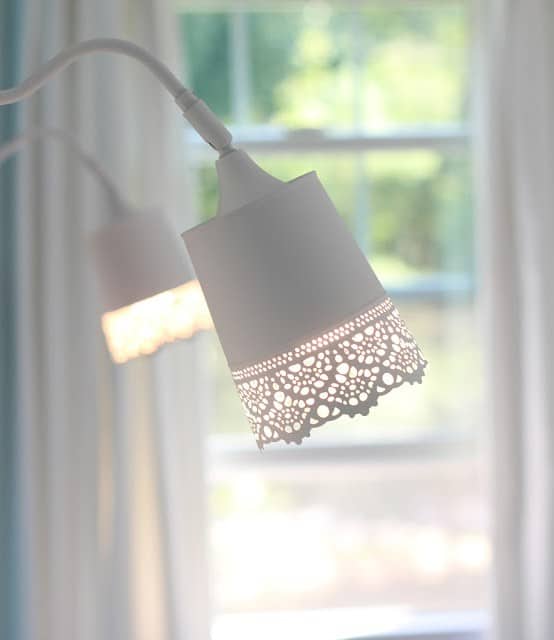
While we’re in the dining room, how about a sneak peek of that little project that I’ve been working on forever? Details tomorrow!
And speaking of parties…..this Friday just happens to be the second installment of

Come join the fun!
Link up your best project of March (DIY, design, food – anything home related!) on any of these blogs or share on Instagram! I can’t wait to see what you’ve been up to.
Cheers, my friends!
Lisa