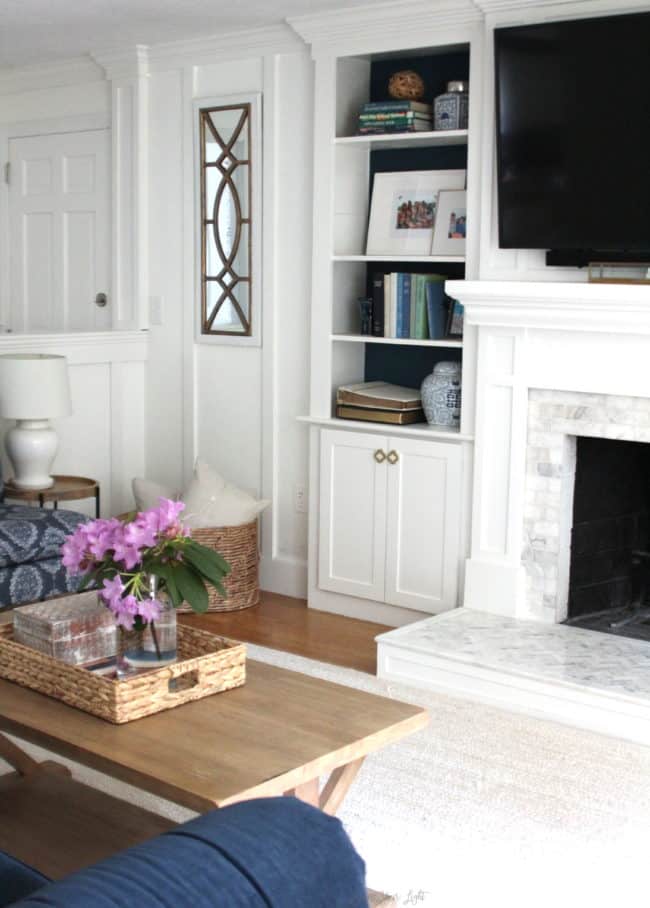
Today I wanted to fill you in on the last piece of our family room makeover – adding cabinet doors to the built-in bookcases that flank the fireplace. Here’s where we left off at the end of the One Room Challenge….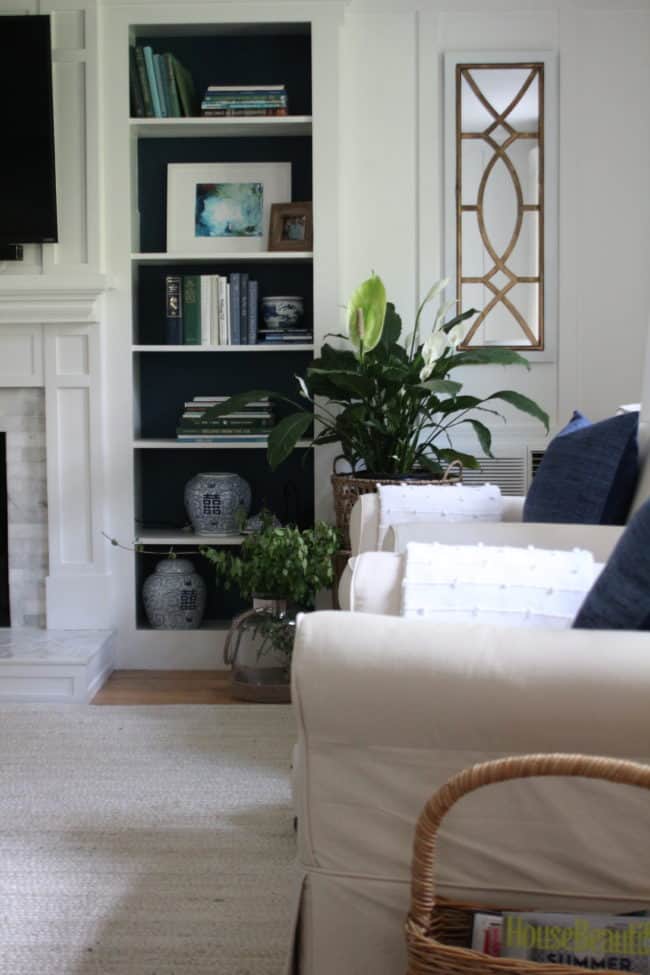
….and now with the new doors and some finish carpentry.

It’s a subtle difference but makes this wall feel less cluttered. I’m so happy I finally tackled this small project, because the family room is finally completely, totally DONE!! (Well, except for the floors which we have yet to tackle!)
If you’re new here, I gave our family fireplace a makeover a couple of years ago by removing the tall cabinet doors, high mantle and brick supports, refacing the surround and the hearth with marble tile, and adding a new mantle and woodwork over the existing brick.

This year we got a new, slimmer TV, removed the outdated eyeball light in the ceiling, and at long last I installed custom made doors to the lower two shelves.
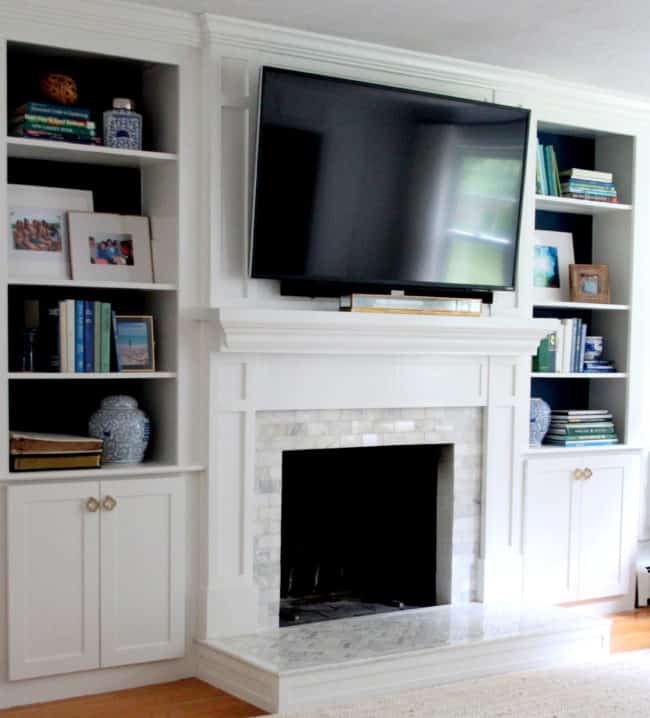
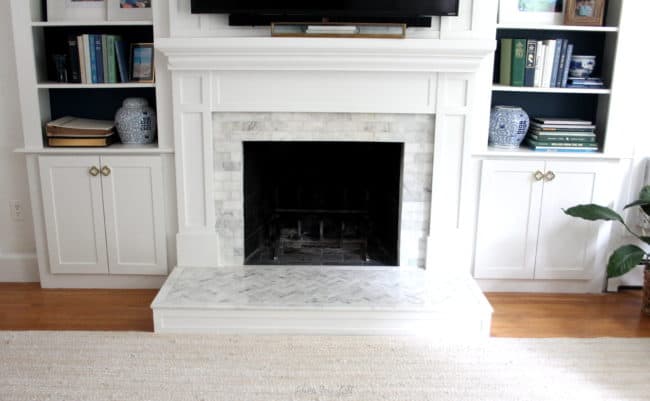
I considered making the doors myself, but after DIYing doors for our mudroom cabinets, I decided to order custom MDF doors made to my exact measurements for the family room.
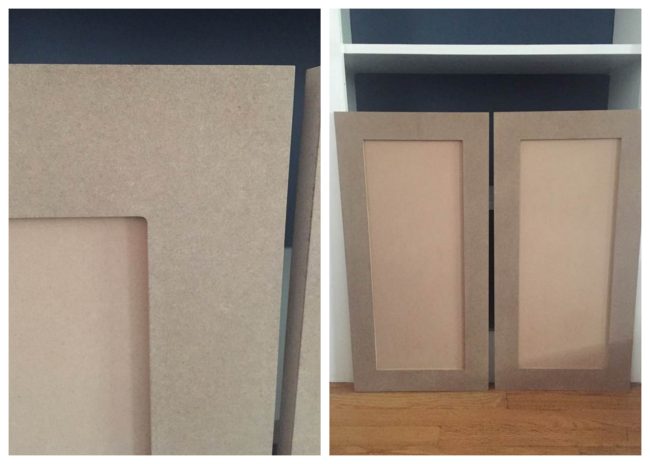
I did a ton of research on custom cabinet doors and this seller had a great price and reviews so I gave him a try, and am so happy with how they came out! The doors are very professional looking, perfectly sized, and because the shaker-style trim is cut from one piece of MDF, there are no seams where joints meet. MDF is also very smooth and paints up beautifully. I opted to have the hinge holes pre-drilled for me too, so the doors came all ready to paint and hang.

I used my paint sprayer to prime and paint them, then hung them with these concealed hinges that I also used when I made over the bathroom vanity.
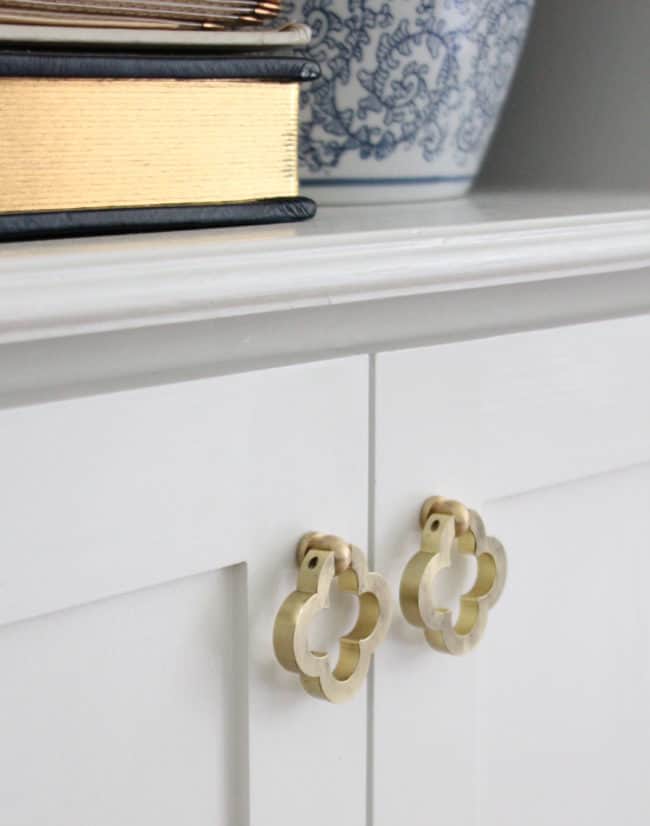
The brass pulls are from here and I love the size and weight of them! They were a little shiny for me so I gave them more of an antique brass finish with my quick paint trick. Read my techniques for antiquing brass here!
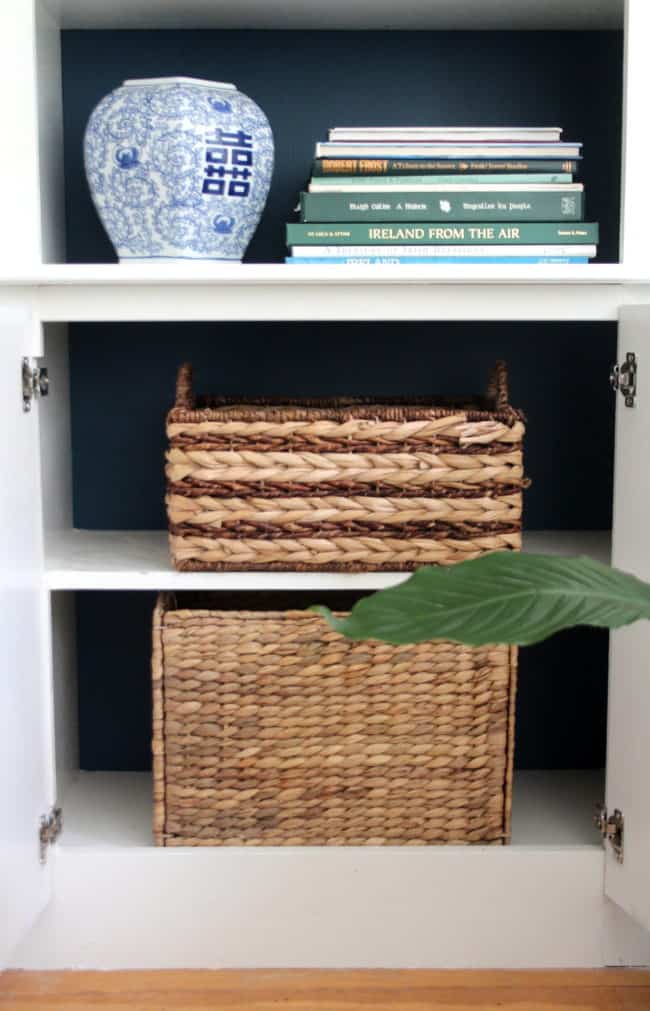
I can’t tell you how fired up I am at the storage potential for things like Scrabble, fire starters, matches and all the un-pretty essentials!
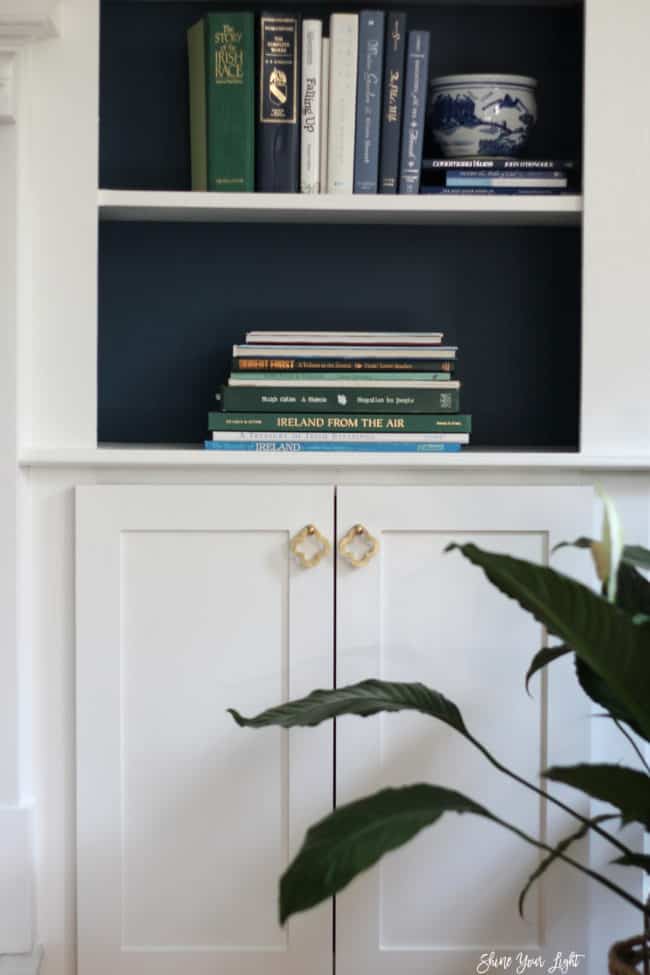
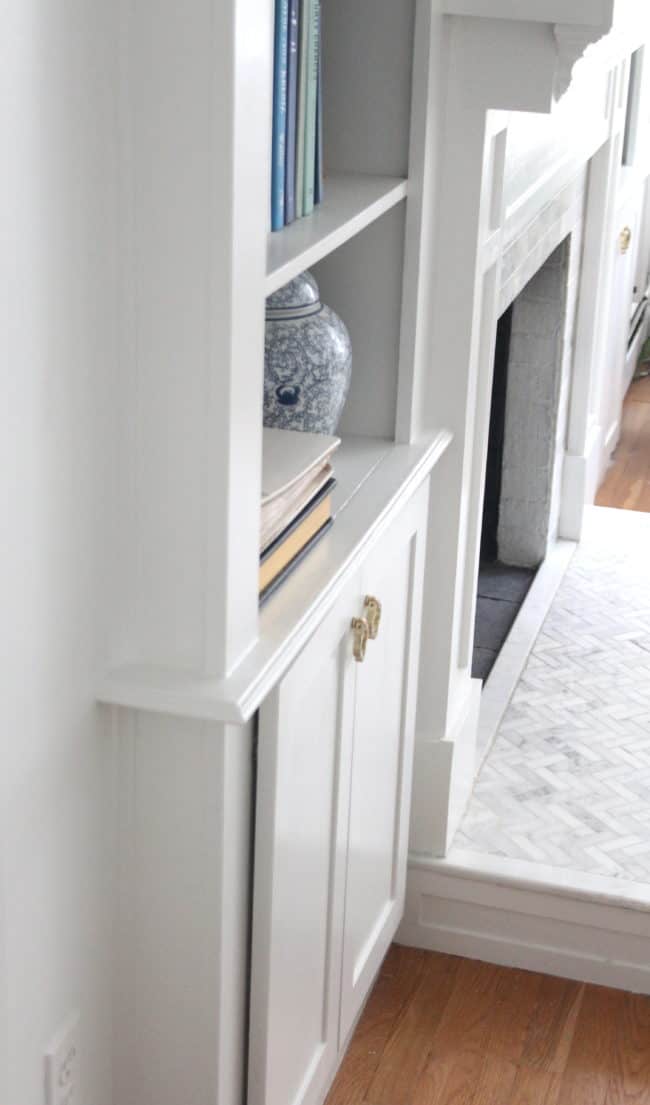
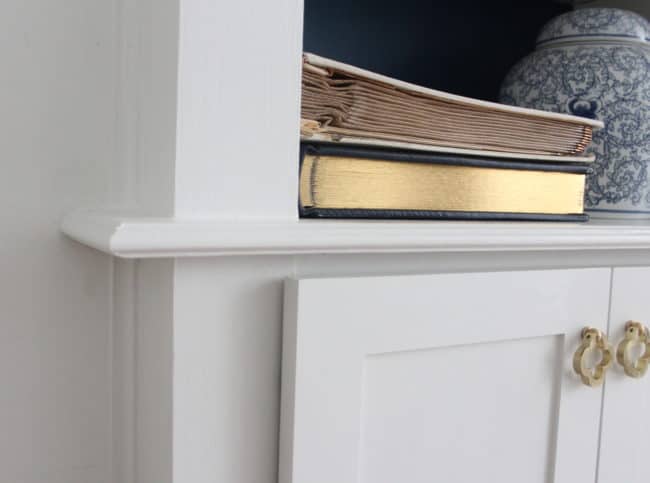
I was just going to add the doors and leave it at that, but a lot of built-ins like these are actually base cabinets with shallower bookcases set on top of them, creating a ledge where they meet (see my Pinterest board on bookcase and built-in inspirations here). I like that little detail so I pondered how to modify the bookcases and eventually decided to use my jigsaw to cut MDF trim like this……
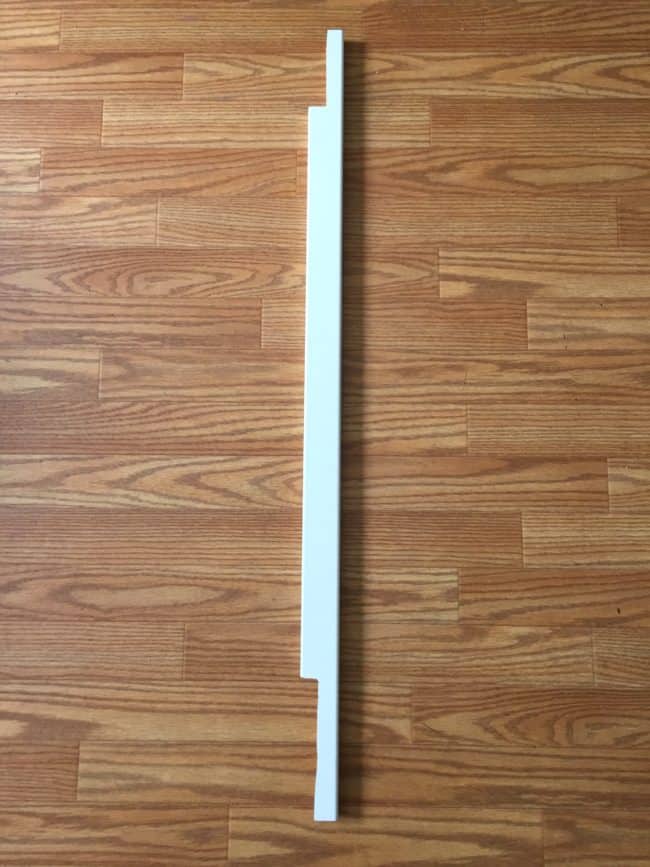
…so that it could fit into the shelf and onto the face of the bookcases. This took me several attempts to get the pieces nice and snug, and wood fill came to the rescue in some spots that were less than perfect.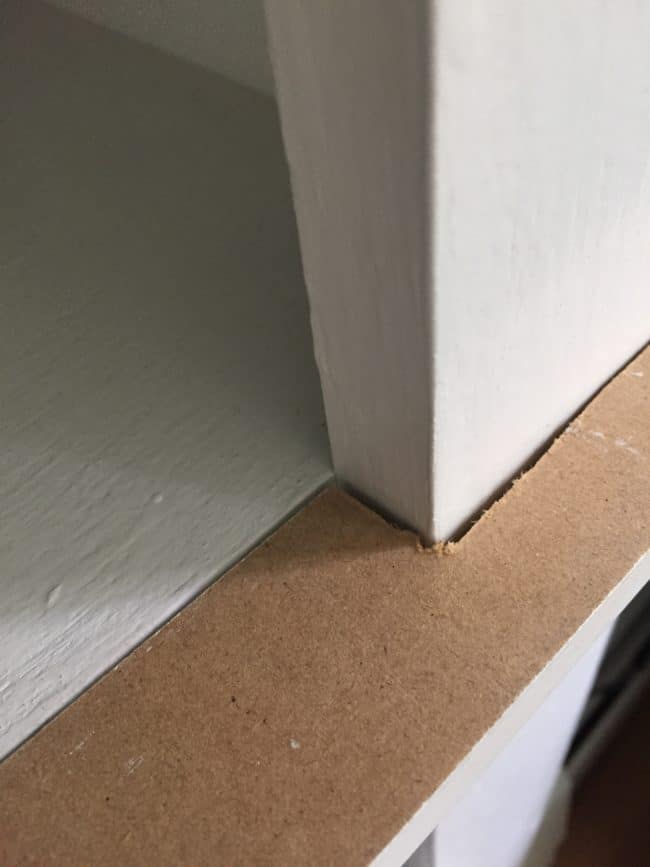
The MDF trim I used has a rounded edge on the primed side, so I turned it over and used the unprimed side so the straight edge would abut the shelf and I’d have less of a gap where those two pieces meet.

I also had to notch out the trim on the fireplace surround and against the wall so this piece could fit into it. My little Dremel did the trick for that.
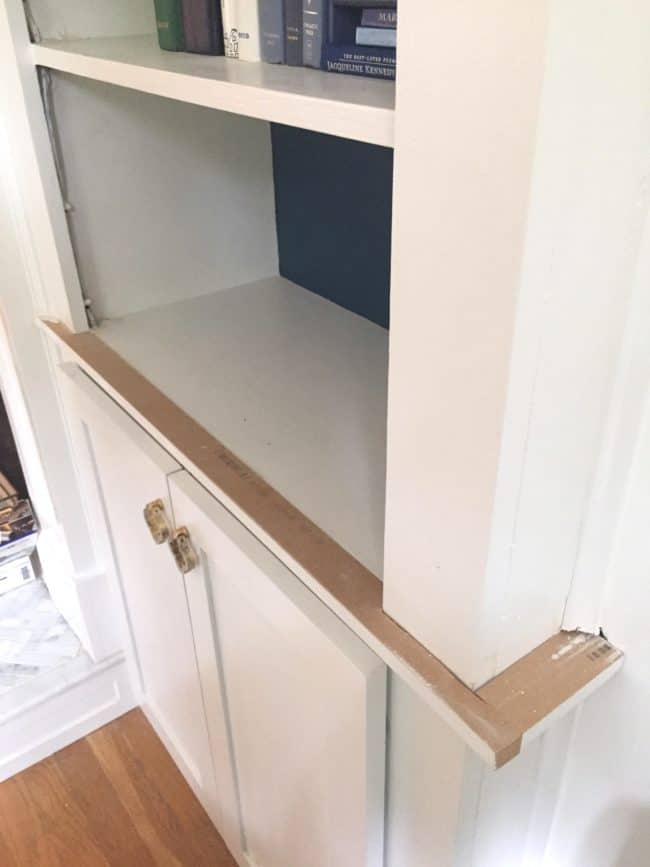
In retrospect I should have cut a narrower piece for the sides that meet the wall so the reveal around the bookcase frame was the same all around, but I had already installed the front piece with Liquid Nails and my brad nailer before I realized the error, so I just went with it. I don’t think anyone will ever notice unless I point it out but I wanted to bring up this little detail with all of you DIY gurus out there.
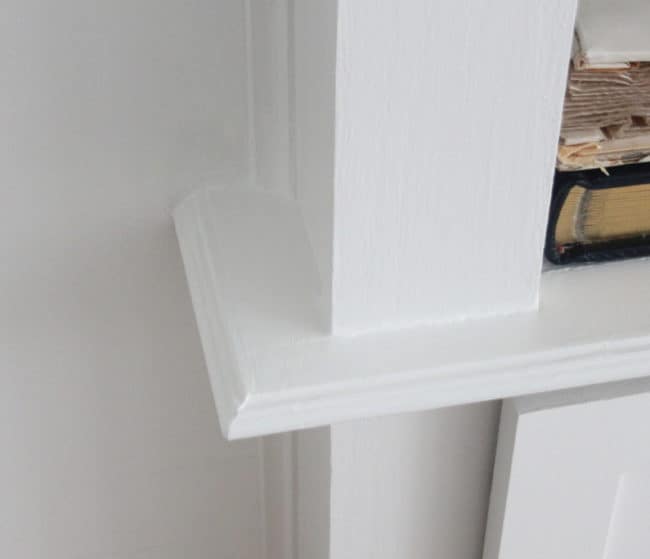
My brother Jim was an amazing finish carpenter and I always wish I could talk to him about my wood working projects. When we moved my mom a couple of years ago, I found a few pieces of moulding that he had stored in her garage and have been finding ways to incorporate them into our house ever since. This little piece of his trim that I added to the edge of the MDF gives the bookcase a little extra detail – but mostly I love that something that represents him so well is a part of our home.
A little side note: thank you to everyone who weighed in on how to disguise the AC unit! If you’re new here, we have central AC on our second floor where the bedrooms are, but the first floor just has this built wall unit that is an eyesore from both the inside and outside of the house. It’s a huge headache to replace it with central AC and we’ve got bigger projects to attend to (hello ginormous kitchen remodel), so it’s not going anywhere fast – and honestly, I am so grateful to have that big old elephant in the room for the two months out of the year that we use it.
I started building a cover for it – just in time for summer and the AC needing to be uncovered! Here’s a real life shot of this room. The peace lily is doing a great job distracting the eye right? 🙂
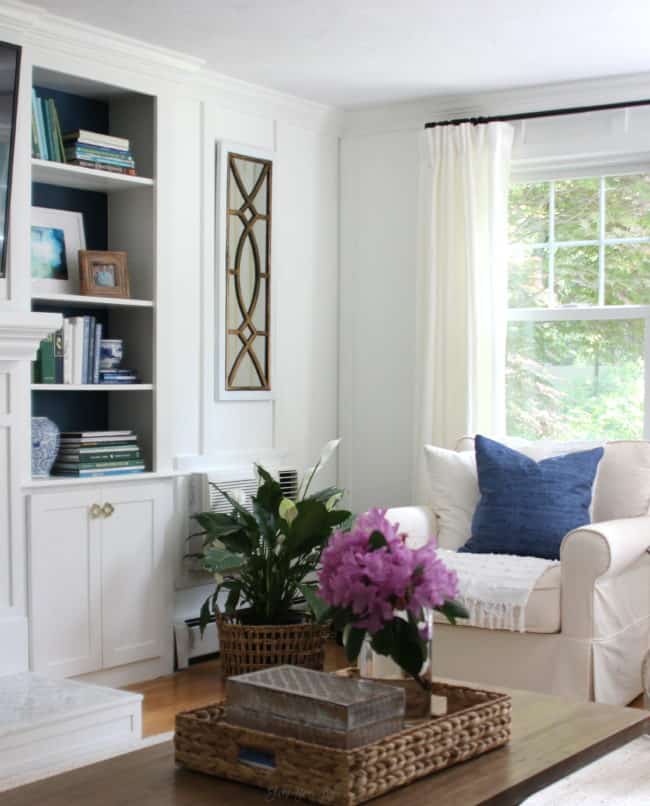
I’m so happy to have these doors installed – the built-ins feel complete with them now and I have four less shelves to style!
Thanks for following along through the longest DIY project in the history of projects – besides my son’s room (kicked off in January and stillllll going!) and the mudroom I started in March (of last year!) Next week I’ll share the details of the half wall makeover that has made such a difference to this space!
Have a great weekend and thanks for stopping by!


Marty Oravetz says
The doors look amazing and great detail work too.
Lisa says
Thank you so much Marty! I’m so glad to finally call that project done!
sandi says
I tried to find in the post and but I didn’t see. Where did you get the door handles. Those are awesome!
Lisa says
Hi Sandi, I found them on Etsy from this seller: https://rstyle.me/n/c5ak96b3qwp
They are very similar to a Ballard Designs version that is twice as much and I like these better!
Tara @ Lehman lane says
It looks beautiful Lisa! What a transformation and so smart to add cabinet doors!
Lisa says
Thank you so much Tara! Glad to have it all finished at long last.
Jessica says
You are brilliant!!! This is amazing!
Lisa says
Ahhh thank you my kind friend!! It’s good to be done with it after 2.5 years! 🙂
Joyce says
When you used the liquid nails to apply the front of the shelves, where did you nail? Did you toenail under? Great job!
Elizabeth says
Thank you so much for this. I’m looking at purchasing a 100 year old row house, so every inch of space is important. I keep looking at the built in bookcases and thinking…I’d rather have cabinets that shelves. Thank you so much for the great directions! Beautifully done and the pulls are fabulous.
Lisa says
Thank you so much Elizabeth. A 100 year old row house must have so much character! Best wishes with your new purchase.