Remember these?
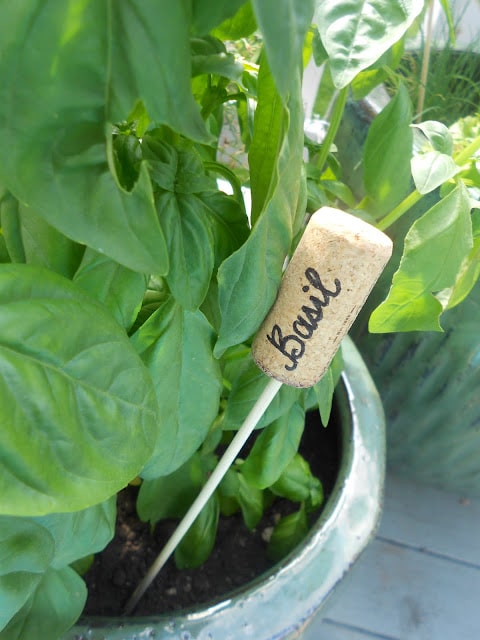
My wine cork herb markers post was the most visited post on my little blog for about 5 years straight, shared on all sorts of sites, and even included in a Swedish magazine, Allt om Trädgård! Apparently I am not the only one who wants to put my wine cork collection to good use!
So how about another easy wine cork craft? From bulletin boards to wreaths to placecard holders, there are so many inventive ways to upcycle wine corks.
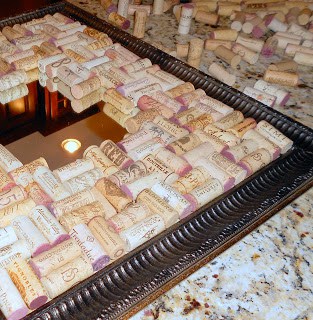
My neighbor, Sue, and I both have quite a collection of corks and tossed around different ideas of what we could do with them. One Sunday afternoon while our husbands watched football and our kids ran amuck we dumped all our collective corks onto Sue’s counter and plugged in the glue guns. Sue decided to reinvent a small mirror that she spray painted and give it a cork border. Here it is in progress.
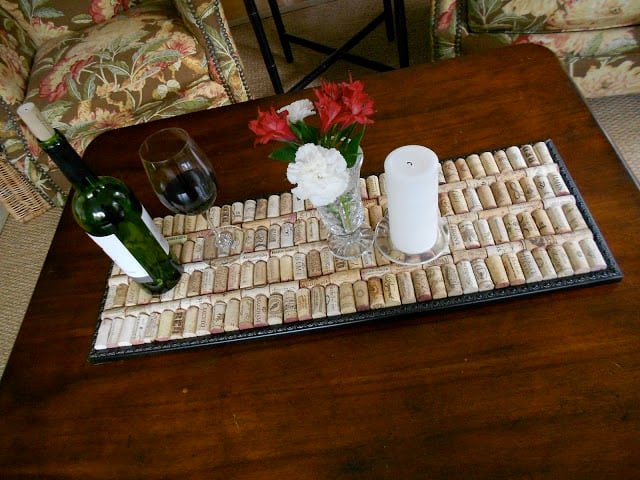
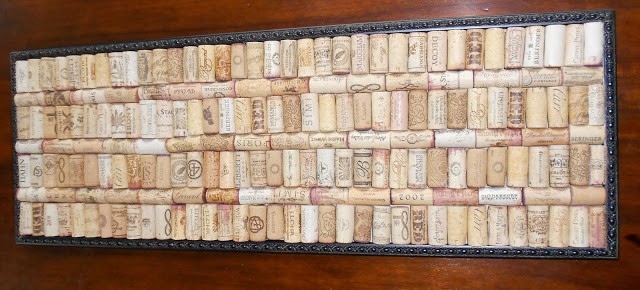
I knew I wanted to use my corks for a tray, along with an empty picture frame I had in the basement. It was so fun to put together and I love how it came out!
Do you want to make one too?
Here’s How To Make Your Own Wine Cork Tray
Supplies
AN EMPTY PICTURE FRAME – if you don’t have one on hand, check out Goodwill or Savers. Discard the glass and backing that comes with it.
1/4″ PLYWOOD – cut to the size of your frame’s outer dimensions. See step one for more details.
WOOD GLUE – for attaching the frame and base.
SMALL FINISH NAILS – also for attaching the frame and base.
CORKS – you’ll need a lot! For my 10″x30″ frame, I used 188 corks! If you have amassed quite the wine cork collection, this is the perfect way to use them up. You can also buy recycled wine corks from actual wine bottles, with the writing on them. Plain corks would do the trick too but I think what makes this project so charming are all the different names and logos from various vineyards.
EXACTO KNIFE – for trimming corks to fit. Make sure to have extra blades on hand. This is the Exacto set I have that has come in handy for lots of household uses.
GLUE GUN & GLUE STICKS – ahhhh the trusty old glue gun! This glue gun is cheap and comes with glue sticks.
CORK SHEET – this is optional but I added cork sheeting to the bottom of my tray to protect my coffee table.
SPRAY ADHESIVE – for attaching the cork sheet. This inexpensive spray adhesive works for me.
Directions
ONE | Cut plywood (or have it cut) to the outer dimensions of your frame. You can find smaller pieces of plywood for craft use at the big box hardware stores, and they will cut the wood to size for you if you want, so be sure to have your measurements on hand when you go in.
TWO | Attach the plywood to the frame. Turn your frame over onto a rug on towel and apply a bit of wood glue on the back of the frame, then lay the plywood on top and use small finish nails and a hammer to secure the wood base to it.
THREE | Attach the cork. First lay the tray on top of the cork and use a pencil to trace the perimeter. The cork is easy to cut with scissors. Take your tray base outside or into a well-ventilated area, apply spray adhesive to the bottom, and smooth out the cork onto it.
FOUR | Figure out your cork layout. I strongly recommend dry fitting the corks, and figuring out where you need to make your cuts, before starting the gluing process!
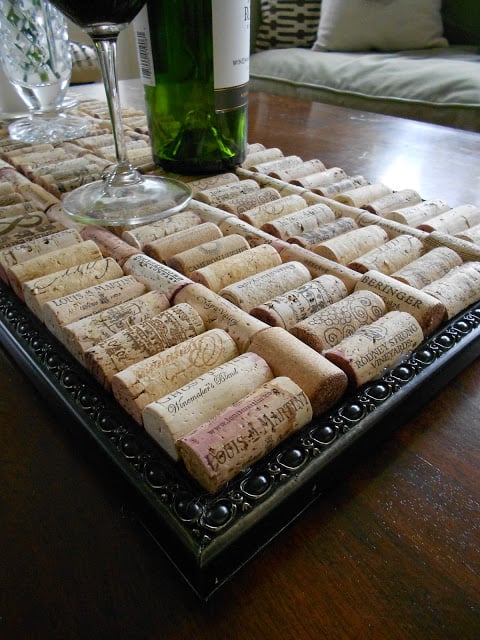
FIVE | Cut corks as needed. To cut the corks, lay them on a non-slip cutting board on a sturdy, flat surface and use the Exacto to saw back and forth through the cork. Sharp blades will help significantly with this process. I had to trim the corks on the long ends of my tray, and I also skimmed the bottom off of some fatter corks so they would all be relatively even (I didn’t do a very good job with that Beringer one on the end!)
SIX | Fire up your glue gun! Once I figured what layout would work best for my frame without having to make a million cuts, I plugged in the glue gun and got to work gluing them into place one by one. 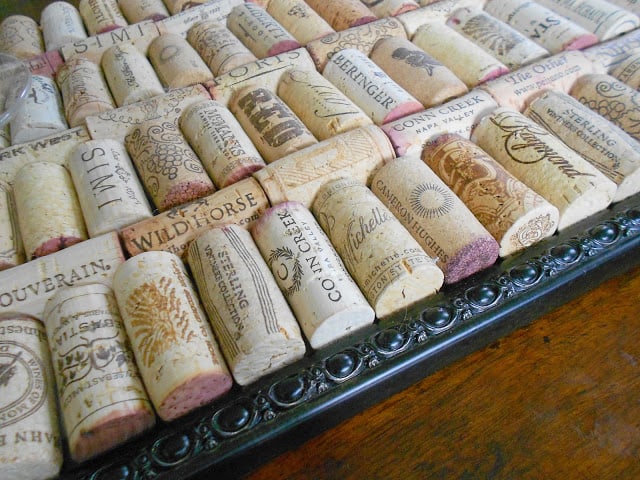
I have a lot of repeat corks on my tray and also some “blanks”; I tried to mix them all up and make it interesting.
This tray has come in really handy as a big trivet when we are serving things right out of the oven – the frame is lower than the corks so hot dishes only come in contact with the corks.
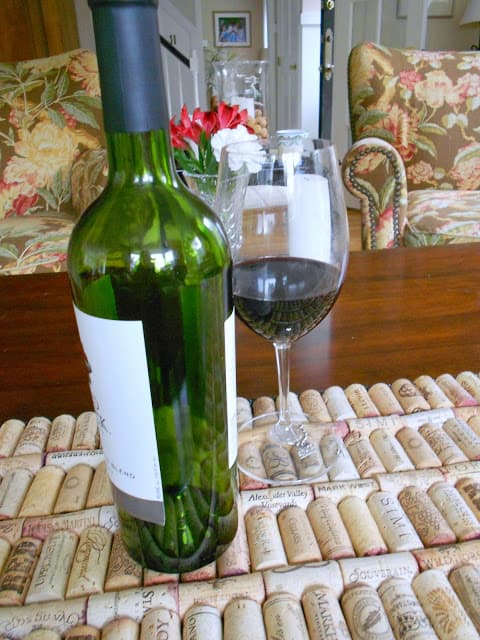
It’s great for putting hot appetizers out on your coffee table, and the corks also make a surprisingly level base for a wine glass (I was happy to try it out 🙂 )!
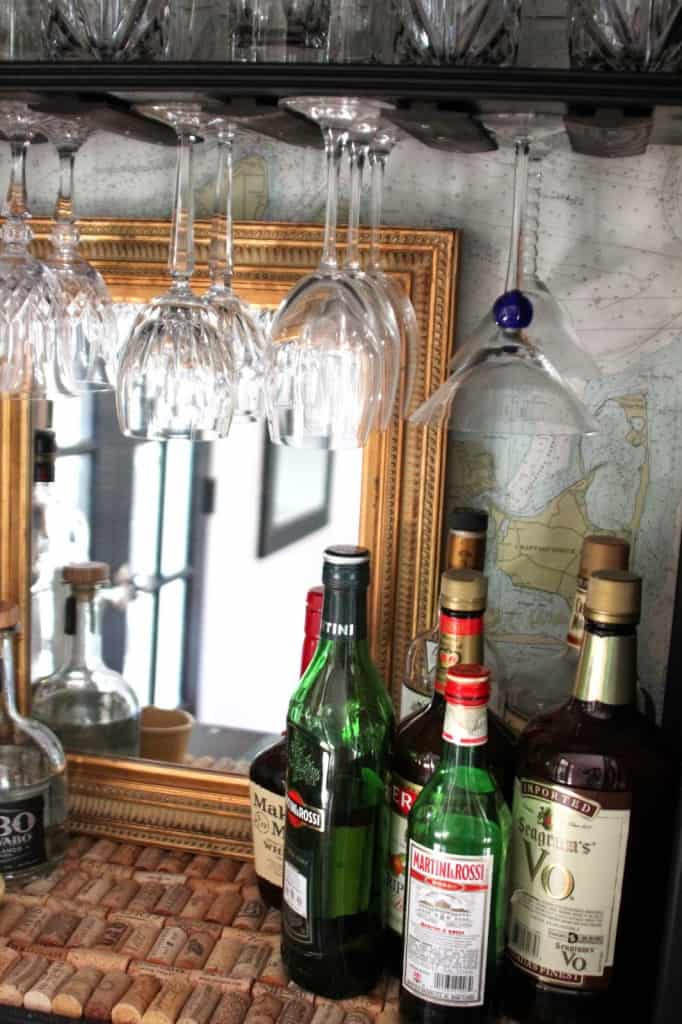
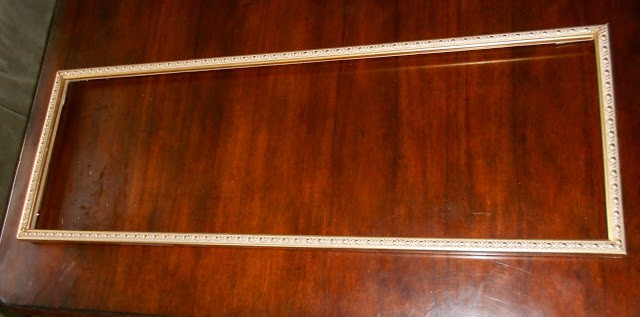
I’m so happy to use my collection of corks for something functional in my home, and to be able to upcycle my oddly shaped frame from this….
…to this!
age still leaves us friends and wine.
-Thomas Moore
Cheers!



CalypsoInTheCountry says
Lisa,
I LOVE the wine cork tray! I have been saving up wine corks lately – especially since I see them for sale all over! Right now I just have them in a glass hurricane but I love the tray idea! I guess we will have to hurry up and drink more so we will have enough to make a tray! LOL!
-Shelley
Kristin @ My Uncommon Slice of Suburbia says
This is so pretty Lisa! I made one awhile ago and it didn't come out nearly as pretty as yours. I think the black really makes it pop. Hmmm….maybe mine needs a fresh coat 🙂
XOXO
Kristin
Jae says
Very nice. Great idea. I have a jug full of corks to do something with.
A Vintage Vine says
What a cute idea….Look what I can make after these stairs are done, with all those leftover wine corks! HAHA!
Mary-Sweetwater Style says
I have been making these for years…but your layout is different than mine….I am going to make one like this! Thanks for the idea!
kitty says
Love this idea! I have an apothecary jar full of wine corks that I can put to good use!!! Thanks!!!
Sixty-Fifth Avenue says
That is awesome…and huge! How fun to have your pictures published, congratulations!
Andrea says
Ah, another great reason to drink wine! Love this idea. I have been saving my corks for a while. Thanks for the inspiration!
The Pineapple Room says
Wow Lisa…it turned out great! So cute and I love the way you layed them out.
Jenny @ Simcoe Street says
I absolutely love this!!!!!
Jenny
http://www.simcoestreet.blogspot.com
Val says
Wow-that cork tray is the coolest thing, ever!!!
At The Picket Fence says
I seriously LOVE this idea! It looks fantastic and we are so glad you shared it with us at Inspiration Friday this week! 🙂
Vanessa
Fabiana ~ Ciao! Newport Beach says
Great project! I love how it turned out…
ciao
Rhiannon says
love this! Im always looking for great cork projects!
Andrea says
This is perfect:) I am seriously loving your post! It is so informative and I think my subscribers would really enjoy reading this. I would love for you to come share it at Frugal Days, Sustainable Ways on Frugally Sustainable (http://frugallysustainable.blogspot.com/2011/11/frugal-days-sustainable-ways-2.html). I really hope that you will put Frugal Days, Sustainable Ways on your list of carnivals to visit and link to each Wednesday!
Warmly,
Andrea @ Frugally Sustainable
Here's the link: http://www.frugallysustainable.com
Lisa - A Room with A View says
I had not seen this project before. Beautifully done, Lisa. I am working on "growing" my wine cork collection and would love a tray like that. Great idea and thanks for sharing!
Nancy @ dream it ... build it...style it! says
Love this idea! I'm searching for thinks to do with all my wine corks and this may be it!
Thanks for sharing.
Nancy
Just Spiff It says
We never throw away a wine cork!! Love your tray but really happy to see the plant marker idea! Way too cute!! Going to do some for our herbs! Thanks for sharing