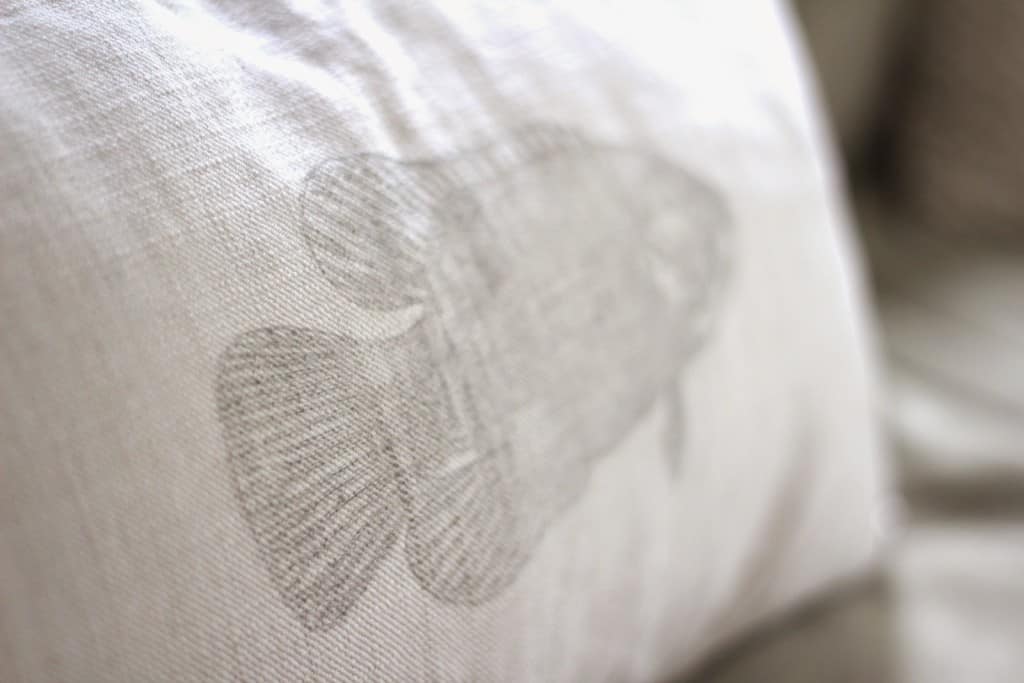
This summer I showed you a glimpse of a pillow with a fish graphic in my living room.
This little fishy was the beginning of a graphic transfer epidemic that happened around here over the last couple of months.
Transferring an image that you print out from your computer is SO easy!!
Once I got the hang of it I couldn’t stop.
Trust me, even if you aren’t crafty, you can do this!!!!
I have traced or hand lettered many signs over the years, and tried all sorts of methods, and this is undoubtedly the easiest way to put a graphic on fabric, wood or a painted surface.
This brilliant method is by Angela at Unexpected Elegance.
Angela came up with the idea to print onto wax paper and then burnish an image or text from the wax paper onto a substrate (a box, piece of wood, furniture, cutting board, pillow cover…..
the possibilities are endless!)
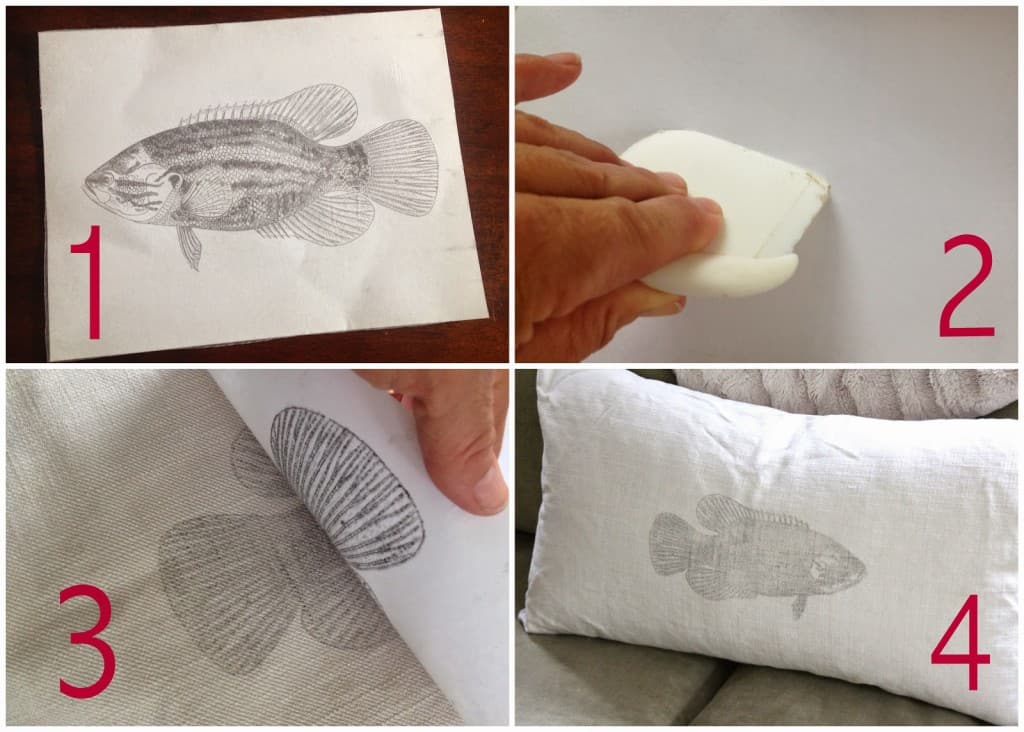
1// Print onto wax paper (for text, make sure to print a MIRROR IMAGE)
2// Rub onto to a substrate
3// Take a peek to see if it is transferring fully
4// Enjoy your handiwork!
I’ve transferred onto several different surfaces using this method
and here are a few tips I learned along the way.
TIP #1:
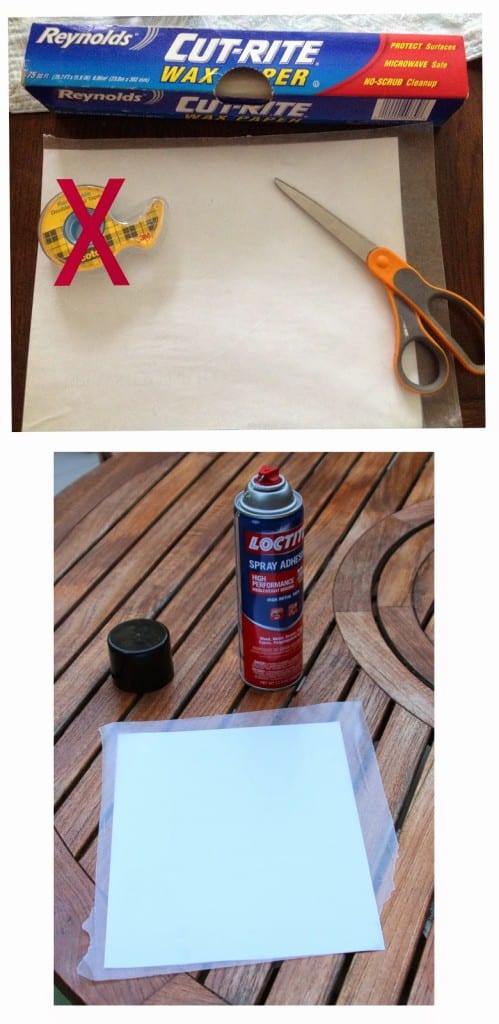
adhere your wax paper to regular paper to run through your printer.
Angela successfully prints graphics right onto pieces of wax paper, but I swear I heard my printer laugh out loud at that idea before it chewed up and spit out my perfectly cut piece of 8×11 wax paper.
I tried sticking the wax paper to a piece of cardstock with double sided tape, but that didn’t work, so I turned to the trusty old spray adhesive and it worked like a charm.
I simply sprayed the cardstock with the adhesive (outside, away from anything because the stickiness goes EVERYWHERE) and then placed a piece of wax paper on top, then trimmed the excess, put it into my printer and printed away.

TIP #2:
for a painted or wood surface, slightly wet with a damp rag first to help the ink to transfer.

TIP #3:
tape down the paper so it doesn’t shift while you burnish the image to the substrate.
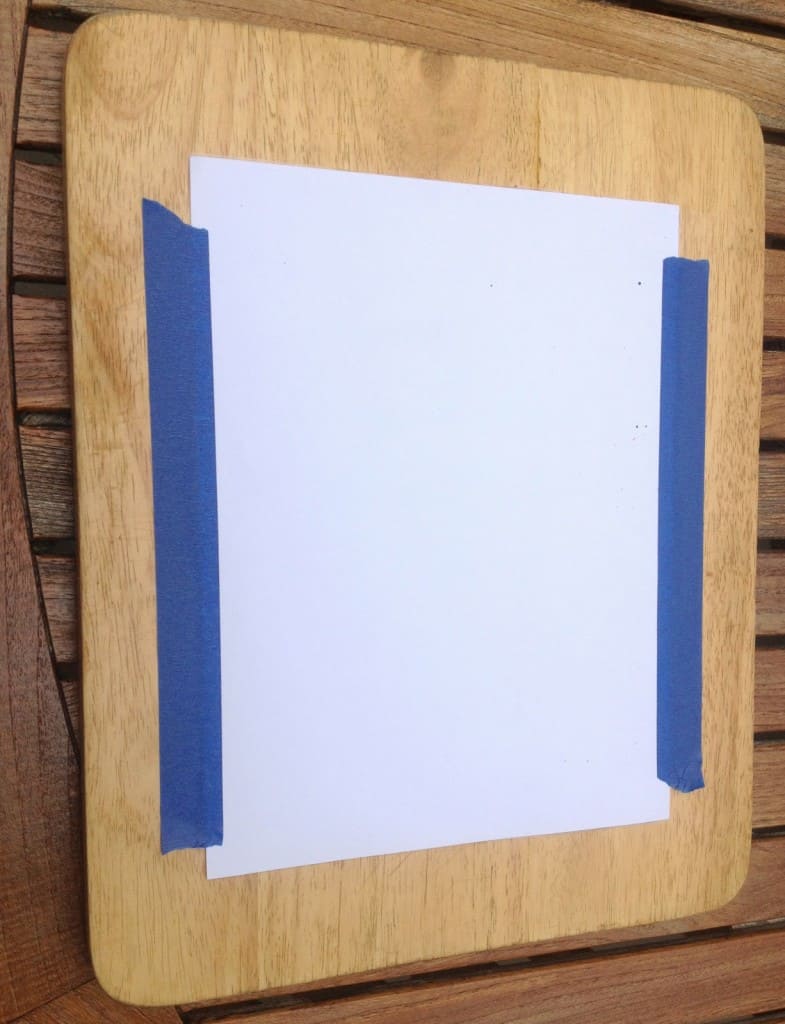
After rubbing the image onto the substrate, remove one piece of tape and use the remaining piece as a hinge to keep the paper in position. If the image hasn’t transferred evenly you can place the paper back down and continue to burnish.

TIP #4:
remove imperfections with a Q-tip and rubbing alcohol……
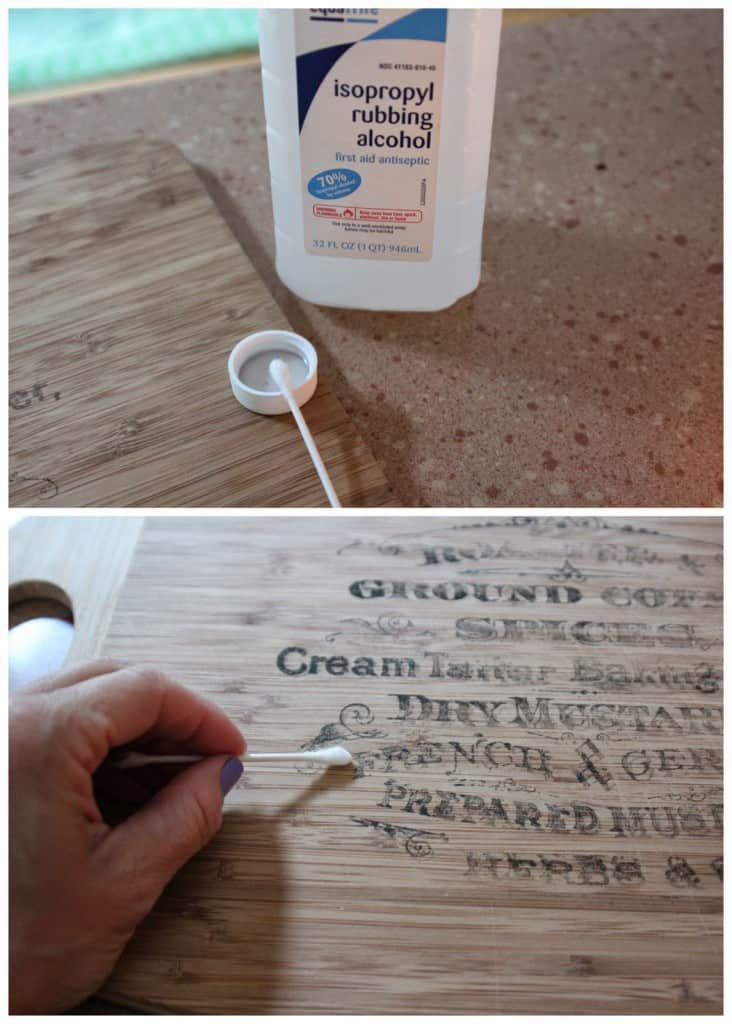
…..unless you didn’t take the advice from #3 and the image is so blurry that it makes your eyeballs ache, in which case,
get out the palm sander and start over!
TIP #5:
use a fine tip Sharpie marker to fill in your image if desired.
You may want your image to have a distressed, vintage quality to it, but if not, use the transfer as a tracing mechanism and go right over it with a Sharpie. (Keep in mind that if you are using a Sharpie on bare wood, it may bleed a bit.) My printer was running out of black ink when I printed this (isn’t that always the case?), so the transfer was very light pre-Sharpie.
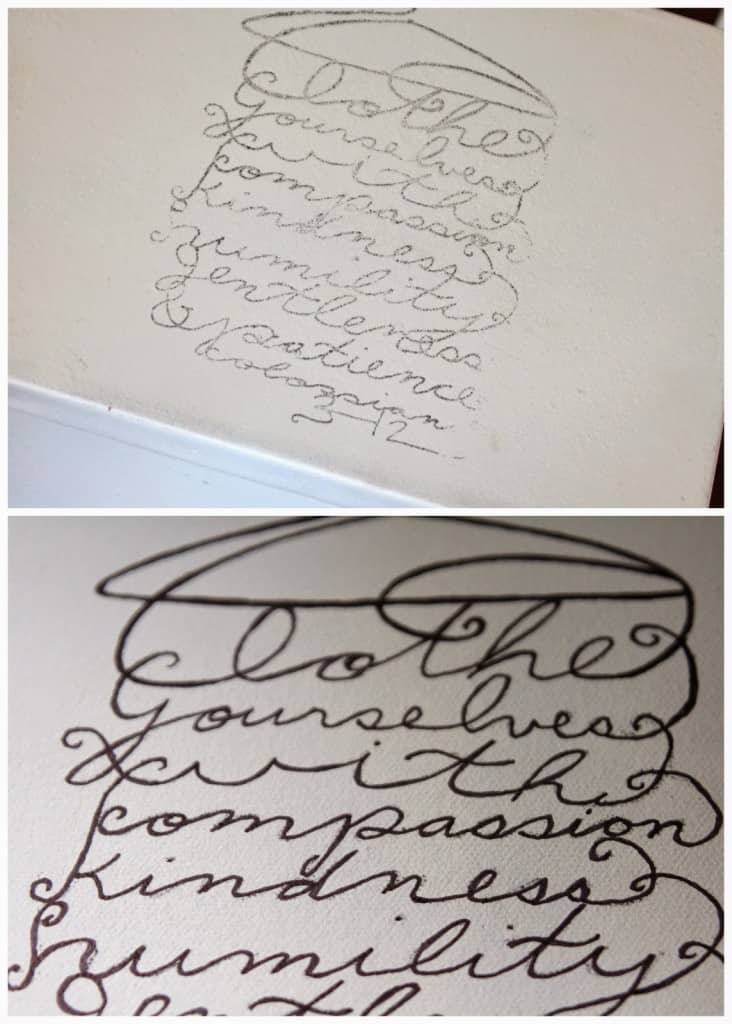

This little box above brings me to the next tip…….
TIP #6:
find a non-copywrited graphic for your transfer.
The graphic I used on the box above is all over Pinterest and the internet in general, and I spent EONS looking for an original source for it. I never found the artist who created it and I did NOT have permission to use it. That’s really not fair to whoever created it, it’s kind of ripping off someone’s art, unless I know for sure that it is offered to the public for free. I regret that I didn’t just opt to create my own graphic or find a free one to use.
(If you know the original source for this graphic, please fill me in – thanks so much!)
An incredible source for free graphics is The Graphics Fairy. Not only does Karen, The GF have tons of free printables to sort through (many of which are already in a mirror image version for transferring!), she also has hundreds of project inspirations to check out. Don’t miss #graphicsfairy on Instagram for all sorts of cool uses of GF graphics too!
Also – the New York Public Library Digital Collections has a vast array of vintage photos, signs, and graphics for free.
Here is my Printables Pinterest board if you are looking for more sources.
TIP #7:
seal the deal.
For wood or painted surfaces, protect your graphic with a coat of poly.
I used spray-on poly by Minwax over both wood and paint, and it was perfect. I didn’t have any smearing.
Keep in mind that polyurethane is not food safe. When I used it on the graphic on my cutting board, I knew I would not be using that side for food preparation. There are food safe sealants like walnut oil, but I’m not sure how they would react to the printer ink. If I find out I’ll let you know.

TIP #8:
take special precautions when transferring onto fabric.

*The finer and smoother the fabric, the better resolution you are going to get with the transfer.
The details of the fishy above got a bit hazy when I transferred because 1 – I didn’t tape down the paper and the graphic shifted a little, and 2 – the fabric has texture. I’m okay with this look.
*Consider using the back of pillows for a graphic transfer! Two looks for the price of one 🙂 The fish graphic on this pillow is for summer; flip it over and voila – totally neutral.
*A product called Citra-Solv makes transfers onto fabric washable. I haven’t tried this myself, but I’m thinking of monogramming cloth napkins and perhaps the back of my upholstered dining chairs, and will definitely want those to be washable. Citra-Solv gets great reviews all over the interwebs.
TIP #9:
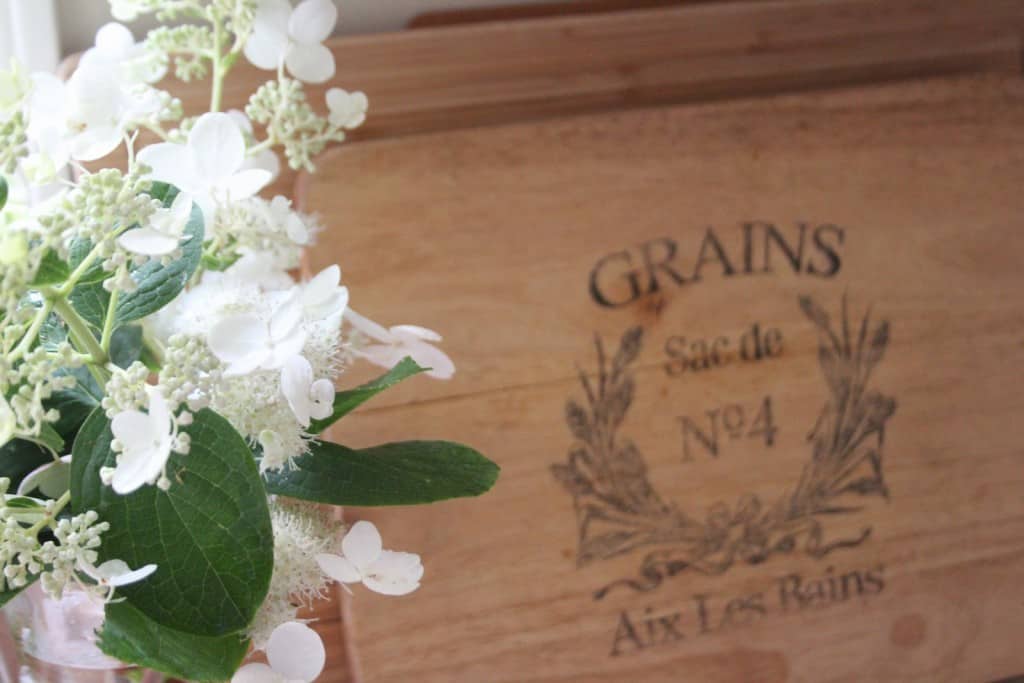
a pretty new Graphics Fairy graphic on a cutting board + fresh hydrangeas from the garden are the perfect distraction from unsightly bologna colored countertops!!
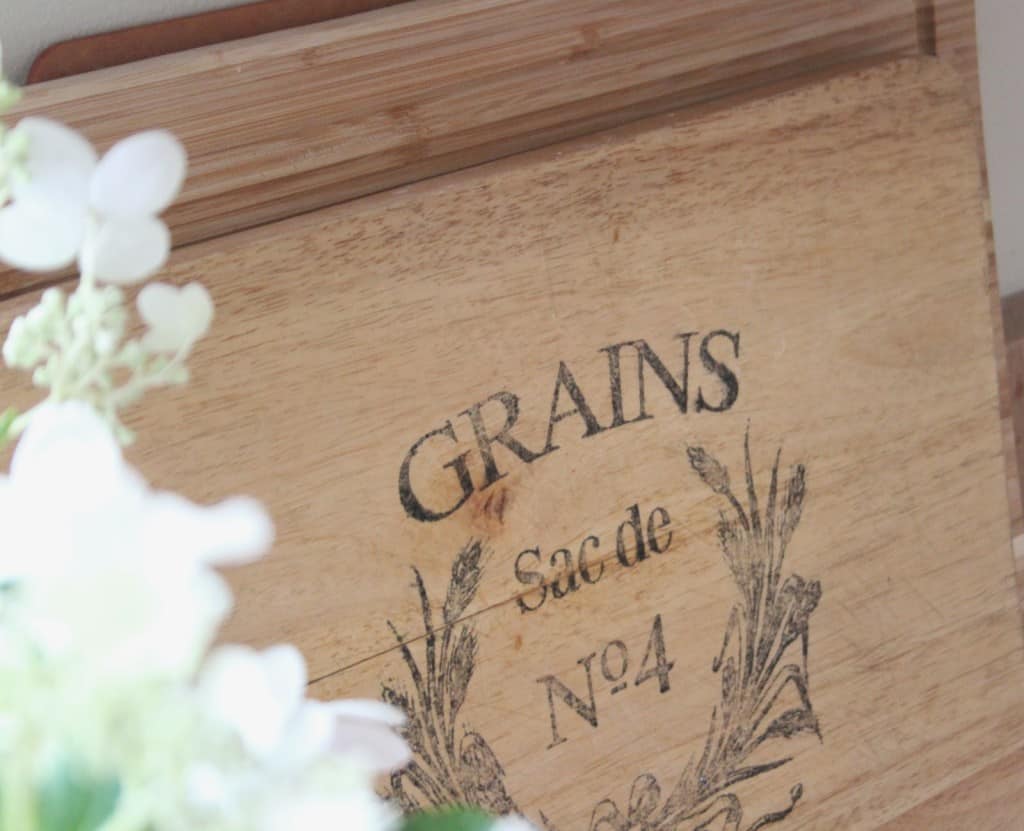
Like the Nester says…..it doesn’t have to be perfect to be beautiful. Kinda like life, no?
Have a beautiful weekend my friends!

Lisa {Gracie Blue ~ the Blog} says
Thank you Lisa!!I always wanted to try this!! The pillow is my favorite…. I may have to try that soon!!
Laura J says
So which side of the wax paper are you printing on? I'm guessing it's the waxy side?
Thanks for the tip — love the cutting board graphic.
[email protected] says
Laura, wax paper is typically coated on both sides. You can also use freezer paper, which does have wax on just one side, and yes, the waxy side is the one you want to print on!
Dana Frieling says
You just gave me a great reason to get my printer fixed (as if printing kids' homework wasn't a good excuse already)…priorities, right?! The cutting board would make such a neat wedding present.
Denise Greenwood says
This looks so cool and so simple!! Thanks for sharing Lisa, might have to give it a try soon!! Hope you have a great weekend 🙂
Elizabeth @ The Little Black Door says
What an awesome tip!! I want to try this out!
Kris @ Driven by Décor says
My wheels are turning away thinking about all of the things I could do using your transfer method – LOVE this Lisa!! And I think your pillow turned out beautifully – almost like a hand blocked look!
Cassie @ Primitive & Proper says
thank you for all the tips- this is one method i have yet to try! i especially love the fish pillow!
Simply LKJ says
I love this idea!!! I wonder in velum scrapbook paper would work like the wax paper. Have some here at the house, might give it a try.
pam {simple details} says
Love, love, love this!! You make it look so easy and yet high end, thanks for the detailed tutorial, too!
Vel Criste says
Excellent tutorial Lisa! Now I really have to try this for sure! Quick question, does it matter what type of printer or ink you have? Thanks a bunch! I'm pinning this too!
Tracy Laverty says
Oh my goodness! I can't wait to try this out. Great tutorial and I love how your transfers look. So beautiful Lisa!
Mandi@TidbitsfromtheTremaynes says
I'm so excited about this I could pee. Thank you! Can't wait to try!
Melanie Robinson says
Love all your transfer tutorials! Pinned another! 🙂 I love the French look of the font on this one, especially, but I think your fish camp sign is my all time fav!!
Rachael says
Did you find out what sealants are food safe? Or how they react with the ink? Thanks!
Lisa says
Hi Rachael, I am not sure what sealants are food safe. I use Minwax spray-on poly to seal the graphics on cutting boards and then I don’t use that side for cutting, just for display. The spray on poly worked fine with the ink after allowing the graphic to fully dry for a couple of days!
Erin says
Do you know if this technique works on black wood? I believe the wood is finished as well. Do I need to take some other sort of measure to make sure the ink sets in or even shows up on the black wood? I appreciate any help!
Lisa says
Hmmm I don’t know Erin, I haven’t tried transferring onto a dark surface yet but I would imagine that you if you printed in a light color, then sealed the piece after the ink has set with spray on poly, you would be okay!
Bobbi says
was wondering if this technique would work for transferring images to a mirror?
Lisa says
I haven’t tried that Bobbi but I’d love to know if it works! The materials I transferred onto were rather porous – wood, fabric and a canvas box. I’m not sure about the non-porous surface of a mirror. Let me know if you try it!
Amanda says
Hello, love this tutorial thank you. Would this still work if I had an MDF timber box and painted it white would I still follow your instructions by dampening the box after painting it to transfer my text? Is blank ink best for transferring is it possible to achieve a silver or gold foiled look via this method?