It’s always so funny to me what things from the blog garner a lot of attention. This trick for cleaning silver the easy way, for instance – who would have thought??
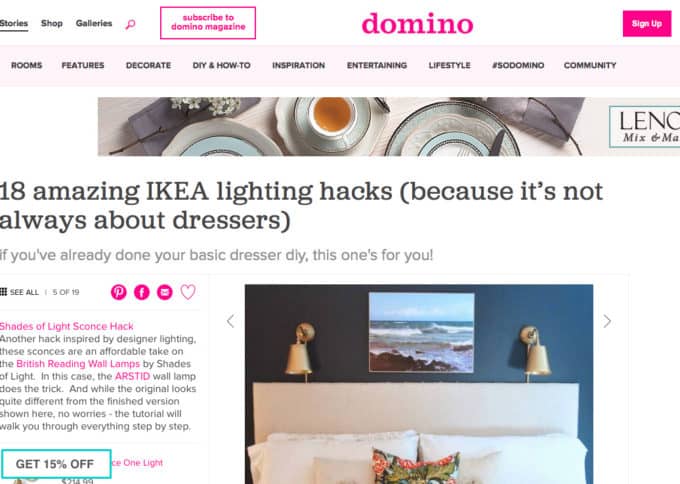
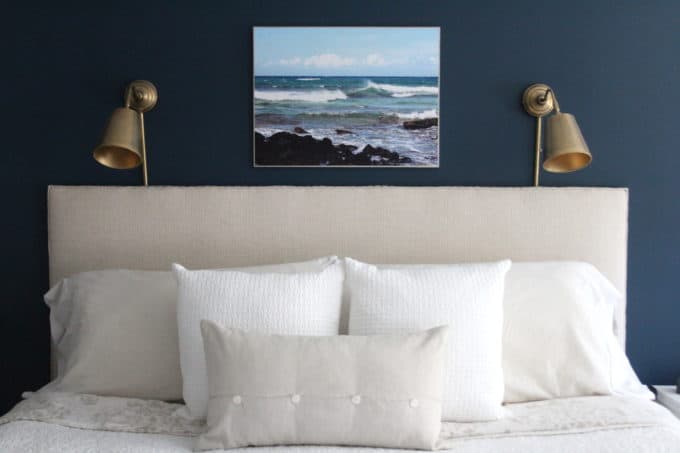
When I look at my blog analytics and see what SYL content is shared elsewhere, it’s so often my knockoff of gorgeous-but-out-of-my-budget brass sconces that have made their way around the internet and been shared on many different sites, most recently in a Domino roundup.
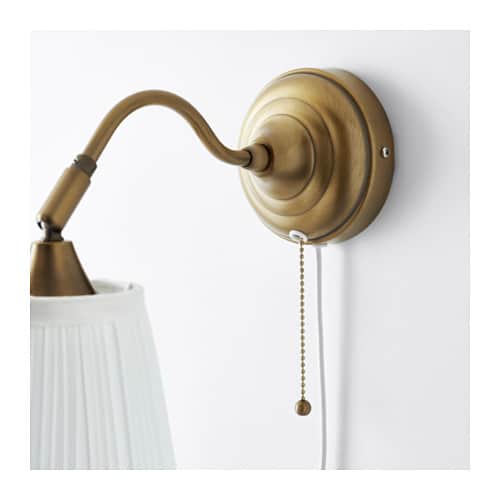
I love the Arstid wall lights because they are only $14.99 and they have so.much.potential.
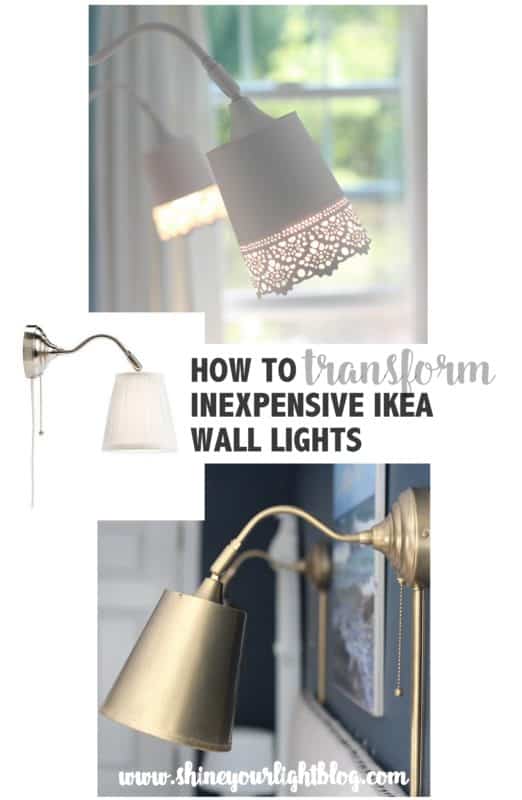
After doing 2 Ikea Arstid wall light projects, today I’m sharing a few tips and tricks I’ve learned along the way in case you’re thinking of tackling this inexpensive lighting solution!
I am sadly not an affiliate of Ikea, but you may find other affiliate links within this post for your convenience. Read about affiliate links here.
ONE | CHECK OUT IKEA’S NEW BRASS FINISH!
Since I hacked the chrome Ikea Arstids, big news has broken! The Arstid now comes in a pretty antique brass finish very similar to the finish I created with paint, so if you are hacking these lights all you need to do is give the shade a makeover! (And color in that cheap white piece of plastic around the pull cord and the side screw with a gold Sharpie, of course!)
TWO | CONSIDER CORD COVER OPTIONS
I spray painted plastic cord covers that adhere to the wall,
but you can upgrade with an actual antique brass cord cover, a small detail that would really take this Ikea hack up a notch and give the finished product a more high-end look. I actually bought these but have yet to install them. They are currently under my bed 🙂
My go-to fix-all Rub ‘n Buff would marry the antique brass finishes nicely if the sconce color is a lot different than the cord cover as they look in these images. I’m guessing it would be tough to get the exact same finish unless you bought them from the same manufacturer.

THREE | BEWARE OF USING NON-IKEA SHADES
If you’re daunted by the idea of giving the Arstid shade a makeover and are thinking of just replacing the shade with some beauties {like these mica chandelier shades from Ballards that I’m mildly obsessed with (I NEED TO USE THESE SOMEWHERE!!!)}, a word to the wise – Ikea doesn’t make swapping out the shade with a non-Ikea product easy for you.
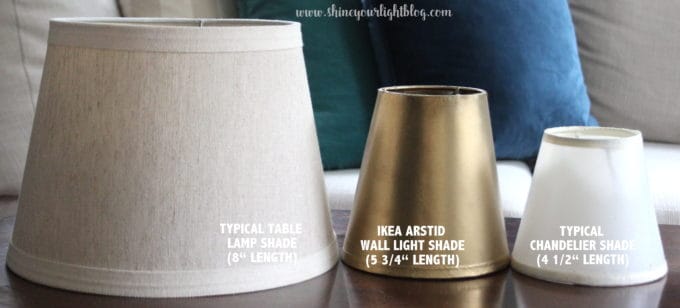
As you’re probably well aware, Ikea products often come in funky sizes and fittings. The shade that comes with the Arstid wall light, at 5 3/4″ long, is slightly larger than a typical chandelier shade but substantially smaller than a bedside table lamp in width and girth. I held up a chandelier shade to my wall light and it is a bit small but could work, size-wise.
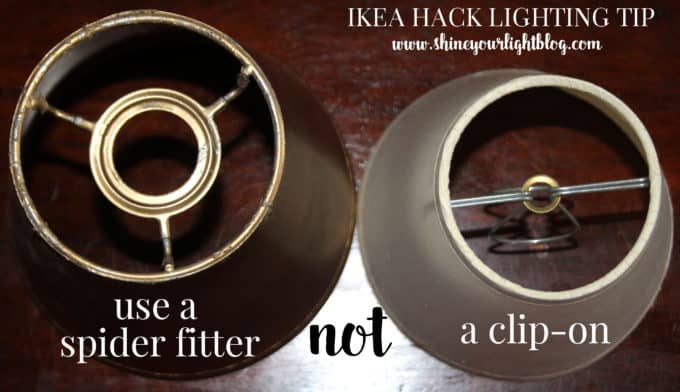
However, like all the Ikea lampshades, the Arstid shade has a spider fitter built into it (I just looked up that term :)) whereas most chandelier shades are clip-ons. I could not figure out a way to use a clip-on with this wall light.
FOUR | MAKE YOUR OWN METAL SHADE FROM A PLANTER!
After I did the brass light hack, I used the same Ikea Arstid wall lights for my daughter Hannah’s room. For her light hack I bought a hole saw drill attachment (it attaches to your drill just like a drill bit) to cut a hole into the bottom of metal planters from Ikea,
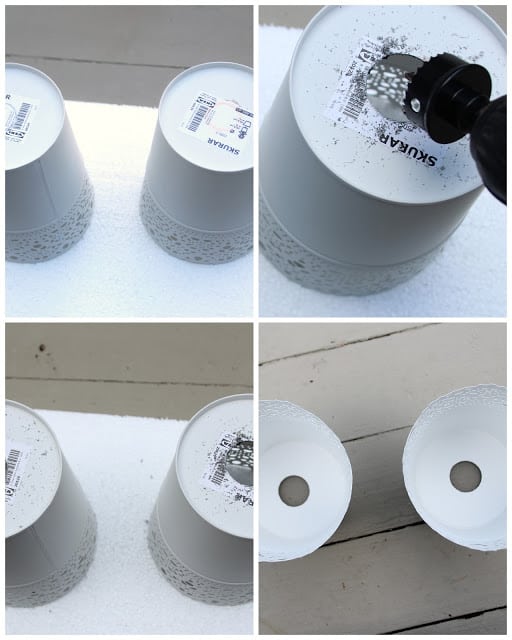
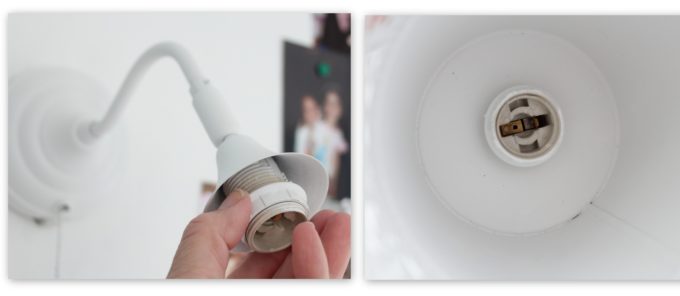
and then attached the “shades” by threading the light bulb socket through the holes and securing them with the ring that comes with the Arstid for holding the lampshade in place.
Below left, the ring is removed, and on the right, the socket is fed through the hole in the bottom of the planter and the ring is reattached. Easy peasy.
Voila…..

Once I figured out how simple it was to cut the hole into a metal planter, it got me thinking about my original inspiration piece for the brass hack:
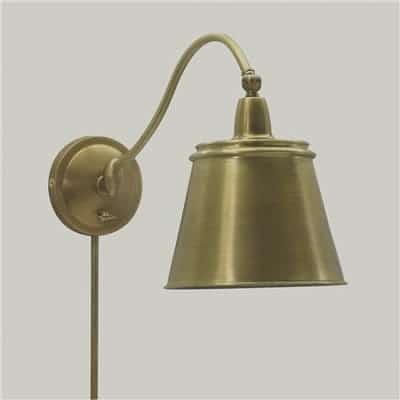
It would be a piece of cake to transform small metal planters like this one below by giving it my antique brass finish (or how about a copper finish??) and then cutting a hole in the bottom and using it as a shade, just like I did for Hannah’s lights.
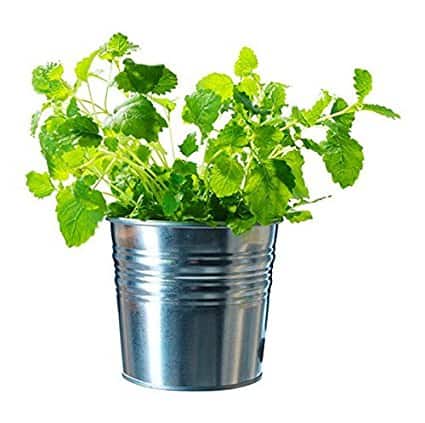
If you’re searching for metal containers to turn into shades, keep in mind that “buckets” typically have a handle, but “planters” do not.
Even adding up the expense of the Ikea Arstid wall light, planters for shades, the hole saw drill attachment, and spraypaint, DIYing a sconce with a metal shade is still WAY less than the Shades of Light sconce or something similar!
If you take on this project I would absolutely love to see how it comes out, so send me your pictures!
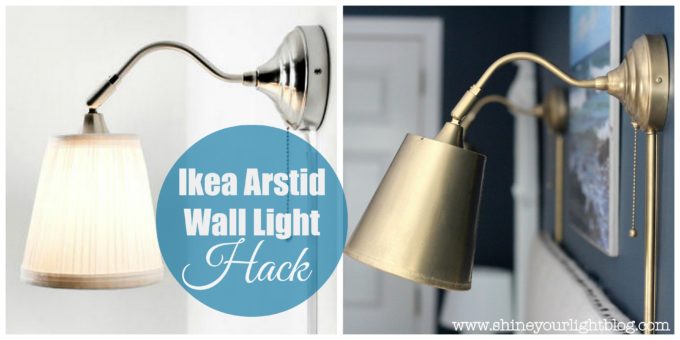
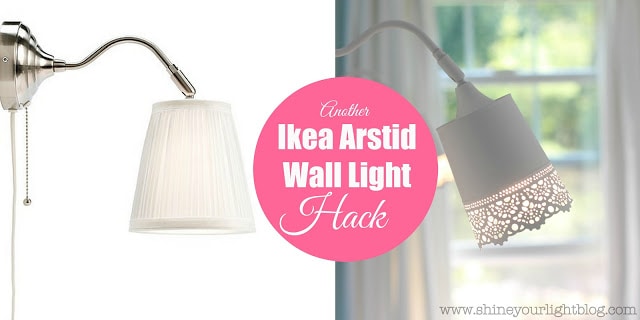
To see the details on the brass and white versions of my Ikea Arstid Hacks, click on the photos below.
Have a wonderful day sweet friends!

Lisa says
Hi Lisa. Loved your Arstid Ikea wall light. And I just clicked on your Home Tour for the first time. I must say, your home is beautiful! Can you please come over and do my house?
Lisa says
Lisa thank you so much for that sweet comment! You made my night 🙂 It’s still a work in progress but we’re getting there!