Apparently this method of painting is very popular for customizing guitars. After watching videos of guitars being swirl-painted in a water bath (like this one), we decided to try the same method on paper and canvas.
It was so much fun! Give it a try! Affiliate links are included in this post for your convenience. Read more about affiliate links here.
SUPPLIES FOR SWIRL PAINTING
Bucket (large enough to lay canvas or paper across or deep enough to submerge)
Water
Kitchen string
Paint stick
Heavy paper like card stock,
or
Canvas (we used 8×10 canvases which fit in our bucket well)
Enamel paints*
*IMPORTANT UPDATE: after some readers had failed attempts with various kinds of paints, I am linking directly to the kind of enamel paints we used – Testors Enamel Paint – commonly used on models and crafts. If you don’t buy this particular kind, make sure you do not get water-based paint – it doesn’t work for this application.
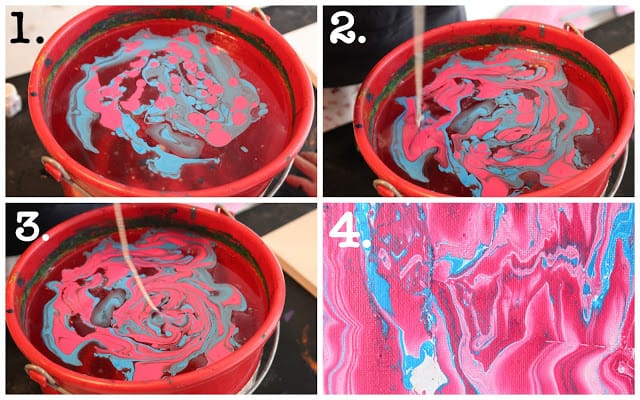
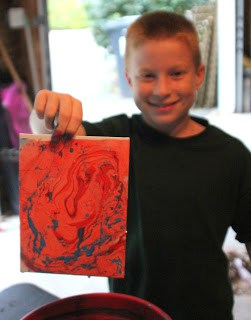
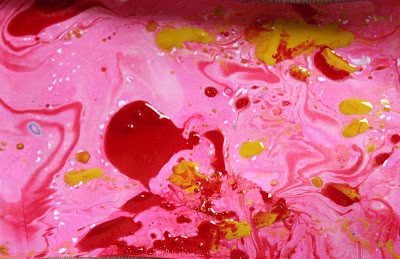
• Fill a bucket with water and drip enamel paint onto the surface of the water (1)
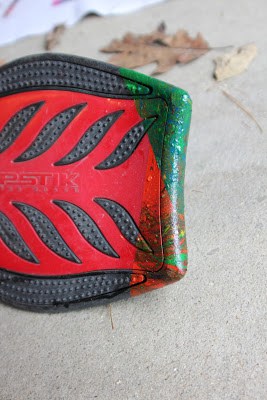
• Gently swirl the paint (2 & 3), and then dip a canvas or paper into the bucket.
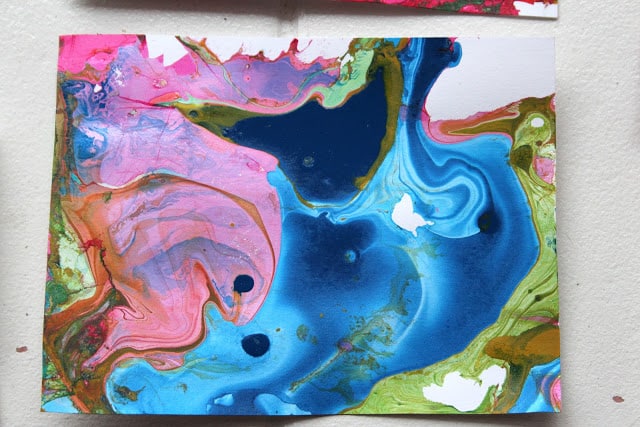
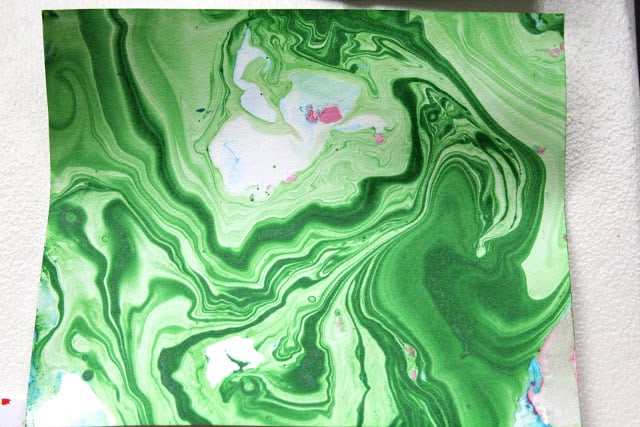
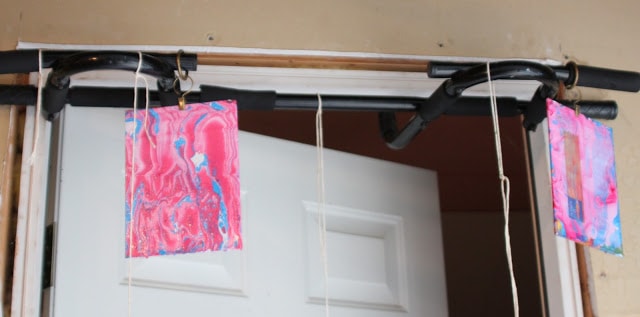
• The swirled paint sticks to the canvas or paper, creating a unique piece of art (4).
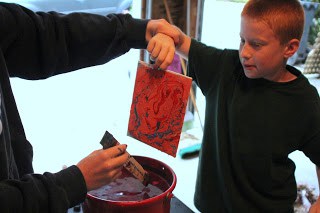
We started swirling with a stick, but found that a piece of kitchen string pulled the paint without combining the colors too much. We held each canvas by a corner, dipping it slowly into the water and moving towards the paint on the surface of the water. Before pulling the canvas out of the water, we used a paint stick to “pull” the remaining paint in the water to the side so the canvas wouldn’t get double dipped when it was removed from the bucket.
In between batches of different paint colors, we used a paper towel, laid on top of the water, to absorb any leftover bits of paint and clean up the water surface.
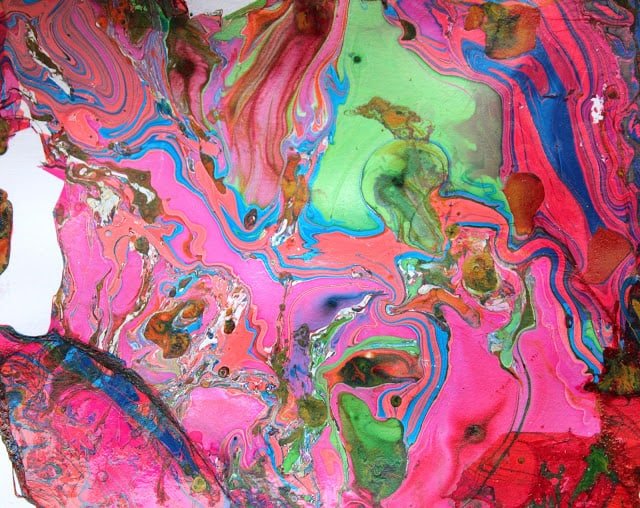
Do you see the fishy about to gobble up a bubble?
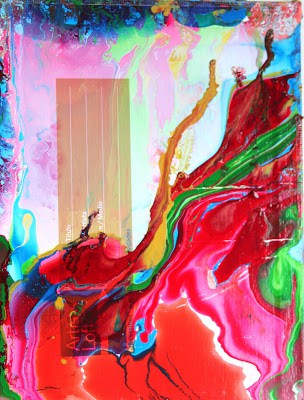
This was my favorite one – too bad the design is on the back of the canvas!
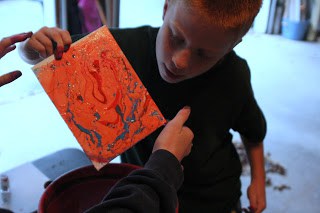
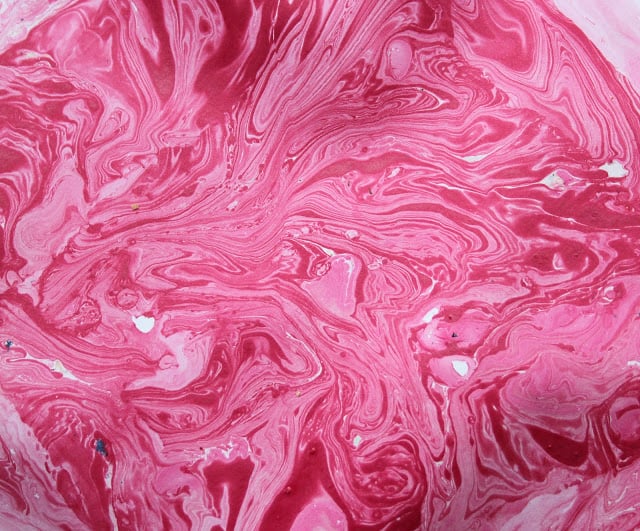
We also used cardstock that we laid on top of the paint instead of submerging. Once the entire piece of paper is touching the water, slowly lift up a corner of the paper, pull up the piece and a beautiful design will emerge.
Swirl painting might be our favorite craft ever!
I recommend these swirl painting supplies:
Testors Enamel Paint
8×10 canvas sheets



Carmel @ Our Fifth House says
These are so beautiful! I know my kids would love to make these!
Kim@Chattafabulous says
I love your inspiration piece as well! And the green one you did looks like malachite! So excited – I need some unique art pieces in my family room and I love these colorful pieces!
http://www.chattafabulous.blogspot.com
Dana Frieling says
Bryn and I tried this method with nail polish/nail art. It was really cool but tons of work. Definitely something that takes practice to perfect. Love that the "Shine Kids" will be a regular on your blog!
Sam @ The Junk House says
Those turned out great! I love this idea! I want to try it.
pam {simple details} says
Oh my gosh, Lisa!! It is so cool, do you think I'd be in trouble if I tried it in the bathtub? Ha! Wouldn't a collection of them be amazing ~ several symmetrically hung in white frames. (I'm sure you were laughing at my blow dryer & spoon!) Love…Shine Kids!
Cassie @ Primitive & Proper says
that looks amazing and i love love love the idea of shine kids!
My Crafty Home Life says
This is a great project, and it looked like everyone had a great time.
Donna Benedetto says
Your pieces came out fantastic!
Check out a Japanese type of painting called Suminagashi, very similar and beautiful!
Thanks for sharing.
Donna
thebeneblog.com
Jenny says
How totally cool! I could see my kids doing this and love the end result – such neat designs and color combinations, the possibiities are endless!
And the ribbon barrettes, I remember being *obsessed* with those back in the day!
Kathy C. says
This is a fantastic idea! I can't wait for Avery to get older and start doing crafts like this!
Sharee says
How old is Avery? I started teaching :my three babies to finger paint when they were only 3 years old, your never to”young toooo start learning.
Kelly @ View Along the Way says
No way! I LOVE the way this looks. Totally sharing this on my facebook page right this second.
Nancy says
This outcome is fantastic, and what fun making it all happen! Great post- wish I could do this in a huge scale, hmmm , going to put my mind to it.
xo Nancy
Powellbrowerhome.com
Jessamie {Bird and Branch Redesign} says
Seriously, this is such a cool idea! I actually just painted with enamel paint for the first time this weekend, and I'm hooked.
Jennifer @ Dimples and Tangles says
Pretty! These remind me of super close-ups of natural stone-malachite, turquoise, etc. A grouping of these would be such great wall-art!
Cindy Locher, BCH, CI, MNLP says
Thanks so much for the easy to understand directions. Well be trying it this weekend–maybe custom wrapping paper?!
Mo says
These are great. I just tried my first batch. Did you find that you had to use a lot of the enamel paint? A little does not seem to go A long way.
MyChilepepper says
Good idea. Try placing two canvas boards back to back with masking tape along the edges. Now You have your two favorites.
Kathy Murphy-Ott says
I just tried this for a second time and had trouble. I used FolkArt Enamels and the paint just globs up and sinks to the bottom. I've tried this in both warm and cold water. What might I be doing wrong?
Kathy Murphy-Ott says
I just tried this (using FolkArt Enamels) and had trouble both times I've tried it. The paint just globs up and sinks to the bottom. I've tried in both warm and cold water to see if that made a difference, but I got the same result. Any ideas what I might be doing wrong?
[email protected] says
Kathy we used enamel paint that comes in little glass bottles and used for painting model planes and cars. Testors is the brand. Maybe this kind of paint is a different weight to the Folk Art enamel. Possibly try thinning the Folk Art enamel with paint thinner next time? This is a link to the brand we used: http://www.amazon.com/Testors-Enamel-Paint-25oz-Orange-Fluorescent/dp/B007KMUM9U/ref=pd_bxgy_ac_img_y
Kathy Murphy-Ott says
Thank you!!!
Julie Ann Wash says
I too used Folk art paints and they sank in clumps to the bottom – so do NOT try this with the bottles that are just like normal Acrylics. I tried thinning them and it did no good. they weren't vibrant, and were just a watery mess. Going back to the store to try again with the Testers! After some research it looks like the Testors brand of enamel paints are oil based, unlike the Folkart which is water based!
Kathy, perhaps you could update your instructions to reflect that to avoid those of us who are simply globbing to the bottom of our buckets!
Everything home says
Very cool! I think I need to try this
What's For Dinner says
I have tried this and my paint immediately sinks to the bottom. Won't float on the water at all. What am I doing wrong?
I am using regular craft paints.
Thanks!
[email protected] says
THANK YOU to everyone who tried this for your comments about paint that sinks to the bottom! Apparently some enamel paints are water based which DO NOT work for swirl painting in water – they immediately sink to the bottom – so make sure your paint is OIL BASED! Here is the link to the TESTOR brand that we had success with:
http://www.amazon.com/Testors-Enamel-Paint-25oz-Orange-Fluorescent/dp/B007KMUM9U/ref=pd_bxgy_ac_img_y
I have edited the tutorial and appreciate everyone's feedback!!
Nathan Gordon says
I have been watching this all week long I haven't seen anything I've been so excited about in so long! I am amazed and I will be trying this ASAP!!!!Probably this weekend…which is far too long away for me…i'm thinking my daughter needs to paint her nails tonight!!
Elaine Holmquist says
Suminagashi is the least messy of all the types of marbling. If you are lucky to find the right kind of paper envelopes, you can continue dipping into the rest of the marble until it is gone. It keeps getting fainter and fainter, so the surface is very, very pale and handwriting will show up. It is water based ink on water. When dropping the ink into the water just breathing will knock it into a fractured marble. You can get kits with everything you need except the tray (I used a clear shoe box)
Next try those water based paints on a tray filled with gelatin (plain) dissolved in water.
Use newspapers to clean up residue paint. Some will sink to bottom, so don’t disturb it until you are ready to throw the whole thing out.
Use kitty litter boxes or disposable aluminum cake pans instead of a bucket. You can dip your canvas flat and won’t get the other side marbled. Just float paper on top and lift by a corner.
The ultimate marbling is the old book binders recipe. You should be able to get the ingredients at a bookbinder’s supply store, the local artist’s supply store or online. Lot’s of prep work and because one of the ingredients is ox bile, you’ll want to pick a clear sunny day to do it outside. Ox bile stinks. Fabric, properly coated with alum does not wash out. The medium you use to float your paper or fabric is carrageenan, the same stuff they put in ice cream as a thickener. When you use a traditional marbleizing comb, you get gorgeous designs. As with all of these types of marbling, there are books devoted to the art.
[email protected] says
Elaine, thank you for all this information! Marbling truly IS such an art form and I love how no two pieces are exactly the same. I can’t wait to look into the other techniques you mentioned and also to try marbling in a disposable cake pan. Such a great idea. Your expertise is much appreciated!!
Elaine Holmquist says
The last and most work intensive type of marbling (weather and humidity actually works into all this) is a 15th century(?) recipe. Each pattern actually has a name and in the old days, sample books were made. You had to use the right kind of comb, exactly placed dots of paint and the right progress of the comb. The clarity of each swirl and color is much more fine than other methods.
On another type of painting involving kids is to get an old sheet and lay it out on your lawn. Choose interior house paints in your color choices, and let the kids go at it with drip bottles or sponge brushes. When paint is dry, cut large square or rectangle pieces out and stretch/staple them on stretcher bars. Frame or not, they’ll be beautiful modern art pieces to hang in your living room, bedroom or bathroom.
The clothes they are wearing at the time they are creating could also be recycled/embellished for something else, too.
Misty says
Anyone try oil paints?
Lisa says
The Testors paint that I recommend is an oil based enamel paint.
Andy says
Wow! I saw this done years ago, but could never figure out which paints to use. Thank you so much for sharing this cool technique. I think I’ll experiment and see if I can incorporate it into my paintings. I also might share it with my students. They love to fins new fun ways to get messy and create abstract paintings.
Lisa says
Hi Andy, I’m an artist wannabe, I love trying anything and everything. This is really so much fun, I want to do it again in a bathtub so I can create a big piece!!
Olivia says
Just a word of caution about disposing of paint water etc down the drain. You expressed using the technique in the bathtub considerations would be the pipes and contaminating our already contaminated water systems. I’m trying to come up with a way to filter off the paint then put the grey water outside somewhere. Just a thought
Lisa says
Yes that’s a great point Olivia. Like disposing of oil based wall or trim paint down the drain – terrible for plumbing and the environment. Maybe a large plastic storage bin from which the water and enamel paint could be disposed from safely would do the trick for larger pieces.