A few years ago I helped my mom go through 50 years worth of possessions before she downsized to a smaller abode. We came across many treasures that spring, spending hours reading old letters between my mom and dad when they were dating and laughing over school papers she had saved from when my brothers and I were growing up. It was a laborious job clearing out, dropping things off at Goodwill, recycling and discarding what Mom wouldn’t have room for, but it was a special time too as we uncovered forgotten items and Mom shared some of the stories behind them. My parents’ wedding invitation, Dad’s honorable discharge papers from the army, baby shoes….there were so many good things that I had never seen before!
THE SILVER IN THE SILVERWARE BOX
One of my favorite finds was silver-plated flatware in a wooden box that two of Mom’s sisters, who were both married with small children at the time, had given to her for her bridal shower. This is the set from my post about how to clean silver the lazy way. 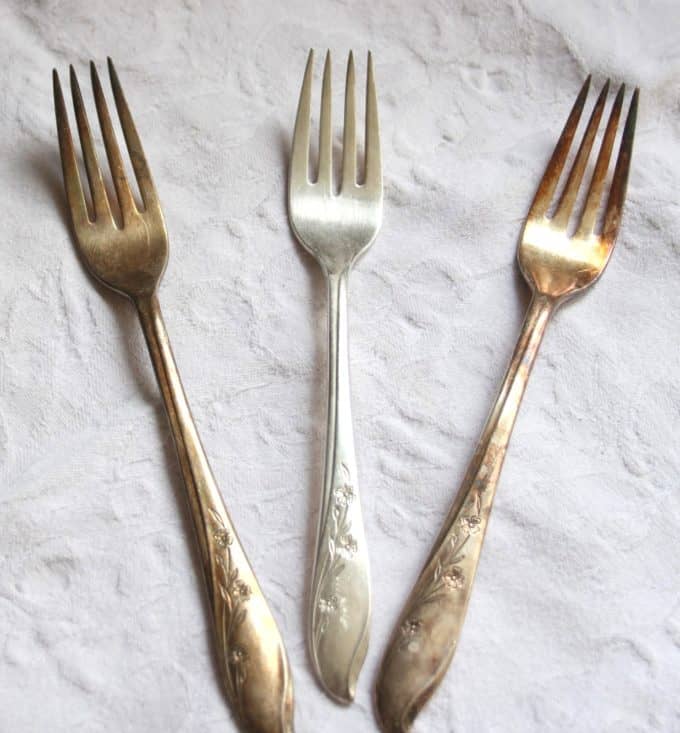
I was so excited to rediscover this box that I hadn’t seen in years! I took it home and cleaned every last piece of silver in that beat up, musty old box, thinking that the polished set would make a beautiful gift for my Mom to hand down to her oldest granddaughter – my niece Angela – when she got married.
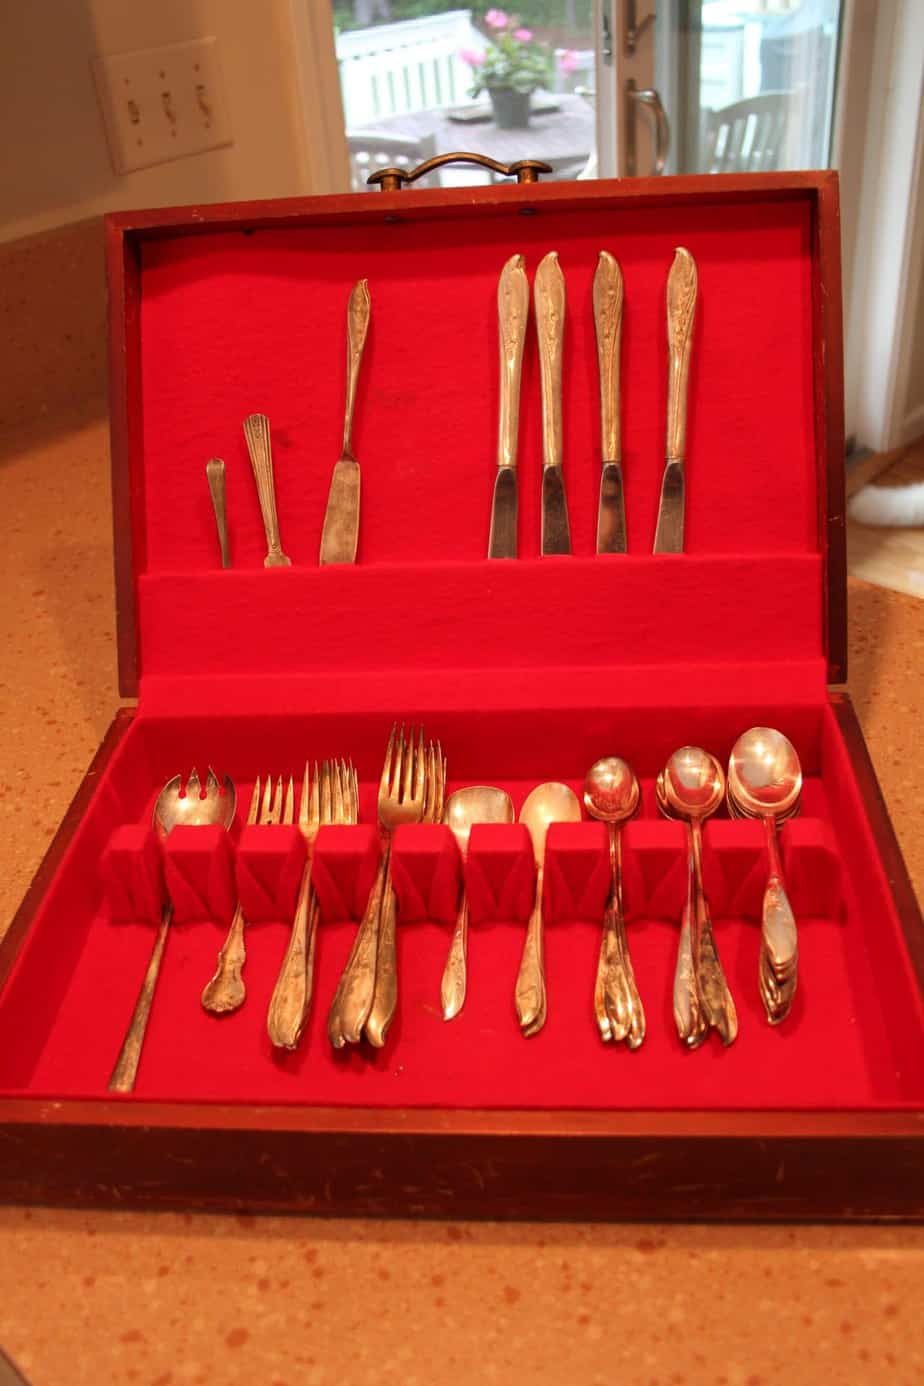
However, after I shined up the silver Mom let me in on a little secret: she really never liked this flatware. It feels a little awkward to hold, the dinner fork is small, and every time she went to use it through the years, the pieces would need to be polished. With four kids running laps around her, polishing a box of silver was just about the last thing in the world Mom wanted to do before hosting Thanksgiving or Christmas dinner. Even though Mom rarely used it, the box of silver-plated flatware was a cherished possession because her two sisters had scrimped and saved to buy her the finest gift they could, and for that she loved it.
The revelation about the silver made me turn my attention to the rosewood box it was housed in. I knew my niece would love something old from her grandmother and this sturdy box could be useful for a million things – serving pieces – jewelry – special letters and cards – even office supplies. Mom and I loved the idea for her to give the actual box to Angela for her bridal shower, just like she received it at her own shower 53 year ago.
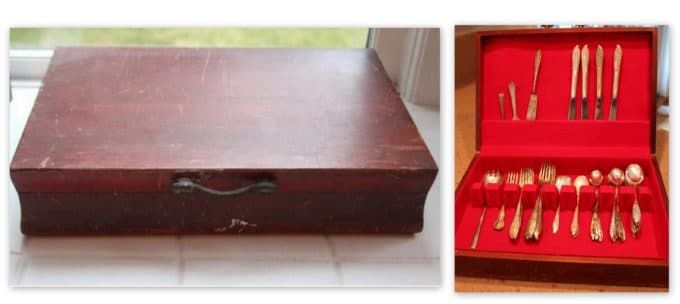
Over the years the silverware box was shuffled from house to house and a lot of life happened since it was first received all shiny and new. After all these years it was looking excessively tired on the outside…..
and although the lining inside was just as bright red as when it was new, it smelled hideously musty and gross. BUT OH THE POTENTIAL!!
And I love a good before and after and know you do too!
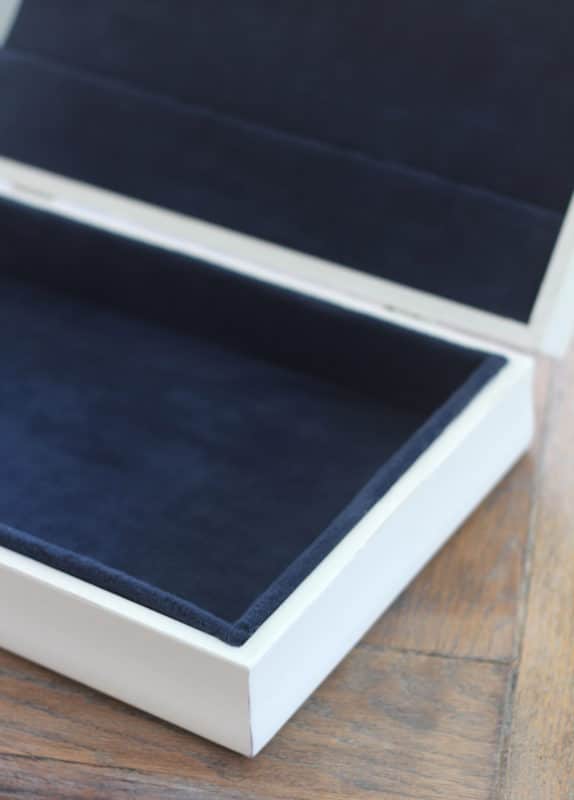
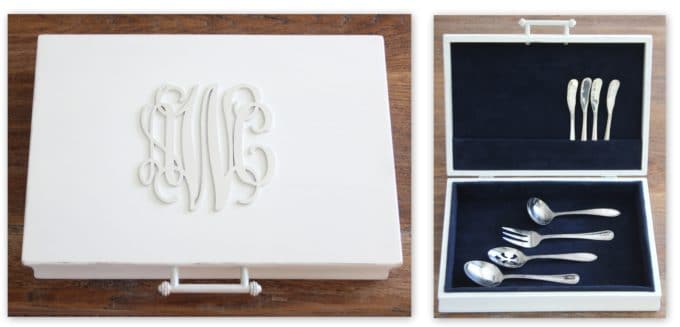
After a little love, Mom and Dad’s old silverware box is ready for the new bride and groom to fill it with treasures. FYI – Affiliate links are included in this post for your convenience.
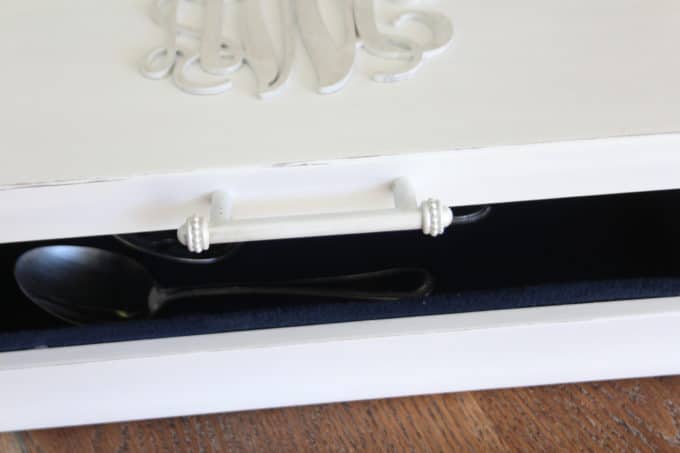
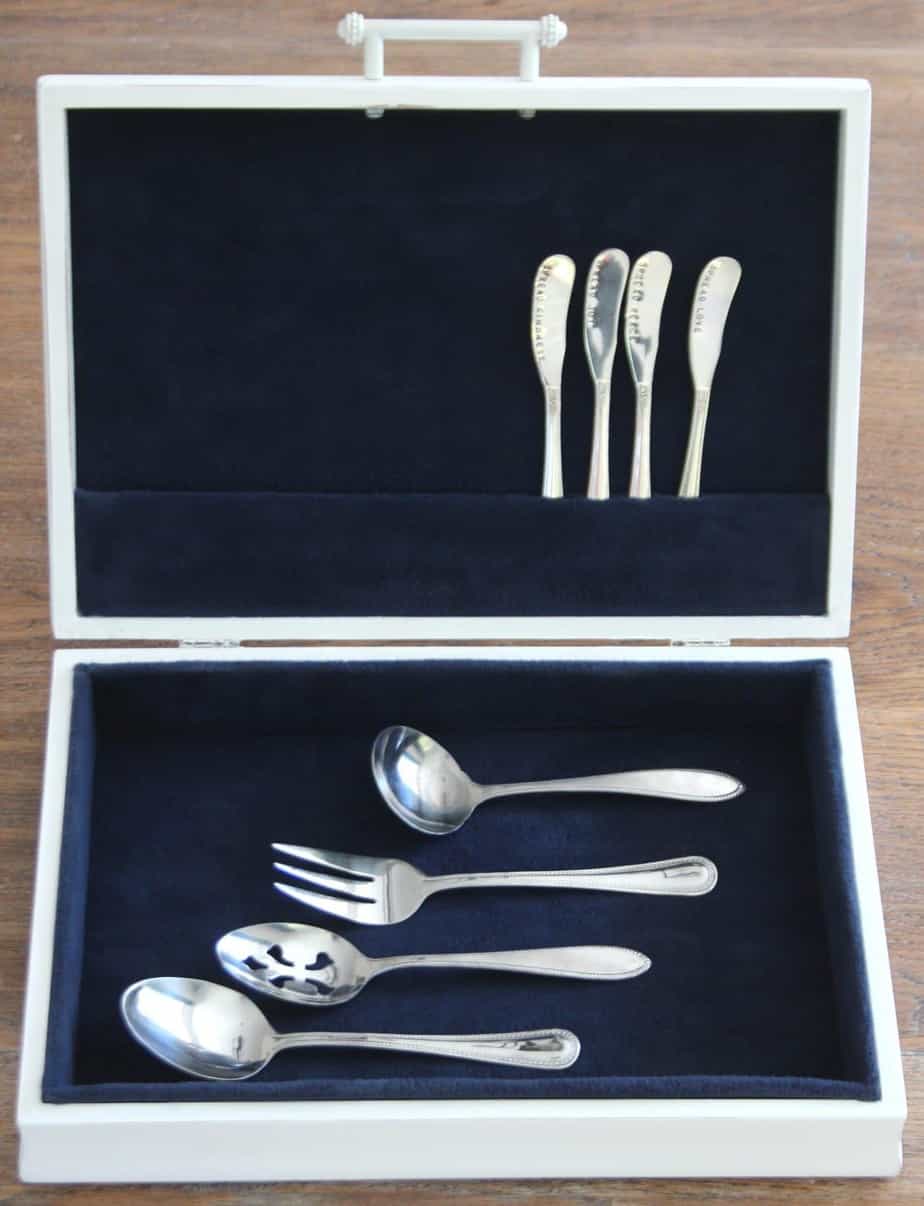
If you have one of these in your family, or come across one at a thrift store, consider what you could do with it!
HOW TO MAKEOVER AN OLD SILVERWARE BOX
FIRST, THE OUTSIDE OF THE BOX……
ONE | Decide how you want to finish the box.
Strip & stain – I was originally going to stain this box so I stripped the old varnish using my favorite furniture stripper, Citristrip (the orange gel stuff). It’s the only stripper I will use anymore – the fumes aren’t as bad as others, it works fast and it usually takes off most of the varnish on a piece with the first coat. I brush it on with a cheap throwaway brush and then scrape the old varnish into a plastic grocery store bag. Make sure you use a tarp or newspaper that you can throw away after underneath whatever you’re stripping. After stripping, stain and finish off with Minwax Wipe-On Poly to protect.
Spray paint – The easiest way to give a piece a new finish is to spray paint. If you’re going that route, give the entire outside of your box a thorough sanding. Wipe with a damp cloth to remove dust and then cover with a spray-on primer, followed by a couple light coats of spray paint. Spray painting is definitely the easiest route to go.
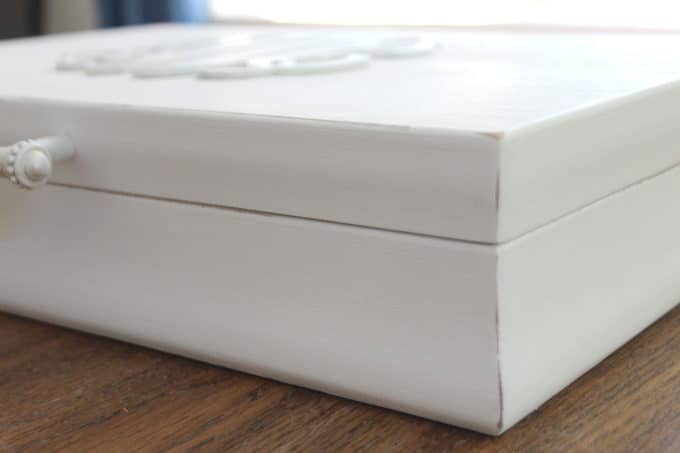
Chalk paint – If you’d like a bit of a weathered finish, brush on chalk paint (I used this relatively inexpensive chalk paint in White Adirondack). Give your box a couple coats to get a good even coverage. After it is thoroughly dry, sand the edges of the boxes to reveal a bit of the wood underneath. Apply a sealant – I used this wax to protect the paint and really like how easy it is to apply.
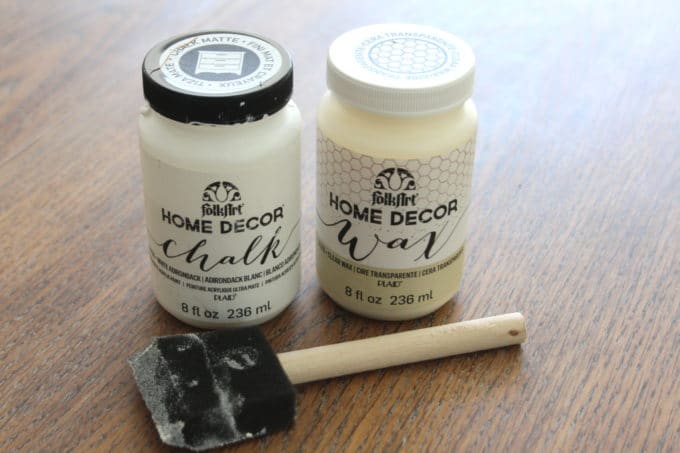
My niece loves a casual, coastal, slightly weathered look, so a chalk paint finish was perfect for her.
NOW, ONTO THE INSIDE OF THE BOX……
TWO | Remove the interior lining. The red felt in this box was mounted onto cardboard and then glued to the wood. I tried to carefully remove these pieces so I could use them as a template for the new lining, but they were difficult to take out and I basically tore them to shreds. Use a scraper tool to get off as much of the leftover lining and adhesive as you can. Vacuum to remove dust and remnants. Don’t worry if some adhesive/lining remains because it will be covered with the new lining.
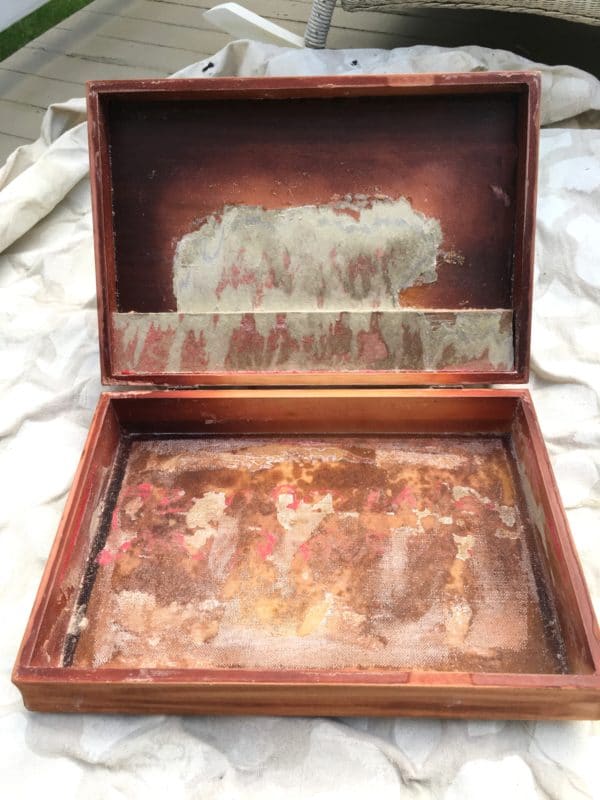
THREE | If necessary, deoderize your wooden box. Sprinkle a generous amount of baking soda all over the interior and let it sit for several days. Shake the baking soda into the trash and vacuum again. Even after removing the old lining and letting the baking soda absorb some of that nasty smell, it might smell musty and gross and if so, give it a coat or two of primer.
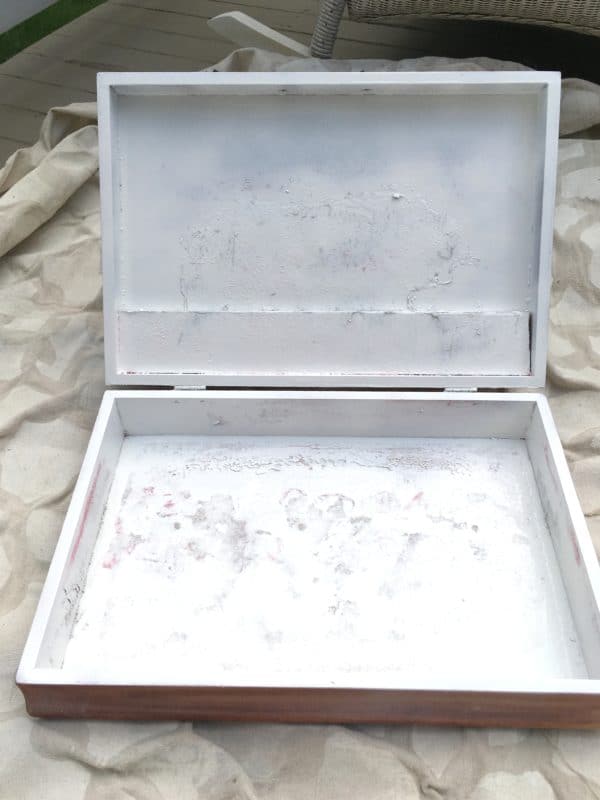
FOUR | Cut poster board to the size of the interior. Note how I kept the piece of the original box cover structure that the knives were inserted into. I didn’t cut a piece of poster board for that little strip that the slits are in, or the cover’s narrow sides, front and back.
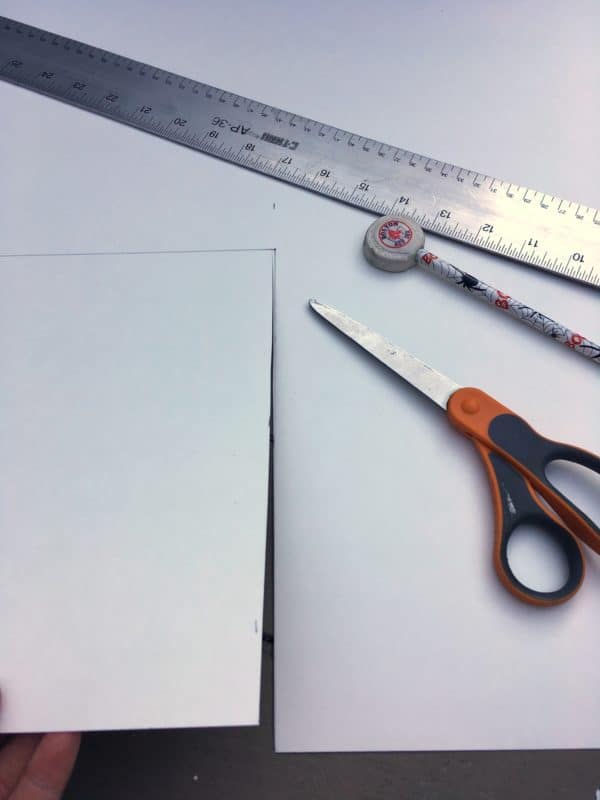
After you cut your pieces to size, dry fit them into the box and trim as needed. Make the longer side pieces for the box about 1/8″ short to allow the pieces to fit snug when they are lined. 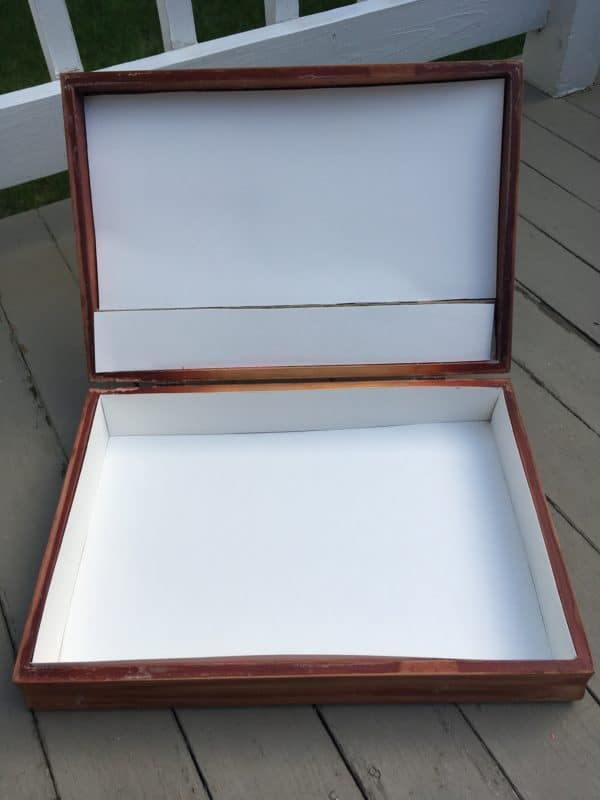
FIVE | Cut lining to fit the poster board pieces. (Side note: I chose a navy blue lightweight fleece to line the box with. Why fleece you might ask? I couldn’t find navy velvet that I really loved the look of, and I wanted something that felt plush and soft. This fleece is so nice to the touch and I thought it would be durable and perfect.) Lay the poster board pieces on top of the lining and cut around them, leaving a 2″ border. Cut the corners of the lining as shown.
SIX | Cover the poster board with the lining. In a well ventilated area on a fabric tarp, spray a piece of cut-out poster with spray adhesive, then lay it on top of the back of the piece of lining. Turn it over smooth any bubbles or creases with your hand.
Turn back over with the poster facing up, spray the edges of the lining, and press down to seal.
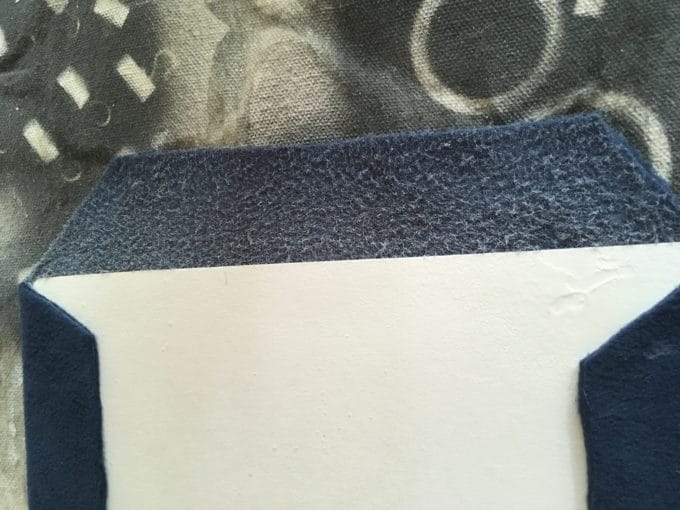
Trim the corners so you don’t have bulky overlapping fabric on the back.
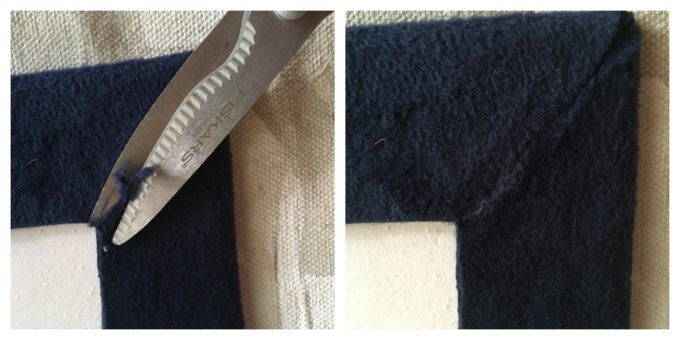
SEVEN | Attach the lining to the box. Generously spray the back of the pieces with the spray adhesive. Cover both the folded-over fabric and the poster board. (I tried a bottled fabric glue too but the spray adhesive works better and cures faster.) Spray one piece at a time and attach to the box, then move on to the next piece.
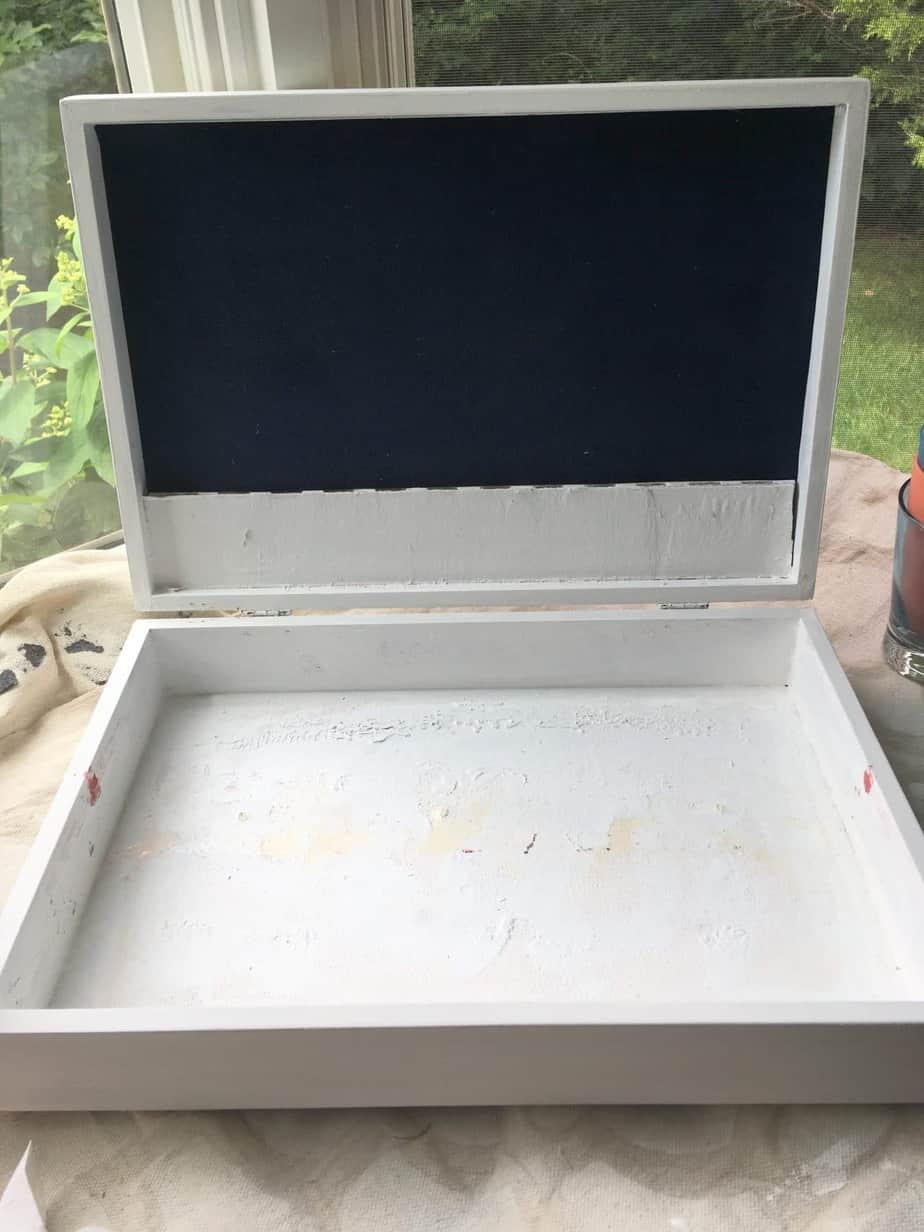
If your box has a wooden piece on the cover for holding knives, after you cover it, use a razor blade to cut slits in the lining.
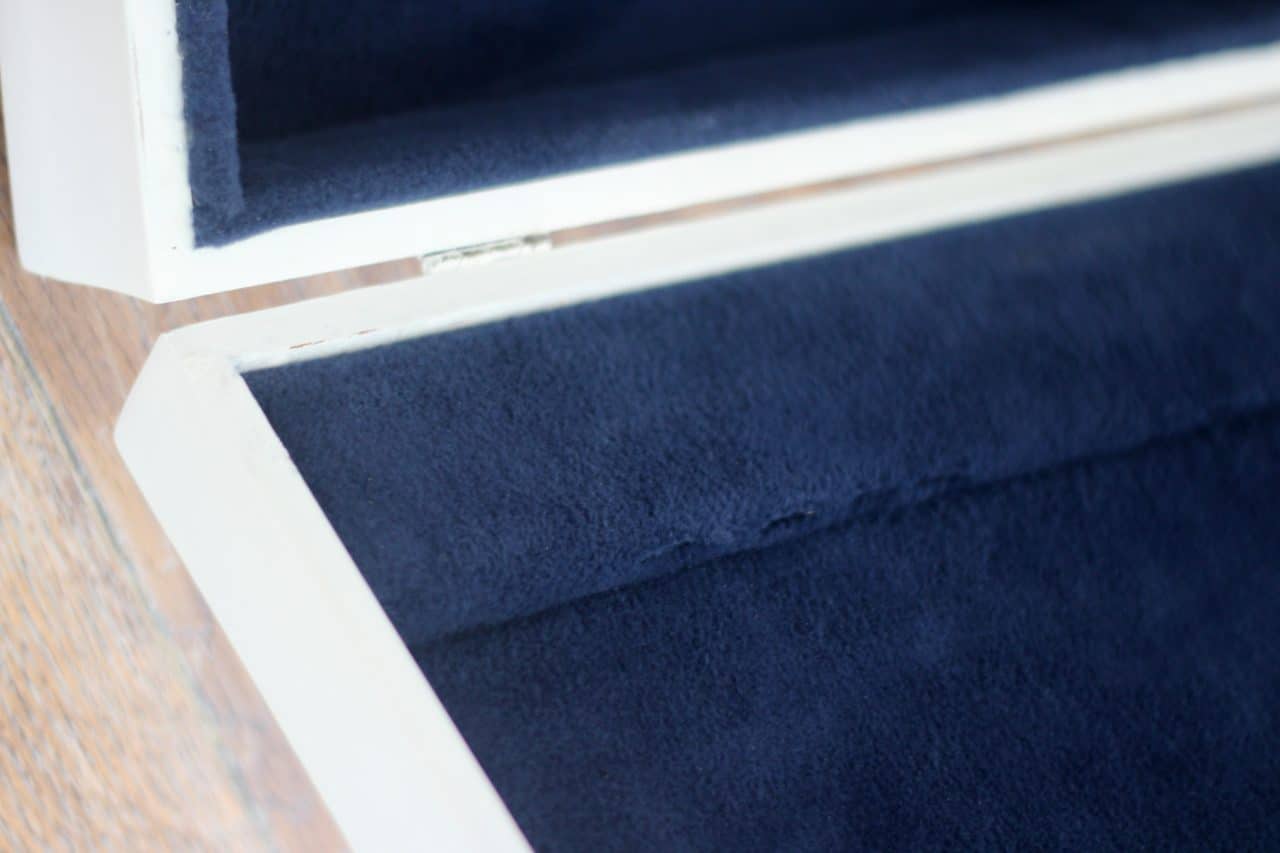
In the box I placed the bottom piece first, then the short sides that extended to each edge, and finally the long sides that fit into the short sides (if these pieces weren’t a little short, they would buckle). With these pieces of lined posterboard for the sides, I used the bottled glue instead of the spray adhesive so the glue wouldn’t be visible at all.
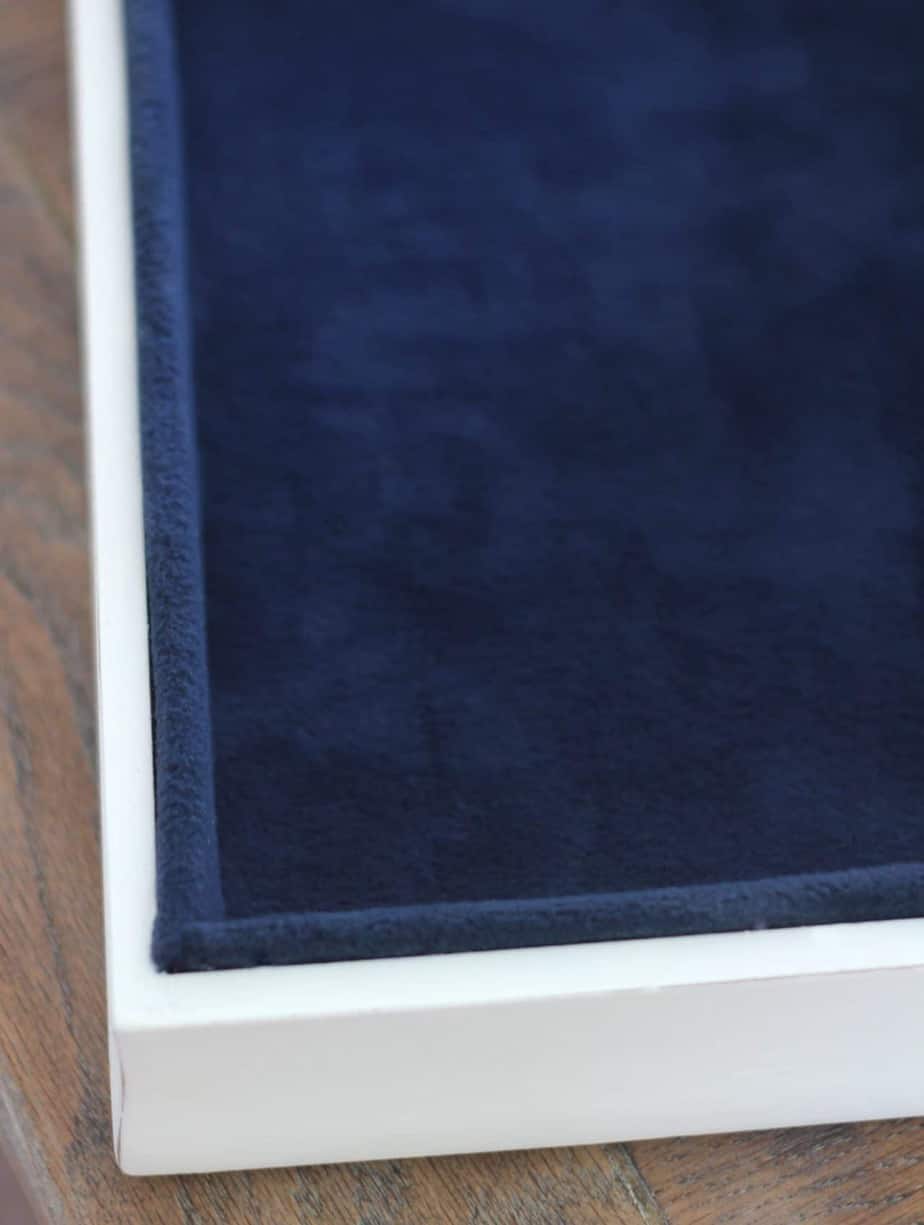
As you can see above, the sides are about 1/4″ higher than the wood and fit snug into the cover.
EIGHT | Attach the box handle to the outside of the box. I used a new handle (truth be told, I wanted to use the original handle but lost it somewhere in my house! Please tell me that happens to you too?) The screws for the new handle were too long, so I just added a nut before attaching the handle.
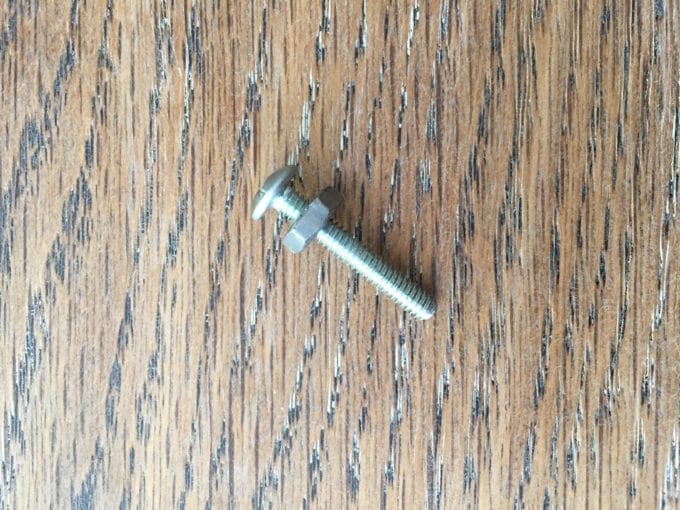
This is what the screws and nuts look like inside the front cover – you could always paint this part if it bothers you.
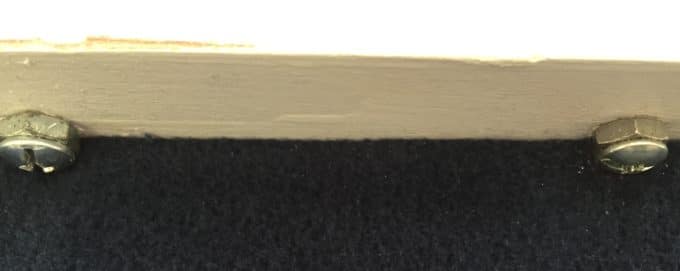
If you have any specks of paint on your beautiful lining, use a piece of packing tape to pick them all up, works like a charm!
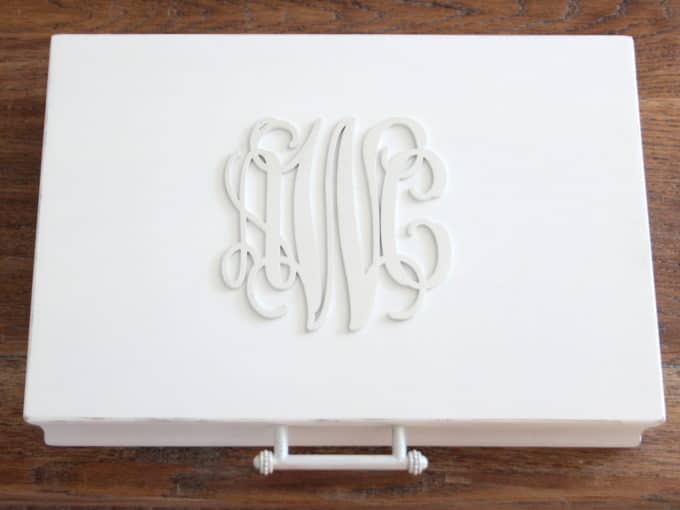
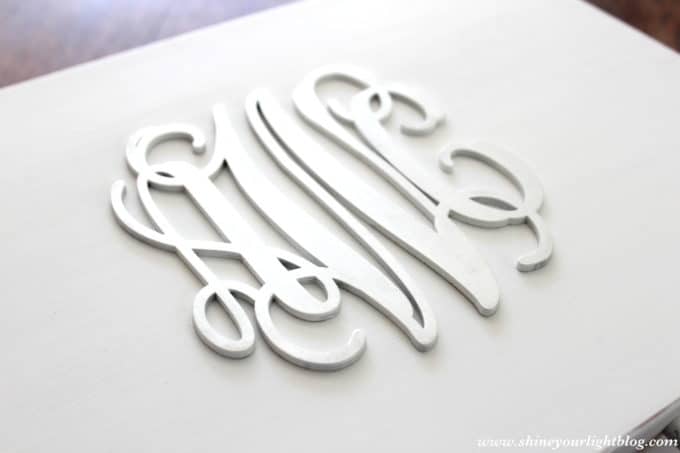
NINE | Add a special detail. This is my favorite part! After the makeover of the box was complete, there was something missing, so I added a monogram for the new bride and groom. I mulled over how best to do this for the longest time and eventually I decided on a wooden laser cut monogram by DIYcutsBySara on Etsy. The monograms come in any size you want up to 24″. I got a 6″ monogram for this box and it was less than $5.
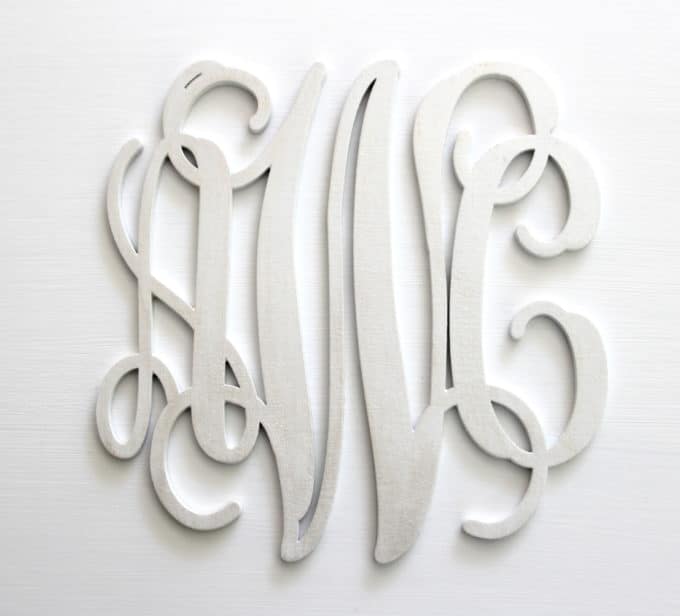
The monogram comes unfinished, so I primed and painted it (spraying it is the easiest with all those nooks and crannies!), and then brushed this pretty pearl paint on top of it for a little shimmer. To attach the monogram to the box, I just used wood glue on the back and placed it on top, and weighted it down with some heavy books for a day or so. It seems to be pretty firmly attached.
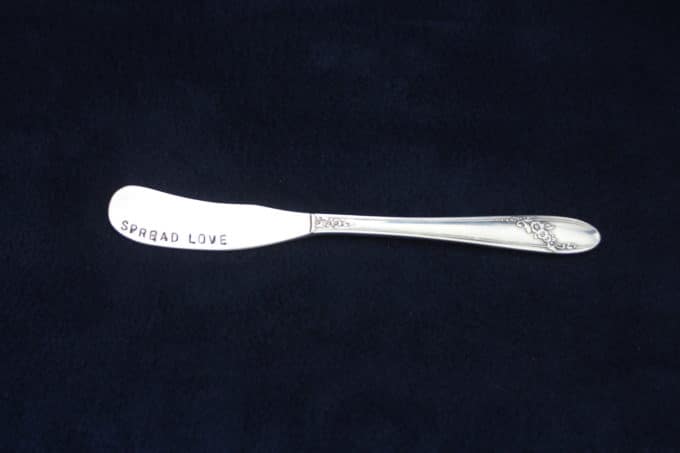
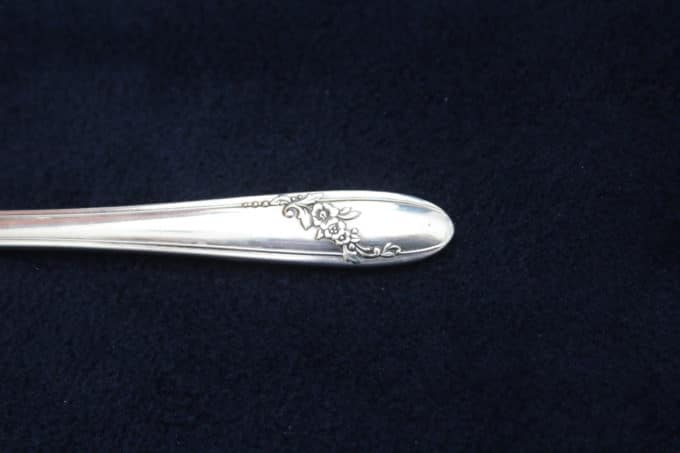
TEN | Fill your beautiful new box! This part is fun too! As soon as my mom and I came up with this idea to makeover the box, we started looking for something fun to put in it. How cute are these spreaders by Pretty Paris on Etsy?

They are vintage flatware pieces that have been handstamped. Each set is unique.
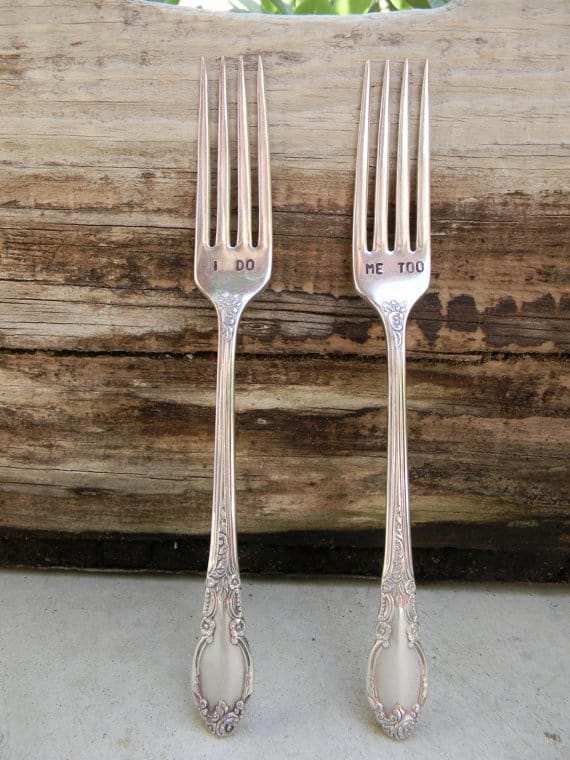
I completely failed to get a picture of them, but Mom and I also ordered these pieces for the bridal couple to use on their wedding day, from the same seller, Pretty Paris. The pattern we received was different than this one but really beautiful!
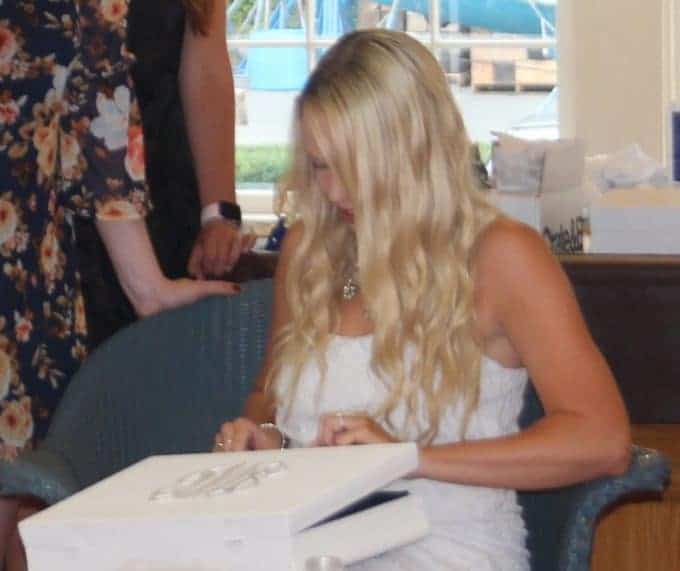
My niece at her bridal shower 🙂
One last look……
BEFORE
AFTER
I hope you enjoyed this makeover story! For more fun projects you can do in an afternoon or a weekend, check out the project gallery! Have a great week ahead lovelies and thanks for visiting!

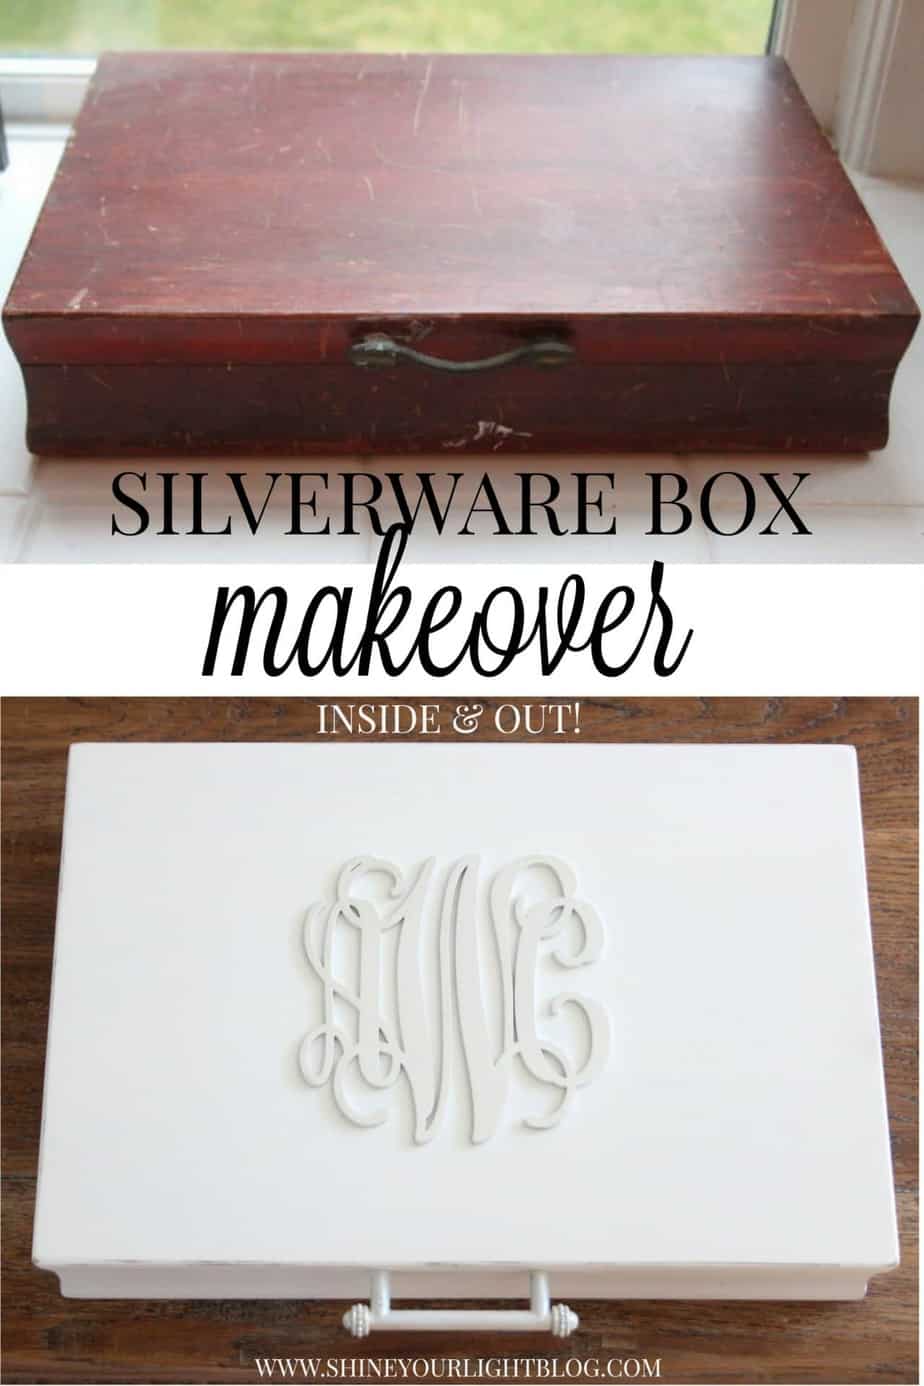
Pin this post to save for later!

Shelley | Crazy Wonderful says
What a great idea and beautiful gift!!! I have no doubt your niece was over the moon about it!
Lisa says
Thank you my sweet friend! She does love it because it’s my mom’s!
Tim says
How did you get the silverware to stay in place? The knives I understand but the other items have to have a holder of some kind.
Lisa says
Hi Tim, the original structure that held the flatware in place was constructed of cardboard that was covered with the felt. I was envisioning this box would be used for serving flatware and didn’t bother to recreate that structure.
Brenda says
Beautiful, just beautiful. Thank you for posting it.
Lisa says
Thank you so much Brenda!
STACY says
I’m doing the same thing for my daughter. My mom gave her her silver but I have been keeping it for her. This chest had the plastic clips to hold the flatware onto the cover. I don’t know the technical name for them & I’m having a hard time finding to replace ones that are missing. Any suggestions?
Lisa says
I couldn’t find replacement parts for the interior of my chest but the top did have built in slats to hold knives. Hope your project came out great!