Woohoo, it’s Friday!!
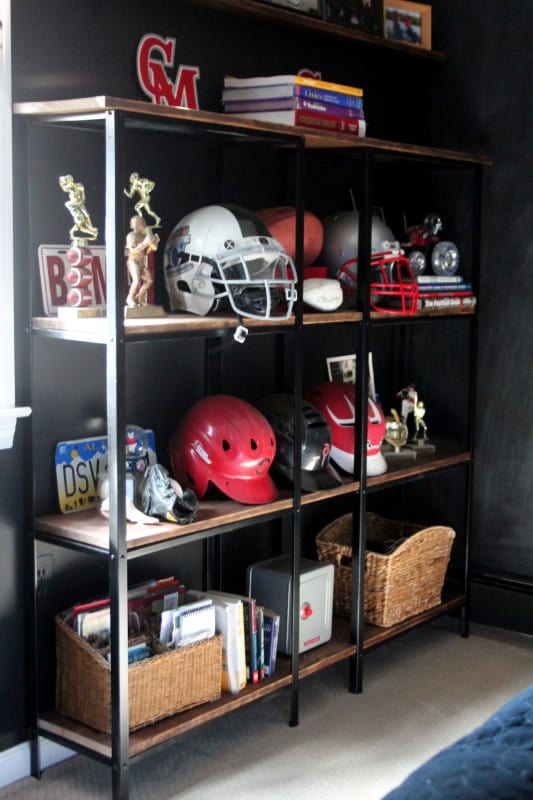
I’m back today with another DIY from Peter’s Moody Masculine Mighty bedroom makeover. Last week I showed you how I used a couple of cheap Ikea shelving units to make a custom-sized bookcase to hold all of Peter’s sports memorabilia and books.
I also really wanted to built a very simple desk with clean lines, that wouldn’t take up a lot of visual space but would give Peter a big workspace to spread out on, and this minimalist design in what I came up with.
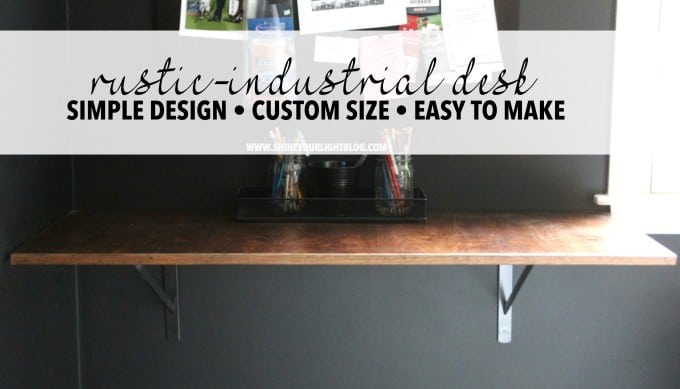
I could have built wood supports but I wanted the mix of wood and metal to mimic the bookcase. Taking into consideration the squared off frame of the bookcase, I looked for some kind of support that would recede into the background and let the wood top be the star, and finally decided on these very un-sexy shelf brackets that are used to support wire shelving in closets and pantries. They are perfect because they can hold a lot of weight and they give the illusion of the desk floating.
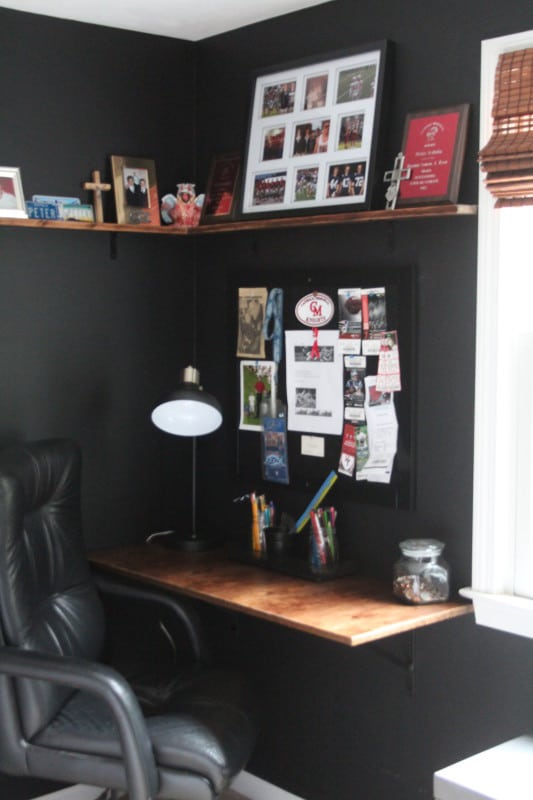
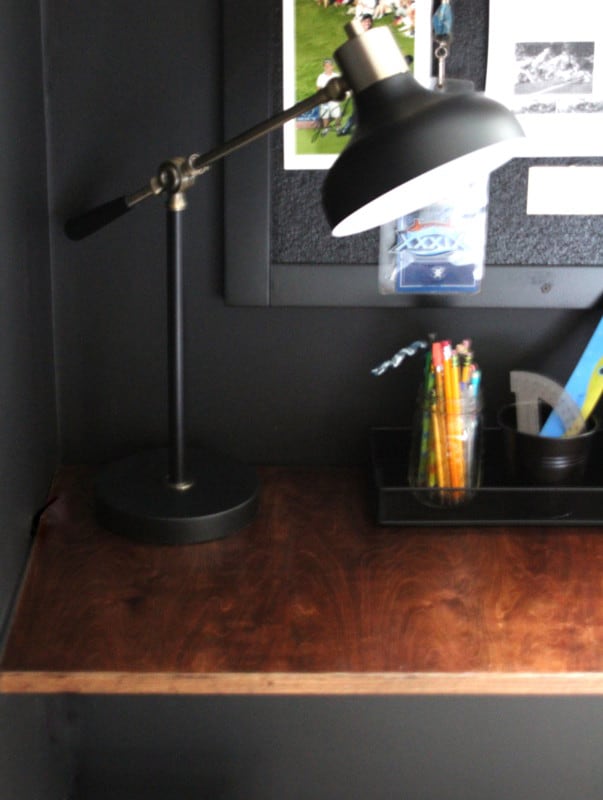
I love the wood tones with the black walls. Warm and cool, yummy.
Here’s how I built this very simple desk.
This post includes affiliate links for your convenience. Read my full disclosure policy here.
SUPPLIES
Plywood cut to size (I used 1/2″ wide birch, see below), trim for exposed edges of desktop (the width of your plywood), wood stain, stainable wood filler, wood glue or Liquid Nails, finish nails, brackets, screws and anchors for attaching brackets to wall, short screws to attach bracket to wood, scrap wood for extra support, fine grit sandpaper.

Determine size and have a piece of plywood cut. I determined I wanted the depth of the desk to be 18″, then had a piece of birch plywood cut for me at the hardware store. Birch is an excellent material for staining, as it has a smooth finish and pretty grain. Maple is another great choice.
I cut the trim pieces on my compound miter saw, but they would be very easy to cut with a miter box and saw too!

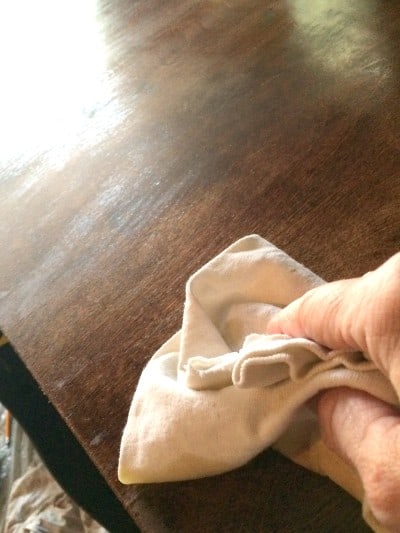
Next up stain the top of the birch and the trim pieces. This is the best part!! I love seeing how the wood takes the stain!! I like to stain with a lint free rag (old t-shirts that have been washed a million times are perfect), sanding with a fine grit sandpaper between coats. For the wood in Peter’s room I used a combination of Minwax Jacobean with a bit of Mahogany. The stain takes to various species of wood differently, so the color is a bit deeper and richer on the birch desk top than the trim and the bookcase’s select pine shelves, but they are pretty close and it all looks cohesive without being matchy-matchy.

I spray painted the brackets with black satin-finish spray paint, the same one I used for the bookcase (side note: if you do a lot of spray painting, do you have one of these? I seriously can’t live without it. No more cramp in the index finger!)
Install the brackets to the wall either into studs, or using anchors and screws. I opted to add a scrap piece of wood as a cleat to give some additional support. Later on I slapped some wall paint on the cleat and it’s not visible at all.
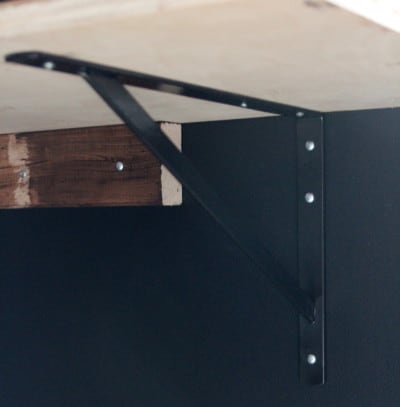
After installing the brackets to the wall, place the wood on top and use screws to attach the bracket from underneath. Make sure your screws are short so they don’t pierce the top of your beautifully stained desktop!!

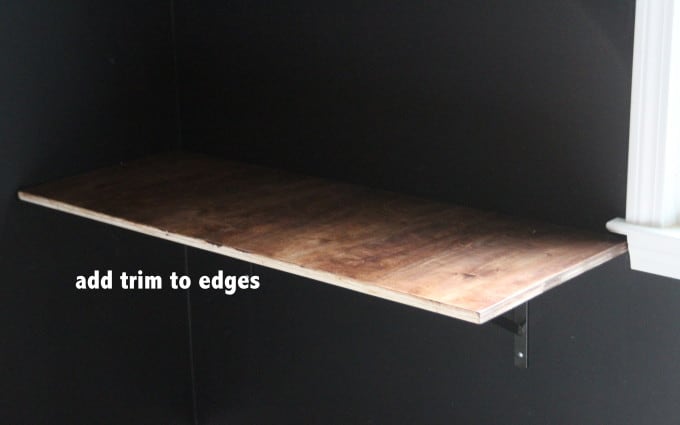
You could opt to add the trim before you install the desktop, but I waited until after because the desktop abutts the window frame and I knew I would have to retrofit that piece of trim to make it fit snug by chiseling down the end.
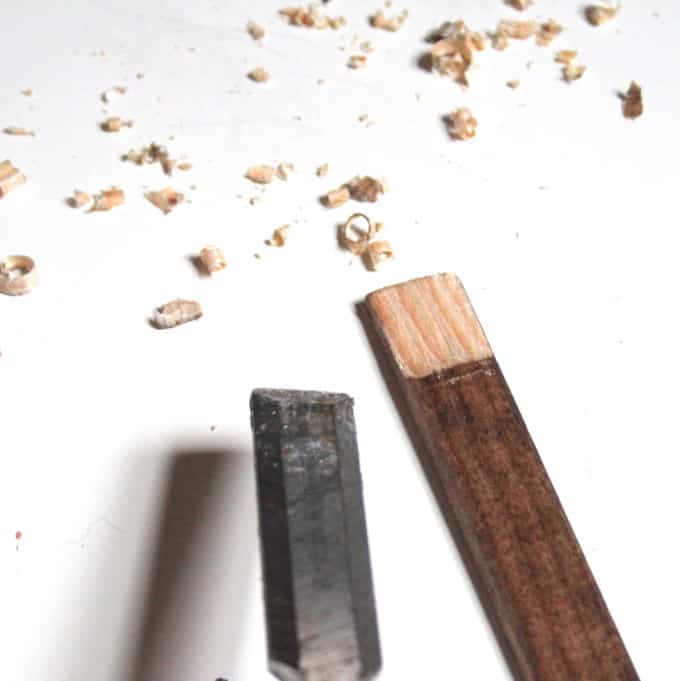
Throw some wood glue or Liquid Nails on the trim…..
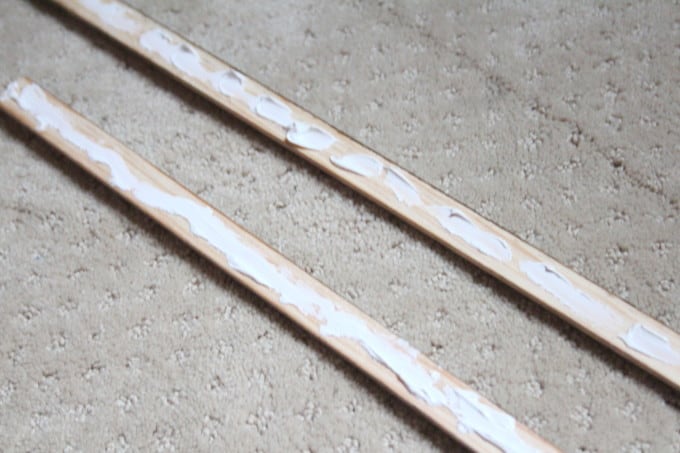
….then attach to the front of the desktop to cover up the raw plywood edges. Wiggle the trim a bit so it gets a good adhesion, squishing out excess glue and wiping away immediately. I taped the trim so it wouldn’t slide around……
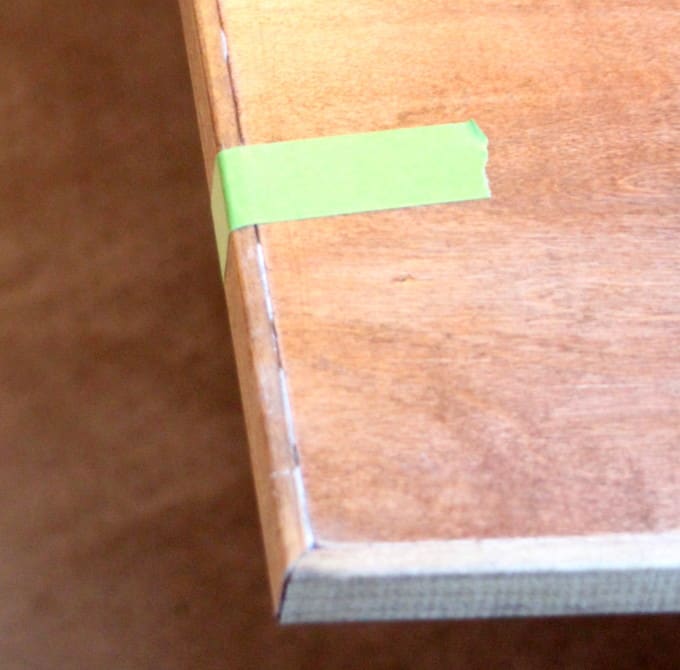
…..then added a few tiny finish nails. Use a nail set to sink the nails.

 After the trim glue has dried, use wood fill to cover the nail holes and disguise the seams between the trim and the plywood, and at your mitered corners. Allow to dry, then sand with fine grit sandpaper, being careful to avoid the desktop as much as possible. If the wood fill is apparent, take a q-tip dipped in stain and apply a coat. I should also mention that I lightly sanded the mitered corner so it has a rounded finish and will not impale my kiddo. 🙂

All done and ready for some major studying!!!!!

Adding a bit of MINIMALIST to this MOODY MASCULINE MIGHTY teen room!
This really was a simple project that a newbie DIYer could definitely tackle!
For more projects from this space, check out these posts:
[Best_Wordpress_Gallery id=”24″ gal_title=”Rustic Industrial Room”]
Wishing you all a wonderful weekend ahead my lovelies!!

cassie @ primitive & proper says
i love this! i will be doing something similar in sawyer’s nook at some point. love the lamp, too!
Lisa says
I love that lamp too Cassie! That was a good Target find!
Arielle | Scotch and Nonsense says
Lisa, you know how much I love this room! So with you on that black and wood combo – it’s perfect. Great project!
Lisa says
Thanks Arielle! I have a thing with warm & cool in design. Love wood with dark walls!
Sheila Irwin says
Wow, such a great job Lisa! I wish I would’ve seen this before I went and re-did my older son’s room! I was wanting a desk, but something that wouldn’t take up much of a footprint. I ended up doing NO desk. But had I seen this, I might have been inspired to copy it!
Sheila
http://www.maisondecinq.blogspot.com
Lisa says
Thank you Sheila! My son always loved his old desk so I new I had to fit one in for him. It has worked out well for that room.
Shelby says
You did an amazing job! I am totally inspired!
Lisa says
Shelby thank you so much! It was a fun project.
Carol @ CAD INTERIORS says
Love this, Lisa! I’m getting ready to turn a small bedroom into my tween son’s own room, and I’ve been considering a floating desk option to save space. I like how it could double as a nightstand too. Another fabulous DIY!
Lisa says
Yes it could definitely work as a nightstand Carol! Can’t wait to see what you do with your son’s room!
Cole Byrne says
Thanks for sharing this! All the best!