
Today marks the halfway point for all us One Room Challenge Linking Participants (ORCLPs! Woo hoo!!) Did you catch the 20 ORC designers and what they’ve accomplished in week three? There is some true awesomeness happening out there. It’s been so fun to see everyone’s progress.
If you’re new here (HI and welcome to my little world of crazy), for the ORC I am building a wall of bookcases in my living room. There are SO many ways you can customize a bookcase between molding, wood and paint. It’s all about the details. Today let’s talk about
It’s something I have pondered for a loooong time leading up to finally building these suckers. There are so many interesting options…….
Solid white (or the same color as the rest of the bookcases)……
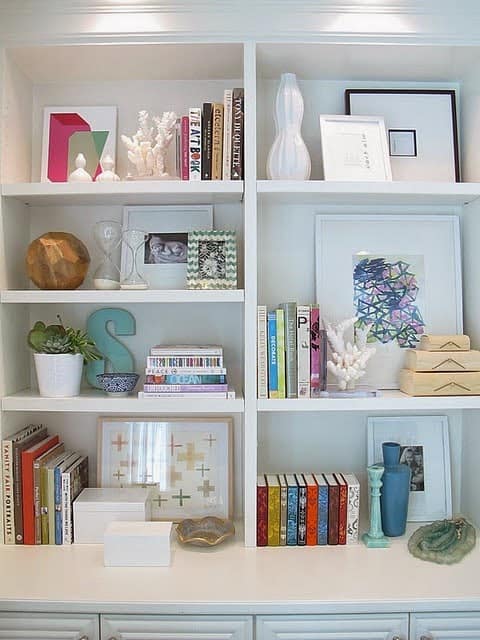
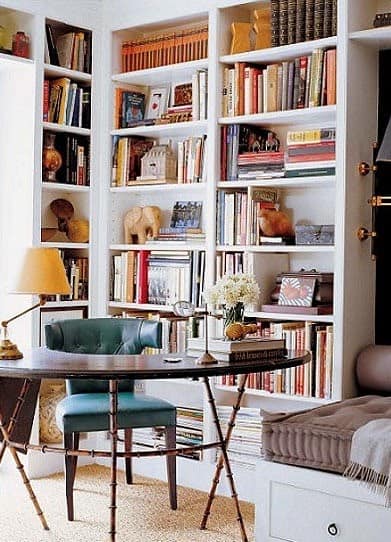


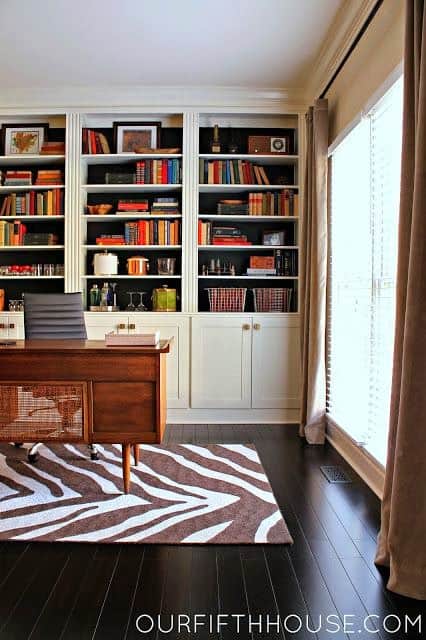
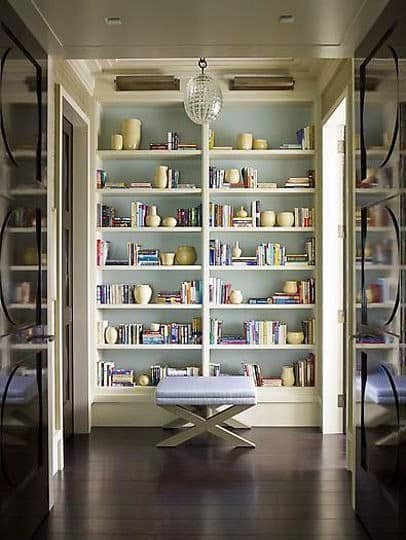
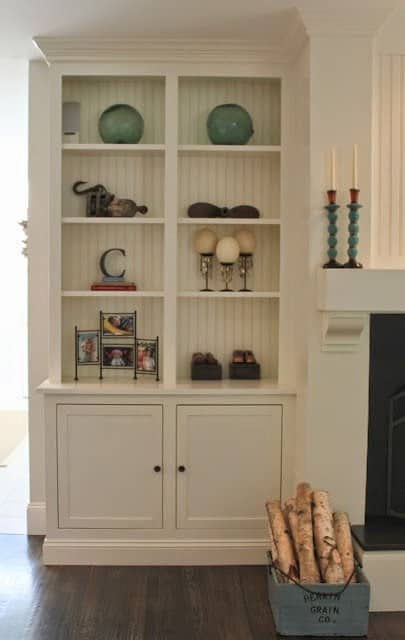
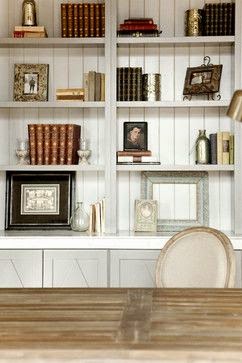

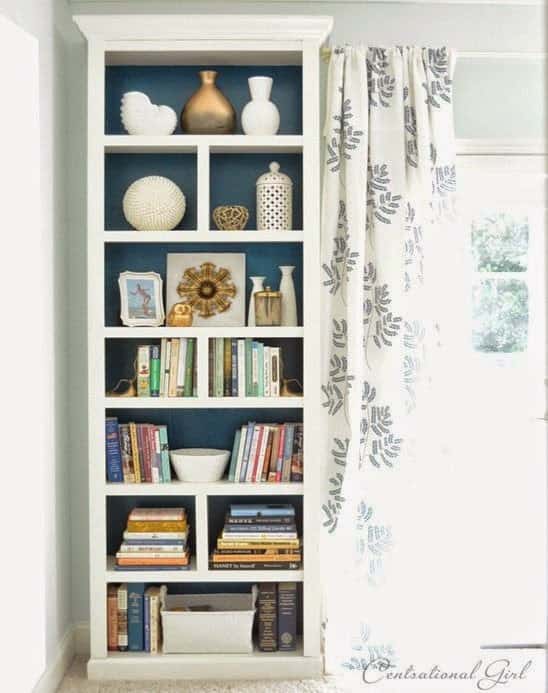
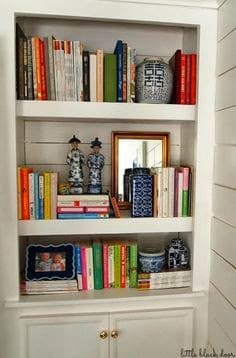
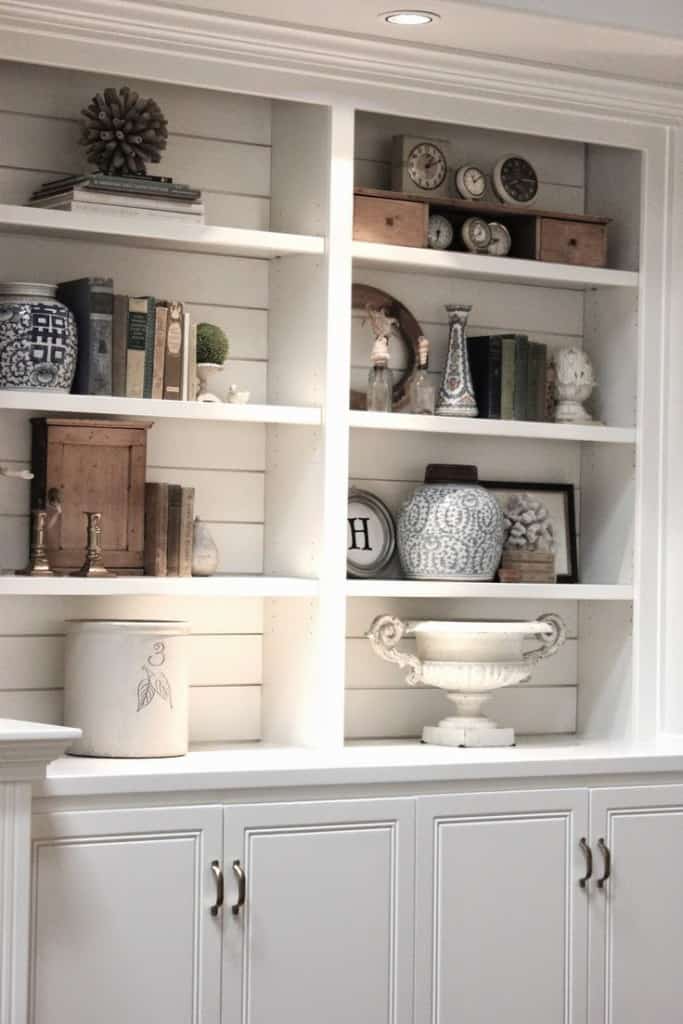
Since there was already a groove in the back of the Ikea bookcases for the panel it came with, I decided to go with a paneled sheet of hardboard. Sheet paneling is widely available, and depending on your project there are lots of different ways you could go. I contemplated using real wood beadboard that is about $40 a sheet (Lowes or Home Depot), but decided on hardboard.

I had the sheets cut at Home Depot, so the grooves were horizontal.
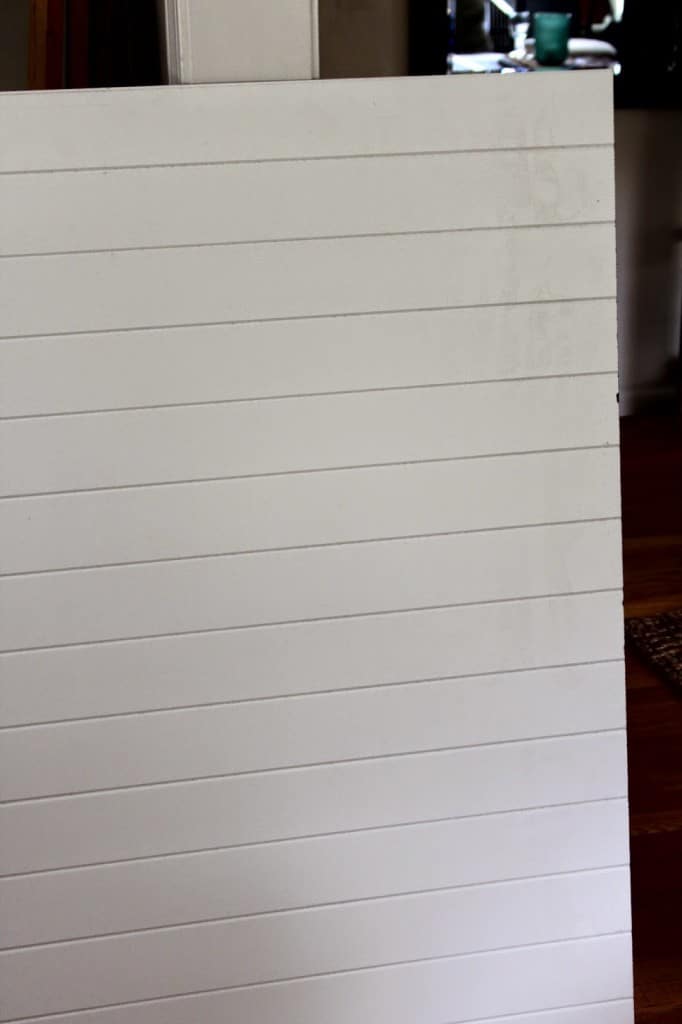
Here I want to pause and tell a DO THIS, NOT THAT story to those of you that have any inclination to build Ikea bookcases and change out the backing board.
Since the hardboard (left) was wider than the Ikea panel (right),
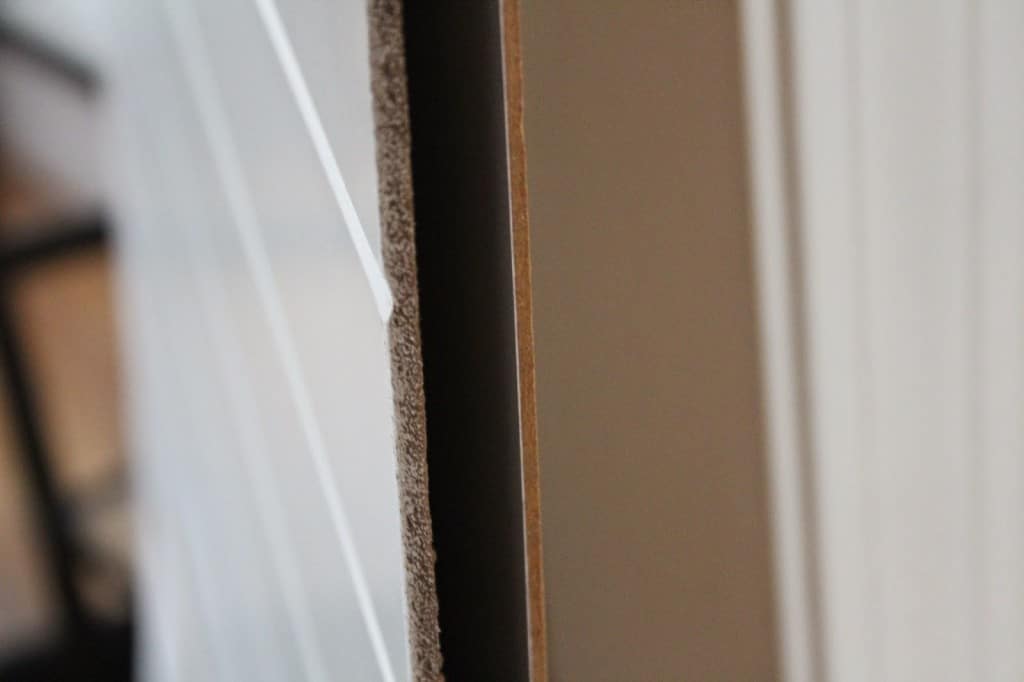
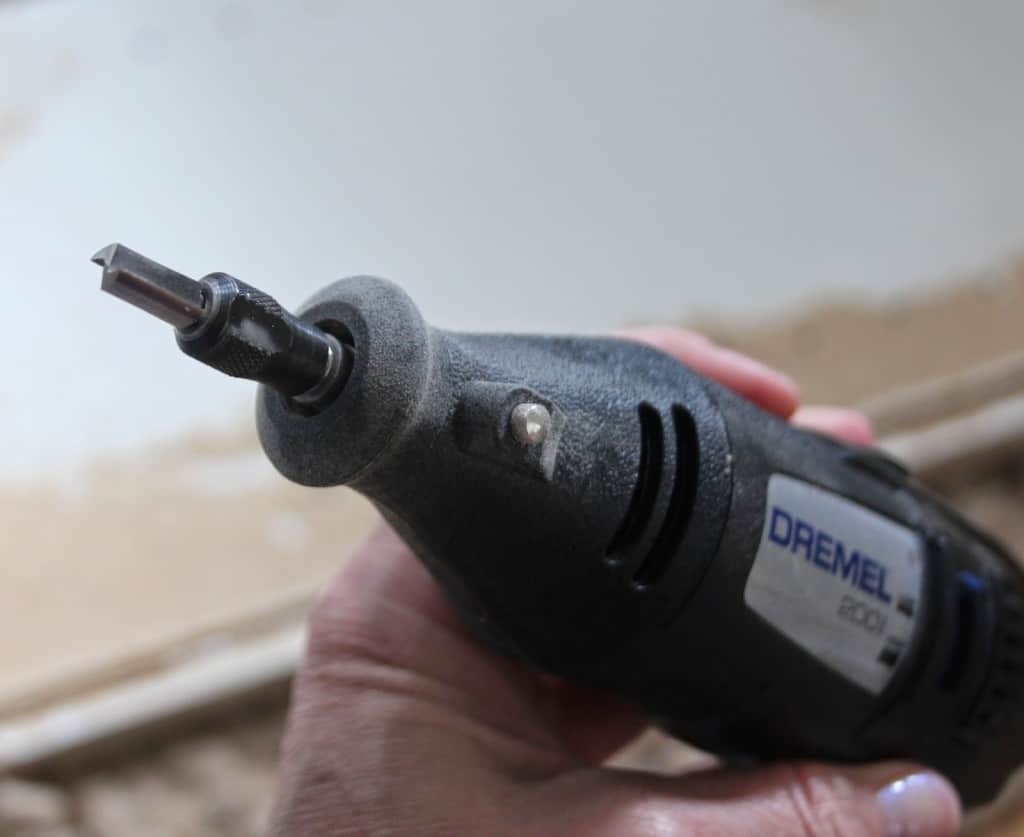

I would strongly recommend NOT doing what I did unless you have a real router tool. Rerouting the grooves with the Dremel made for uneven grooves, plus the bookcase is coated in laminate, which bunches up and makes a big fat mess, and the Dremel is hard to control.

Since I already had the hardboard cut to fit the back of the bookcases at HD, I had to forge ahead and route all three Ikea bookcases in the same manner. This was the worst of my rerouting….I got a bit better at controlling the Dremel as I went along….but oh, this is not pretty.
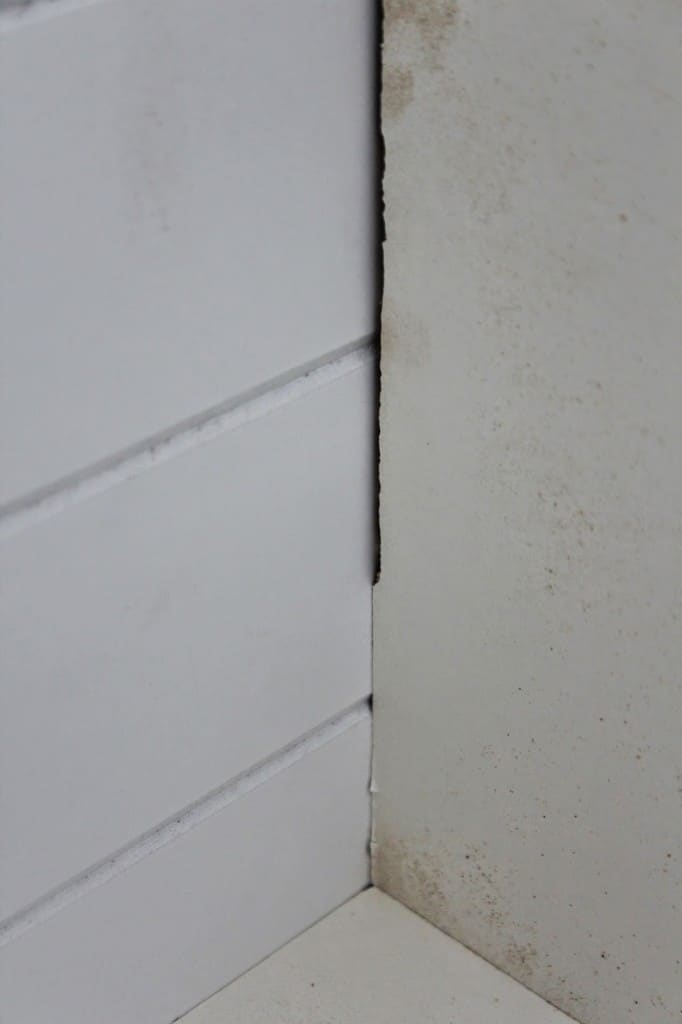
IF I HAD IT TO DO OVER AGAIN I would fill the existing grooves with putty, have the panels cut to fit the outside back of the bookcase, and attach them to the frame of the bookcase with a brad nailer, or attach them directly to the wall. WAY less work than rerouting.
In the end, all’s well that ends well. The rerouted grooves were the perfect size for the panels, and after a bit of caulking, there is no evidence of my poorly executed rerouting.
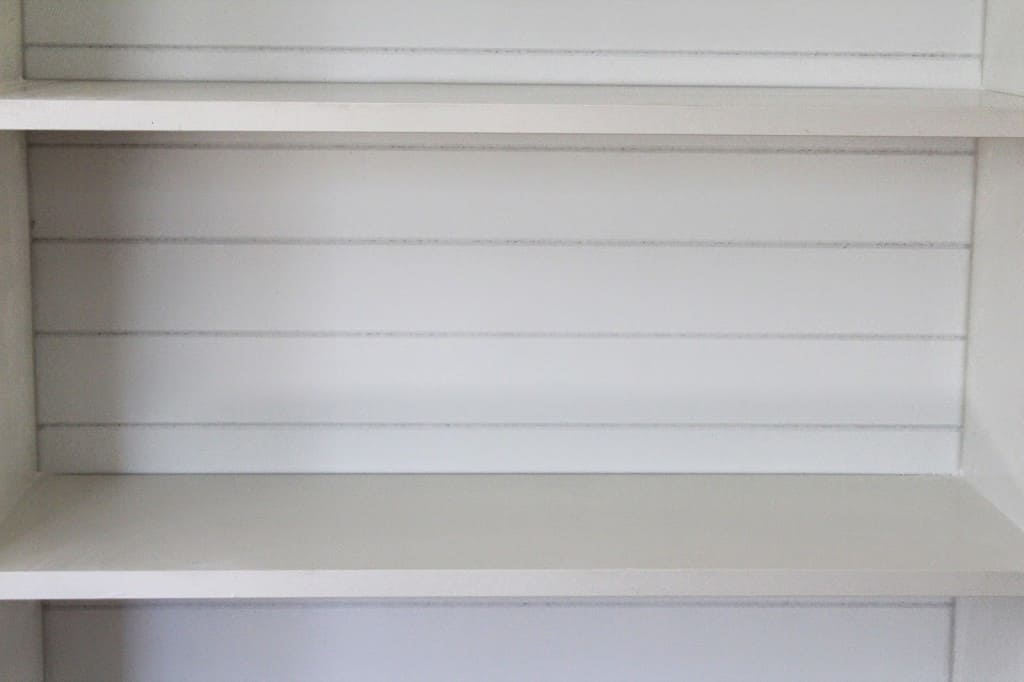
I LOVE that little detail that the panel adds, so it was worth the learning curve. Also, I was deeply considering painting the paneled backs either black or some bluey green, but in the end I decided to keep them white, at least for the time being.
That’s it for today, next week I’ll show you how I’m trimming out the bookcases to give them a custom finish.
Now I’m off to Calling It Home to see how all the other ORCLPs are doing – join me!

Vel Criste says
Oh My, this will definitely look wonderful Lisa!!!! I love the look of paneling but have yet to have bookcases with it, mostly i just paint the backing, like in our library or use gift wrap (my favorite way). I can't wait to see your huge bookcases done and styled already!
Cassie @ Primitive & Proper says
so pretty and i love the way you turned it! great idea!!!
Stacey {steward of design} says
Love the panelling look on bookcases. Can't wait to see more…
Dana Frieling says
Oh girl, that is some serious work! I love this look and think it's absolutely perfect for the vibe in your house.
Jennifer @ Dimples and Tangles says
What a pretty look! I think the horizontal lines are such a fresh twist to the vertical. Way to persevere and figure that one out. 🙂 Those are going to look fantastic all trimmed out and styled up! Carmel and Elizabeth's shelves are some of my favorites too!
Elisa of Fancy Free Me says
They look nice! Thanks for the tips.
Denise Greenwood says
I love that you pushed through and made it work! Sounds exactly the way I would approach things 🙂 I love the look and the backing – much more style! Keep up the hard work girl!!
Andrea says
You are a woman on a mission! I love it. These are going to be awesome. That planking is such a nice detail.
Simply LKJ says
Love the horizontal lines. Good for you for giving it a try. Sometimes using masking or painters tape where you are cutting keeps the laminate from splintering. But, a little caulk…no harm no foul. Looks fantastic.
pam {simple details} says
As I was scrolling through your inspiration I said to myself, 'That's her.' when I came to the beadboard/paneling. You had me giggling at no drop cloth, that is me to a T. You're always my hero when it comes to your tools and creativity, can't wait to see what you have for us next week!
Betsy Dambrosia says
Girl, You're Amazing…
Lisa Marie Wells says
Loving the paneling Lisa!!! Can't wait to see it all put together!!
Korrie@RedHenHome says
It LOOKS great, even if it was a pain to get to that point!
Cathy Wall says
Love your choice! The learning curve you experienced would put me in DIY-ADD overdrive and I am not sure I could have forged ahead like you, bravo that you did!
Kris @ Driven by Décor says
Lisa, I am soo impressed by how you attempted that with the Dremel – brilliant idea if only that darn laminate had cooperated! It stinks that you ended up having to do so much extra work to get the look you wanted but the end result is fabulous! This is going to be one amazing "after"!!!
Beth of designPOST Interiors says
I'm so glad you went with horizontal planking- it looks so good. No one will ever even notice the groove mishap!