Are you ready for a little before-and-after action???
Before we moved in last year, my husband dubbed this unfinished utility room in our new garage the treehouse and even suggested we take it down altogether….but oh no, I had a vision for this room!
I am not kidding when I tell you this little room was one of my favorite features of the house.

Here she is in all her plywood grandeur! Oh the possibilities!
This pretty window had me at hello.

What mother wouldn’t covet these shelves for organizing the enormous amount of kid stuff that a family of 5 acquires, I ask??

A utility sink! Oh happy day for the DIYer!
But ugh – the lighting! A press-on light and clip-on lamp???

This summer I went absolutely crazy priming and painting everything in and around the mudroom/treehouse, starting with these stairs, the plywood walls and even a forlorn old frame that we turned into a postcard display.
There is nothing like painting to freshen up a space and make a house feel like your own!

The color on this door makes me exceedingly happy! I’m an easy-to-please kinda girl.

Before I started prettying up the mudroom, I sat down a made a list of everything I dreamed of utilizing this room for and came up with a pretty tall order of items I wanted to store in here,
and since I know you’re on the edge of your seat I won’t keep you in suspense!
I needed this little space to be home to….
seasonal shtuff –
Here’s the actual mudroom/treehouse getting decked out in Kilz primer. Did you know that if you seal unplastered drywall boards with primer you can paint or wallpaper them? Who knew.

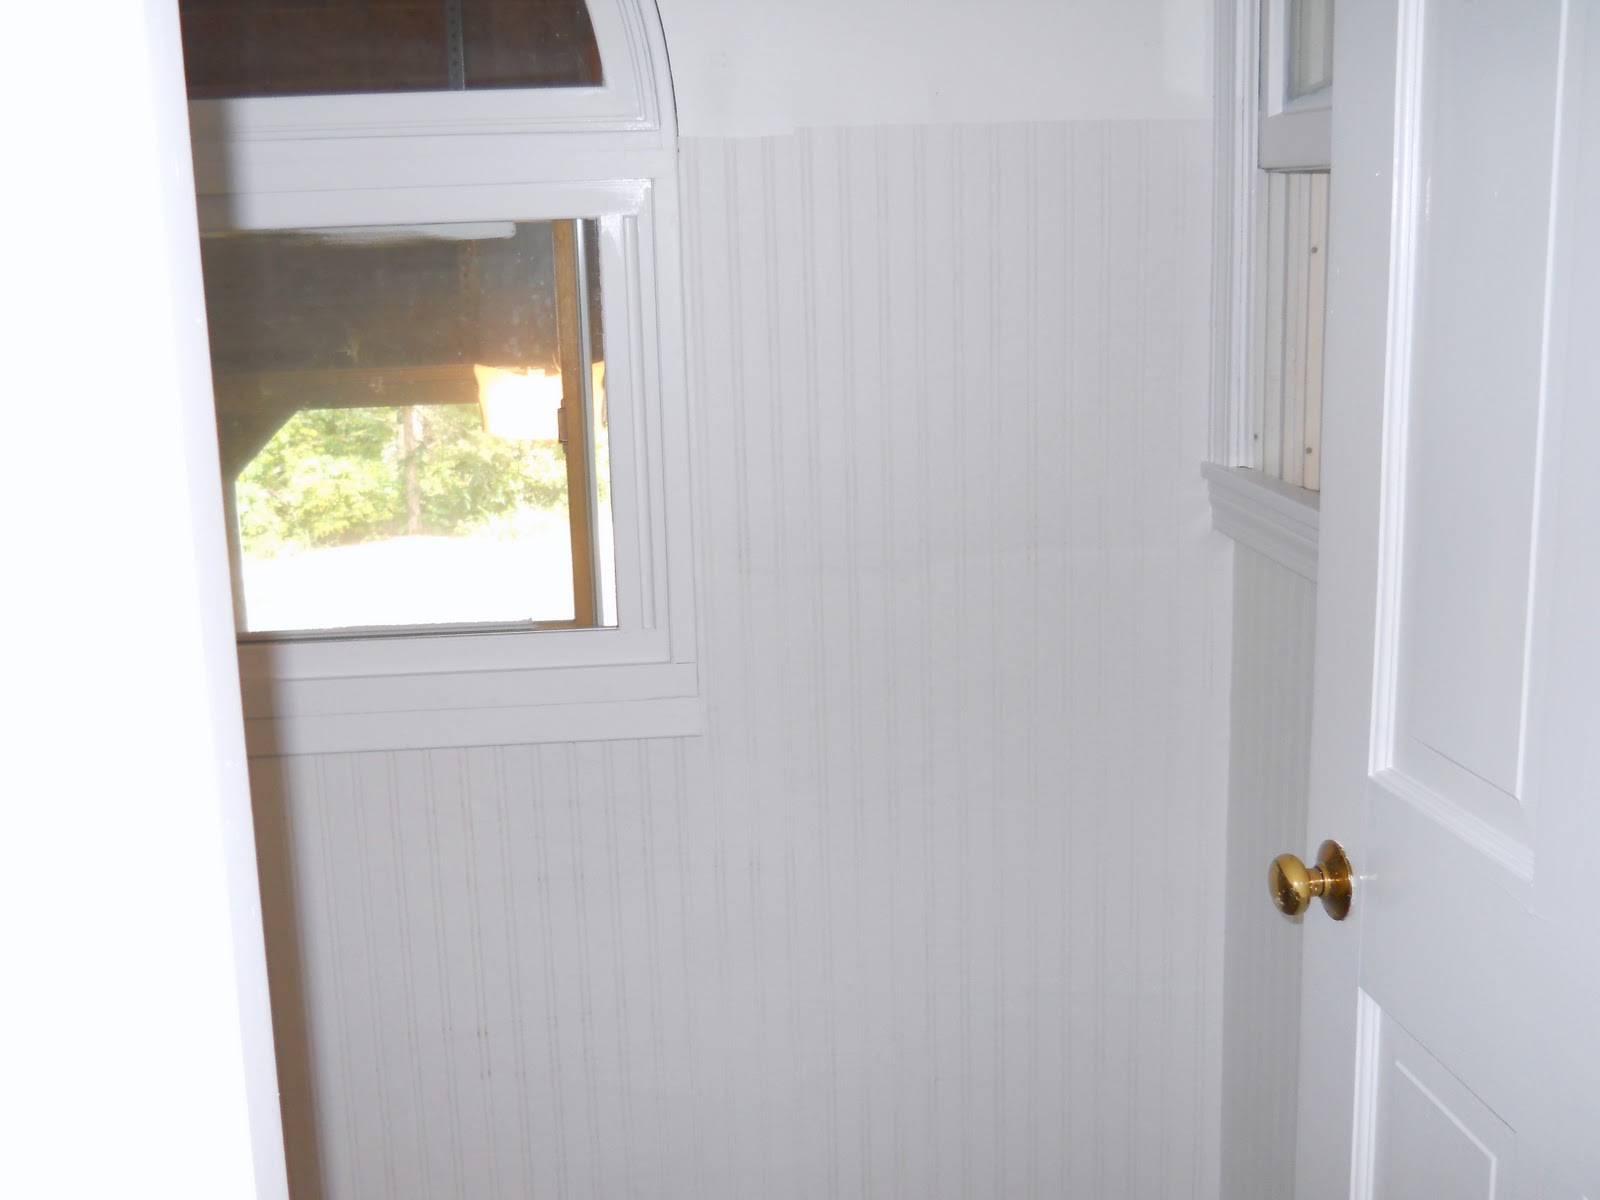
Next up – paintable beadboard wallpaper. Yes, wallpaper – it’s $20 a roll at Lowes and I used just under two rolls. I went right over the seams of the plywood and the drywall and for the most part the wallpaper hid these imperfections. I wasn’t too picky because, after all, this area is part of our garage
but I also wanted it to feel like a real room and be a bit more aesthetically pleasing to our guests and to my family who has to view this area a gazillion times a day.

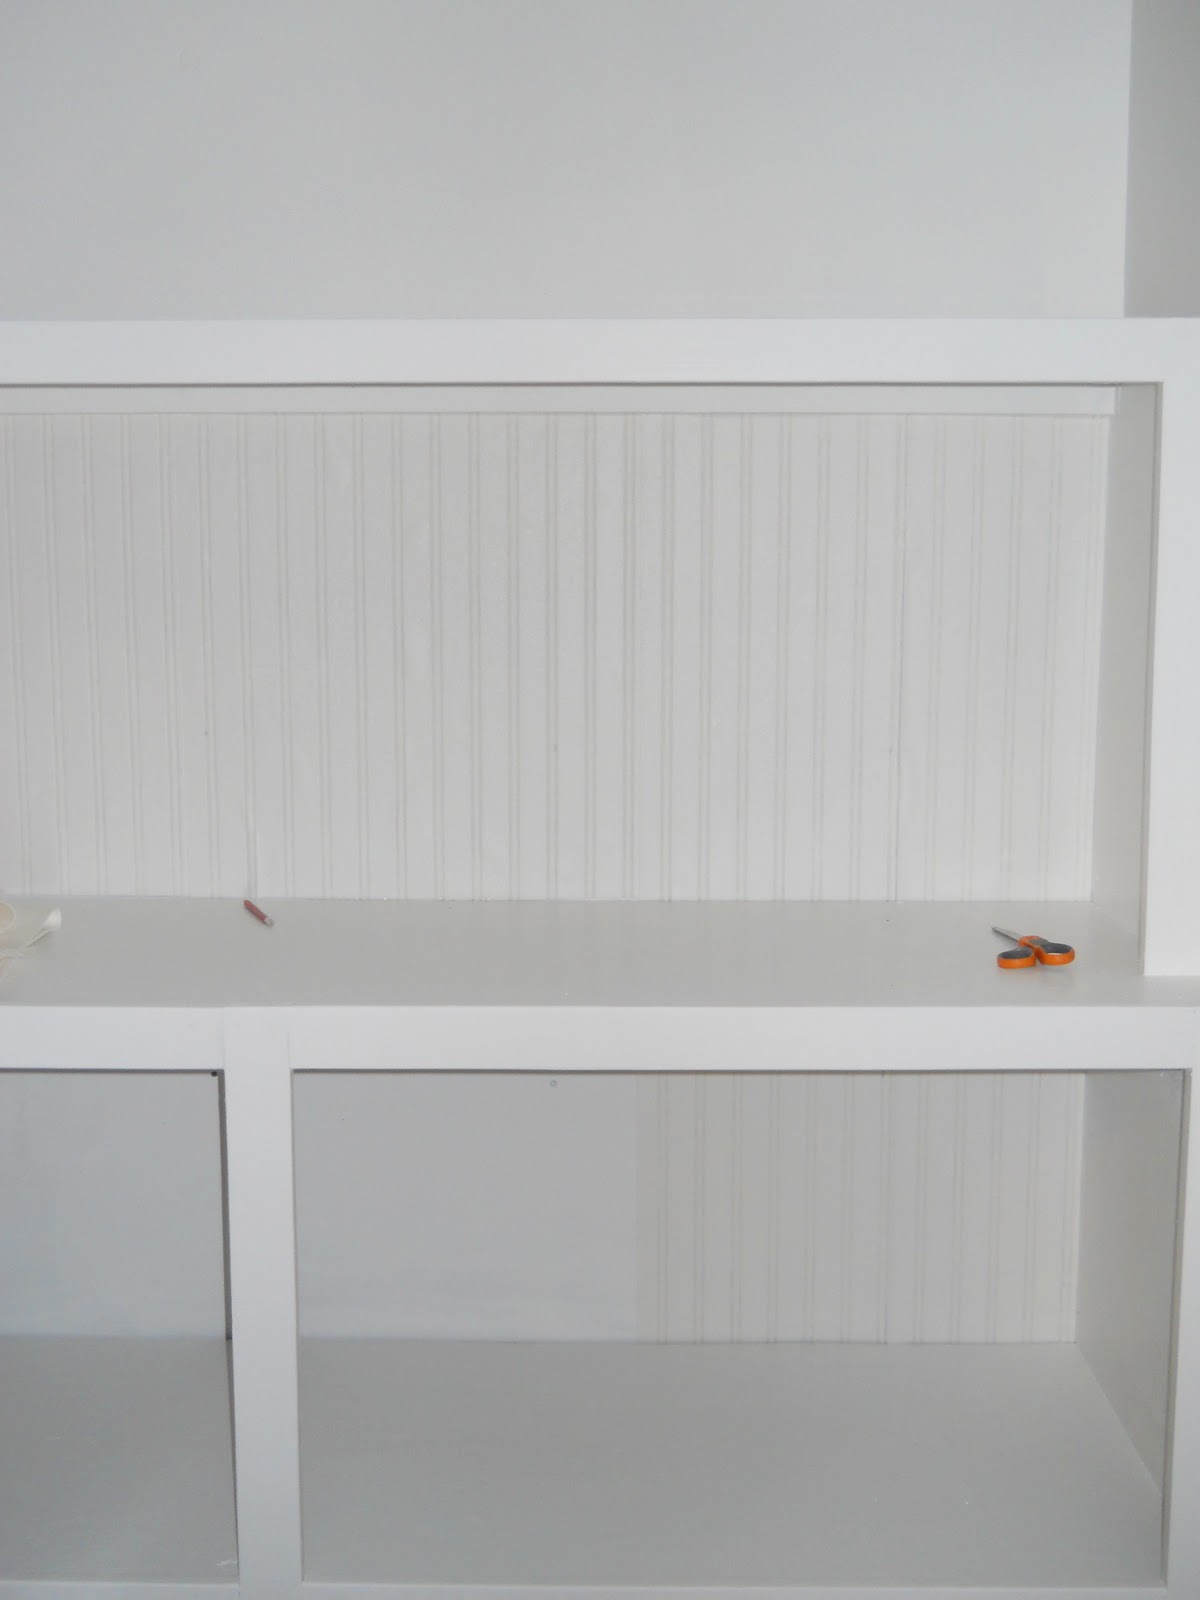
To top off the wallpaper, I used a pre-primed baseboard molding turned upside down, and a flat trim piece to create a ledge, attached with wood glue and a nail gun.
{PS – My first trim job cut and put up all by myself! Now the domino affect – I’ve already got the wood for my next carpentry project! So addictive 🙂 }

After the wallpaper and ledge was up I caulked ’til the cows came home, and then painted the wallpaper, trim and shelving with semi-gloss white paint.
I have to say I am very impressed with the beadboard wallpaper. I’m a big fan of the real deal, but this is an inexpensive and easy way to achieve the same look. My father-in-law did not believe me that it was wallpaper! What do you think??


I hung tons of hooks for New England winter apparel and bathing suits and towels in the summer.


We inadvertently have a bit of a dog theme going on here. Since our pup’s dog dishes will live in this mudroom during the cold weather (they are on our deck for the rest of the year) and Bruschi, our Saint Bernard, IS the main source of mud in this house, I thought it fitting that the mudroom ultimately be an Ode to Bruschi.

My favorite part….
I made use of the wall over the shelves as a place to store wrapping paper and ribbon. I don’t have a craft room in this house and really needed a place besides my foyer coat closet to store these supplies!

Also, seeing all that fun and colorful ribbon every day just makes me happy!

As I told Mark when he gave me the LOOK: it’s versatile!
The little wrapping area does not take up a lot of space. The top of the shelves can still function as a place for baskets of hats and mittens as well as a counter to wrap on when the occasion arises.
I also added a hook for gift bags, and the little shelves over the utility sink hold boxes of tissue paper, stationery and cards, and other supplies. I used boxes I already had and added labels to pretty ’em up a bit.


The big thing I still need is to have a light installed overhead (meaning my light source remains that funky clip-on lamp!) I also have my eye on a cute bench for shoe storage. The woven baskets on the floor currently hold shoes but eventually they will house all our cold weather gear in the shelving unit.
I was able to fit everything on my wishlist in here (I can fit three recycle bins in there!) and so many things that were previously shoved in our tiny foyer closet have found a permanent residence. The painted floor is moppable and everything has a place, plus it’s light and cheery.
So there you have it – the before:

and the after:


I hope you enjoyed this before & after! Details on some projects that went into this room coming soon.
Thanks so much for taking a few moments out of your busy day to come by and visit. Hope you have a great day!

I’m linking up to these fabulous blogs!


Mandi@TidbitsfromtheTremaynes says
OH NO YOU DI-N'T, LISA! That is thee awesomest use of space ever!
hilary @ oldhouse.truelove. says
it looks awesome!
Noelle says
OMG you were working!!! And it was worth every bit, wow it is just a lovely space to enter into! I had been planning to get some of that wallpaper……
A Lived in Home says
What a great little hideaway for you! Super cute! I really like the dog print.
Come visit me- http://www.alivedinhome.blogspot.com
Joy Page Manuel says
Thanks for sharing! I particularly loved the crafts area with recycling bin…brilliant use of space!
Nettie Moore says
So wonderful! You must be over the moon with your results! As always you inspire me! I can't believe that is wallpaper- who woulda thunk? I am getting that for my cupola ( widow's walk ) walls, it will look perfect!
Nettie
Andrea says
Lisa, this is awesome! Love the idea of making a wish list before you began the project. Very smart! The gift wrapping station is fabulous. Wish I had one of those. You did a fantastic job!!!!! I bet your family is loving it.
Judy says
Wow, what a transformation. It really looks terrific. Thanks so much for sharing at DIYbyDesign.
Suzy www.savedbysuzy.blogspot.com says
Lisa, your transformation is amazing! I'm so impressed that you were able to do all of the work yourself. The space looks so functional too and of course, being a crazy dog lady, I love your dog theme. I have the golden retriever print from the same etsy artist.
A Vintage Vine says
Lisa….that is fabulous! I want a tree house like that!
Privet and Holly says
I LOVE your
tree house and
I have to say,
I'm just a wee
bit envious of
your wrapping
station!!! The
dog theme is
precious. You
should have the
quote at the end
framed somewhere
in there, too!
Great job, Lisa.
xx Suzanne
Desi says
Um you pretty much amaze me! I want to be so very crafty like you!! You make your house look beautiful. I wouldn't even know where to begin!!! I wish you could come to my house and give me a little tutorial on how to make the space in my house work. I really really love that you made it into a craft area as well as a mudroom. I want!
natasha {schue love} says
This is an amazing transformation! I especially love the craft corner! You did a great job Lisa!!
CalypsoInTheCountry says
Wow! Love your transformation! What a great treehouse and I have been wanting to try that wallpaper. It really looks amazing and I am loving that wrapping station. I am so excited to see dog things lately since we are working on getting a Golden Retriever. Great Job Lisa! Thanks for stopping by – have a great weekend!
-Shelley
At The Picket Fence says
WOWEE!!! That is an absolutely incredible transformation! What an amazing space to have and you did such a great job bringing your vision to life. I love how light and bright it is and that wrapping station is just perfect! Thanks so much for sharing this with us at Inspiration Friday this week!
Vanessa
To The Moon and Back says
Oh WOW! This is great! Love all the storage and I'm especially lovin' your gift wrap center!
Ange says
What a neat little place to redo! I love it!
Sixty-Fifth Avenue says
What an awesome transformation Lisa!! I'm so jealous of all your yummy storage space.
Nancy says
great job, love that window and your organization!
Nancy
Powellbrowerhome.com