
Have you ever seen a really pretty piece of canvas art in one of your favorite home store that you love, except for the weird finish on it? Or you’re undecided on how you feel about the look of the unframed canvas?
I used to adamantly oppose mass produced art, but I’ve mellowed on this subject over the years because filling a home with original pieces of art or limited edition, signed prints is not exactly feasible for all of us, and finding unusual pieces that fit your budget and speak to your soul at antique and thrift stores can be quite daunting.
If we find something beautiful, feel a connection to it and it’s within our budget then who cares if it’s a reproduction from “Marshall’s Boutique” instead of an original piece. I’d like to think that a few “low” pieces will give me or my clients the budget to splurge now and again on a one-of-a-kind or more special pieces. But “low” doesn’t have to mean kitschy or tacky.

Lately I have seen so many pretty canvas-type pictures, but I just do not get the WEIRD, NOT-FOOLING ANYONE, CHEAP, AWFUL finishes.
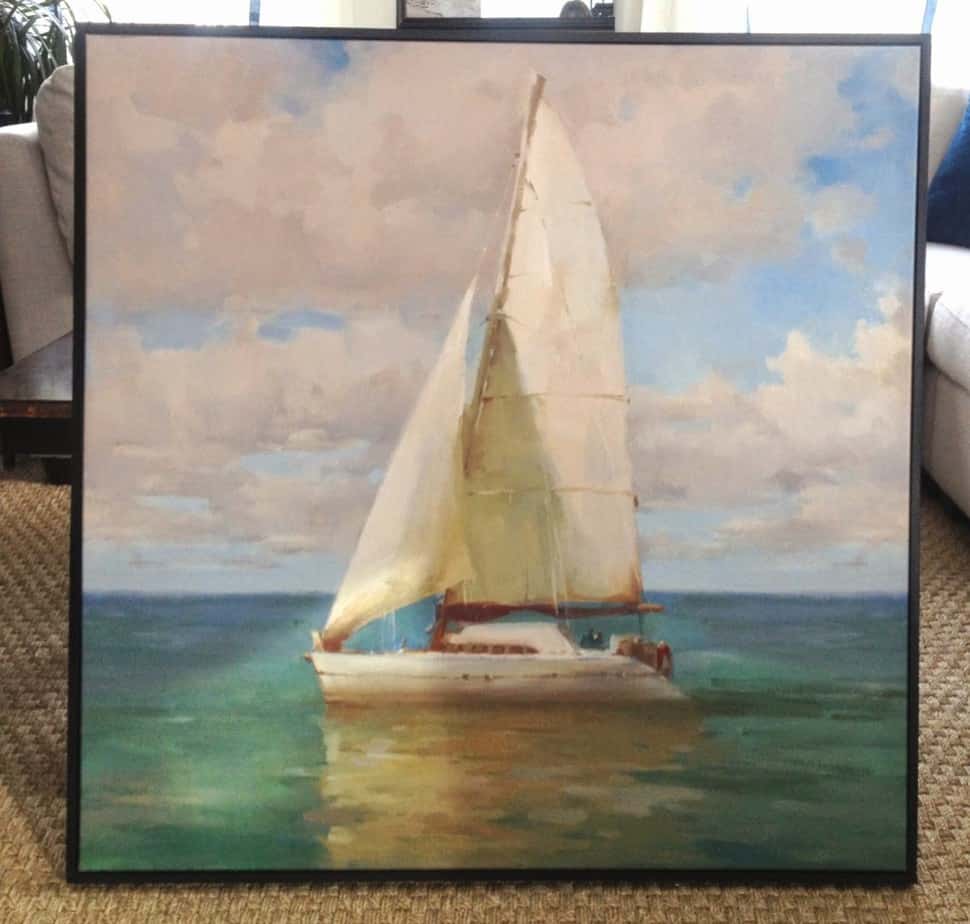
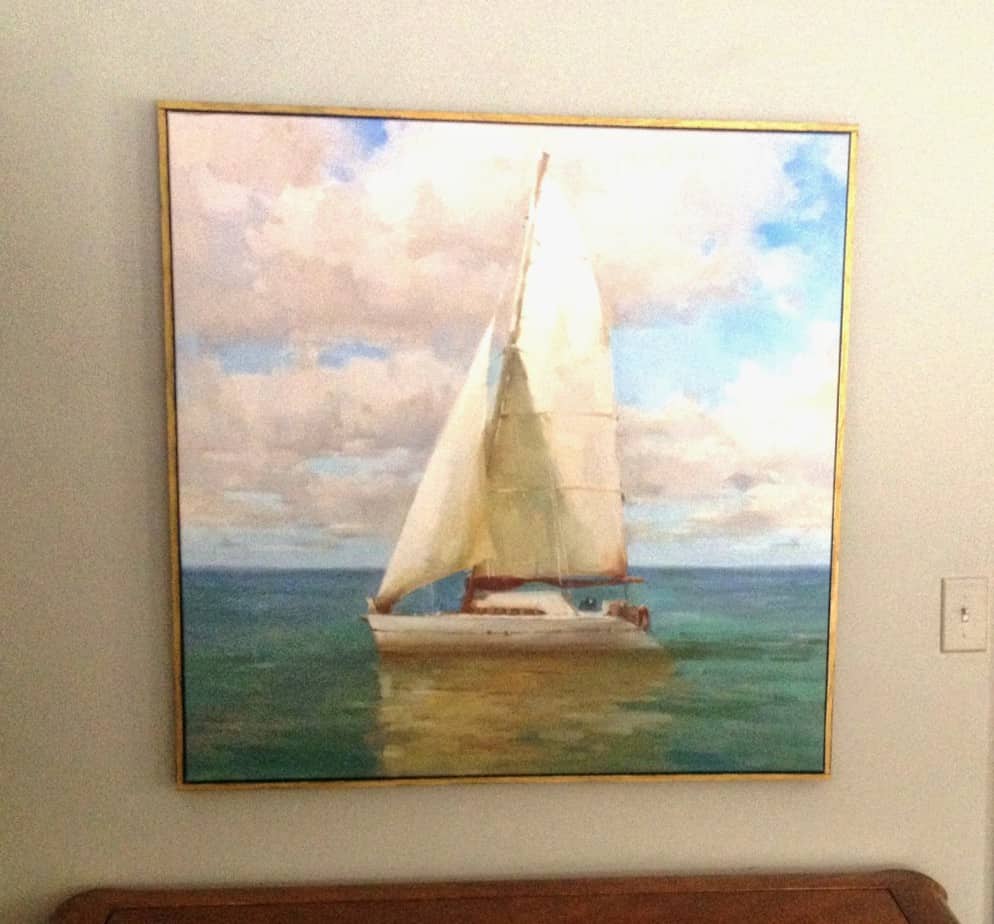
Take this picture below: there was something about it that I was really drawn to and I thought it would be perfect for clients who have a LOT of blank walls to fill. Some of the places that are special to them are by the ocean, the colors would work really well in their home, and it would inexpensively fill up a very large blank space.
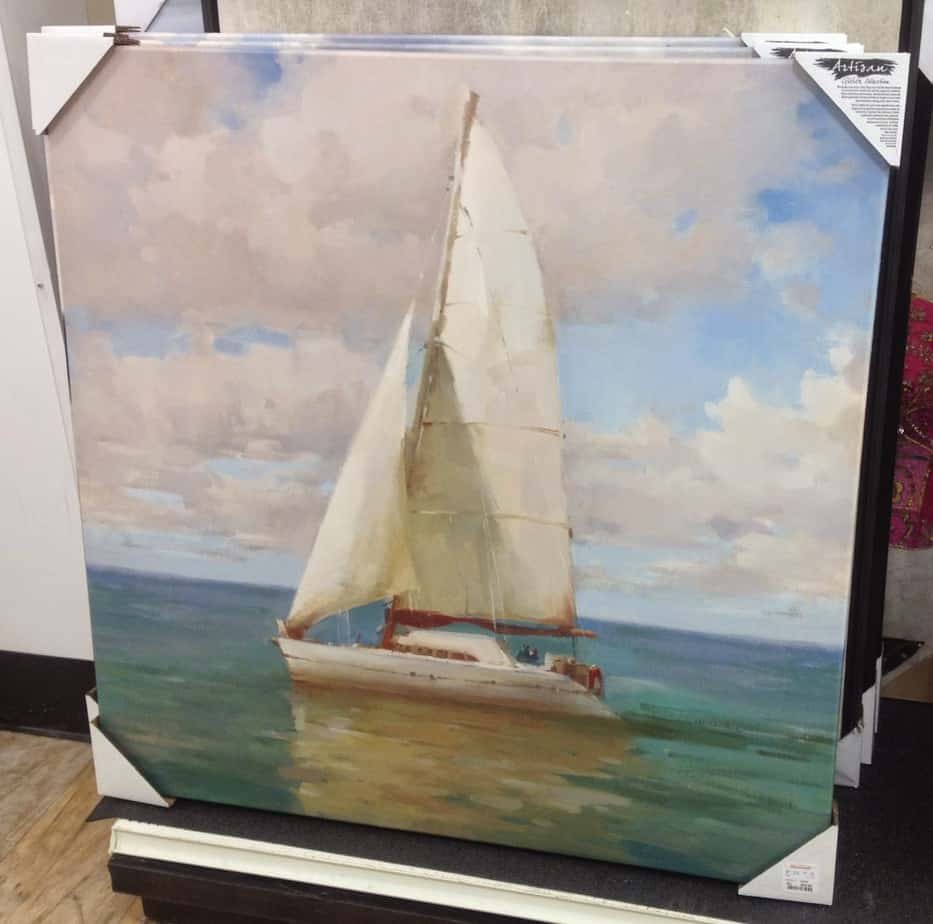
…but OH – the finish on it vexed me so.
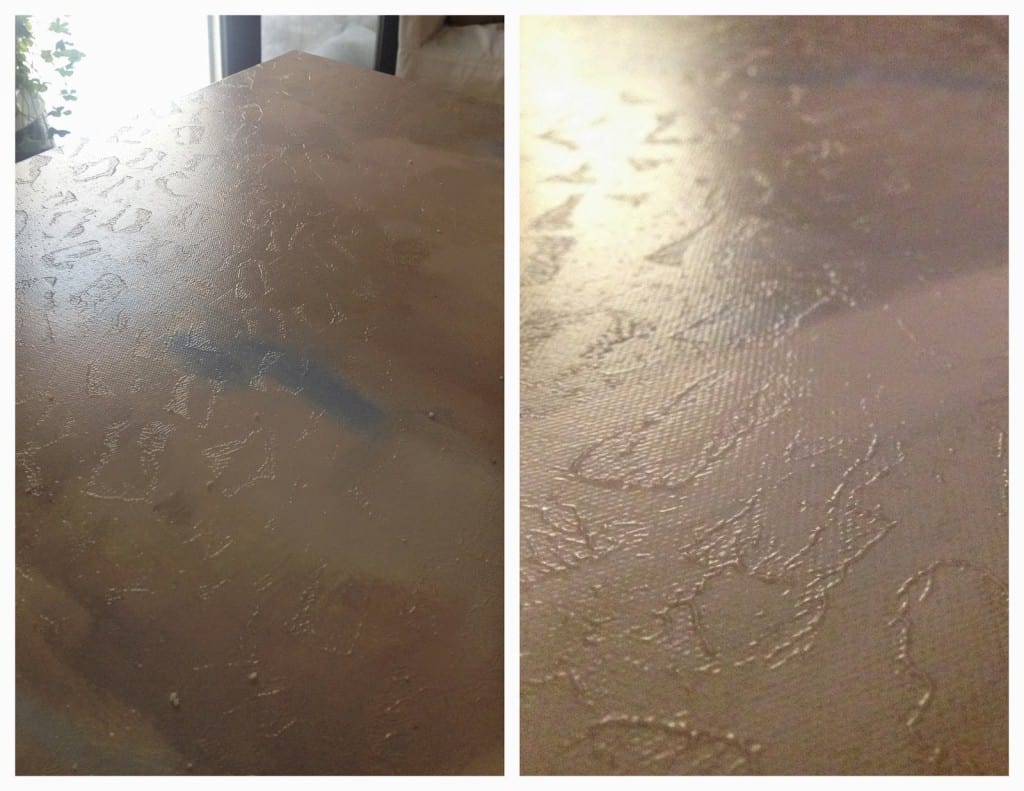
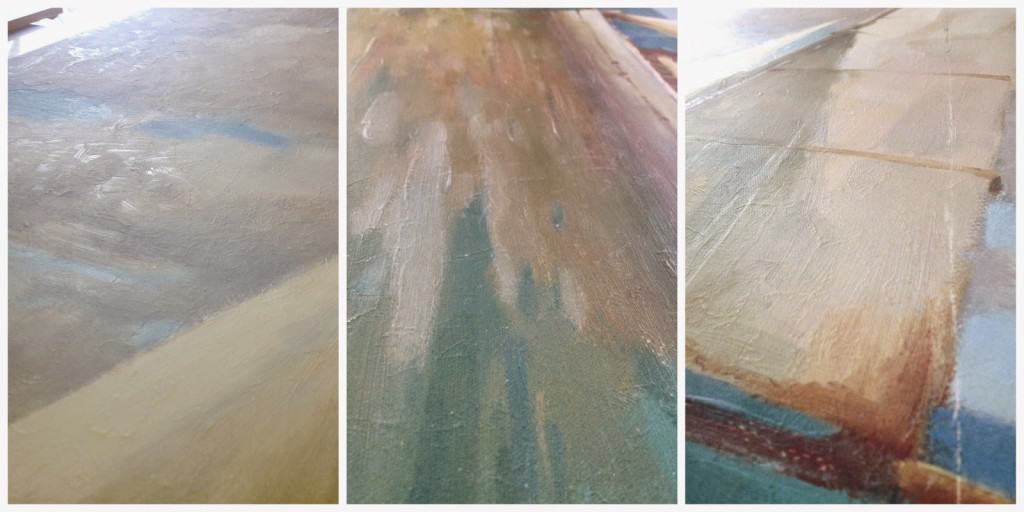
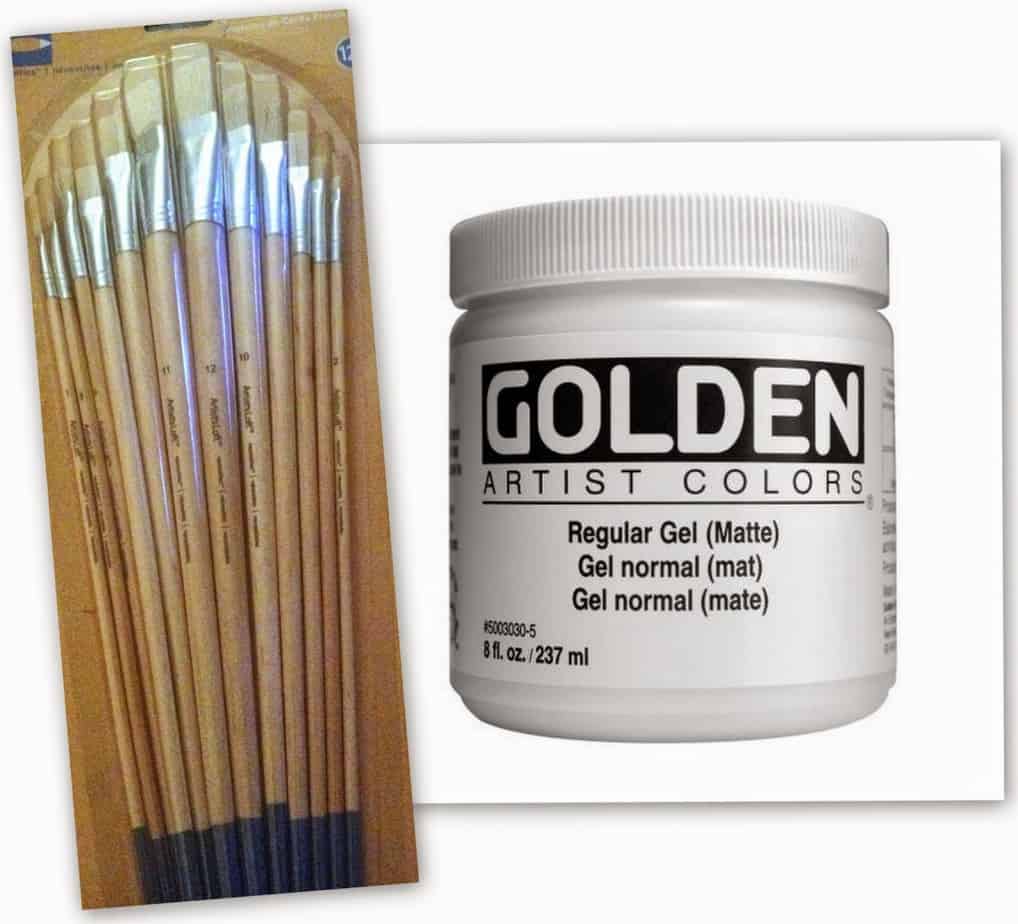
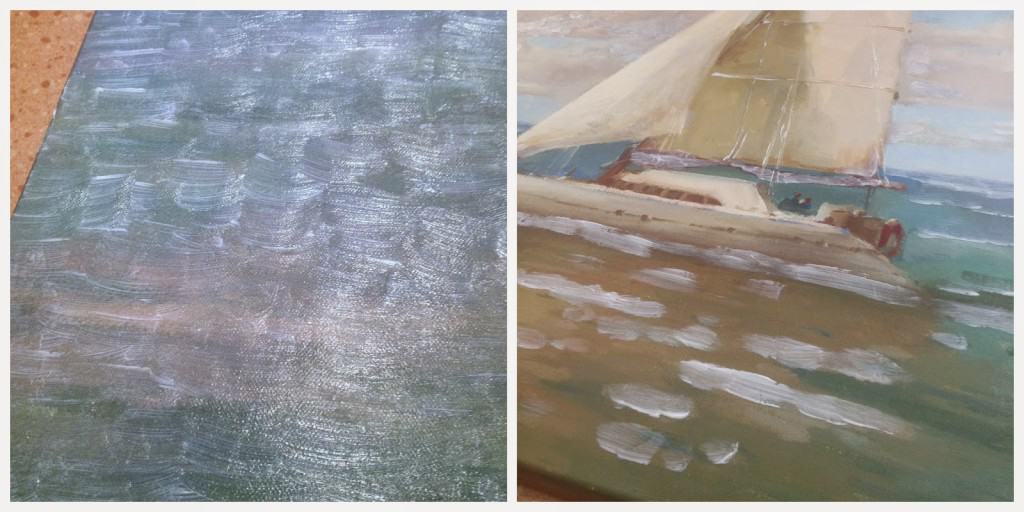
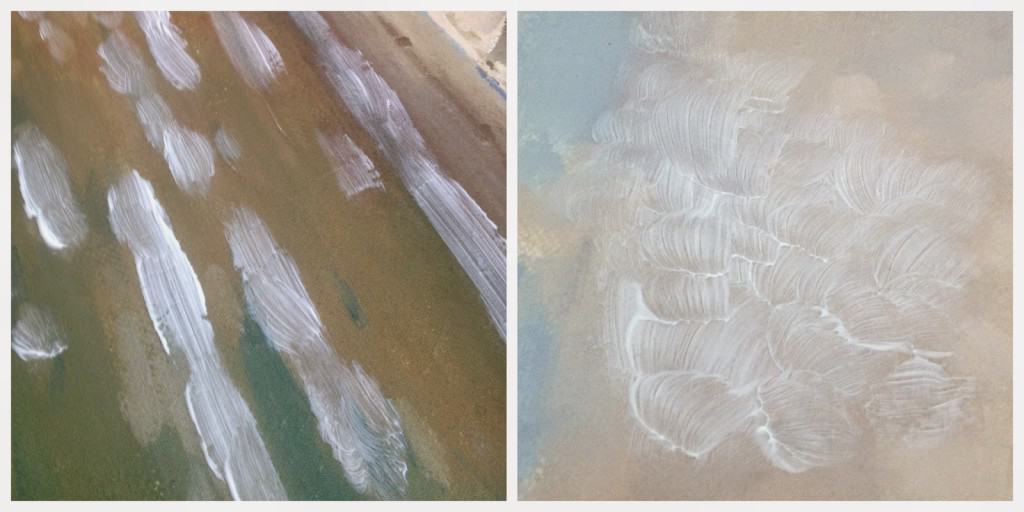
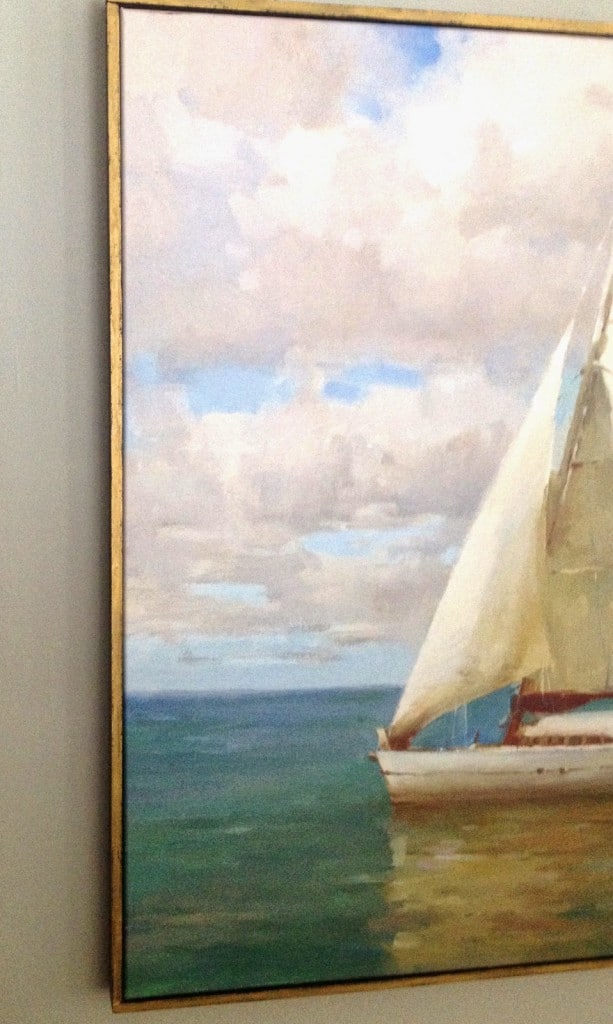
Building up the layers gives the finished product a much more natural look, gives dimension in the right places and tones down the original finish. I left the picture on my coffee table one Sunday and every few hours I would stop by and add a bit more here and there as the applications dried.
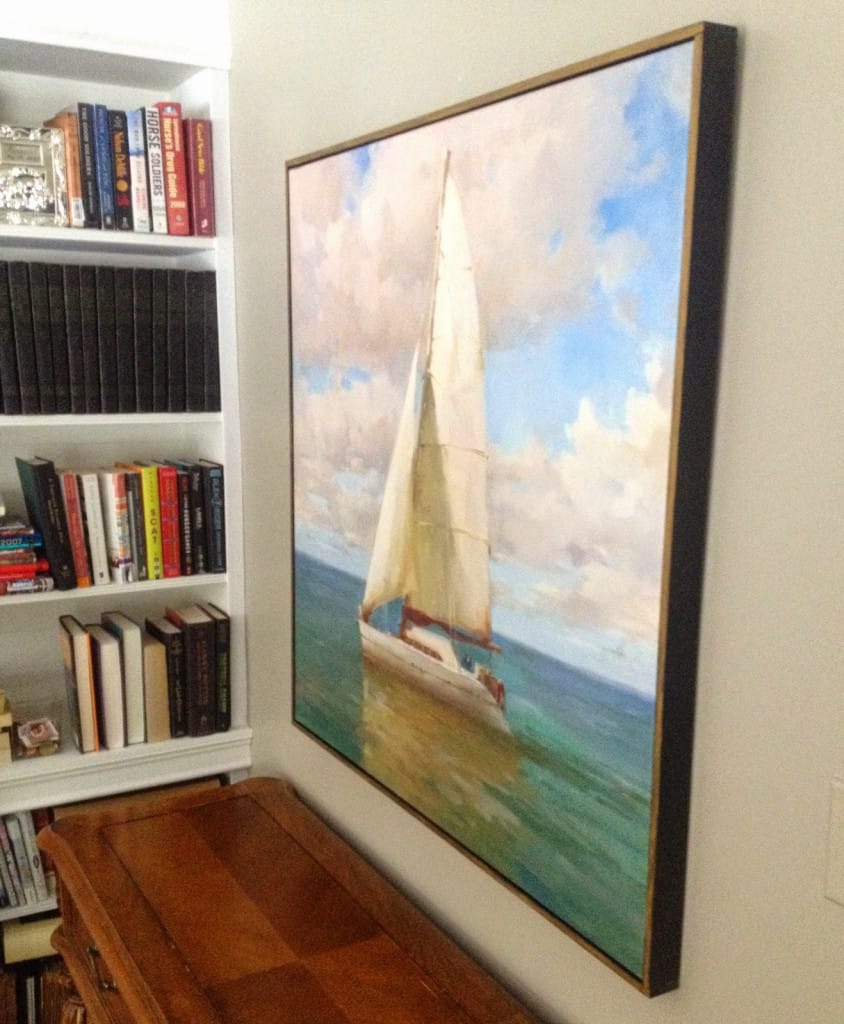
To really finish off a canvas print and give it a more high end look, build a simple frame for it.

First, measure the width of the side of the stretched canvas and then find a moulding that is at least as wide or wider. (1/2″ x 1 1/2″ screen moulding worked for this piece.)
When you are choosing your moulding, make sure to check for warping. Study the pieces to make sure they are straight.
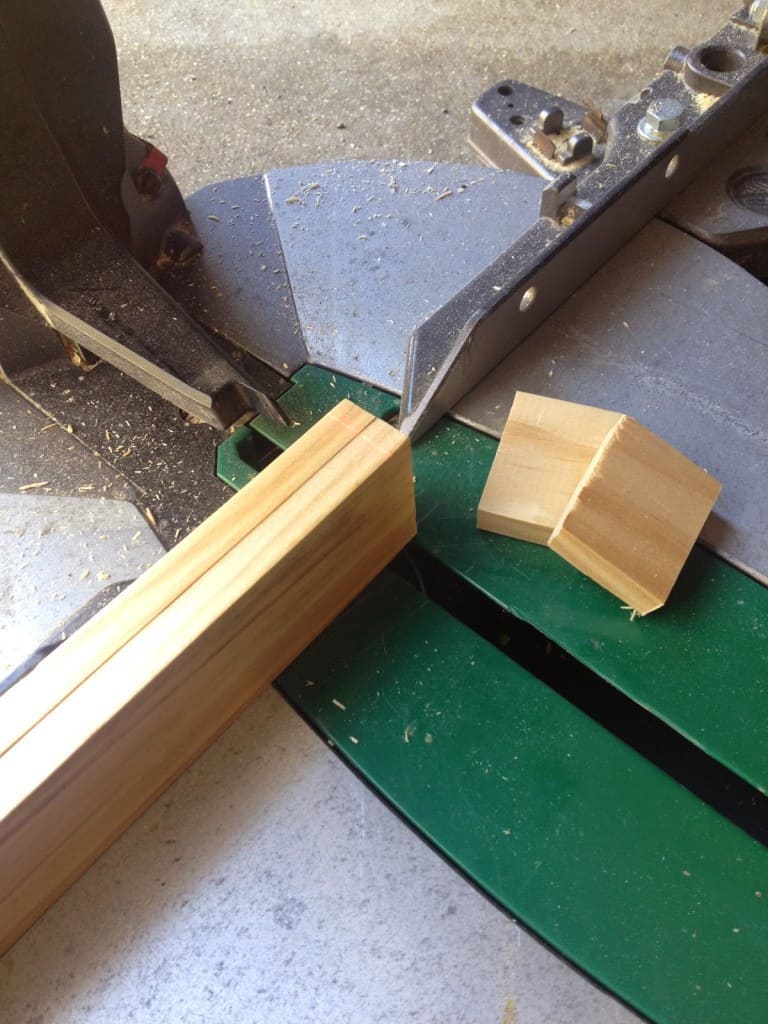

If you don’t have a power saw this kind of moulding is a piece of cake to cut with a hand held saw and miter box.
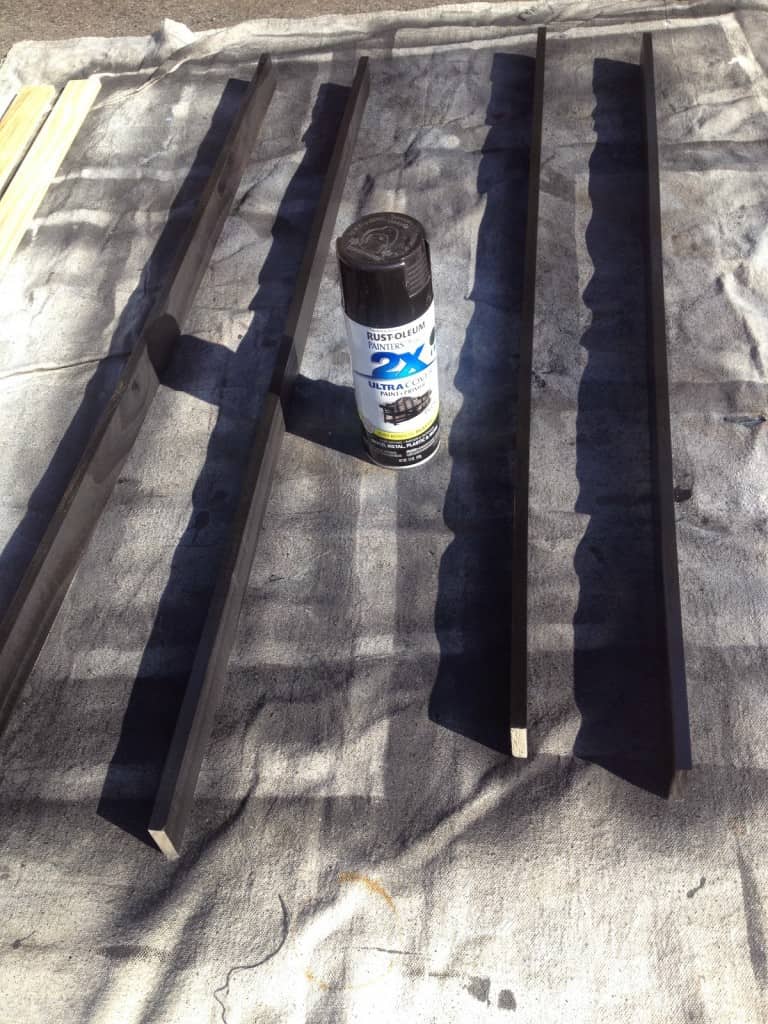
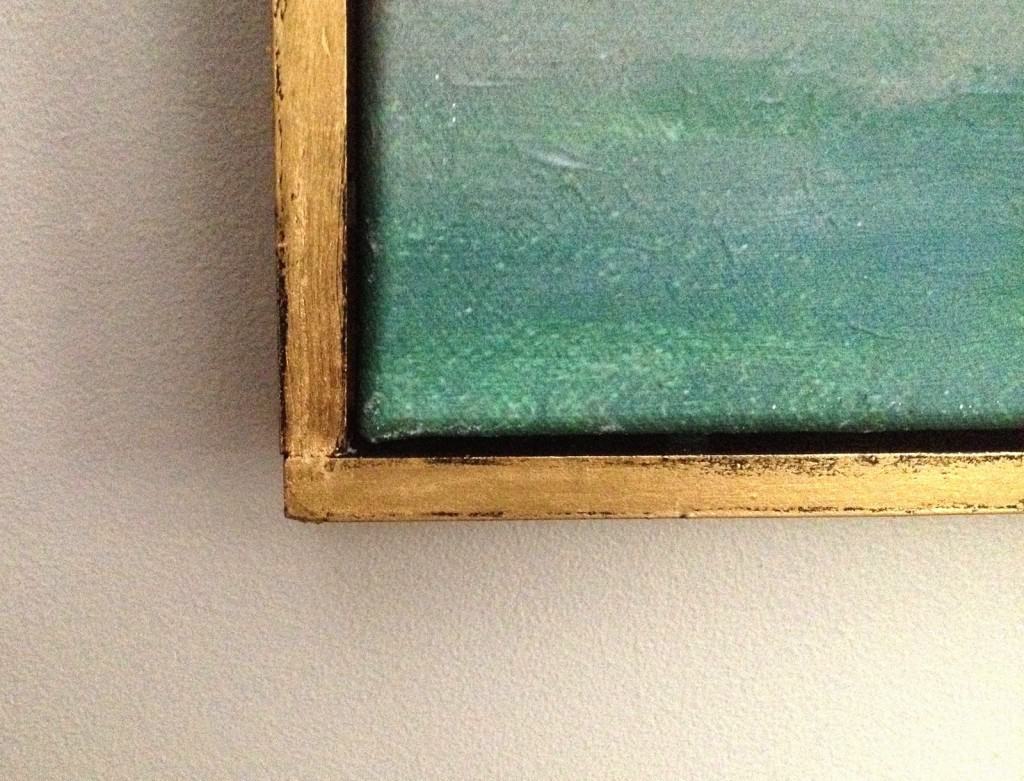
With all your cuts made, take the moulding outside and spray paint to desired color. The inside edge of your frame will be visible so make sure to paint it. I wanted the front of my frame to be gold and the outer side and inside edge to be black for a little definition, so I first coated all pieces in black and added the gold later.
To join the frame around the picture, put a bit a wood glue on the ends of the side pieces and place them flush with the sides of the picture, then fit the top and bottom on.
To make the corners join really well, I used a band clamp (which you can find at a hardware store for around $10). The band clamp comes with corner braces that you place on each corner, then place the band around the frame and tighten with the clamp. Make sure the corner pieces are flush with each other and wipe away any glue that squeezes out.


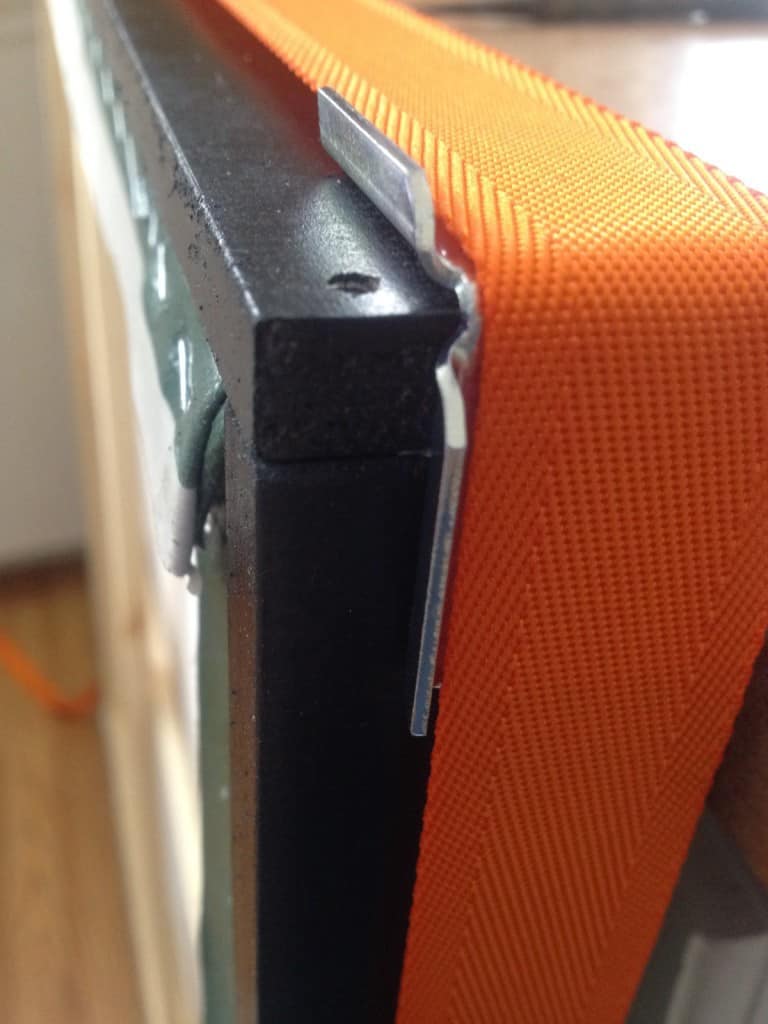
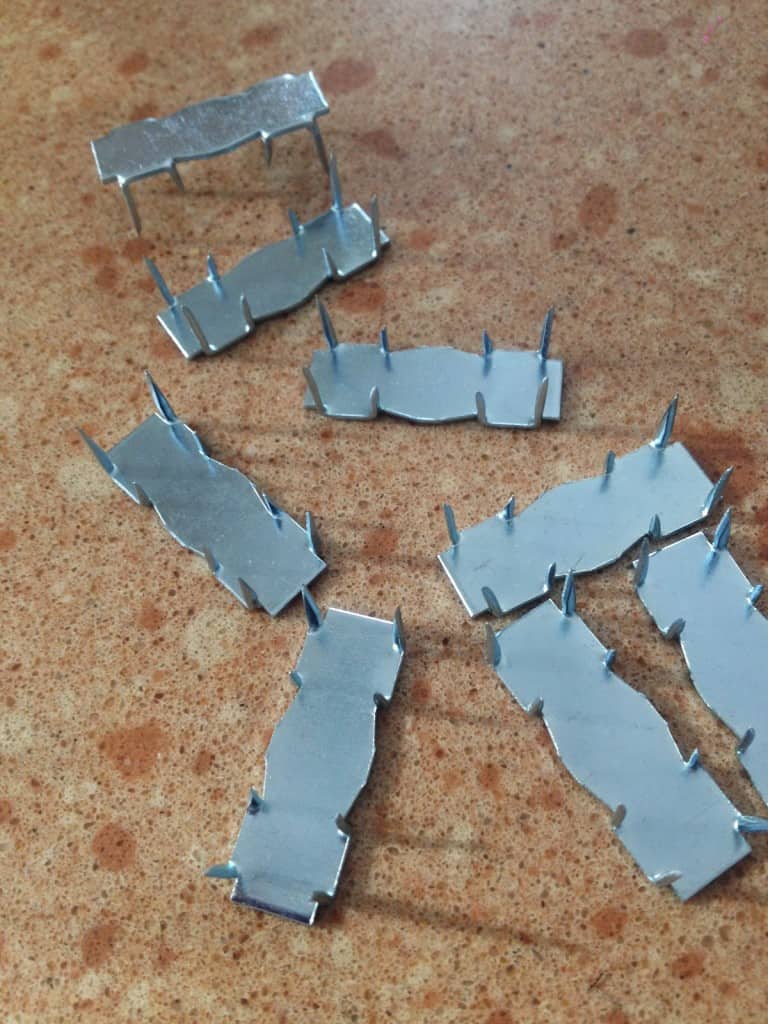
Once you have a nail in each corner you can remove the band clamp and add another nail on each side for stability.


Are you coming to the Best of the Nest party tomorrow? I sure hope so!! We are welcoming another very fun Guest of the Nest so stop by with your favorite project from the month of March and join the party! I’m looking forward to seeing what you’ve been up to!


Cassie @ Primitive & Proper says
YES to the rub n buff for the final win!
Julia Konya says
It looks absolutely a million times better. So good!
Vel Criste says
You are truly amazing Lisa! WOW!!!!! Can I send you my canvases and do this for me?! 😉 Seriously, you did a fantastic job, from the frame to the finish, it will definitely pass for high-end and even for a real painting!
Kris @ Driven by Décor says
Lisa, how in the world do you figure these things out? Seriously, so incredibly clever and SUCH a huge difference! Putting this on my "must-do" list!
Julie Reinwald says
I think this is such a great idea! Thanks for the tutorial. And that Rub n Buff is always a nice touch 😉 I will definitely be pinning to use later!
Debra Phillips says
fascinating!!
first time visiting, will be back!
debra
Lori says
This is an awesome tutorial Lisa! And may I ask where you got the sailboat picture? My husband would love it – once I "fix" it, of course. Thanks!
Mary Ann Pickett says
AMAZING!!! And somehow I missed this. Been traveling as you know. Got back at midnight last night. Best of The Nest is great!
The Honeycomb Home says
I love the idea of framing the canvas! You made it look easy, I'll definitely be trying this! Pinning!
Summer Hogan says
This is SO awesome Lisa and I love how you did the frame!!
DD's Cottage says
Brilliant-love the end result!
Janice McElhone says
Looks great! Can you clarify how the wood joiners keep the frame on? Where exactly do you place them? Outer edge of canvas and inner edge of frame? Do you have a picture of this step?
Becky {This Is Happiness} says
This turned out beautiful. I would have maybe thought of the frame, but would have not had a clue about how to fix the finish. So clever!
Emily W says
What a difference that makes! It really does look more expensive, especially with the custom frame.
kate@willowinteriors says
Totally stealing this! Absolutely brilliant. Saw that exact same sailboat at my homegoods and kept on walking…now I kinda want to go back and grab it! 🙂
[email protected] says
Beautiful! What is run and buff product!
Lisa says
Rub & Buff is a waxy metallic product that you can use to change the finish on many things like light fixtures and picture frames. You can buy it at craft stores or on Amazon!
Christine says
How timely! I have a set of three art canvas prints bought on sale from Target. I was happy for the lowered cost, now I can add happy from the high-end look!