Oh my gosh you guys, can you believe that the next One Room Challenge is right around the corner (April 6-7, hosted by Linda at Calling It Home)? I wasn’t going to do it but honestly I need the pressure of a deadline. This time around I’m going to do my youngest child Sean’s room. He has been a good sport about the $3 clearance rack paint that has been on his walls for almost 6 years, a shade of bright red so obnoxious that I have to close the door each day to shield my eyes. He also needs storage badly, and I’m half thinking of building a replica of Peter’s shelves that I did for the last ORC, seeing as it turned out to be one of my favorite elements in the room.

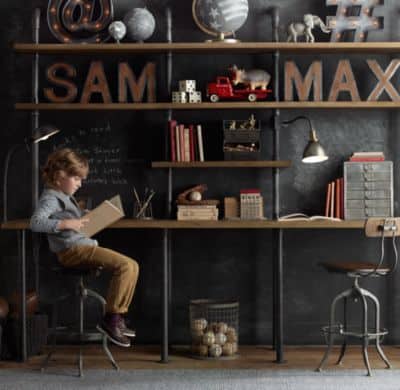
Like Sean’s room, one of the major goals with Peter’s room makeover was to give him a place to corral trophies, sports paraphernalia and books. I had in mind some kind of rustic-meets-industrial shelving, and really loved the idea of DIY plumbing pipe-style shelving that Restoration Hardware made popular…..
….but when I priced out just the piping pieces needed for Peter’s room, it came to over $200, and I wasn’t sure I loved the look THAT much. While I was mulling it over I came across an Ikea hack by Skreytumhus.is that was very intriguing. I ended up modifying that hack to suit our space and achieved the rustic-industrial vibe I was going for, for less than $60. Now all of Peter’s STUFF that was all over his room is in one place and the rest of the room is so much tidier!
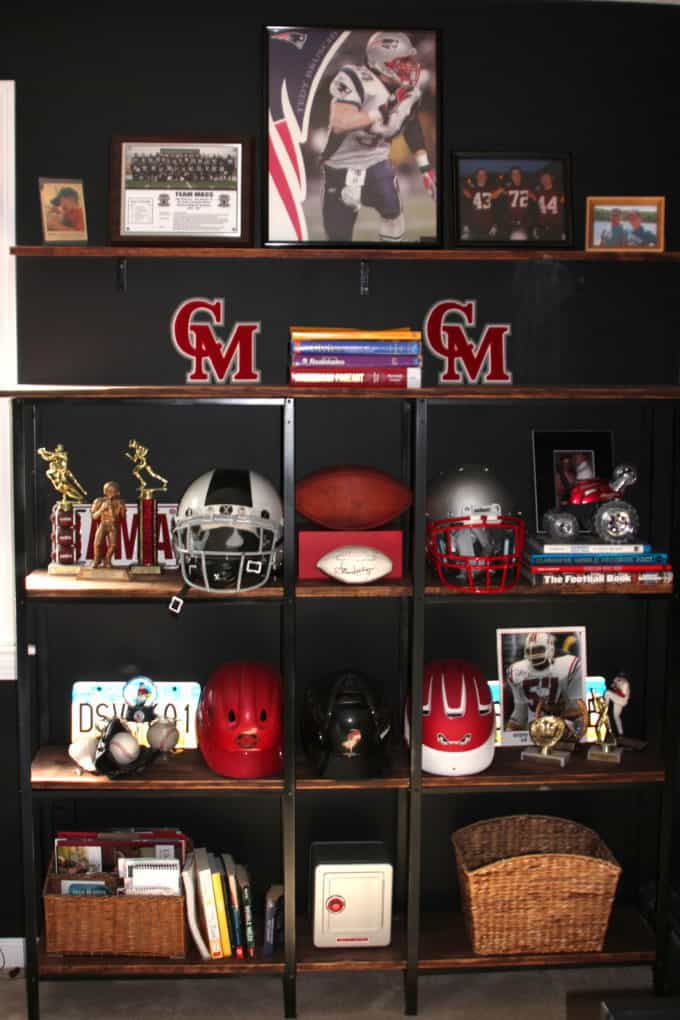
This brilliant idea was in no way my own but I did a few things differently from the original hack. For those of you looking for a cheap but cool bookshelf that can be customized in terms of size and color, this is how I built Peter’s shelves.
For this project I combined two Ikea Hyllis galvanized metal shelving units, bridging the two units with boards that I stained and notched to fit into the metal framing.
Each unit is about 24″ wide; by bridging them together I was able to make a piece that perfectly fits my 60″ wall space.
You can customize this project with the amount of Hyllis units you use, how far apart you space the units, and the length of your boards.
SUPPLIES
Hyllis shelving units, 4 10″ wide wood boards (I used select pine), desired wood stain, wood fill, spray paint if desired, extra screws, anchors, drill, hand saw or circular saw.
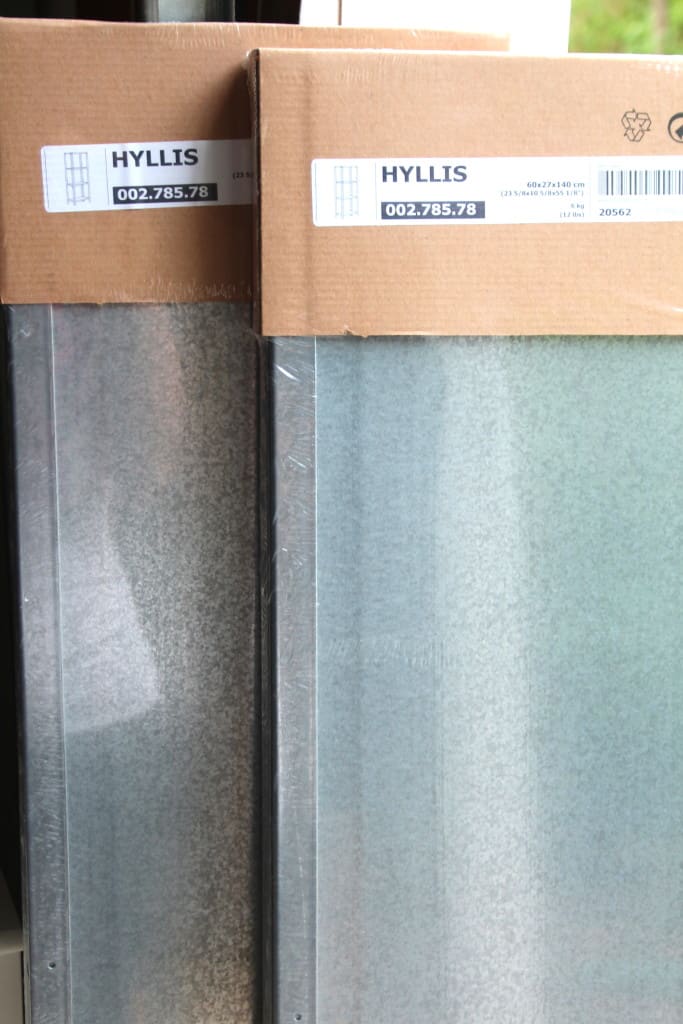

Put together the Hyllis units using those awesome Ikea cartoon directions (this one is actually not that tricky.) The end result is kind of flimsy but don’t worry, the wood shelves will stabilize it greatly.

Spray paint the units to your desired color. Don’t worry about the top of the shelves too much because they will be covered by the wood, but make sure you cover the edges and the underside of the shelves, especially the top one, as it might be visible once installed.

Next up, the wood shelves.
The depth of the metal units is 10 5/8″. I chose 10″ wide boards (which are actually 10 1/4″); they fit over the metal shelves with just a bit of wiggle room which is great when you are fitting the shelves into the units.
The length of your boards will depend on how long your wall space is.
Stain the boards to your desired color. I was using these bamboo shades in the room so I sampled a few stains and combinations of stains to find one that worked well with that color tone. I didn’t want to the final result to be as red as the shades so I was just looking for something along the same lines. I ended up mixing a bit of Minwax Mahogany into Jacobean until I reached a color I liked. This process can several days depending on how many coats you use.


Fit the wood shelves. The top board will lay across both units, but the rest of the shelves need to be notched in certain spots to fit right on top of the existing metal shelves.

ATTACH THE TOP
For the top of the unit I chose to cut a board a 3″ longer than the other boards so that it would extend beyond the edges of the metal a little (see top left corner above). Attach the board to the two metal units with screws. To do this, you must drill through the metal shelves. Drilling through galvanized metal is hard and a bit dangerous – the drill bit can slip around so be very careful. Start with a very small drill bit to make pilot holes and then graduate to a larger drill bit to create holes that are slightly smaller than your screws. Attach the top board from the bottom of those metal shelves so your screws are hidden (make sure you use screws that are shorter than the board so they don’t pop through the top of your beautiful new bookcase!) I attached the board with 4 screws – 2 per metal unit.
FIT THE 3 BOTTOM SHELVES
The remainder of the boards fit into the L-shaped ends of the two shelving units – the LEFT of the left unit and the RIGHT of the right unit (pardon the sawdust!) –

– but to create a bridge between the two units where they come together in the middle, notches need to be cut into the boards (the RIGHT of the left unit and the LEFT of the right unit – are you still with me?? 🙂 )

Here’s a little trick that I learned for cutting the notches easily. First I tried a hand saw, and the cuts were arduous to make, and not very pretty. Then I tried making the notches by cutting into the boards only about 3/4″ with my circular saw and this worked like a charm because the blade makes a space that is about 1/8″ wide, which gives you room to fit the metal framing into the wood easily.
I made a mark on the saw a few inches away from the fence so I wouldn’t sink the blade too far into the board.
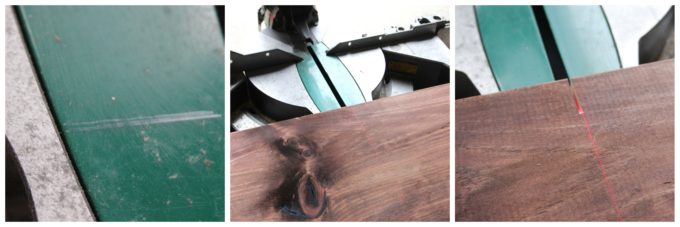
I also learned that the notch is deeper on one side of the board than the other because of the circular blade, so turn the board over and make the notch with the bottom of the board facing you, and then the top will not show as long of a cut (this will make sense when you try it, promise!)
After you’ve notched the 3 lower shelves, fit them across the metal shelves to create one big unit. You can attach the wood to the metal shelves with Liquid Nails, but I just laid them across without permanently attaching to the metal units; they are pretty snug fitting without any screws or glue.


Fill any excess notching with wood fill, allow to dry and sand smooth. Using a Q-tip, touch up the wood fill with a bit of stain.


Now you have built the whole unit, and it’s time to attach it to the wall so it doesn’t topple over when you fill it up. The metal units have extra holes in them for adjusting the top shelf position, and these are perfect to attach the unit to the wall.
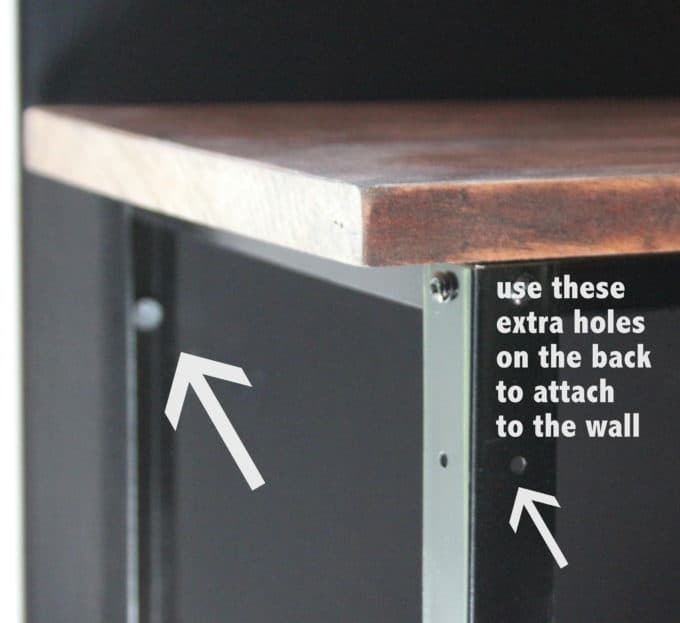
Through the holes on the back of the unit, mark the wall, then move the unit out of the way, drill holes and install anchors. Put the unit back in place and attach to the wall with screws into the anchors. I colored my screws with a black Sharpie so they would blend in.
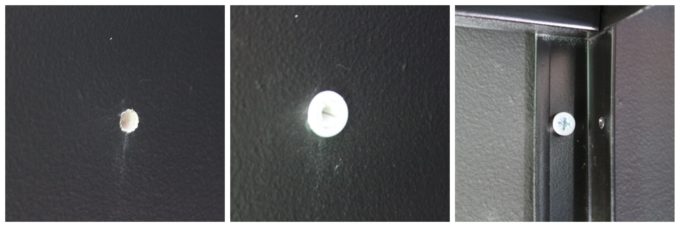
I attached both metal units with 4 screws, two per metal unit, so it would be very secure. I highly recommend this, especially if you have small kiddos around!
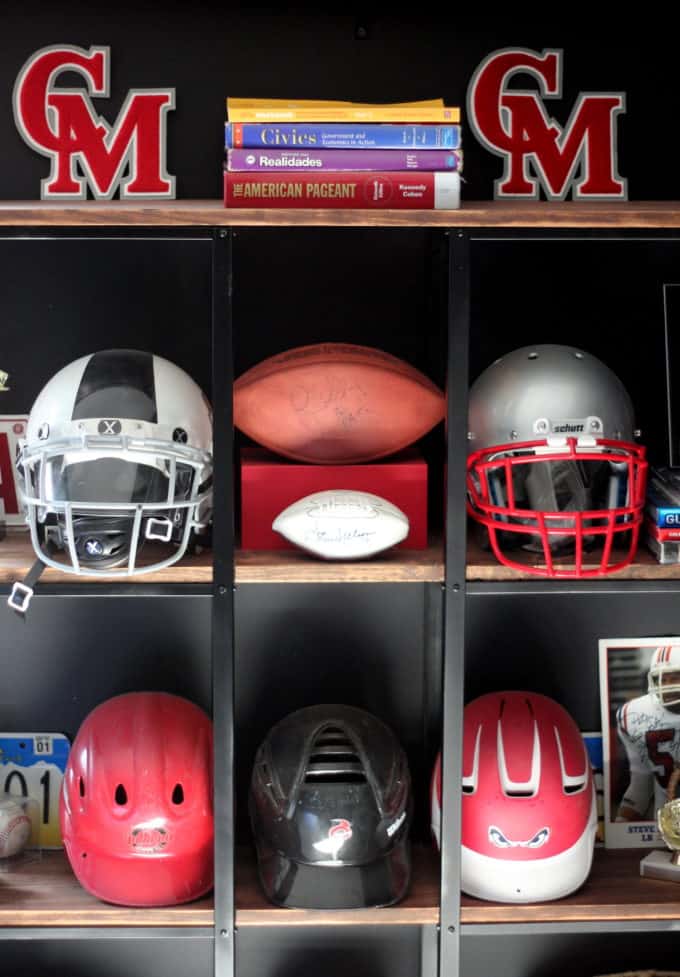
And that’s it!! You’re done!! Now there is a place for everything and everything in it’s place.
For about 5 minutes until the occupant of the room comes home from school 🙂
Other projects from this room makeover you might be interested in:
Pin this post!

It’s almost the weekend friends!! Woohoo!!
Thank you for stopping by!
xoLisa


Lianna@theresnoplacelikehomemke says
Lisa! You are the queen of Ikea Hacks! (I used your sconce hack for my ORC canopy bed) but this one is AMAZING too! That shelf looks amazing and would be great in a rec room or anywhere!! Keep the inspiration coming!
Lisa says
Lianna, thank you thank you thank you! Your sweet comment made my night.
cassie @ primitive & proper says
this is awesome, lisa! love the look so much!
Lisa says
Thank you Cassie….it provides so much storage for my lad who can’t let go of anything ?
Dani @ Danielle and Co. says
This looks so good! I’m so impressed with how it turned out – thanks for the tutorial! I’m always looking for new storage ideas, but it’s amazing how much decent looking and sturdy shelves can cost. Shelves create such an impact on a space, it’s always a shame if they don’t look amazing, too – they are just such a big visual element!
Lisa says
Dani thank you! I really wanted to customize the size and fill up that whole wall, but it ended up being really economical too!
Melissa Woods says
I absolutely LOVE this Ikea hack because that modern industrial style is right up my alley. Thank you for sharing! Pinning and trying for myself in the future. You rock!
Melissa
Lisa says
Thanks so much Melissa!! I love that style too and it was a fun project to make!
Pam @ Simple Details says
Wow, you are so good!! I remembered you doing this for Peter’s room, I need something similar for a boy’s room. Do you think a single unit would be sturdy enough to use as a bookcase (with the wood shelves you added)? Thanks, girlfriend!
Lisa says
Yes I bolted these to the wall with anchors and screws and they are quite sturdy! The wood shelves give the metal units a lot of structure and stability also…..they are fitted in very snugly.
Lauren says
I love your take on this IKEA hack. I’m considering doing something similar. Do you have to drill the top board into the metal shelf? It seems easier and safer if you were to use liquid nail. Would this be an alternative?
Lisa says
Hi Lauren, sure I think Liquid Nails instead of screws would be fine for the top board!