At the end of last summer my beloved niece and her long-time love were married on Cape Cod, where they both grew up and live. I am an only girl with three older brothers, so when this tiny 4 lb. angel came into the world when I was 14 it was a dream come true! She has always been the sweetest, most loving and kind hearted girl, my constant sidekick, and as anyone who knows us can attest, the joy and treasure of my whole family. We adore her.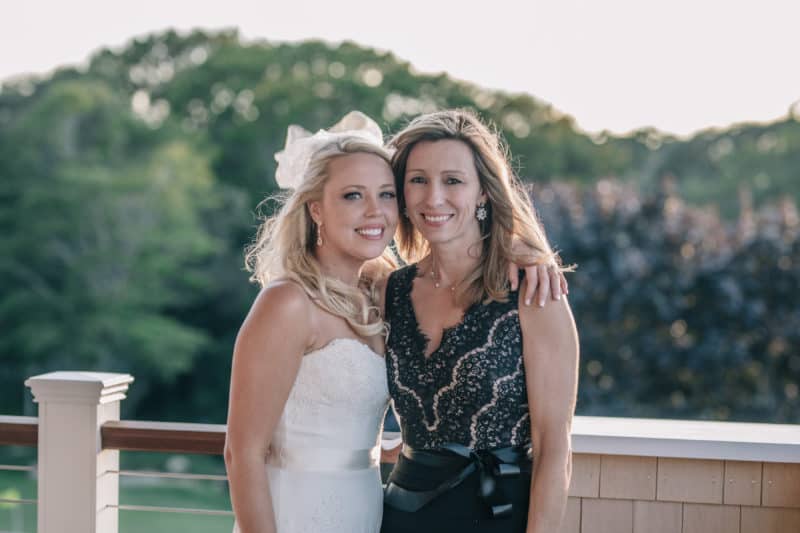
As you can imagine her wedding was an epic event for us!
Wayyy back before I had kids I was an event planner, and the bride adores all the pretty little details of special occasions too, so we had tons of fun dreaming and scheming about her big day together.
If you’ve ever planned a wedding or big event, you know how the expenses can snowball, and soon all those gorgeous details you love start to get ix-nayed left and right. Some well-executed DIYs can allow you to have the look and feel you want while keeping that pesty old budget in mind! Since wedding season is upon us, I thought I’d share a few small projects I did for my niece’s wedding that can be translated to other events as well, are completely do-able even for the non-crafty, and give an occasion a unique and special touch. Today’s edition….
GILDED PROGRAMS & MENUS
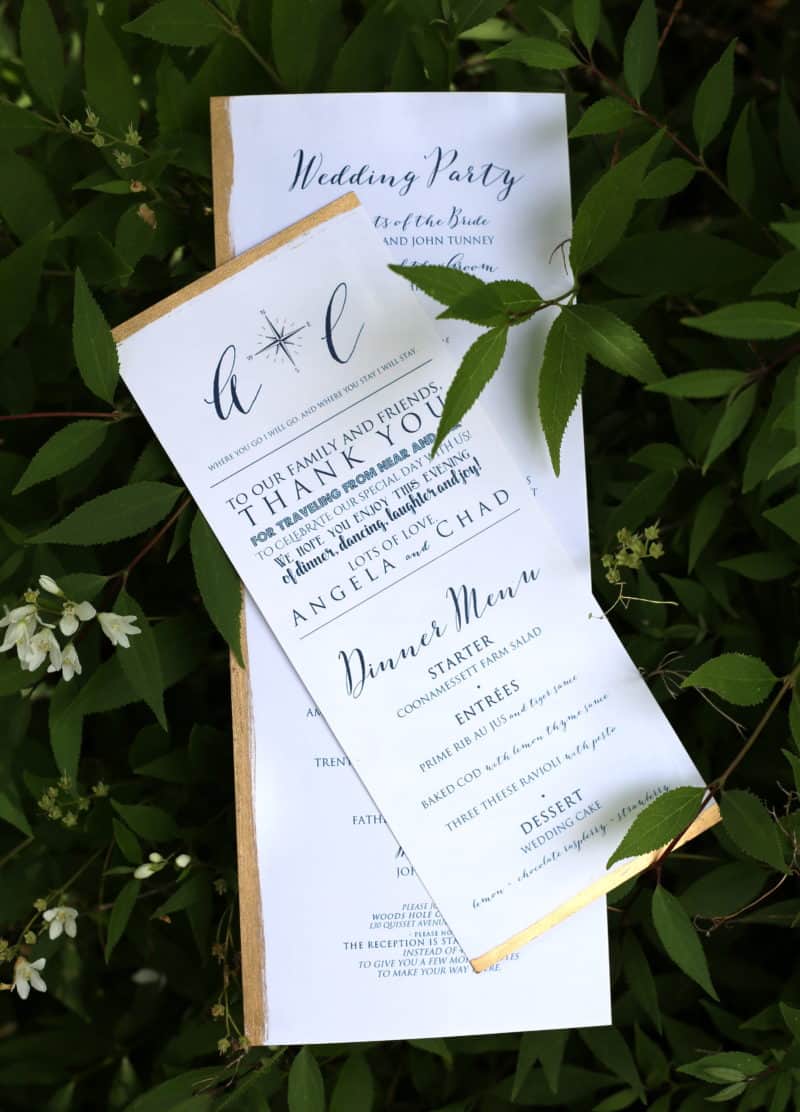
In addition to the requisite programs for the wedding mass, we loved the idea of dinner menus at each place setting with a thank you note from the bride and groom.
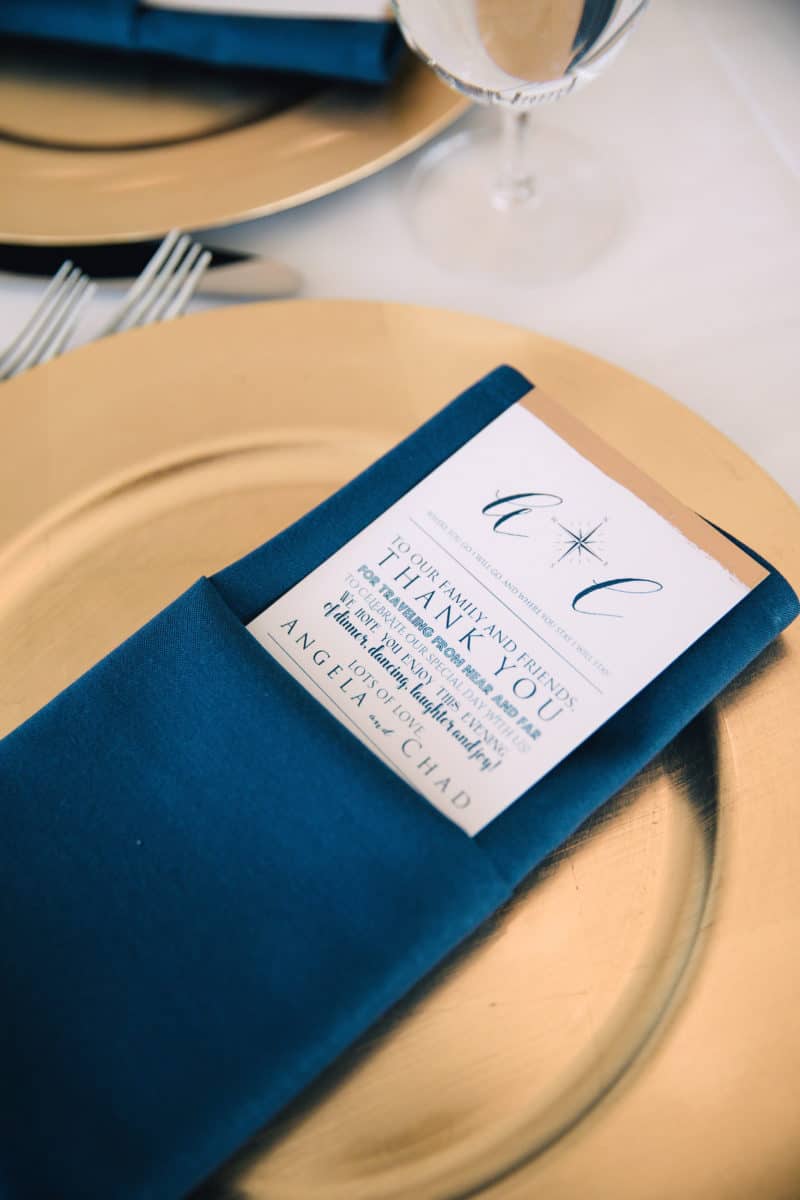
I designed the two-sided program and menu in Word, had them printed on heavy cardstock at the UPS store and then used a paper cutter at home to cut them up. It was the first time I used UPS for printing; they did a great job and were cheaper than Staples.
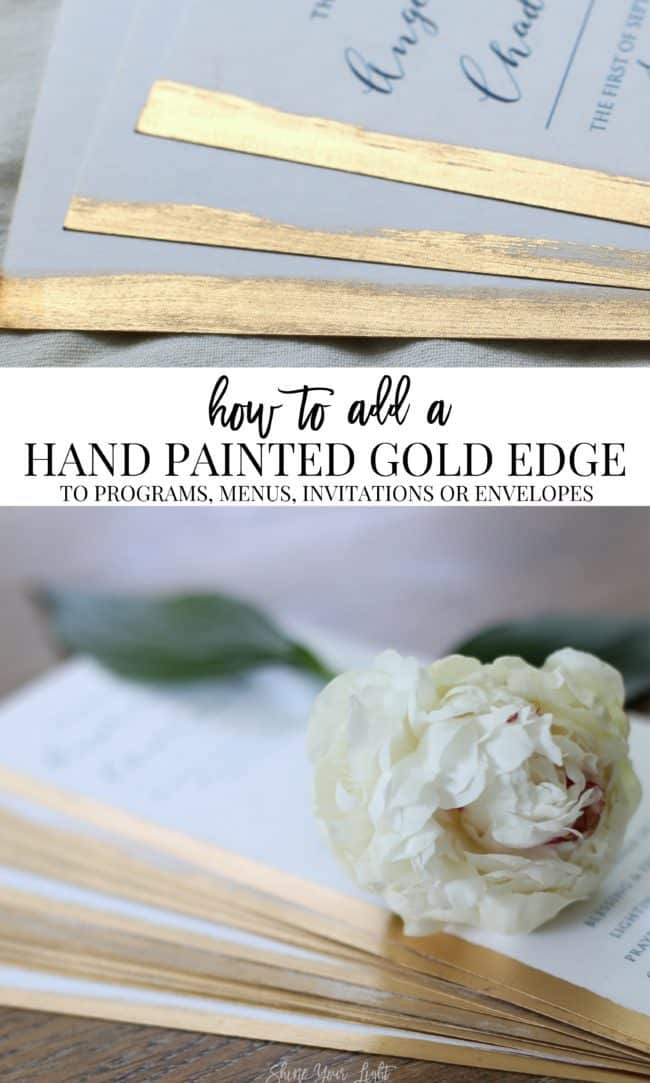
To add a gold detail to the edge I experimented first with water and oil based gold Sharpies and then a gold leaf pen. They were okay, but then I tried this liquid gilding and it was just what I had in mind to give the programs and menus a hand painted edge.
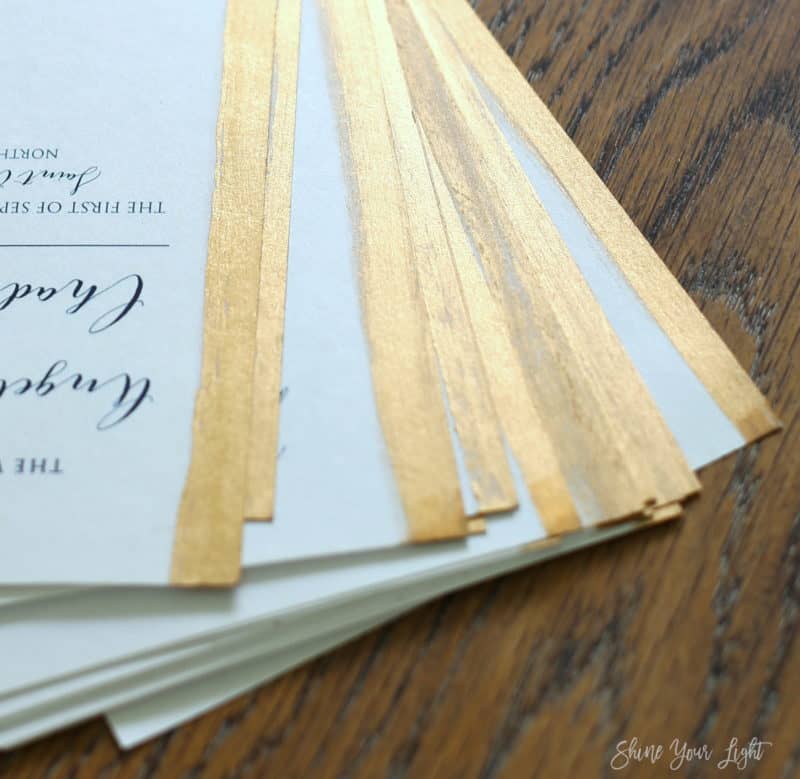
After a little trial and error, eventually I arrived at this simple method which worked great. Affiliate links are included in this post for your convenience. Read more about affiliate links here.
SUPPLIES
Cardboard work surface (I used a cereal box from my recycle bin) Drop cloth or old tablecloth that the wet pieces can dry on |
ONE • Pour the liquid into a shallow bowl. Dip just the tip of the brush into the paint.
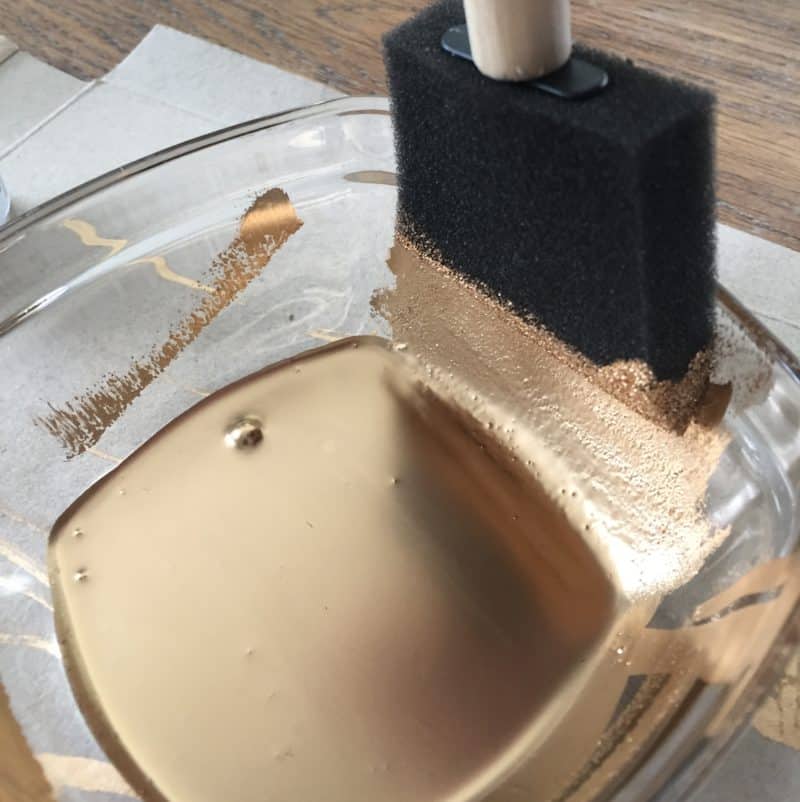
TWO • Tap off most of the paint onto the side of the bowl.
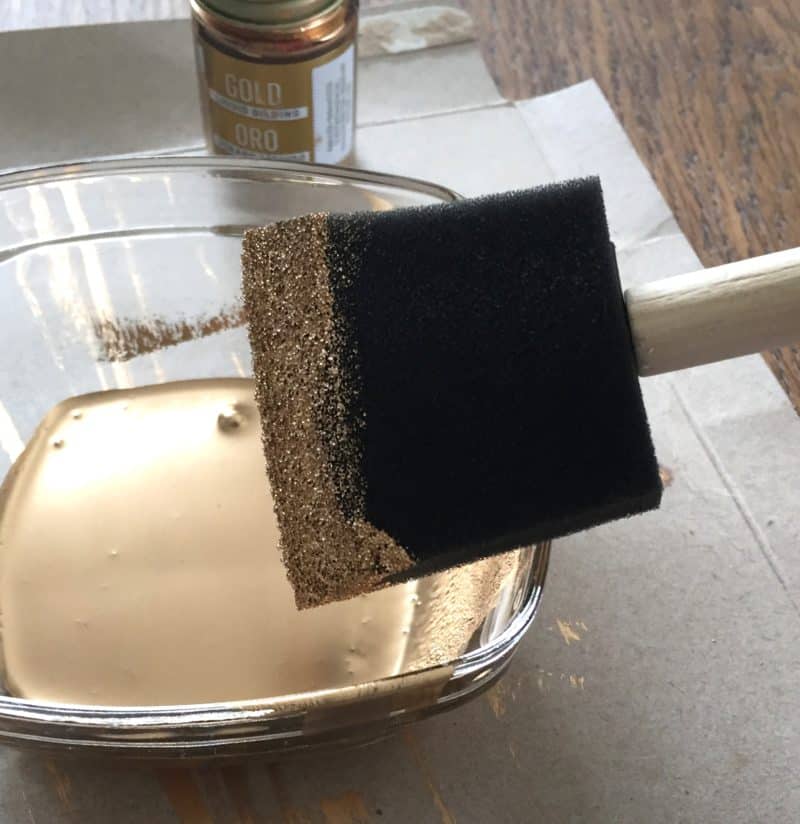
THREE • For best results, start at one corner and make a steady line to the other corner. Part of the charm and beauty of hand painting is that each piece comes out slightly different, so don’t worry too much about making them “perfect”. If you’re painting the other side, let this coat dry first before putting face down.
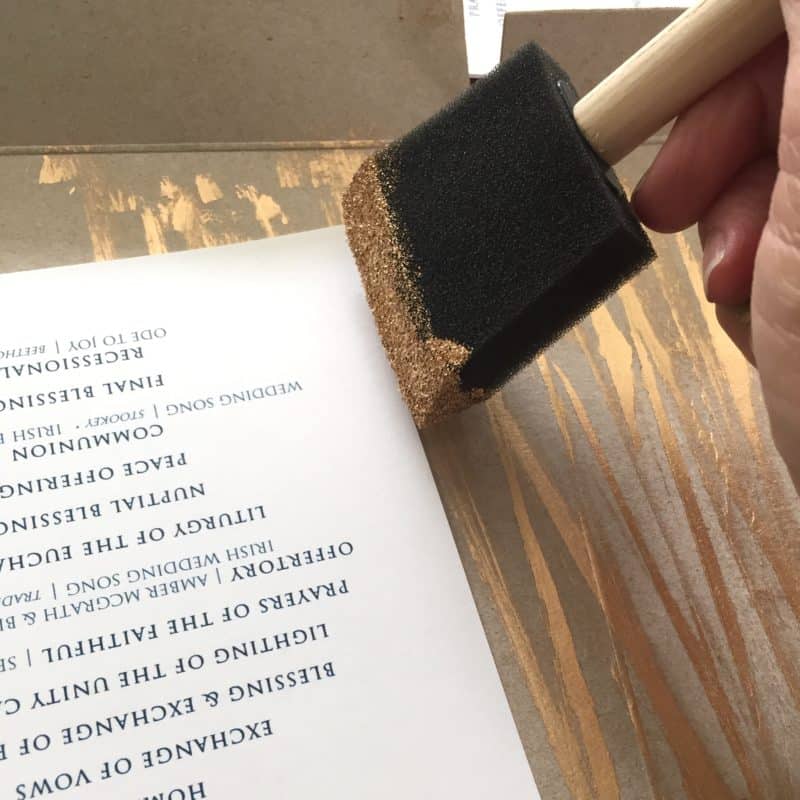
Be sure to move the next piece of paper over a bit so it doesn’t get any paint on it from the previous swipe.
FOUR • Allow the paint to dry before painting the other side, if needed. It dries pretty quickly but you may want to place it on a dropcloth or old tablecloth to protect your surface.
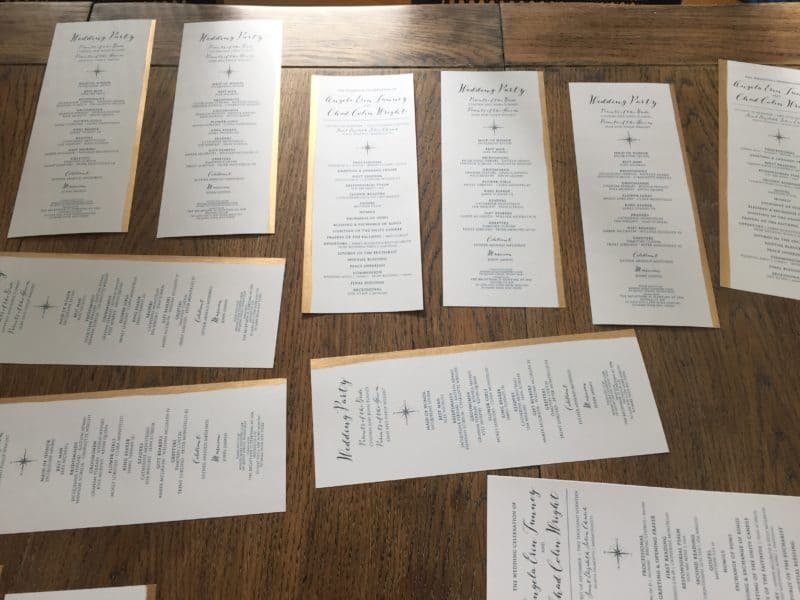
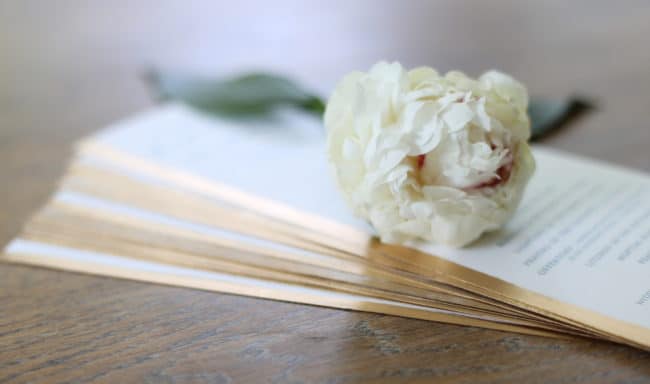
The gilding liquid has a beautiful, true metallic finish! This little detail definitely takes the programs and menus up a notch.
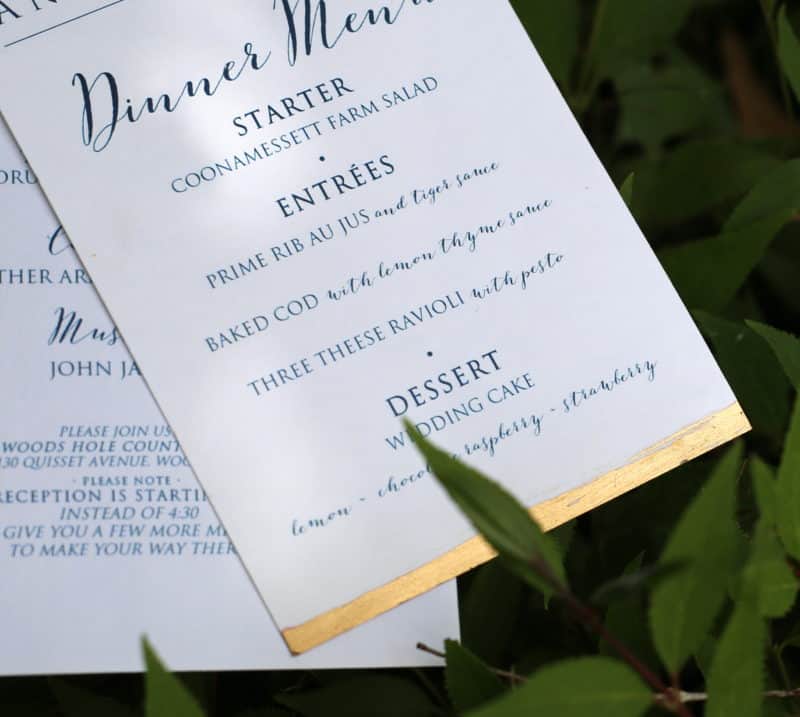
I gave the menus to the venue and they incorporated them into the folded napkin (this table is a little crowded because we had to add a last minute place setting – after all the planning, on the day of you just have to go with the flow!)


That table above has another DIY that was so beautiful at night….I’ll share it with you soon!
Here’s the happy couple…..
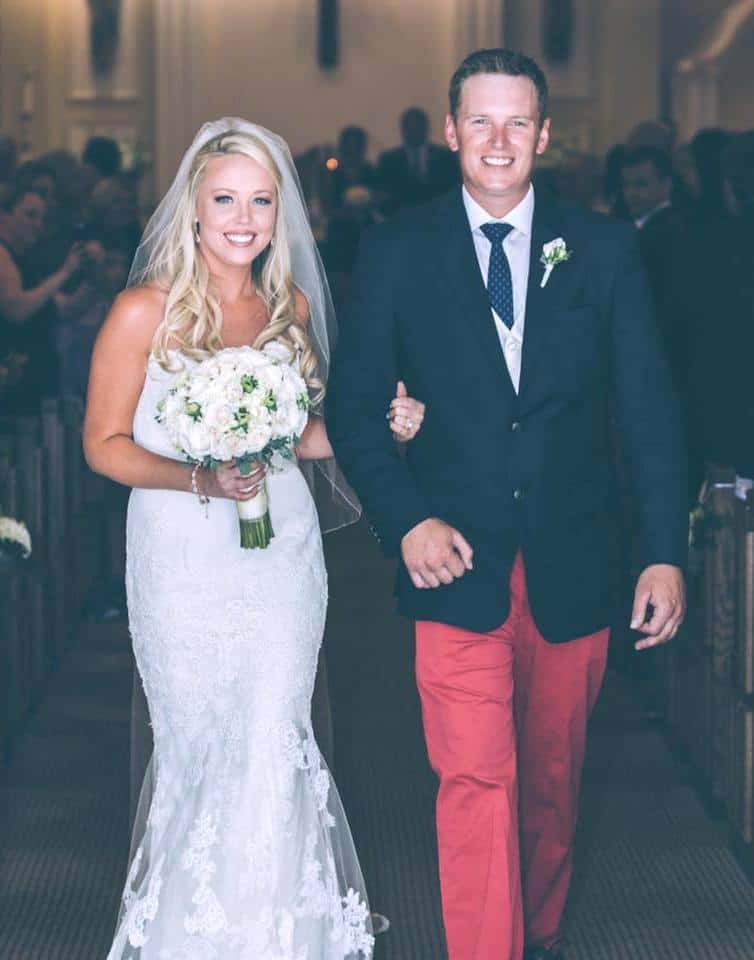
….who will be a party of three come November!!!!
Have a happy day dearest lovelies!

PIN TO SAVE!


Marty Oravetz says
Oh wow, what a fabulous idea. I love this. Such a beautiful couple too.
Lisa says
Thank you so much Marty!! You’re the sweetest.