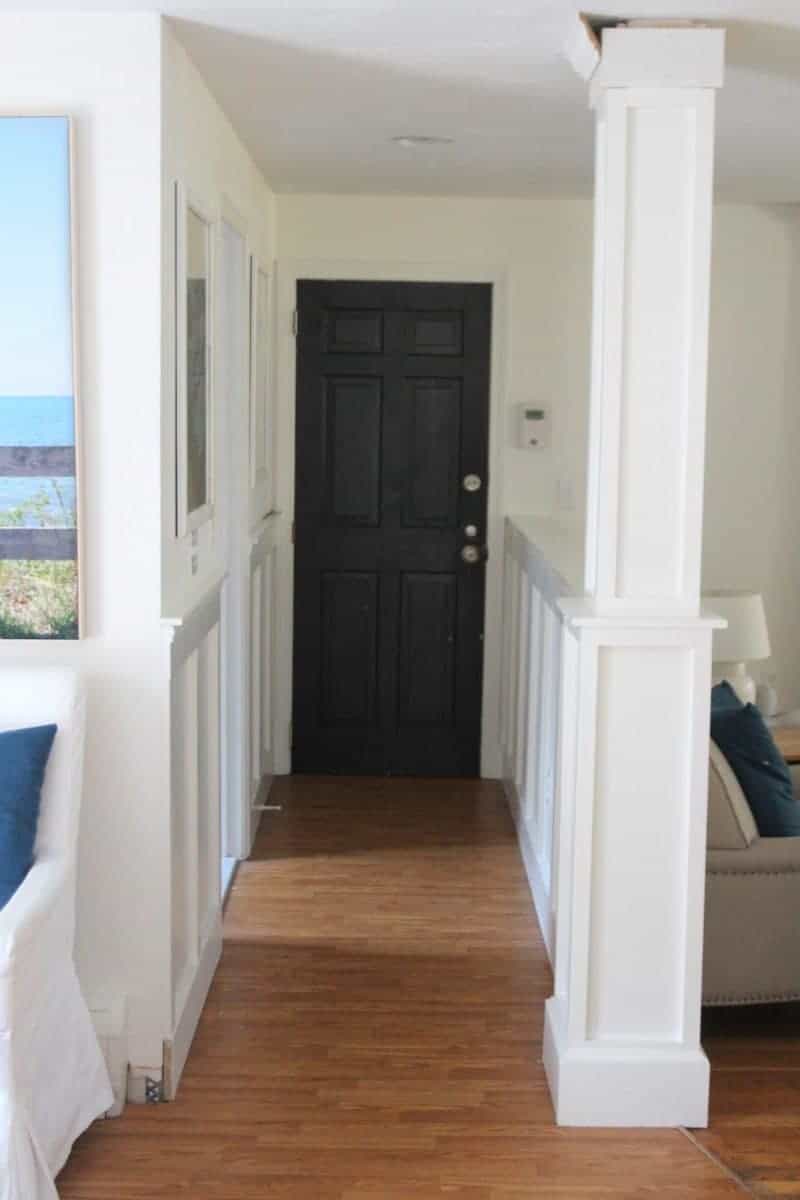
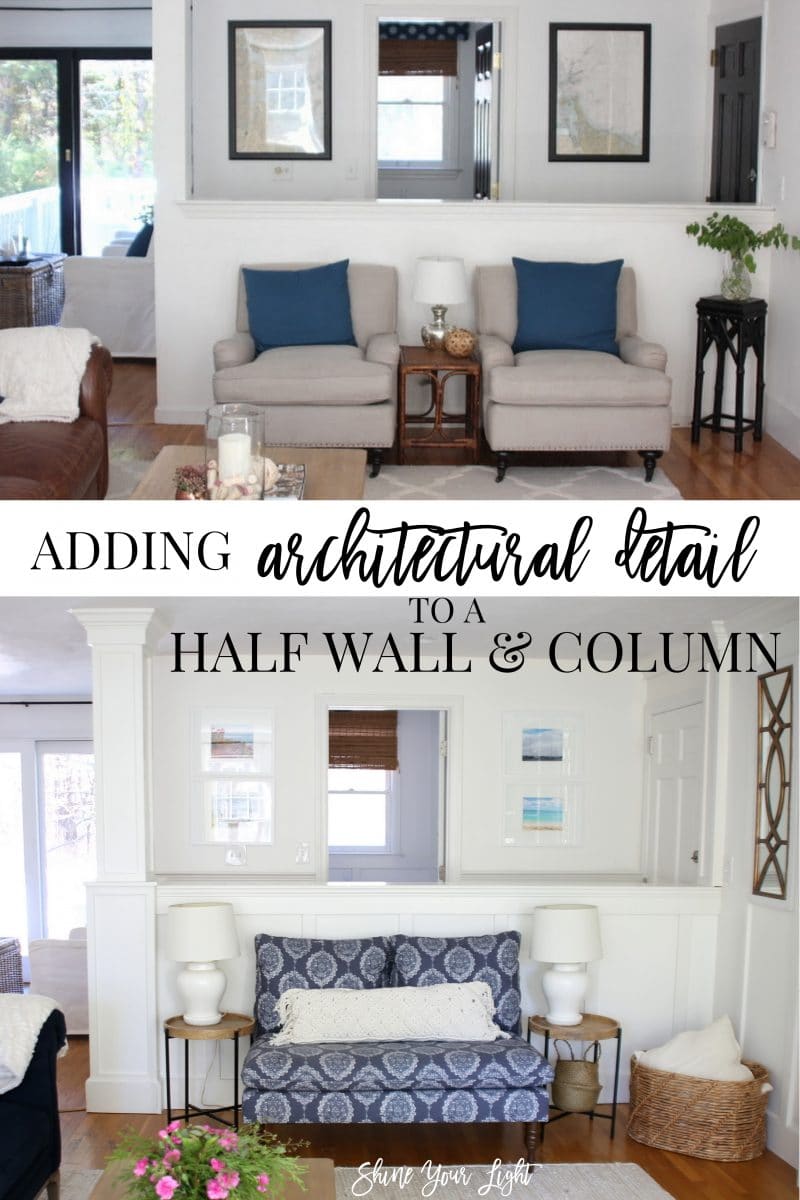
One of the projects I tackled over the past year that I am long overdue in updating you on is our half wall in our family room. We live in a standard colonial with an identical layout to many other houses in the area, but most others that I’ve seen don’t have this wall. We considered removing it to make the room feel more spacious, but we’ve grown to appreciate it because 1) it blocks the view of the toilet from the family room thankyouverymuch and 2) it creates a little entrance hallway when coming in from the garage (the black door on the right).
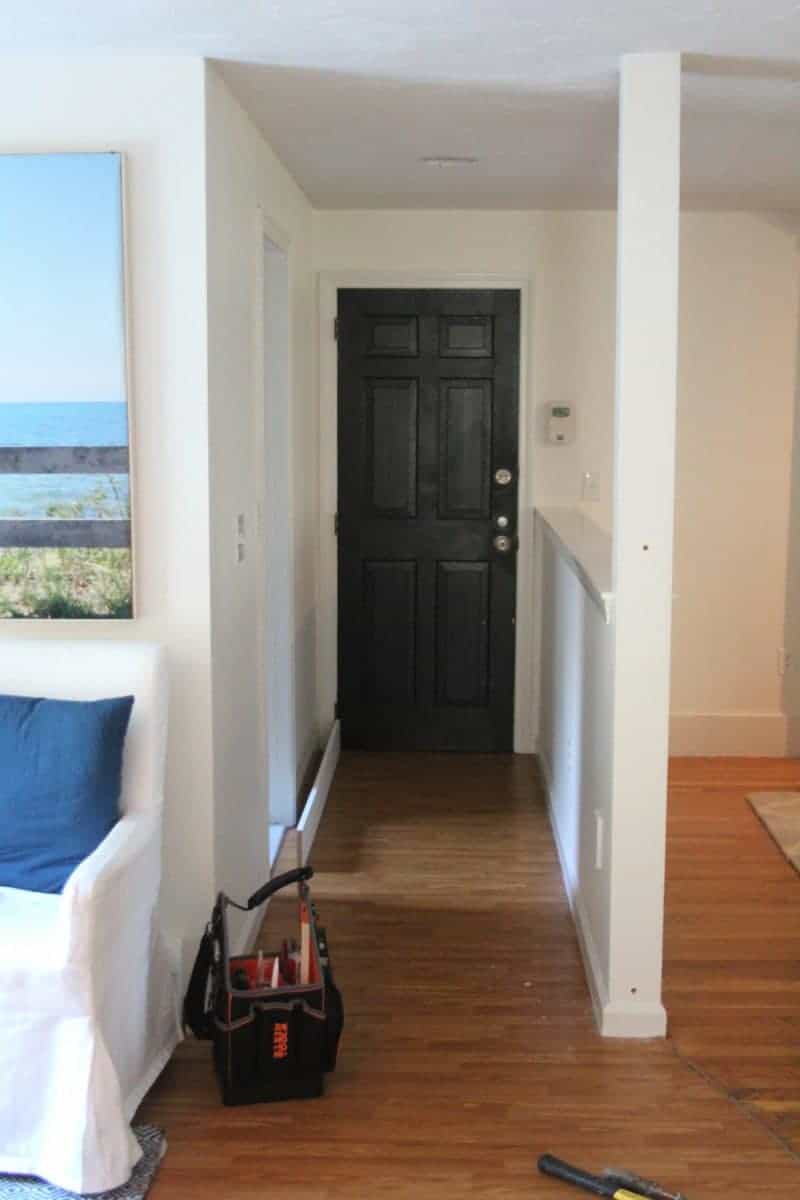

I always thought the post could use some moulding to make it a little more substantial column, and mulled over what I was going to do with it for years until I saw this photo from Tiek Built Homes (who coincidentally inspired our fireplace makeover too!)
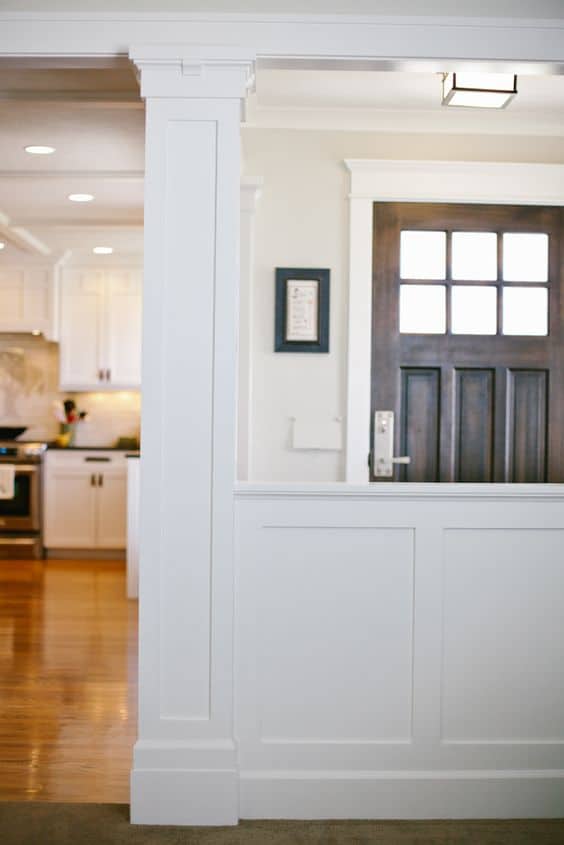
Though in the end I decided on a different style for my column, this photo above was the little troublemaker that got me all fired up to tackle the project when Mark went away one weekend.
I thought I’d surprise him with it all done when he came back – HA! 14 months later, surprise honey!! It’s done! UGH – that last 10% of a project is always such a bugger!
The initial part went rather quickly – adding a new, taller baseboard, installing battens to the walls, and boxing in the bottom and top of the column.It took me a year to finish the column off with crown moulding and add a pilaster on the opposite wall next to the garage door, and here it is today.
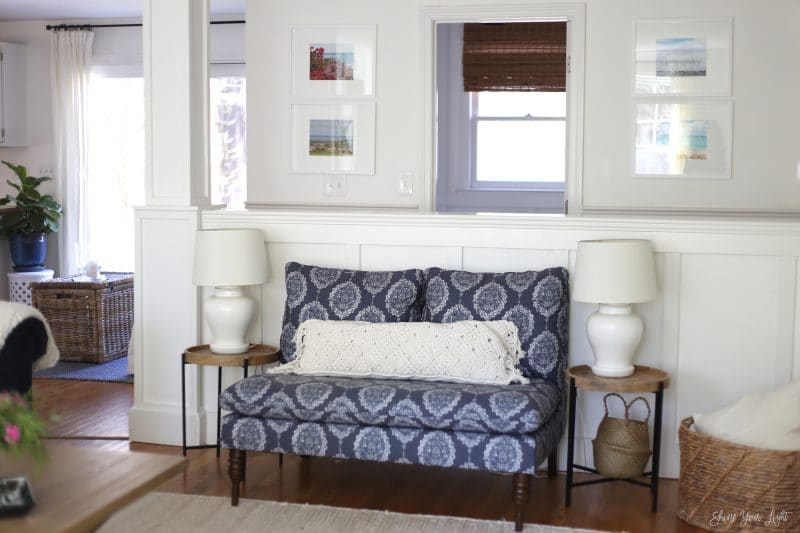
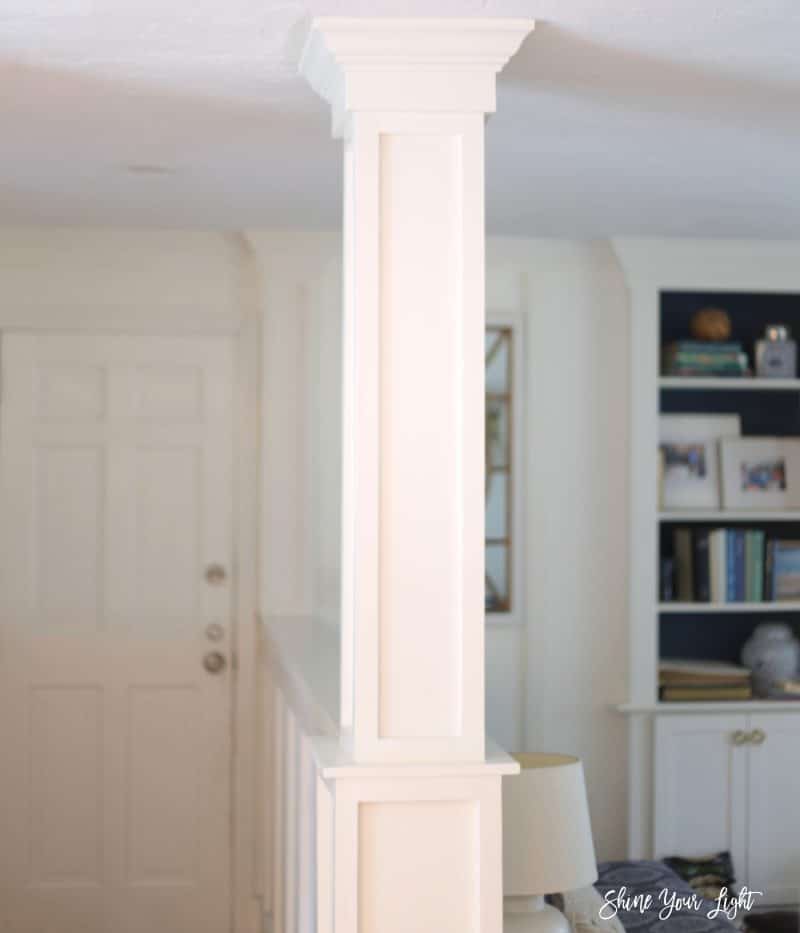
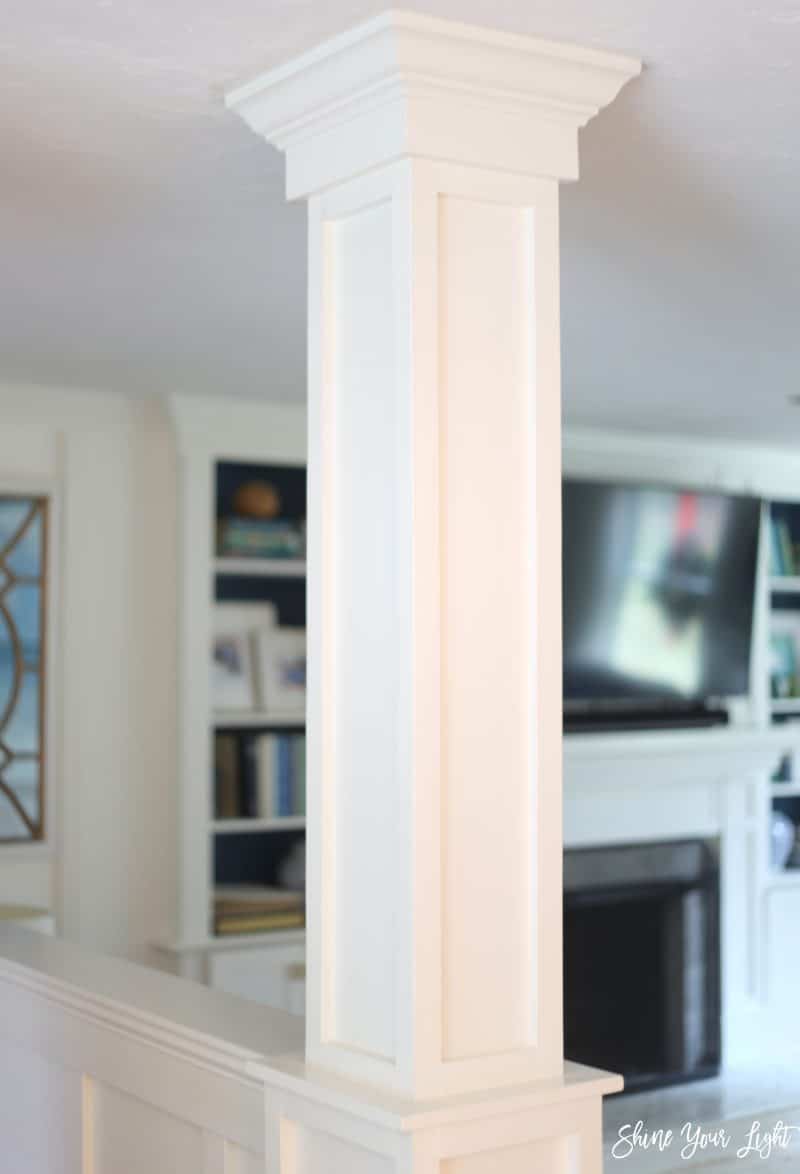
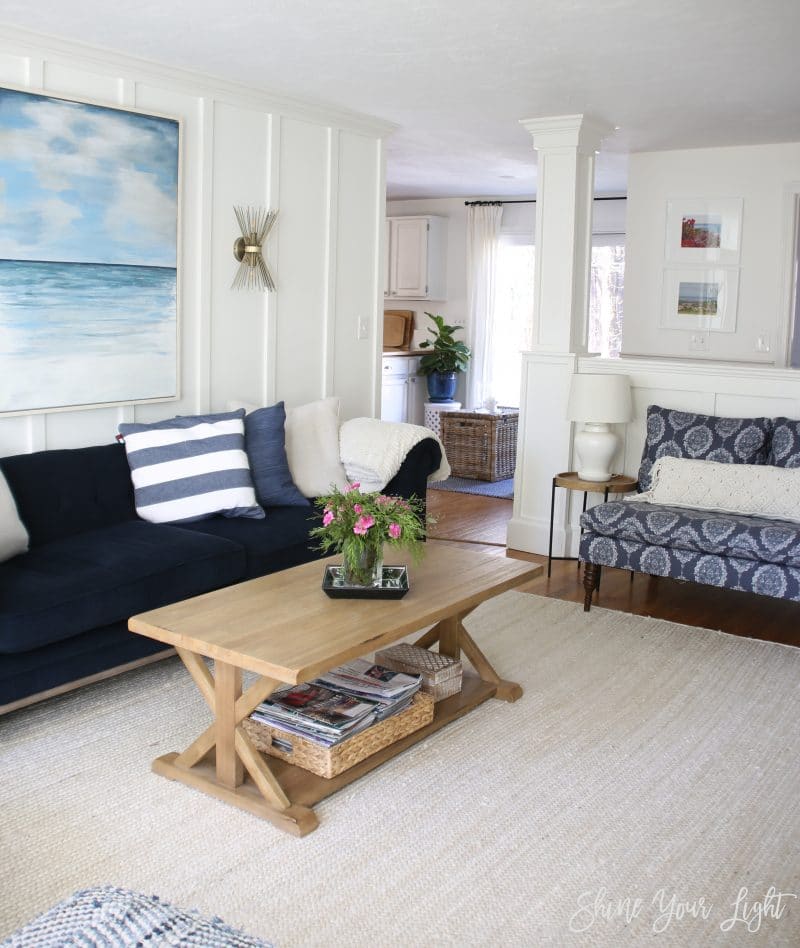
The half wall remodel parlayed into giving the family room an entire makeover for last spring’s One Room Challenge, and now this is the view when you walk into the house from the garage.
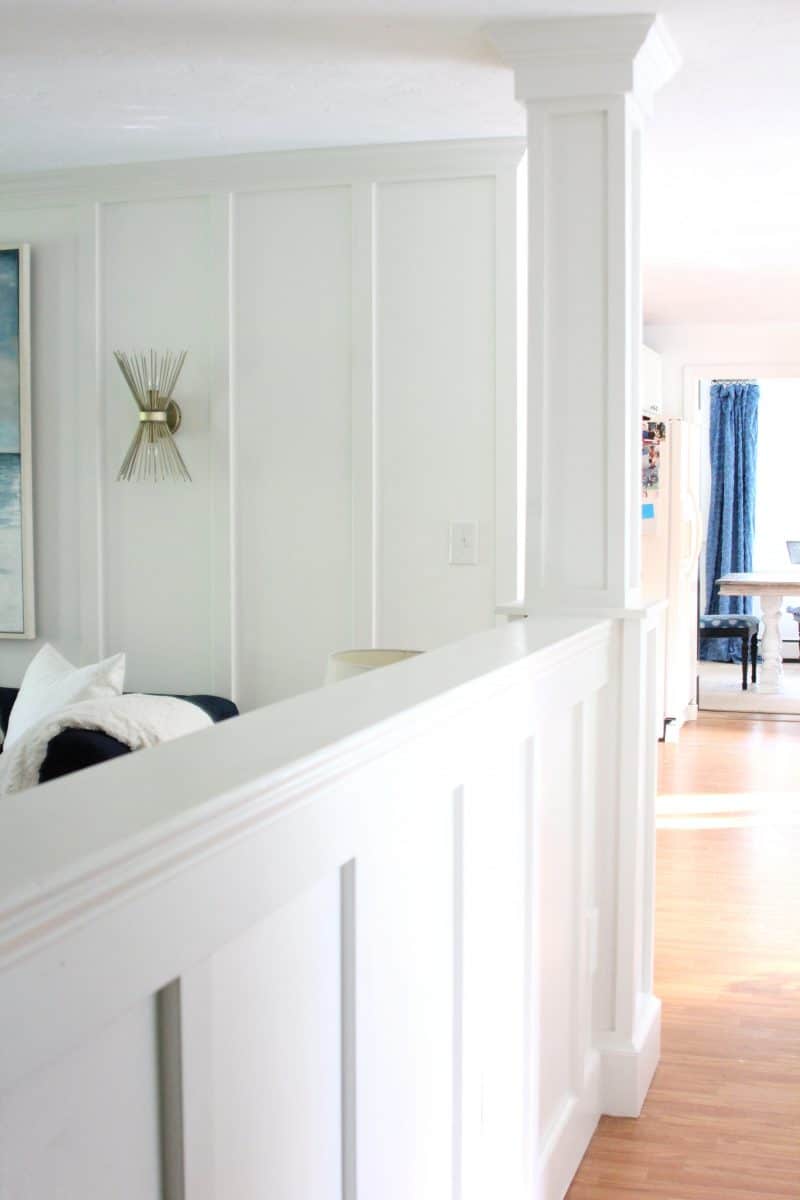
To the right is our bathroom/laundry that I added wall trim and crown to for the Spring 2017 One Room Challenge (you can see the reveal for that room here).

Adding moulding to the half wall and column makes this little space feel so much more custom and polished. It’s always amazing to me the difference moulding makes! Here’s how it went from basic and boring to all blinged out 🙂
Removing Existing Trim
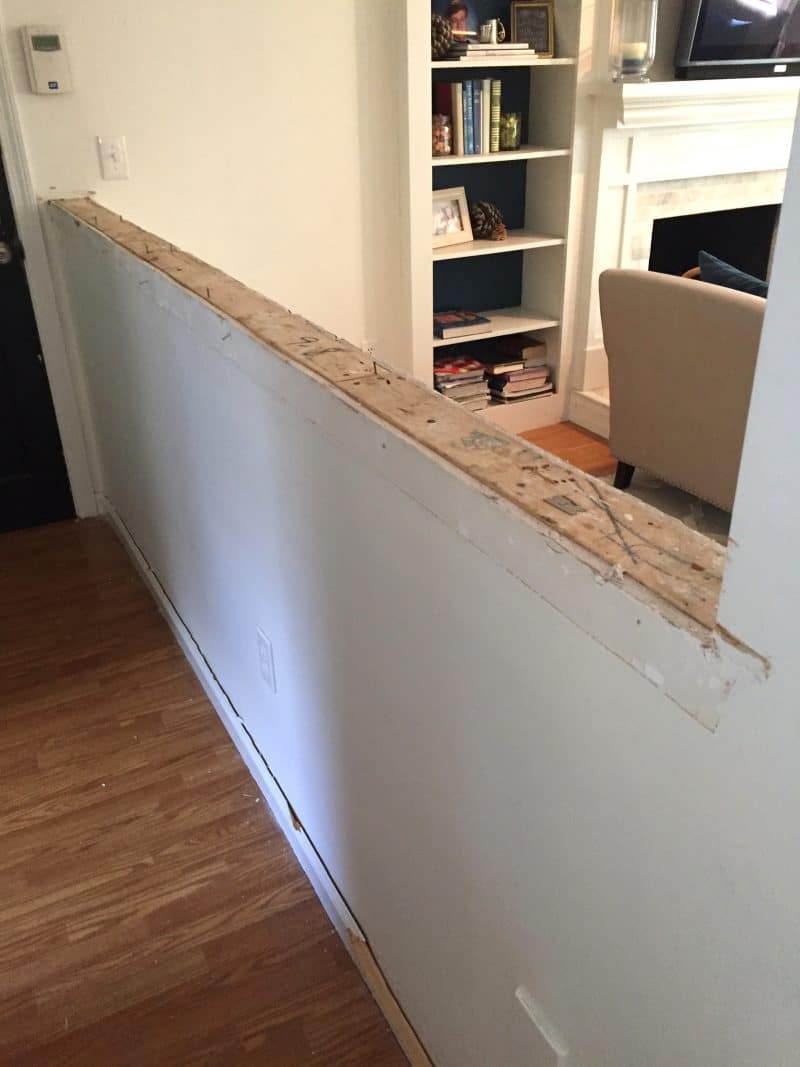
The wall had a substantial oak top with a little piece of trim underneath. I used a utility knife to separate the paint from the trim and then loosened it with a chisel and hammer until I could pry it off.

The top came up easily by gently tapping it from the bottom with the hammer. I wanted to reuse it so I took care to remove it without damage.
The old baseboard was installed before the flooring and as a result, embedded between the floor and the wall. I learned a new trick to remove them that worked great! First up, cut the seal of paint or caulking between the baseboard and wall with a utility blade, then install screws on an angle into the baseboard about every foot, and use a pry bar leveraged against the floor to pull it up.
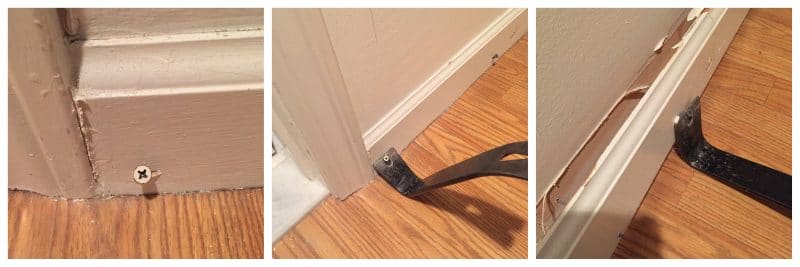
You can use a scrap piece of wood under the pry bar to protect the floor, but in this case I was not too worried about our lovely vinyl flooring since it’s days are numbered!!
Boxing In The Column
Once all the old trim was removed I boxed in the column to create a wider base and narrower top, trimmed out with moulding that mimics our fireplace surround.
To build the base box around the existing column, I used Liquid Nails and nails to attach 2x4s to the lower part as nailer boards (I bought this brad nailer this year and really like it – it’s lightweight and great for most of my building projects.) Next I pieced together three boards and screwed them into the 2x4s so that the bottom of the column would be chunkier than the top, making sure it was square.
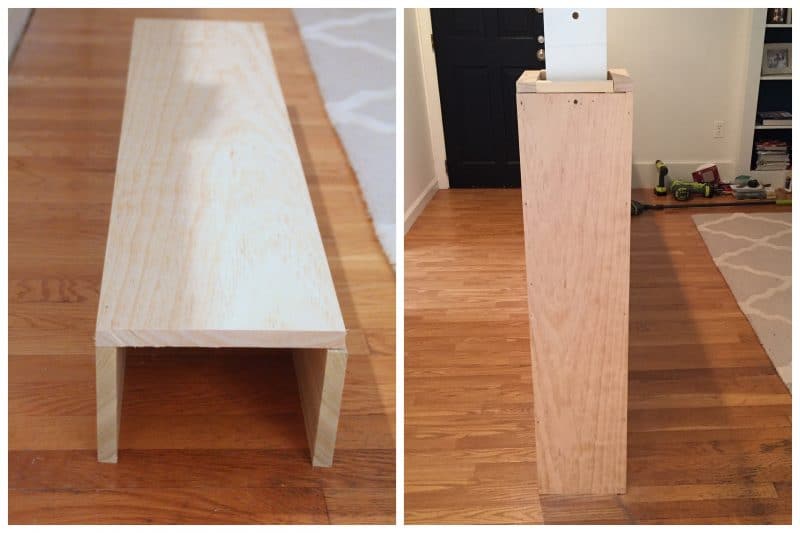
Then I installed the new baseboard and trim to the base. I should have mitered those baseboard corners but I didn’t. Okay? Okay. #cuttingcorners #punintended
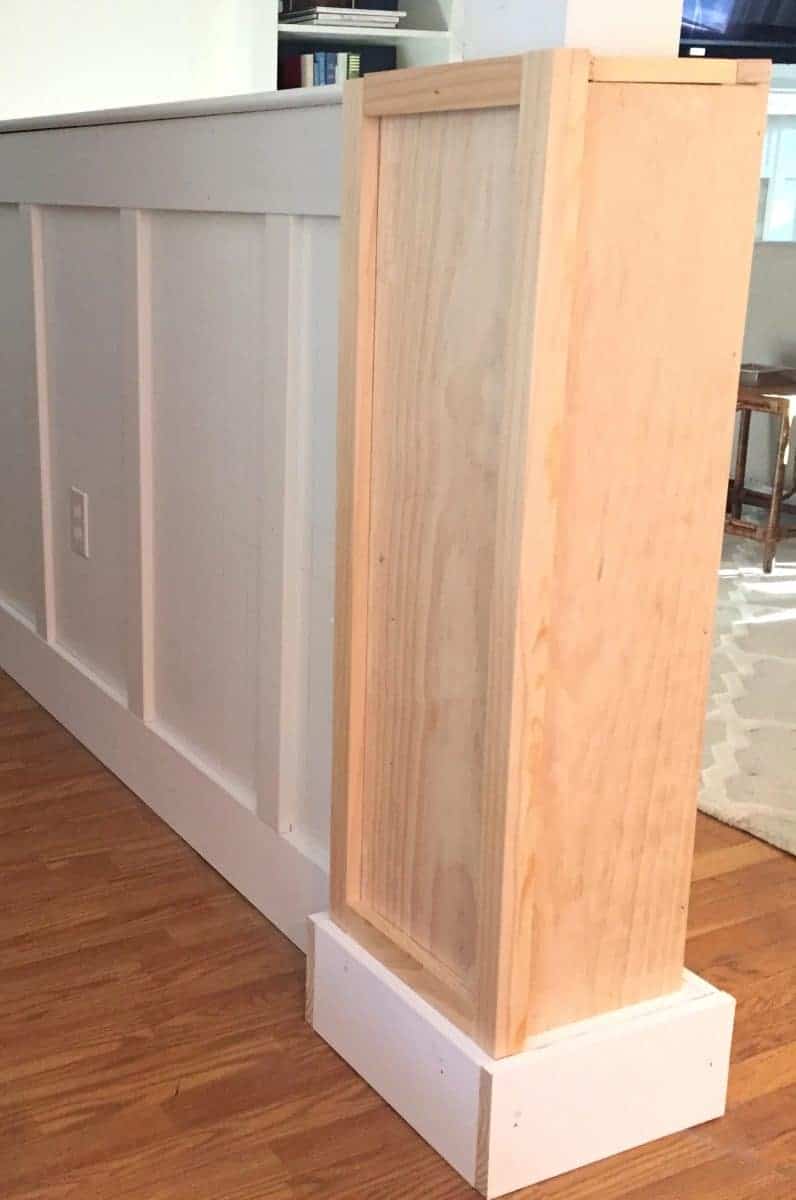
After establishing the base, I took a break from the column to do the moulding on the half wall and then came back to finish the upper portion of the column.
For the top of the column, I first miter cut MDF (similar in width to the top of the half wall) to overhang the top of the base.
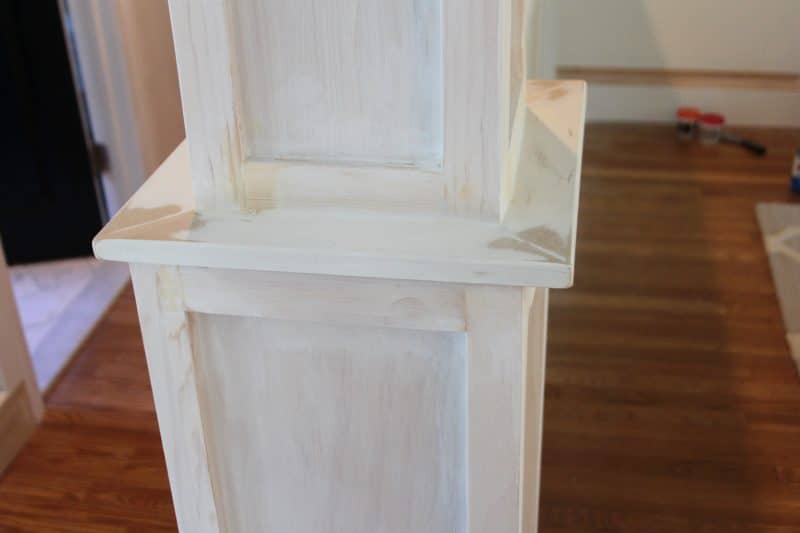
To create the upper box, I glued and nailed poplar boards directly to the existing drywalled column and then trimmed each side out to match the bottom.
Sorry for these grainy photos taken with my phone but I hope it gives you a good sense of how this all came together.

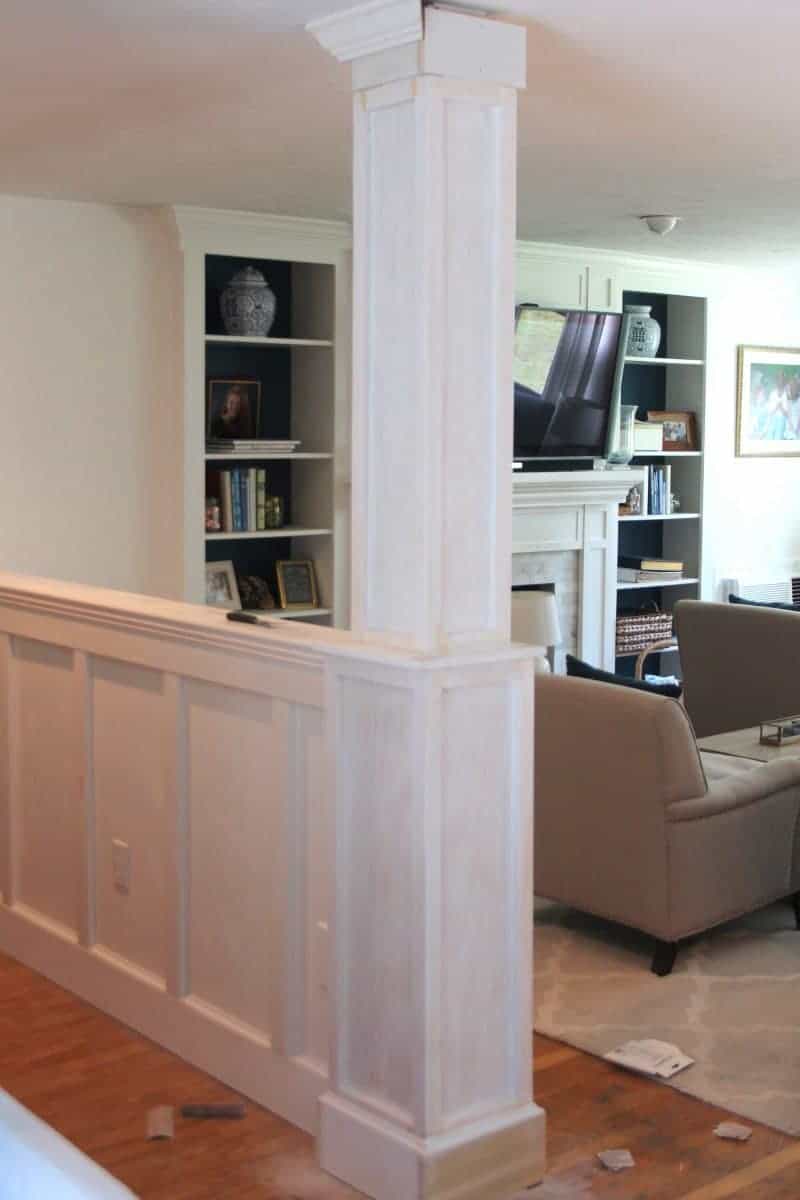
Adding moulding to the half wall
This was the easiest part of the whole project. These are straight cuts all the way so once you have your spacing and measurements figured out you can fly through this installation.
To trim out the half wall, I cut down and reinstalled the original cap of the half wall which overhangs about an inch or so on each side.
Next I installed 6″ board along the wall under the cap, and used this same lumber for the baseboard. To the top board I added a decorative moulding.

The battens were installed about every 16″ between the baseboard and top board with glue and nails, spaced to accommodate the outlet and central vacuum receptacle.
A NOTE ON BOARD & BATTEN SPACING: every “board and batten” style moulding I have in this house is spaced differently – I always adjust the spacing to accommodate obstacles like light switches and outlets. In the bathroom the spacing was specifically to accommodate the toilet. There is no right or wrong spacing! I like to use a scrap board to draw the spacing on the wall with a pencil first and see if I like the overall affect before actually installing the boards. Within the same room keep roughly the same spacing (it can be off a 1/2″ or so and you’ll never notice.) Once I established the 16″ spacing for this half wall I did carry it through the family room when I installed moulding in there later on, so it all looked cohesive.
After installing the battens, I topped off the baseboards with cove moulding.
Once the nail holes were filled and sanded, everything was caulked and painted, and the end result is this:
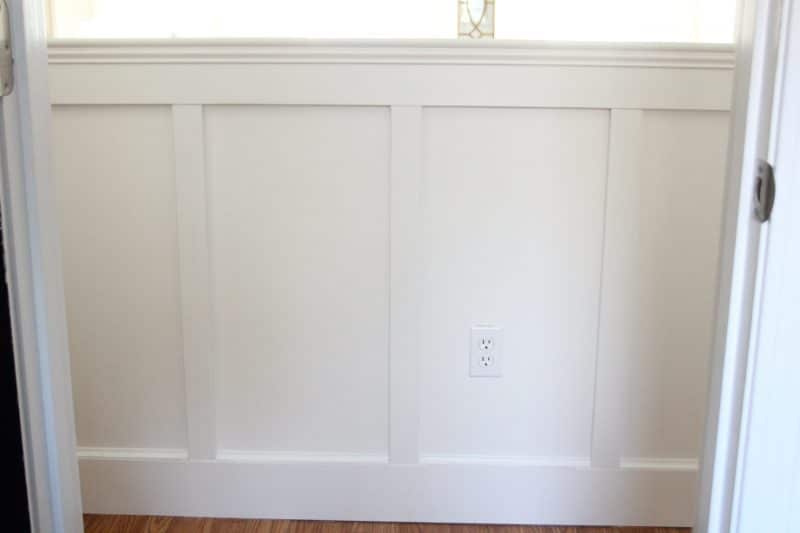
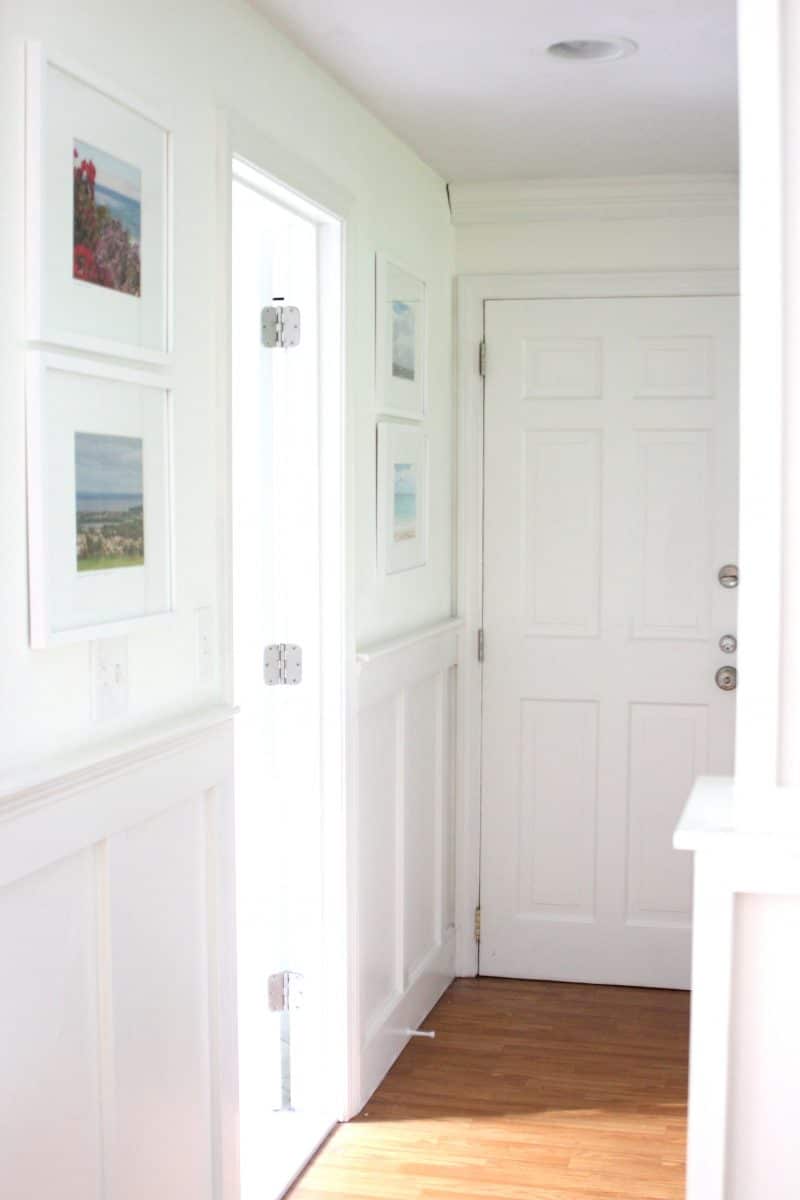
I installed the same trim on the facing wall, topped off with a moulding with the same rounded edge as the top of the half wall.
Building The Pilaster
The other side of the half wall from the column bothered me for a long time. It felt unfinished but I wasn’t sure what to do with the defunct alarm box on this wall.
Eventually I consulted my awesome electrician Roy and discovered this alarm box is low voltage and easy to take out. To remove it I pried off the face plate, unscrewed the wall plate, wrapped the wires with electrical tape and pushed them into the wall.
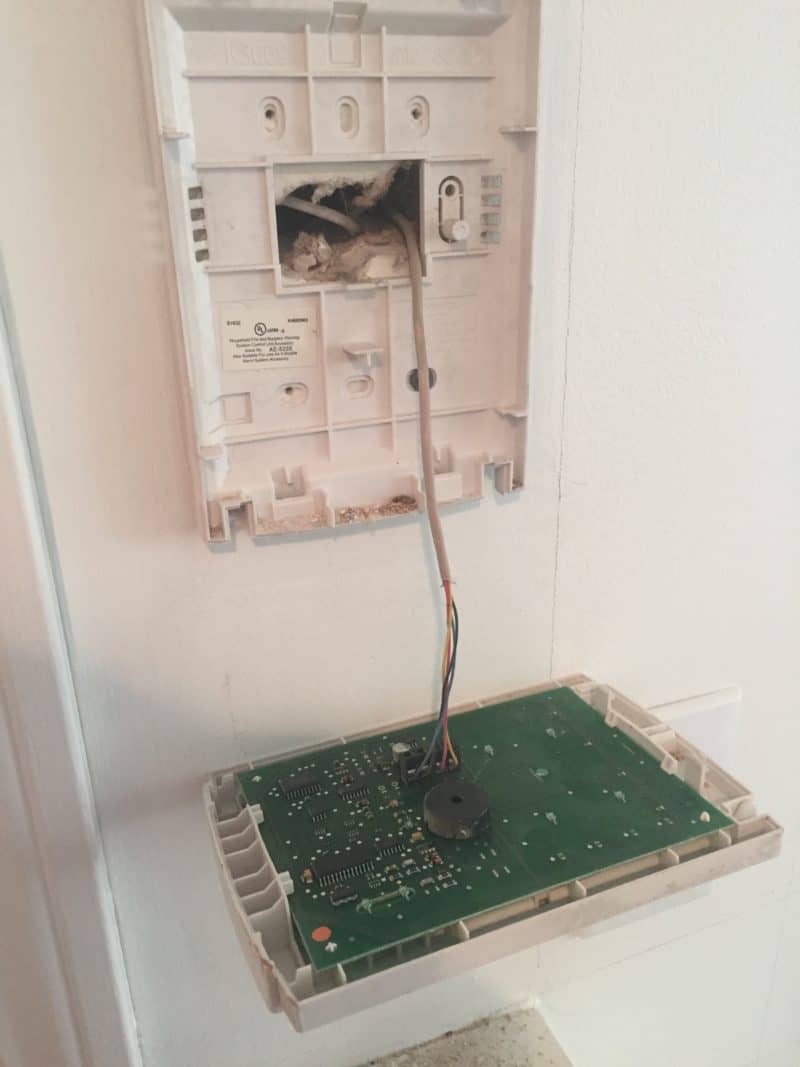
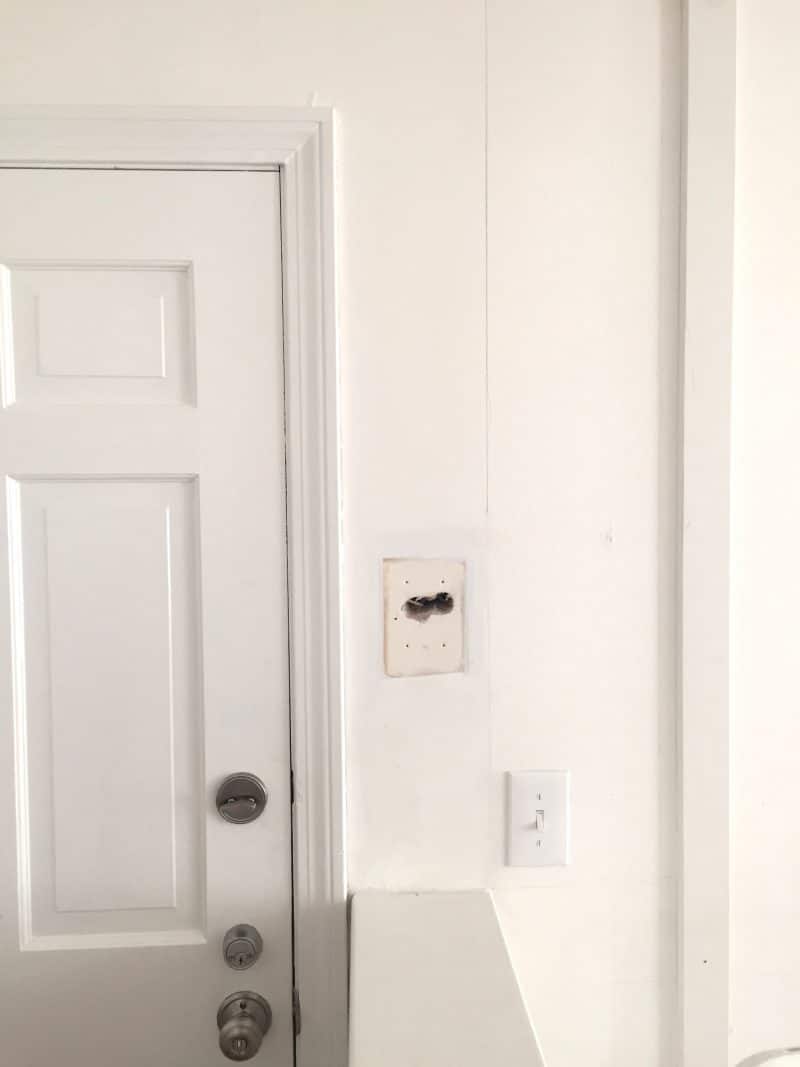
If you are removing an alarm box be sure to consult an electrician if you are unsure of the type of voltage you’re working with.
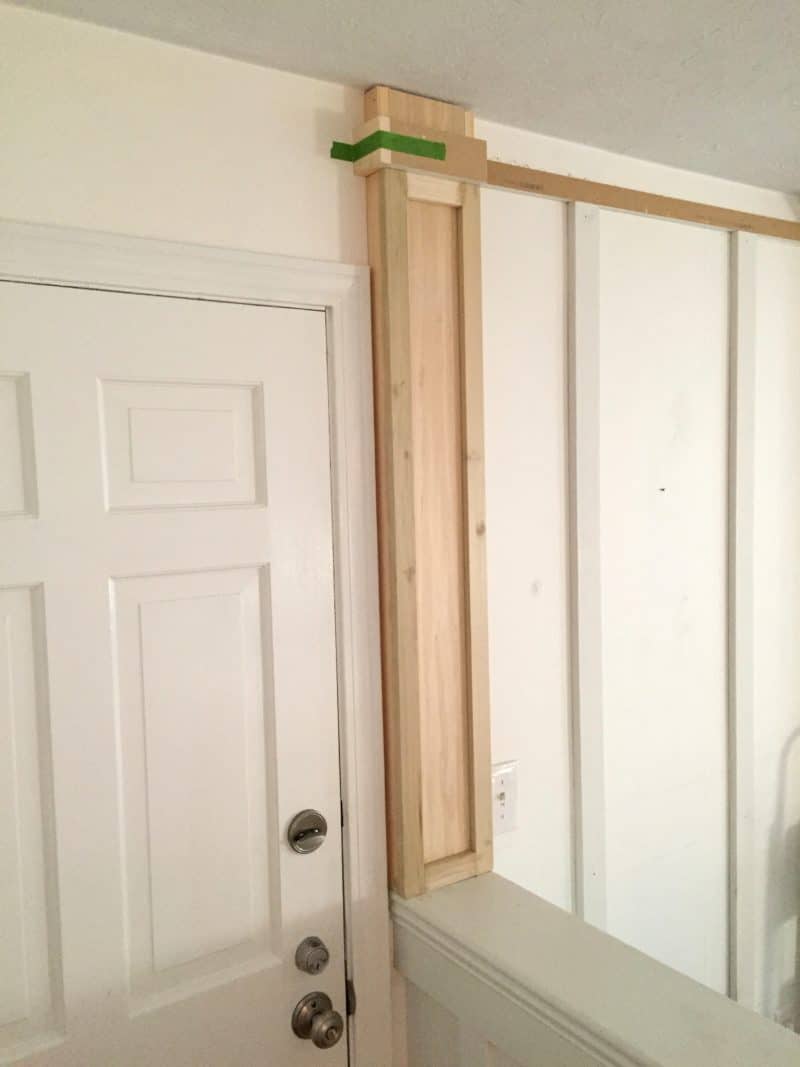
Once the wall was cleared I built a simple pilaster, which by definition is a column that is attached to a wall (so essentially a half column for the half wall 🙂 ). First I attached two common boards to the wall with Liquid Nails and nails.
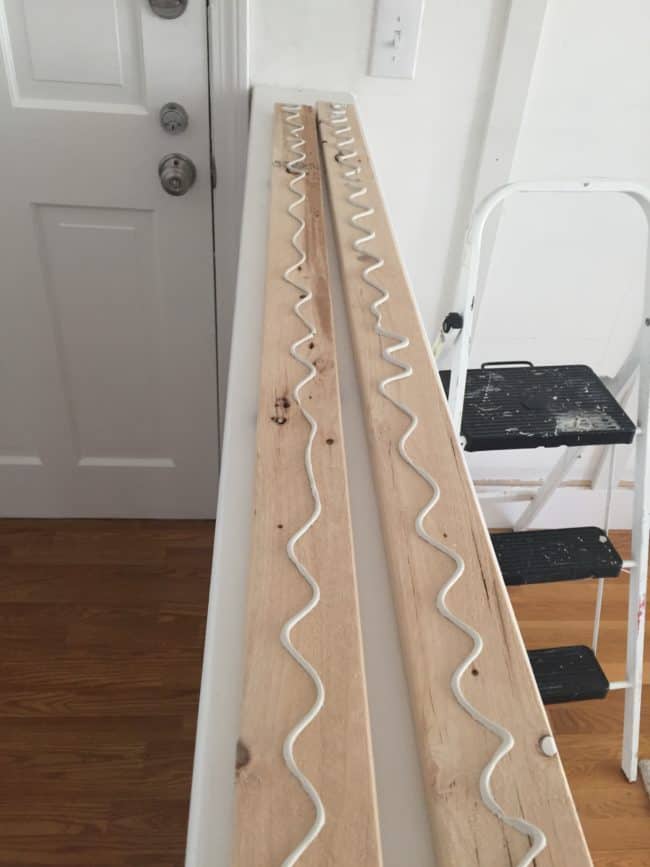
For the face of the pilaster I used a poplar board….
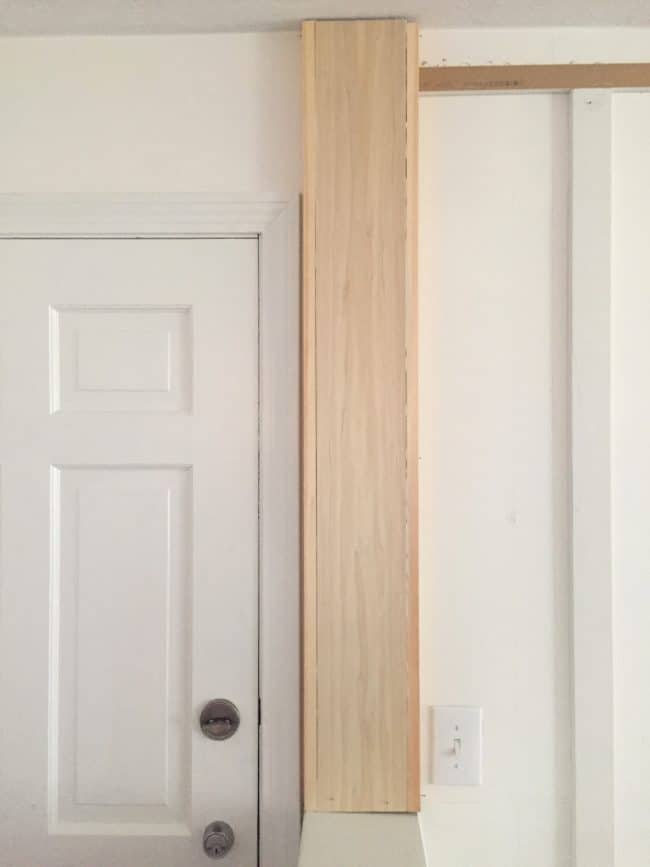
trimmed on the sides and front with the same 1×2″ trim as the column. At the top I installed a 2″ piece of trim to build out the crown moulding a bit, again to match the top of the column.
The finishing detail: crown moulding
The last and most daunting piece of this project was to install crown moulding around the top of the column and pilaster. The pilaster had a couple of tricky pieces on the sides that I coped to fit into the longer wall pieces. This is the 10% that took me an entire year to finish but it was worth the wait!
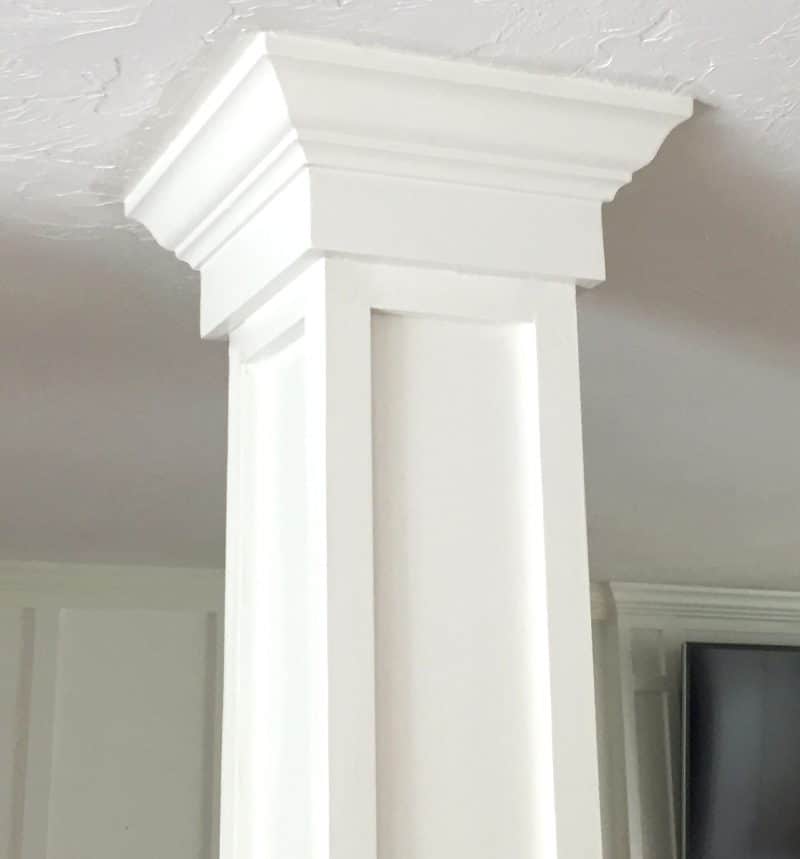
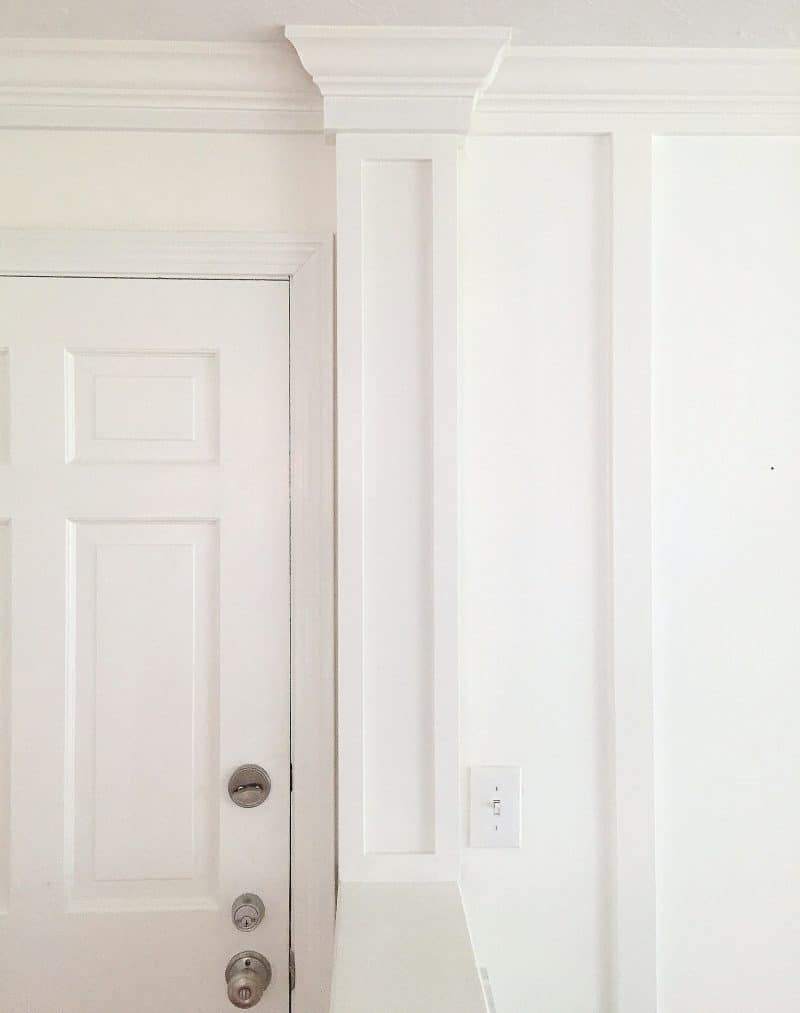
Remember this little tidbit from the One Room Challenge? I labored over this part, I can’t even tell you! Learning to cope crown moulding well is challenging but totally ups your moulding game.

One Last Look At The Before & After
Before, during……
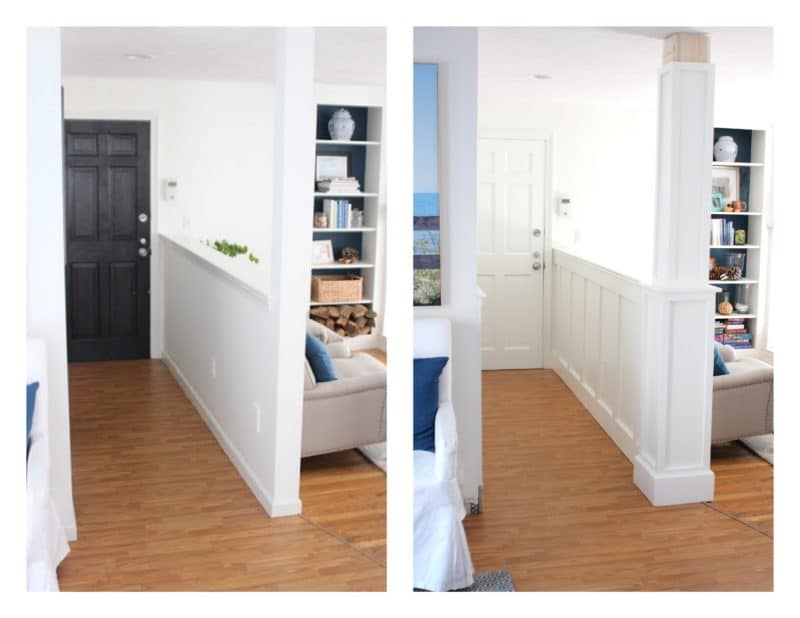 …and the final version with the family room finished too!
I have been considering what to do with this half wall and column since the day we moved in and am so happy I tackled this project (and finally finished it!)
This might be my longest post ever in 8.5 years but I really wanted to impart all these tiny details for those of you who might tackle a plain jane half wall and/or encase an existing drywalled column with moulding! The devil is in the details and if I can make it any easier for someone else by sharing what I learned along the way then I am glad to do so!
Since I completed this half wall I started a new moulding project in my dining room which I’ll be sharing on the blog soon – you can catch a bit of it in this video I posted to the Shine Your Light Facebook page! I invite you to follow SYL over there, where I post fun tidbits and inspirations daily, by liking the page right here!
This was such a fun and gratifying project (well, except for those little pieces of crown moulding! HA!) If you have a hankering to try a moulding project I sincerely encourage you to give the board and batten style a try! It’s pretty simple and if I can do it, so can you my friend!
Cheers to tackling new projects in 2019!
XOX
PIN THIS POST

Stacy Connolly says
Looks amazing Lisa! You are so talented! I’ve enjoyed watching you transform your home…
Lisa says
Stacy you are always so kind, thank you! It’s been a slow progression but one project at a time we’re getting there! Hope to meet in real life one of these days!
Tiffany says
It’s gorgeous. I would love to add crown mounding to more rooms of my home…thinking this is the year!
Lisa says
It truly does add so much to a space Tiffany! Once you get the hang of it installing crown isn’t terrible, just those little detail pieces that I labor over to make perfect! Good luck with yours!
Kathy says
The column and molding are beautiful! Amazing job!
Lisa says
Thank you so much Kathy!! It took me a long time to finish it but I’m happy it’s done after imagining it for so long!
Susan says
Looks great!
Lisa says
Thank you so much Susan!
Debbie - MountainMama says
Lisa, you are seriously amazing!!! I cannot believe how good you are at woodworking, you are a superstar and my hero!! I’m honestly a bit scared of saws…ok maybe more than a bit….but I’d love to learn to do a lot more around my house. You’d think growing up with a carpenter dad and marrying (and divorcing ha ha) a carpenter would have gotten me over my fear, right? Nope!!
Lisa says
Awwww Debbie your comments make my day! I wish you lived close to me so I could do a project with you and show you how do-able it is! If I can do it so can you! It’s like driving a car, seems intimidating when you first start and then it becomes second nature! You can do it!
Cristina says
Love, love LOVE it! Girl you nailed it! in no time you’re going to be a crown molding queen! 😀 😀 It’s tricky, but the more you do it the easier it gets. promise. 😉
Lisa says
Thanks for the encouragement Cristina!! I’ve installed crown in a few rooms but those tricky pieces can throw me a challenge!
JILL NELSON says
Such a beautiful update! Can you give us a break down in cost of materials? Thank you!!!
Lisa says
Yes! I’ll put together the rough cost and get back to you on that Jill!
Brandi @Don't Disturb This Groove says
Wow Lisa, this looks amazing! You are so talented. The crown moulding and new trim are really gorgeous.
Lisa says
Hi Brandi!! Thank you so much! I drag projects out forever but I’m happy with how this came out after long last! Happy New Year friend.
Suzanne Carrier says
Greetings from Vermont! It looks beautiful! Great job.
Lisa says
Thank you so very much Suzanne!
classiccasualhome says
Holy cow, I AM SO IMPRESSED. You are right that it looks much more custom and polished BUT THAT YOU DID IT YOURSELF!!? Bravo. You are amazing!
Lisa says
Awww thank you so much my friend! That means so much to me!
misstoni65 says
Oh my gosh that looks so great Lisa! I love that you added that fake column by the door as well. It really makes a statement, and the board and baton in the rest of the room looks fab as well.
Lisa says
Thank you so much Toni! The half wall and columns really made such a difference to feel of this space!
Kristin salazar says
This is so pretty lisa!!! Such a huge difference, you did a great job!
Lisa says
Thank you so much Kristin!! xx
myperpetualproject says
Beautiful job! Trim just adds so much character! I did something very similar to my staircase; it makes so much difference!
Lisa says
Thank you so much! Isn’t it amazing how much character moulding brings to a room? It really does completely change a space.
Jill says
So pretty! Do you mind sharing the finished dimensions? I’m wondering how wide your column is. Thank you!
Lisa says
Hi Jill! The base of the column is 12″ square. The top is 8″.
Nataly Mitchell says
Thank you! I’ve been searching everywhere for how to do so many of the things you showed and linked in this! Finally, my trail and error can come to an end. Thank you thank you thank you!
Lorraine says
This looks so beautiful. I’ve been trying to find a post with this exact detail. This will be my winter project.
Lisa says
Thanks so much Lorraine and best wishes with your project!!