 Welcome back to the 4 week house spruce up series! I’m so happy to join a super fun group of bloggers – Becky of This Is Happiness, Shelley of Crazy Wonderful, Julie of Less Than Perfect Life Of Bliss, Katie of Miss Dixie, Jennifer of Dimples & Tangles, and Pam of Simple Details – to bring you ideas and projects to knock out before the holiday craziness hits.
This week’s room is the living or family room and I have a great DIY for you!
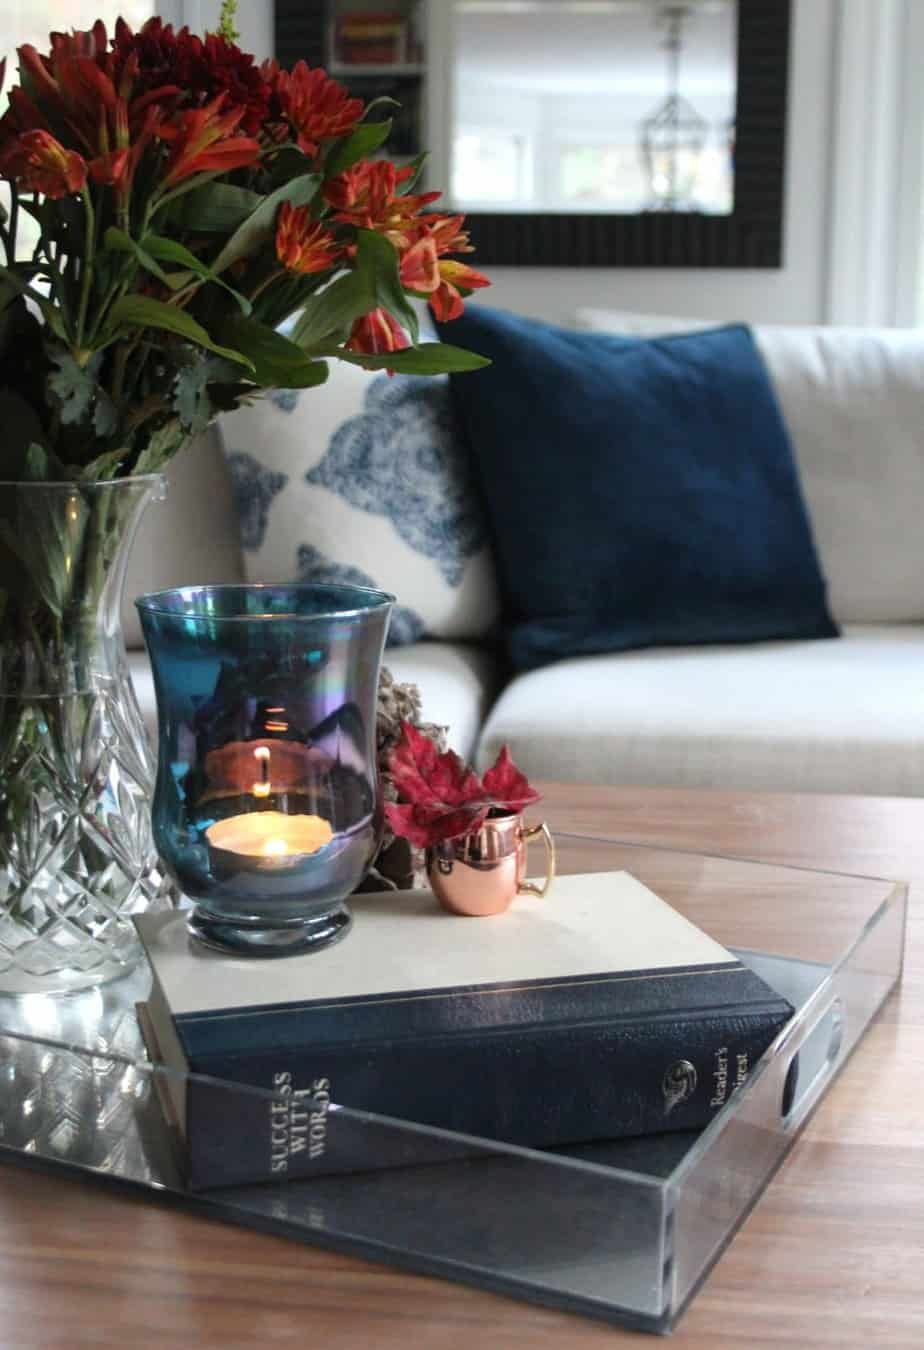
Using a tray on a coffee table is a great way to create a little vignette and coral some pretty items together. Mix in some seasonal flowers or greens, perhaps a little white pumpkin for Thanksgiving or a few ornaments at Christmastime and you’re good to go!

Okay let’s jump to the Homegoods or Target clearance section……who else always has to check out what’s over there? One item I frequently see on clearance are acrylic trays that have text or a design on the bottom, like this one I picked up for $5 –
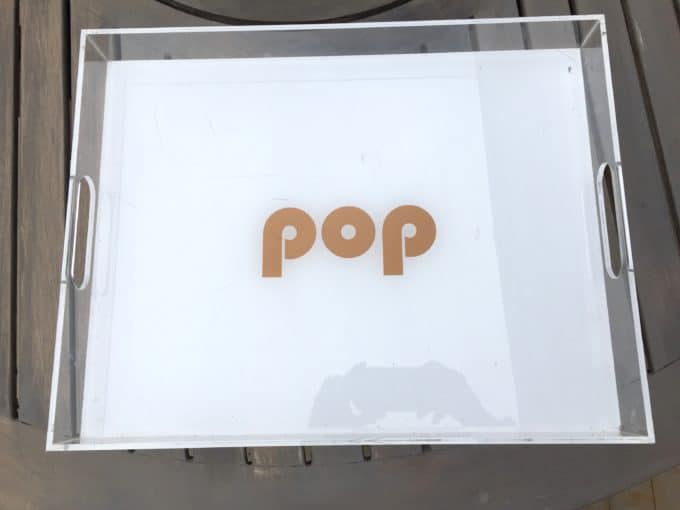
It’s a nice weight, a good size at 13″x17″ and although the white bottom was kind of beat up, that was fine with me because I figured if it marred easily then that text could probably be removed and something interesting done with the bottom, and indeed that was the case!
I gave the tray a mirrored finish,
and gold, silver or copper foil, a bright color, or a decoupaged photo (or collage of photos) would be amazing for this project too! So many possibilities!
Without further ado, here is what to do – and what not to do!!
HOW TO REMOVE A DESIGN FROM AN ACRYLIC TRAY
(AND GIVE IT NEW LIFE!)
A couple preliminary notes:
My DIY mercury glass technique did not work on this tray and I’m assuming it’s because of the use of acrylic vs. actual glass. A flat mirror finish works better for this application.
The supplies are listed at the end of the tutorial.

HOW TO REMOVE AN EXISTING DESIGN
I tried a couple solvents – paint thinner and Goo Be Gone, which removed the design but only with a lot of elbow grease. Then I tried my favorite furniture stripper, Citristrip, and the white finish starting coming up as I was applying it. Winner!
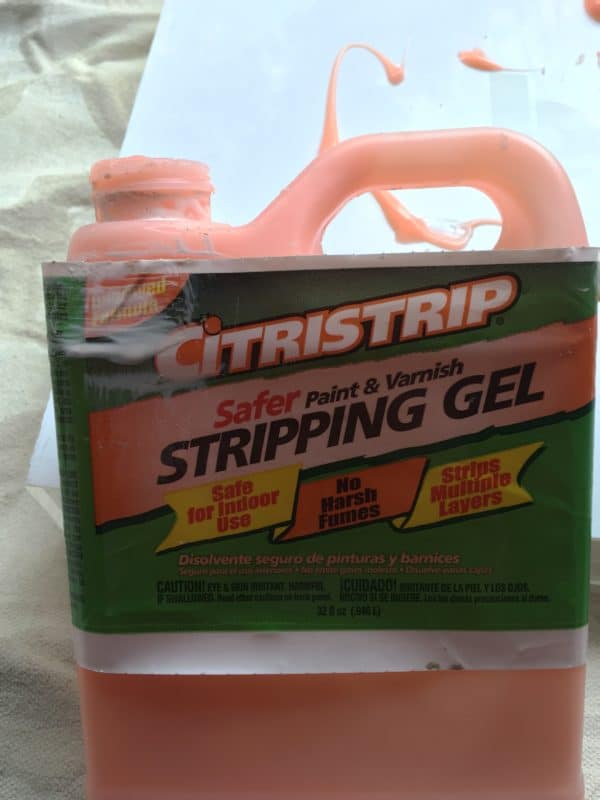
• Despite the label, I strongly suggest using Citristrip outside. Wear rubber gloves and take care not to get it on your skin or clothes. Set up a tarp on your work surface.
• Apply with a cheap throw-away paint brush (not foam, which disintegrates with the stripper) OR a paper towel or rag.
• Give the Citristrip a good 10-15 minutes to really do it’s thing.
• MOST IMPORTANT STEP! Wipe off with a paper towel or rag, not a scraper! I removed the finish with my paint scraper and this was a terrible mistake as it left scratches all over the surface of the acrylic. The paint comes off really easily with a rag so the scraper is unnecessary.
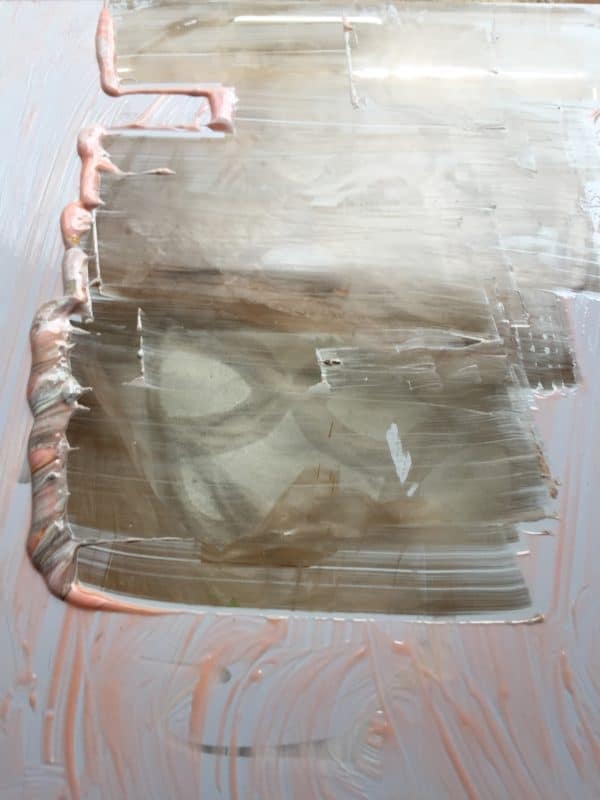
• After removing all of the design, wipe down the excess stripper, then wash and dry the tray.


THE FUN PART!! HOW TO BEAUTIFY YOUR TRAY
There are so many possibilities of what you could do here! Leave it as is like this gorgeous vignette, or do something interesting to the bottom……there are so many options to make this project your own!
Here’s how I gave the bottom of this tray a mirror finish.
• First, place the tray face down on a tarp. Tape just the edges of the sides.

• Fold the tape in half and then open, so the tape catches all the overspray.
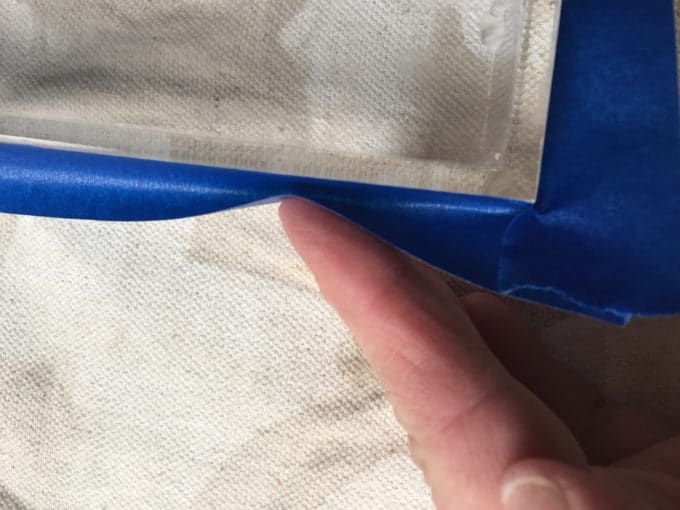
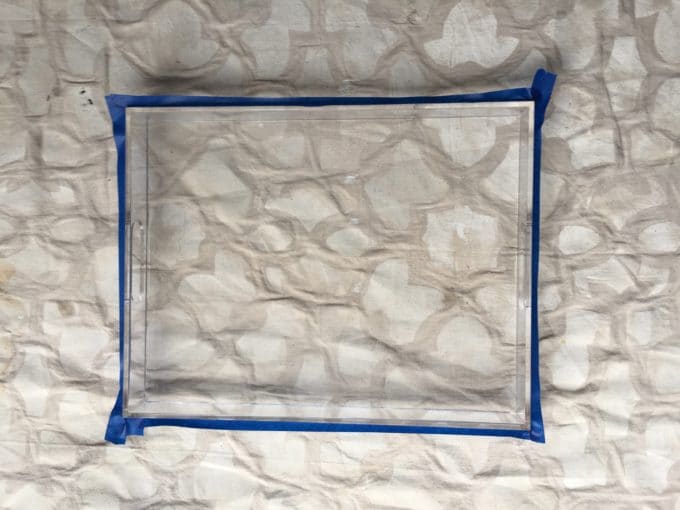
• Spray the bottom of the tray 2-3 times with Looking Glass, allowing to fully dry between coats. Now flip it over and marvel at how pretty it is!
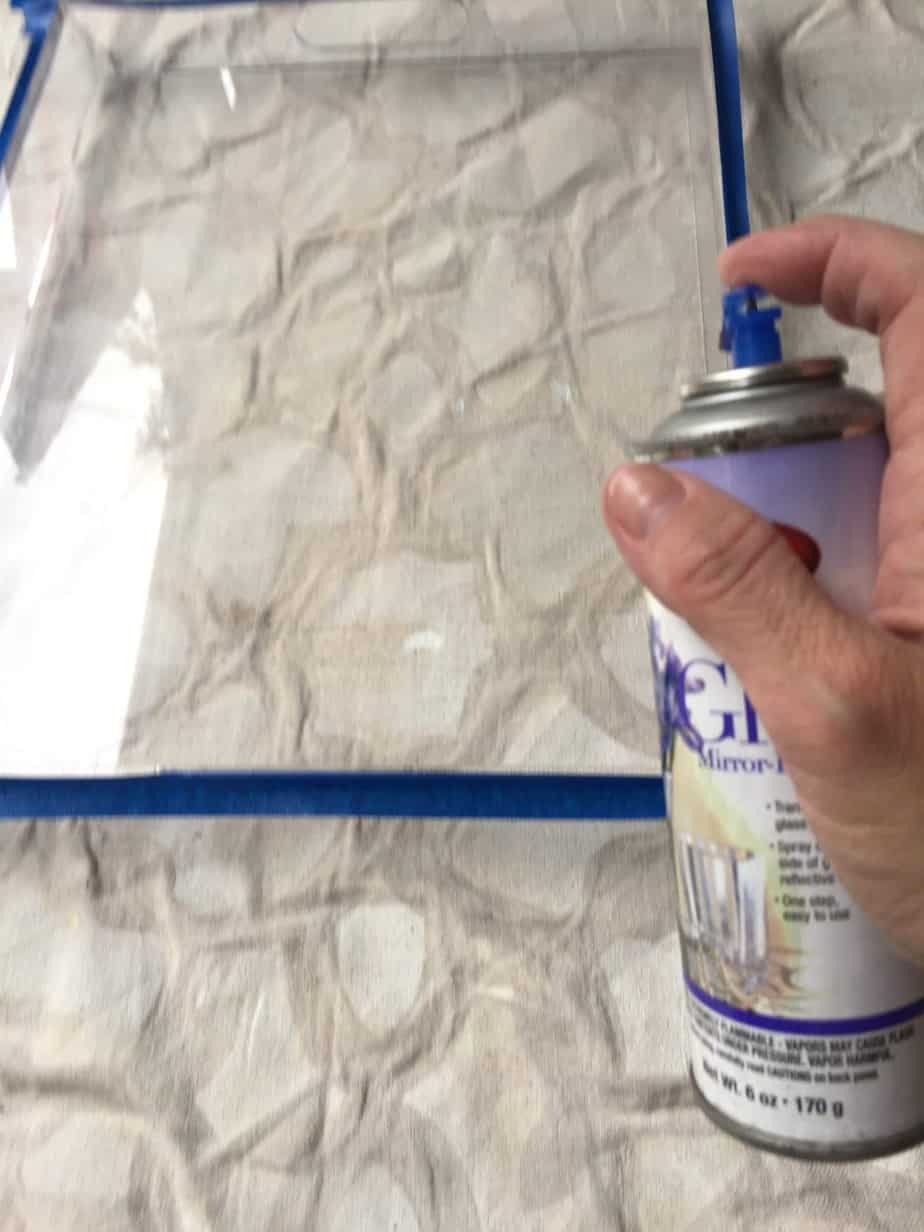
The Looking Glass spray really does give a mirror finish!
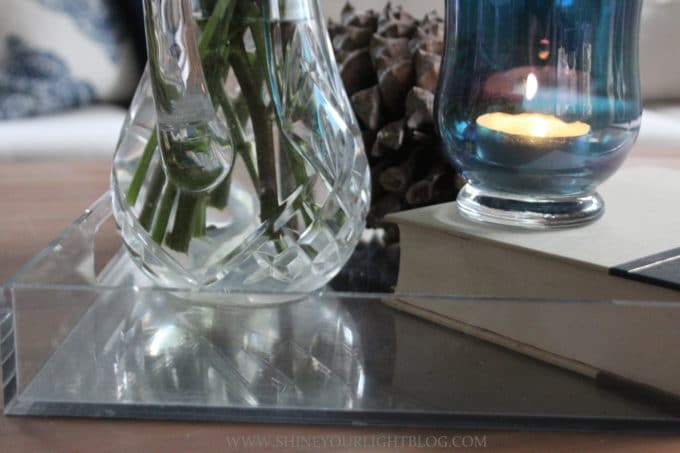
My bar cart mercury glass shelves were made with real glass and they are definitely more reflective – very much like an old mirror. The acrylic is a little more hazy but you can see your reflection. It’s really hard to capture on camera but the light bounces off of it and the flowers are reflected in it.
Okay that was the good – here’s the bad……
it’s insanely scratched from my scraper! OYYY!!!!
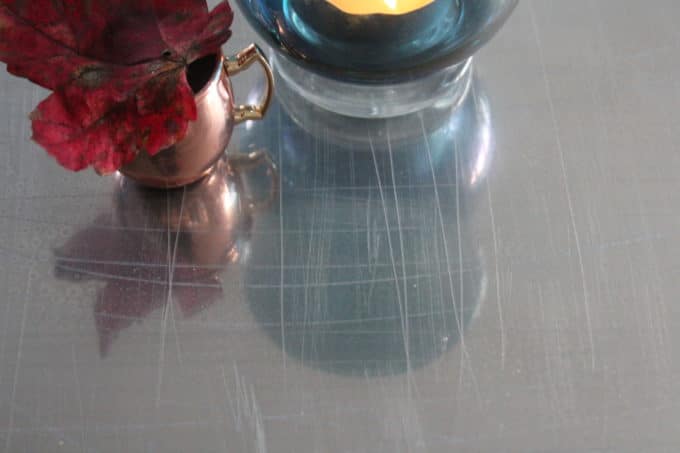
But you know what, it’s totally fine because once the tray is all styled up you don’t really notice the crazy scratches.
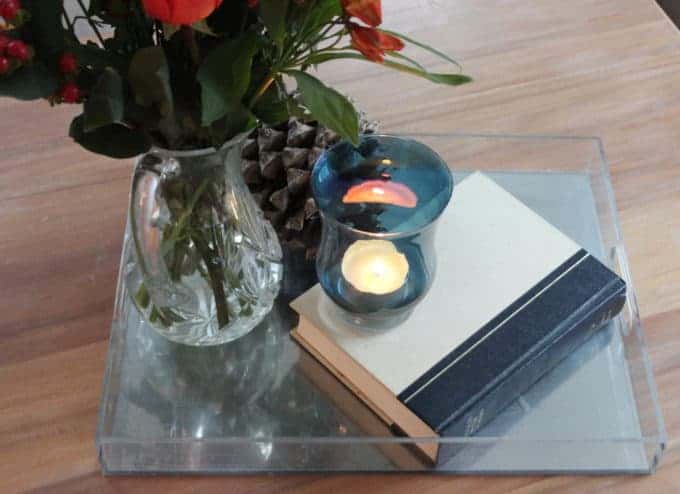
The lesson here is be gentle with your acrylic tray – wipe the stripper off vs. scraping it off.
One last detail, and it’s a game changer!
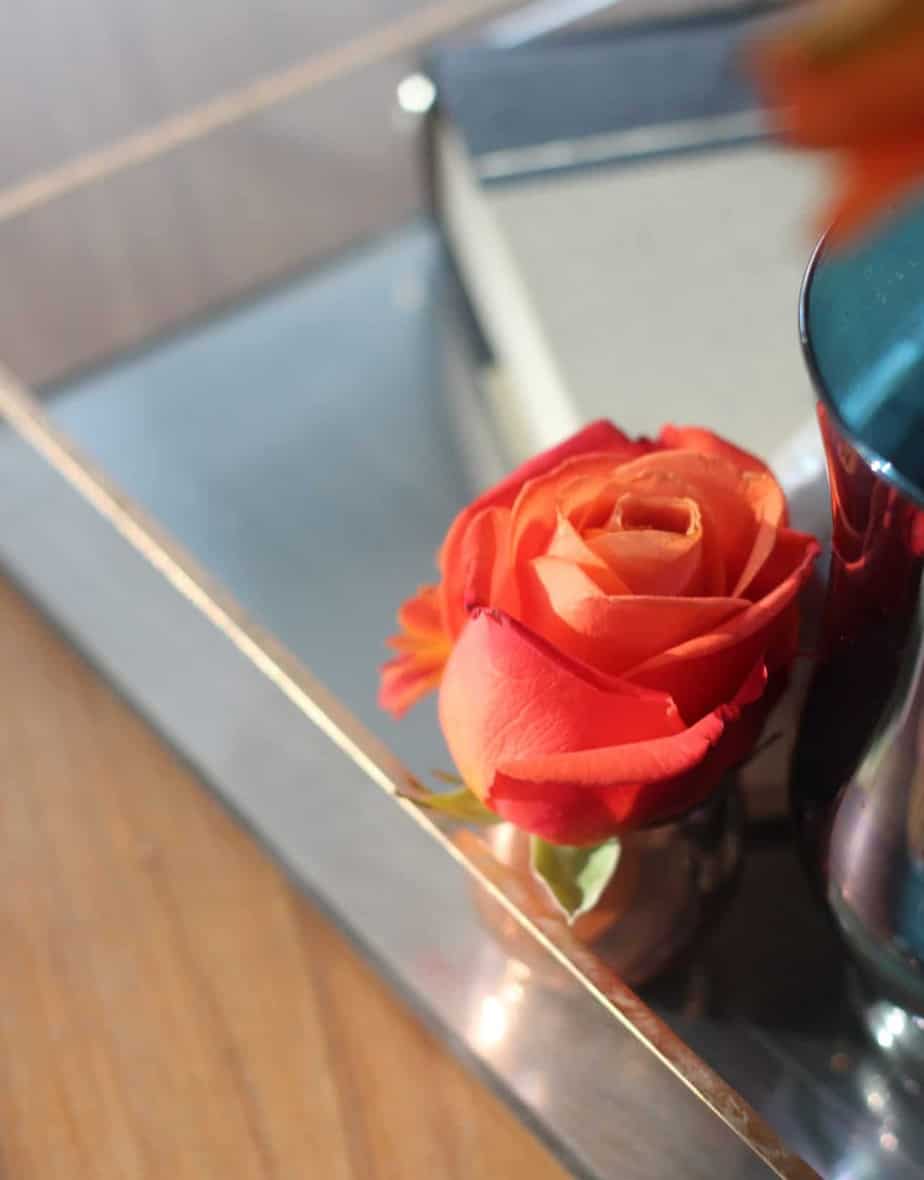
Yesterday I decided the edge needed a little bling……Rub n’ Buff to the rescue! (I know – the scratches are killing me too (they’re even more apparent outside)…..but that gold edge, right????)
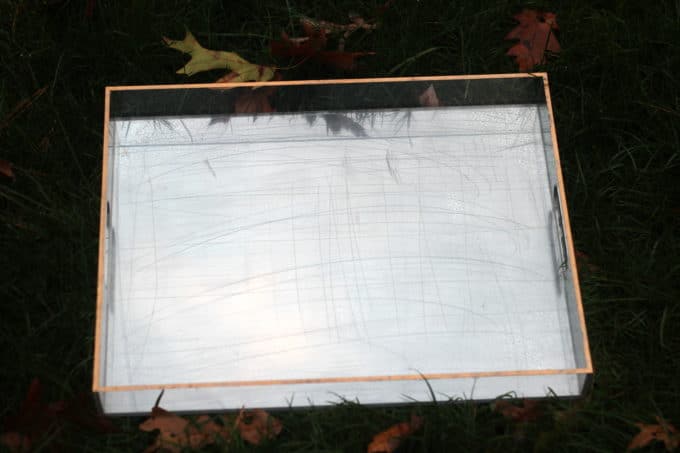
To apply the R&B I used my fingertip. You can also use a kid’s paintbrush with the bristles trimmed short.
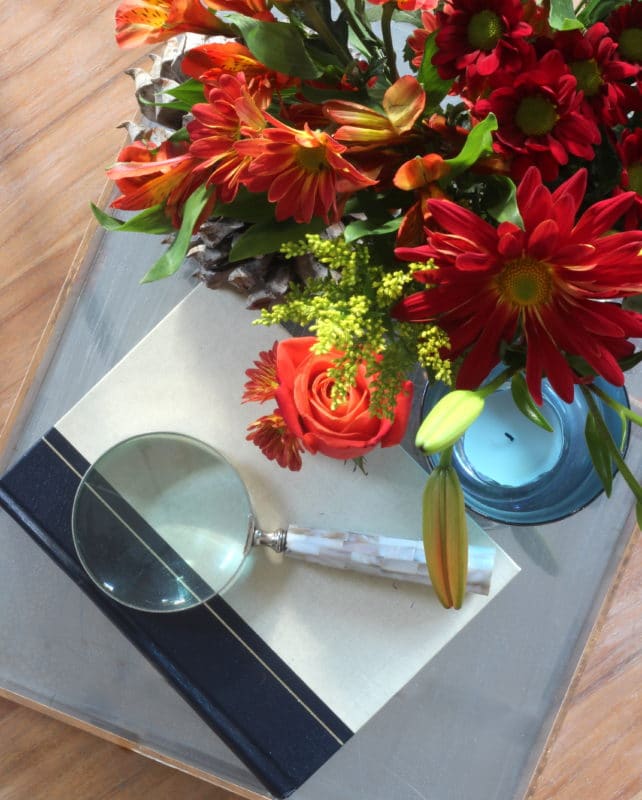
This was a really fun and satisfying project and scratched or not, I think I’ll use this tray all the time (and will definitely be keeping my eye out for another one in the clearance section!) I think it would also be great in a bar to coral liquor bottles, or at a cocoa station, can you see it?
I hope you enjoyed this tutorial; keep your eye out for a couple more DIY mirror projects in the near future!
SUPPLIES FOR THIS PROJECT:
An acrylic tray (minor scratches are okay but look for one that is not too distressed on the bottom). Bonus points if it’s from the clearance section!
Spray sealant (optional)
Let’s see what great tips and projects these amazing ladies have for us!
• Becky of This Is Happiness •
• Katie of Miss Dixie •
• Julie of Less Than Perfect Life Of Bliss •
• Jennifer of Dimples & Tangles •
• Shelley of Crazy Wonderful •
• Pam of Simple Details •

Catch up on the Fall Into The Holidays spruce up posts:
Don’t miss the final post next week all about the dining room, and thanks for stopping by friends!

If you enjoyed this post, I’d love for you to join my mailing list for more creative tutorials, design ideas and tips and tricks for the home delivered right to your inbox!

Julie Ryan says
I love how this turned out, Lisa! I’ll have to pin this & keep it in mind!
Lisa says
Thanks so much Julie! It’s a fun little project for a $5 tray!
Shelley | Crazy Wonderful says
What’s a great idea! I always get excited when I see one those acrylic trays and then get bummed out when I see goofy sayings or prints on the bottom. No more!!! Totally going to have to do this!
Lisa says
Me too Shelley – they always have something on them that ruins a good clear tray! It’s an easy fix though!
April Edwards says
Lisa, how cleaver you are. I have never used the Looking Glass spray paint. Will it scratch off the bottom easily meaning you have to be careful moving it around on surfaces?
Lisa says
Hi April! I actually listed a spray on sealer as one of the supplies for that project because although I haven’t done it yet, I think it’s worth doing to protect your mirror finish! Krylon has a good clear sealant that I like, just make sure to clean the nozzle when you’re done with it so you can use it again (as opposed to the jammed one I have in my garage 🙂 )
Jennifer Griffin says
What a great project, Lisa! I actually like the scratches, they look like a cool embossed pattern. Maybe you need to scratch the rest of it up! 😉 Ok, I’m off to add R&B to the top edge of my acrylic tray!! Love!
Lisa says
Okay let’s pretend they’re on purpose and part of the design 🙂 I like your thinking!
classic • casual • home says
HOW beautiful, Lisa!!! I love a try used like this. I actually got mine with a mirror already in ti from Hone Goods…but I bet I paid a lot more than you did. You are so creative.
Mary Ann
Lisa says
Thanks so much Mary Ann! I have a real mirror tray too, a little one about 10″x10″ – I love how it bounces the light around and use it everywhere – such a good accessory to have isn’t it?!
Katie Chalk says
Such a cute idea and that tray will be so pretty with lights reflecting it over the holidays! Rub N Buff is most definitely a game changer, I was dangerous when I first started using that stuff! Everything started to turn gold! ha!!
Lisa says
Ha! Me too Katie – I used R&B everywhere when I first discovered it! 🙂
Riena says
I love the idea! With a good sealant, you can protect the mirror effect! Amazing idea to use this acrylic tray!
Lisa says
Yes! I actually have sealant on my supply list, just haven’t gotten around to doing that step quite yet!
Pam @ Simple Details says
Trays are the best, love your glammed up version, and that gold edge is so good! I remember you doing another project with Looking Glass, I’ve never tried it, but definitely need to add it to my list! And, those scratches ~ we are peas in a pod!! Haha!
Lisa says
That Looking Glass spray is really fun to try – I can see you transforming something amazing with it Pam!
Becky says
Love how this turned out! So clever. Looks beautiful on your table.
Lisa says
Thanks so much Becky! It’s a really fun crafty project (that doesn’t take long either!)