Need a break from holiday posts? How about a good old furniture DIY to shake things up?!
In November I shared a design board for the bedroom of Sean, our 15 year old who has patiently been waiting for me to finish up a million other house projects before I get to his long-neglected room. He reallyyyyy wanted navy walls but other than that he was pretty open to whatever crazy thing I wanted to do in there, and we came up with this design together.
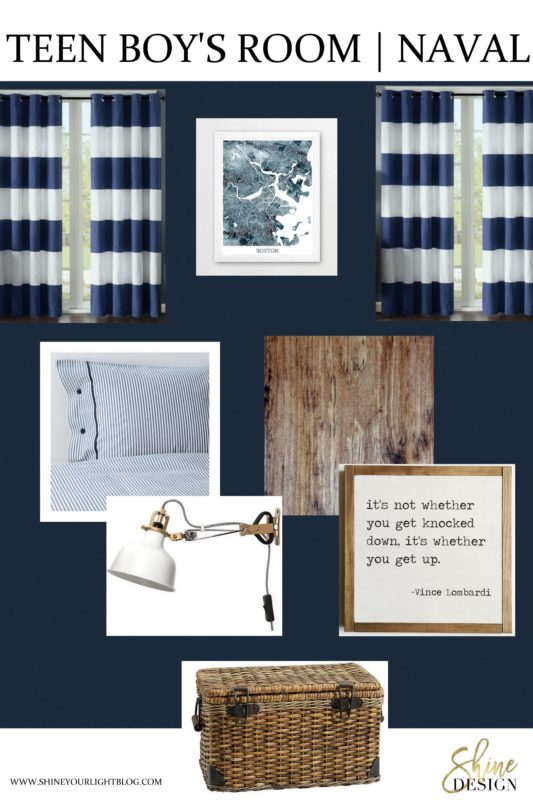
Vince Lombardi sign via Freestyle Mom on Etsy | City Map via synplu on Etsy | Striped Duvet & Sham | Plug-In Wall Light | Lidded Basket | Striped Curtains
The room is super small, so part of my plan is to build a desk with storage on one side for school supplies, books and whatnot, and a tilt-out hamper on the other side (similar to this great DIY by Corey at Sawdust 2 Stitches) to optimize the space.

I thought I’d take on building the storage cabinet and tilt-out hamper after the holidays, but in the meantime I had this idea for the desktop, and when I heard the theme for the November Fab Furniture Flipping Contest was Showstopping TOPS with ETI Envirotex, it was the perfect opportunity to get moving on that piece of the project!

Have you heard of this contest before? It’s the creation of Evey at Evey’s Creations and hosted by Scottie of Saved By Scottie, Christie of Ritzy Parties Inc., Jessica of My DIY Envy, and this month’s guest host, Sheri of Hazel & Gold Designs. Each month there is a theme and a sponsor, and participants submit their project to a panel of judges. This month is sponsored by ETI Envirotex, the makers of this pour-on resin you’ve probably seen in the craft store aisles:
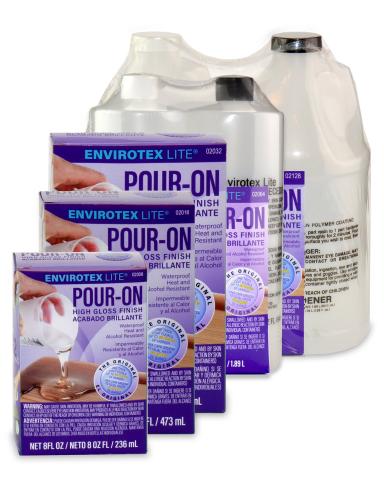
I thought this would make an amazing finish for the desk!
For Sean’s room I was envisioning a long desktop spanning across the storage cabinet and tilt-out hamper, something wood-toned and interesting, where he could spread out when doing his homework and projects. I tried to use many wood scraps in my garage and seeing as the end-goal is a kind of rustic element for the room, imperfect wood worked just fine.
I started with a piece of plywood that I cut in half with my circular saw and then trimmed the two pieces…….
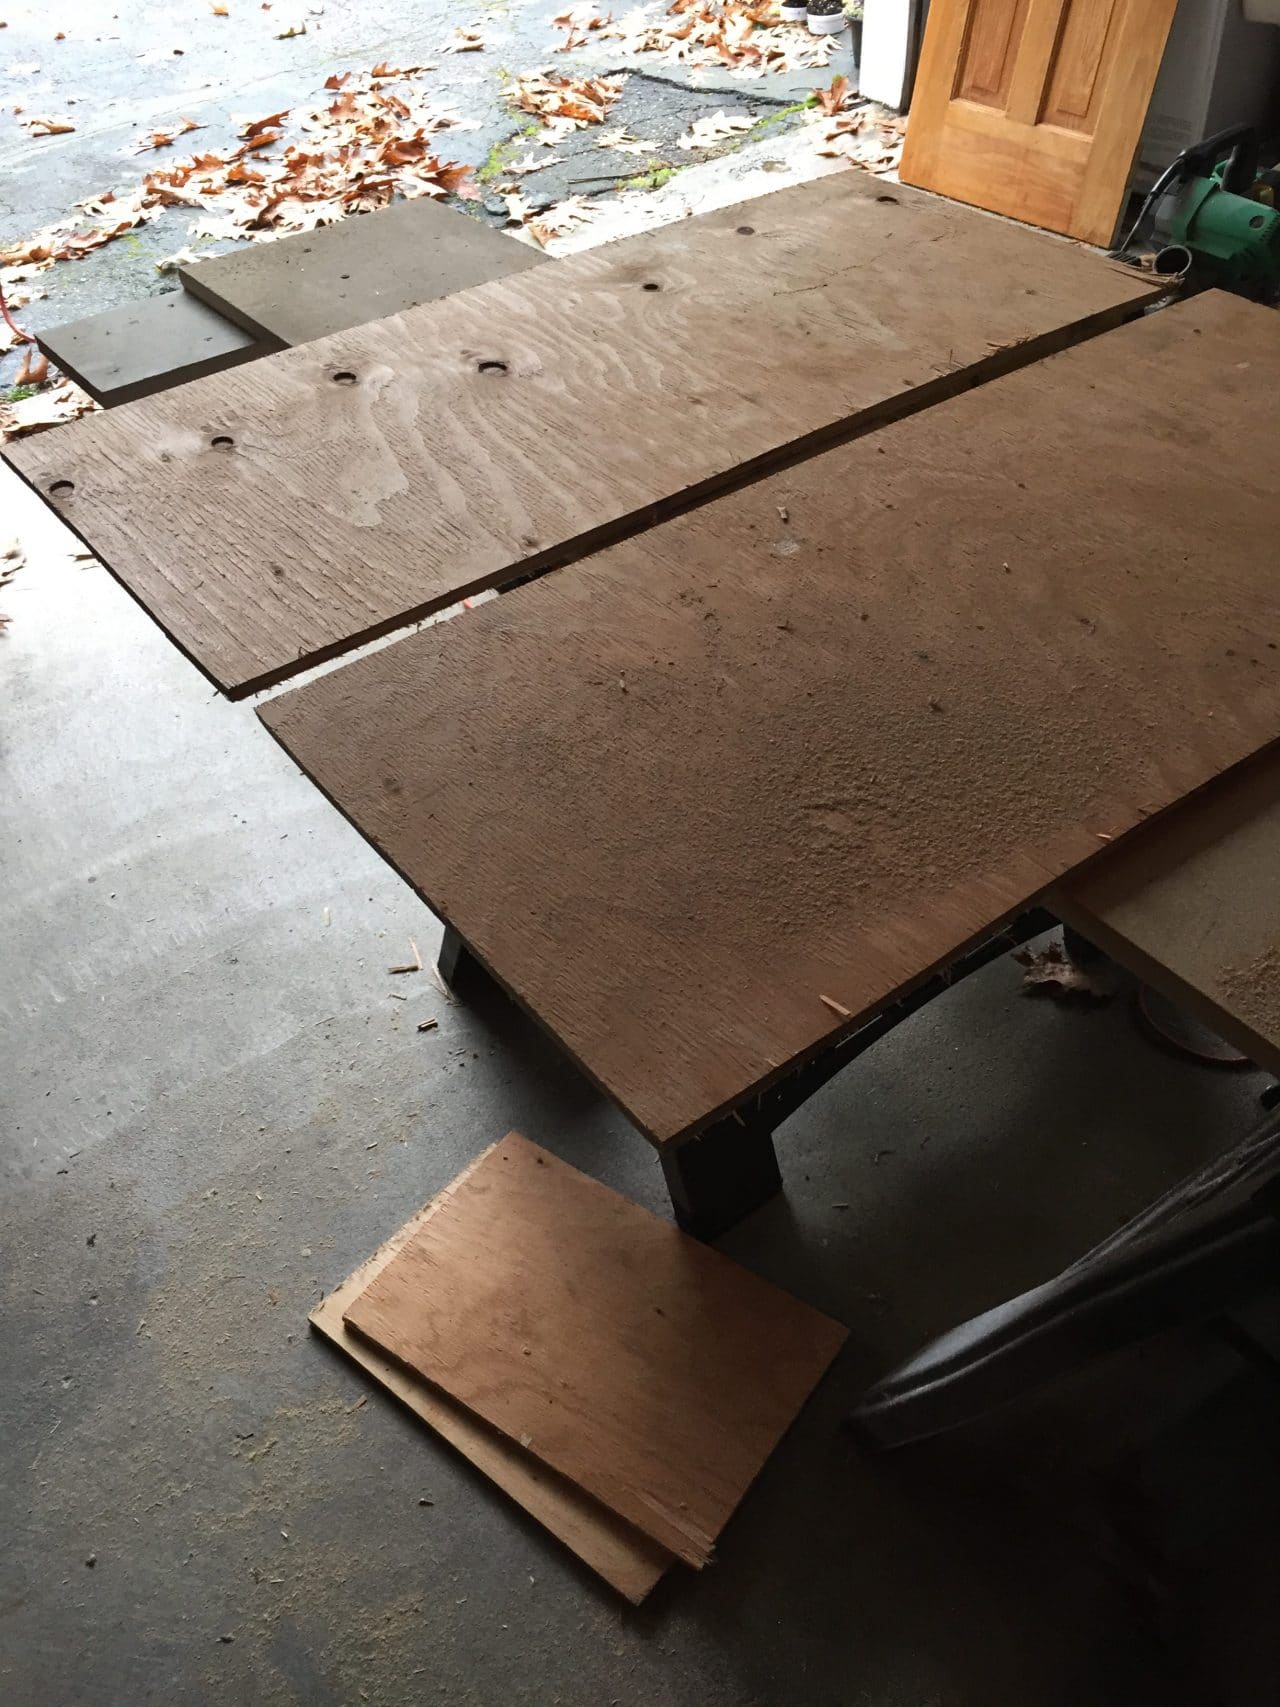
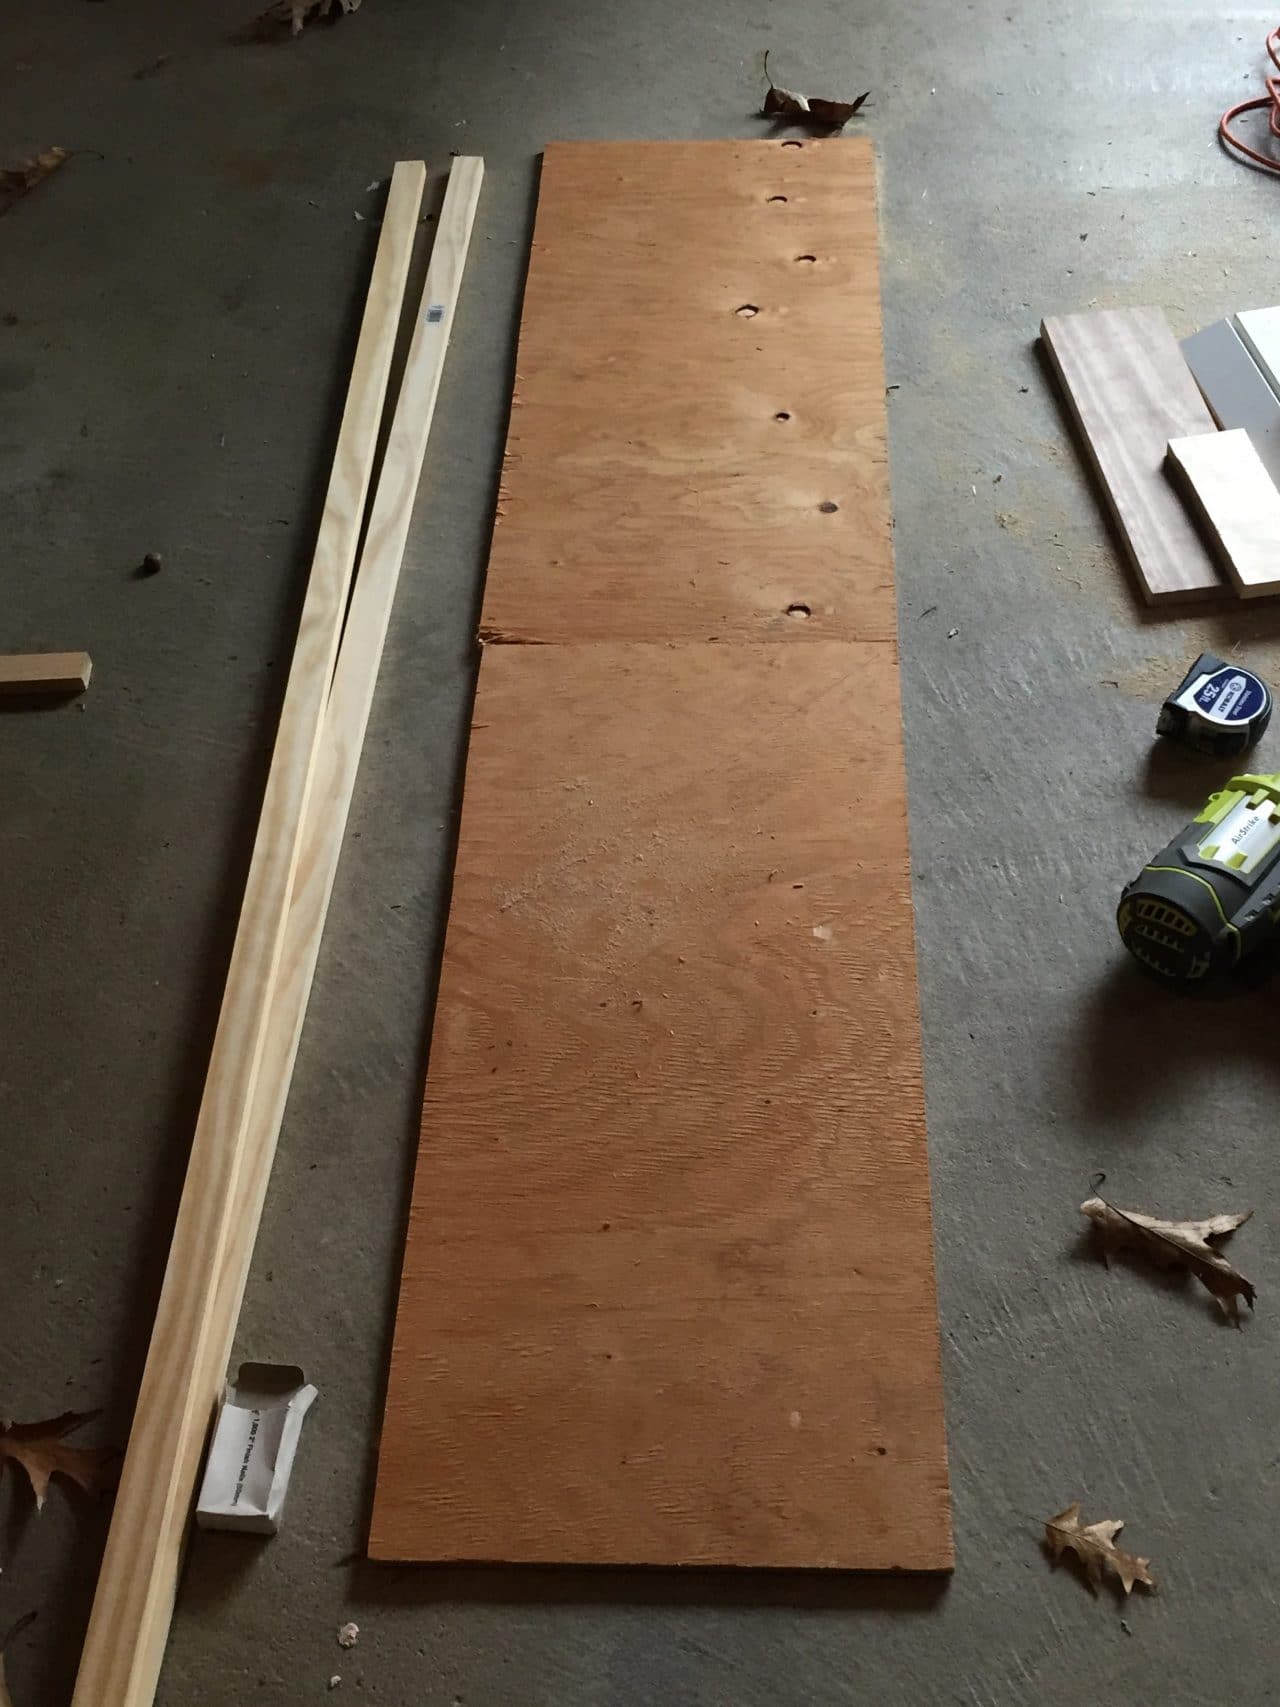
….then joined them together to create a long, narrow base for the desktop. Next I added 1×2 trim around the perimeter of the bottom for stability, and trimmed the sides to create a tray top. The base ended up looking like this. The piece of wood in the middle is part of the inlaid wood design as you will see.
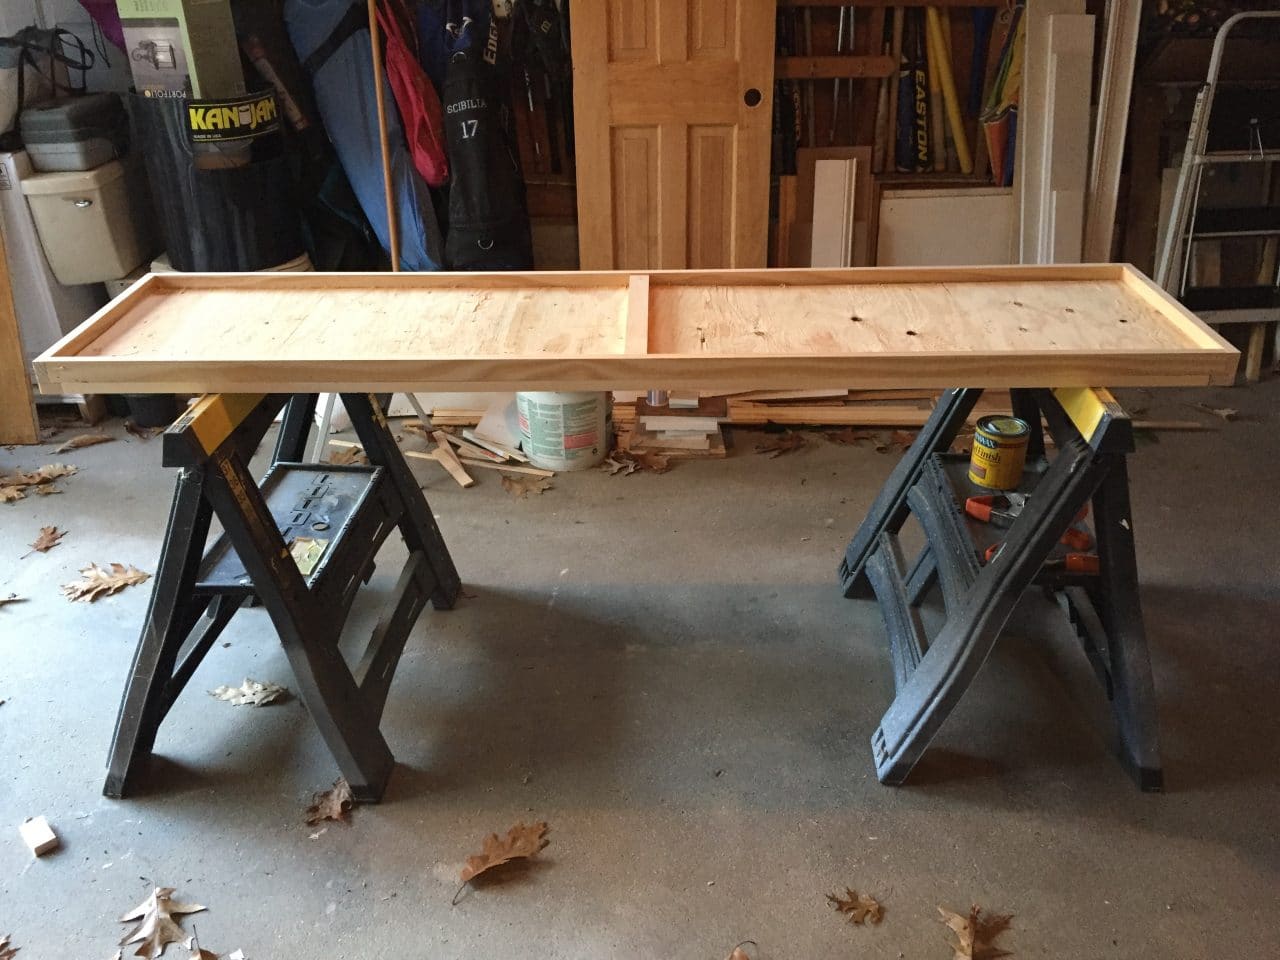
Don’t be jealous that I still have a toilet in my garage over there in the corner from when we replaced it 6 months ago 🙂
For the inlaid top, I cut boards on a 45 degree angle and dry fit them first, then used Liquid Nails to adhere them to the base. 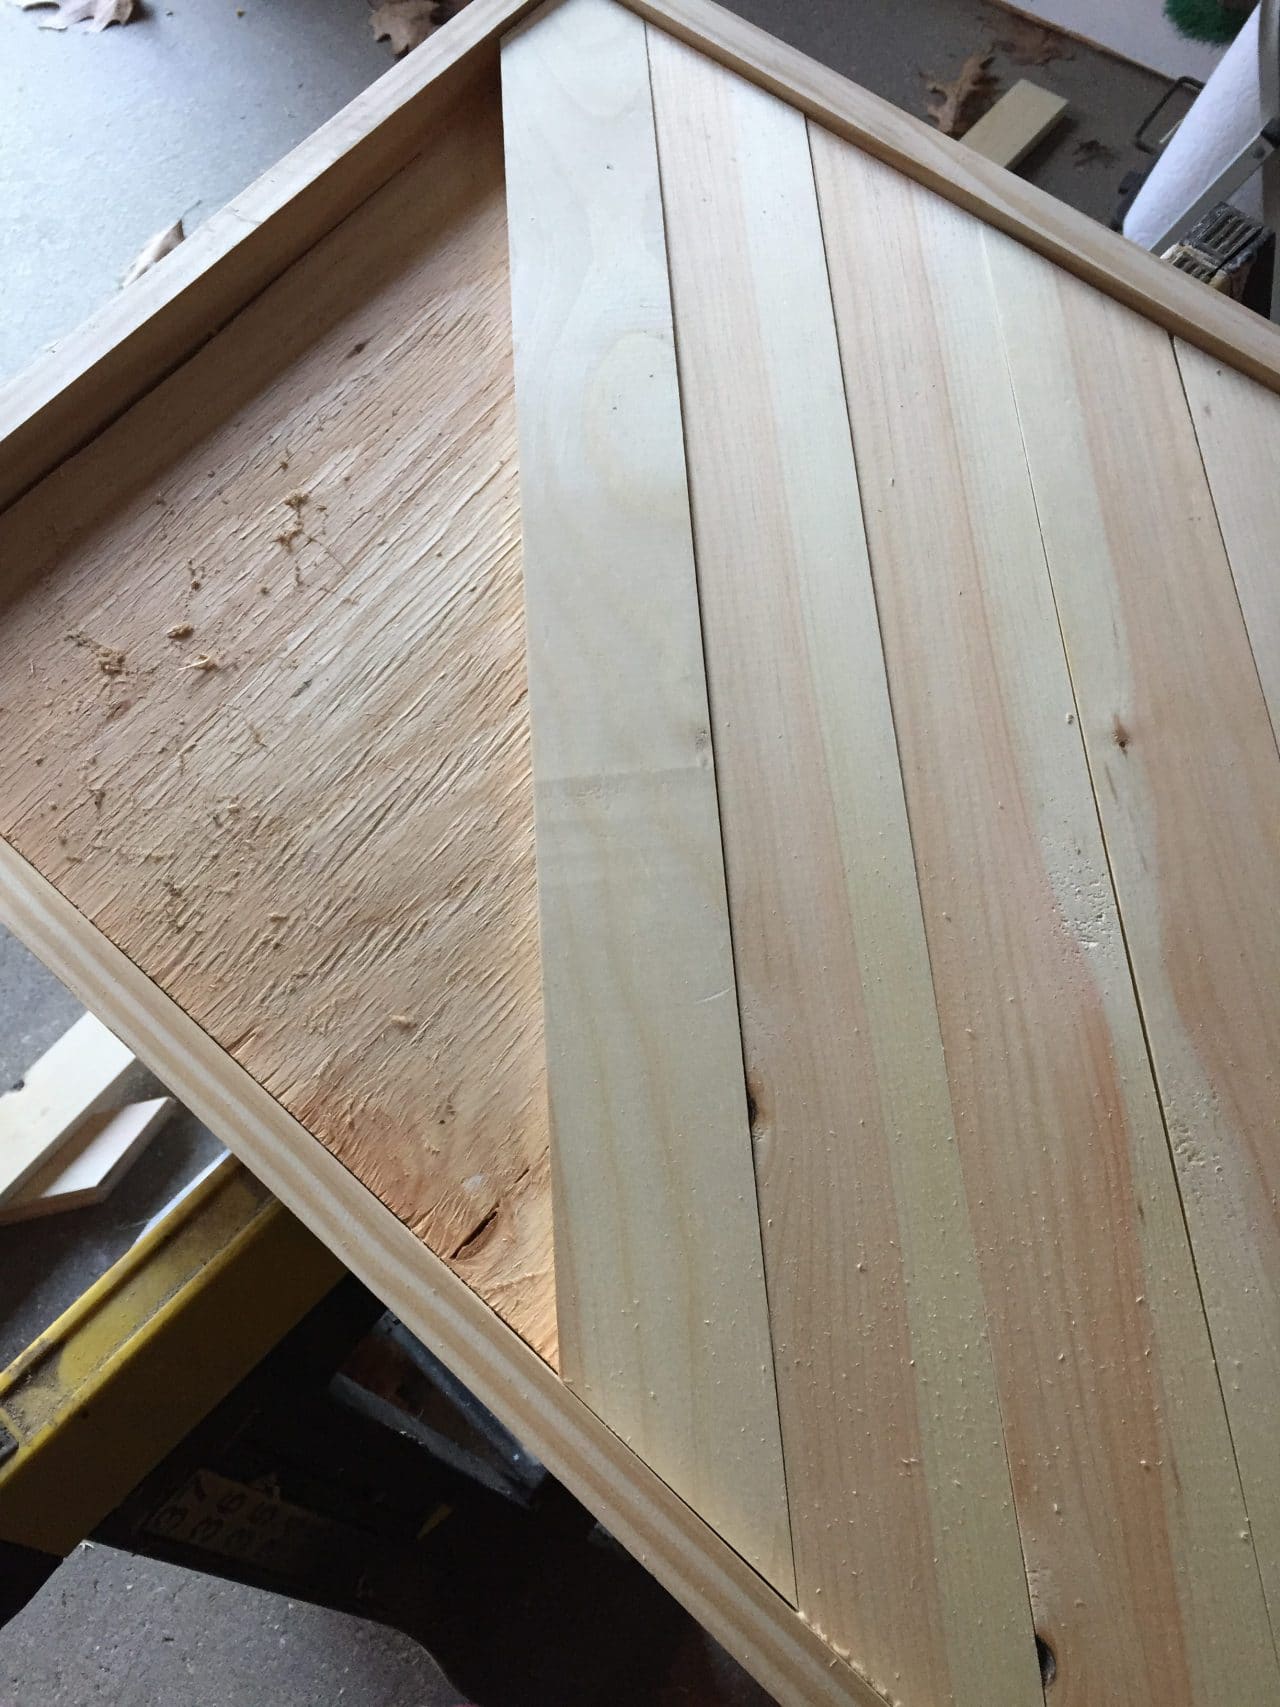
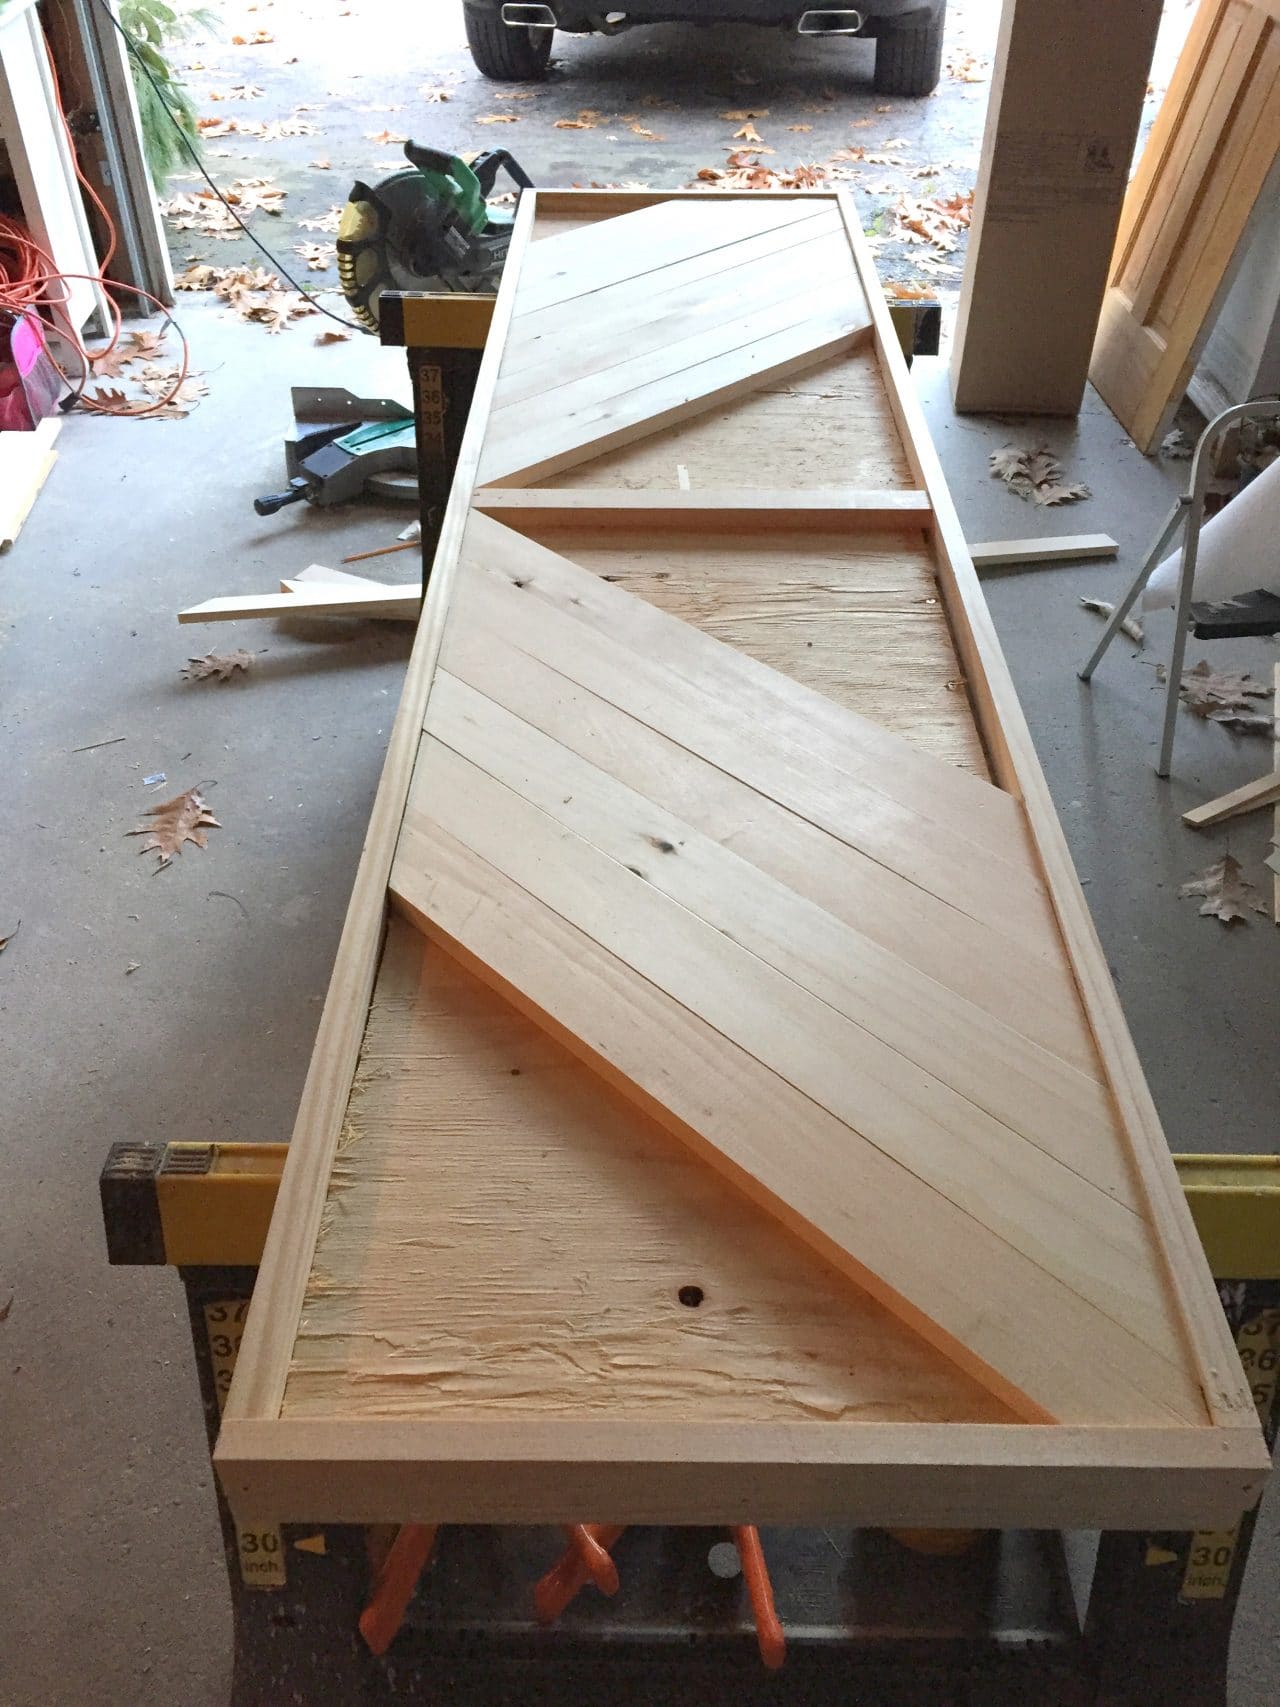
I marked and cut each board individually so I could get a nice tight fit.

To cut the boards that would fit into the corners, I roughly marked the cuts. This seems daunting but it’s really just two 45 degree cuts, so all I had to do was flip the board on my saw to make the second cut.

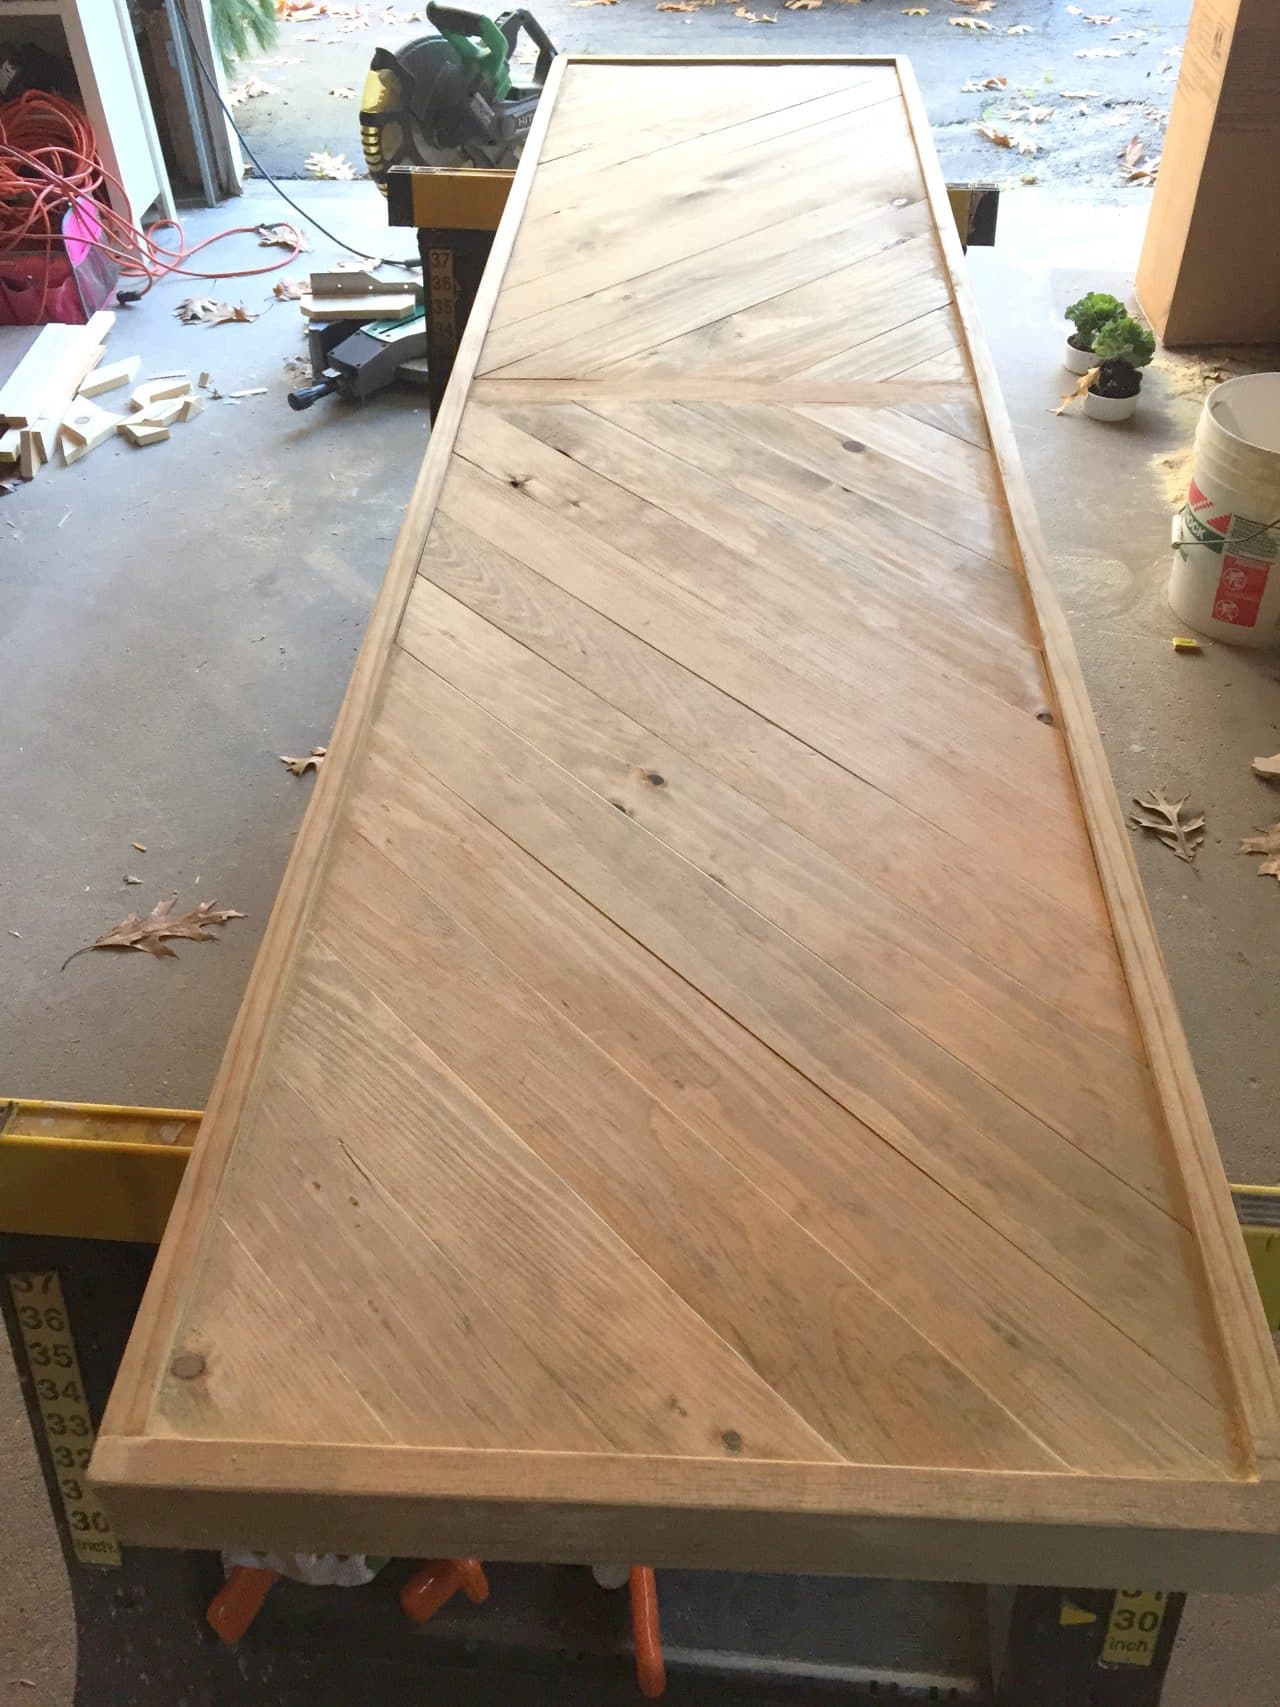
I used stainable wood fill for the nail holes and any major gaps. 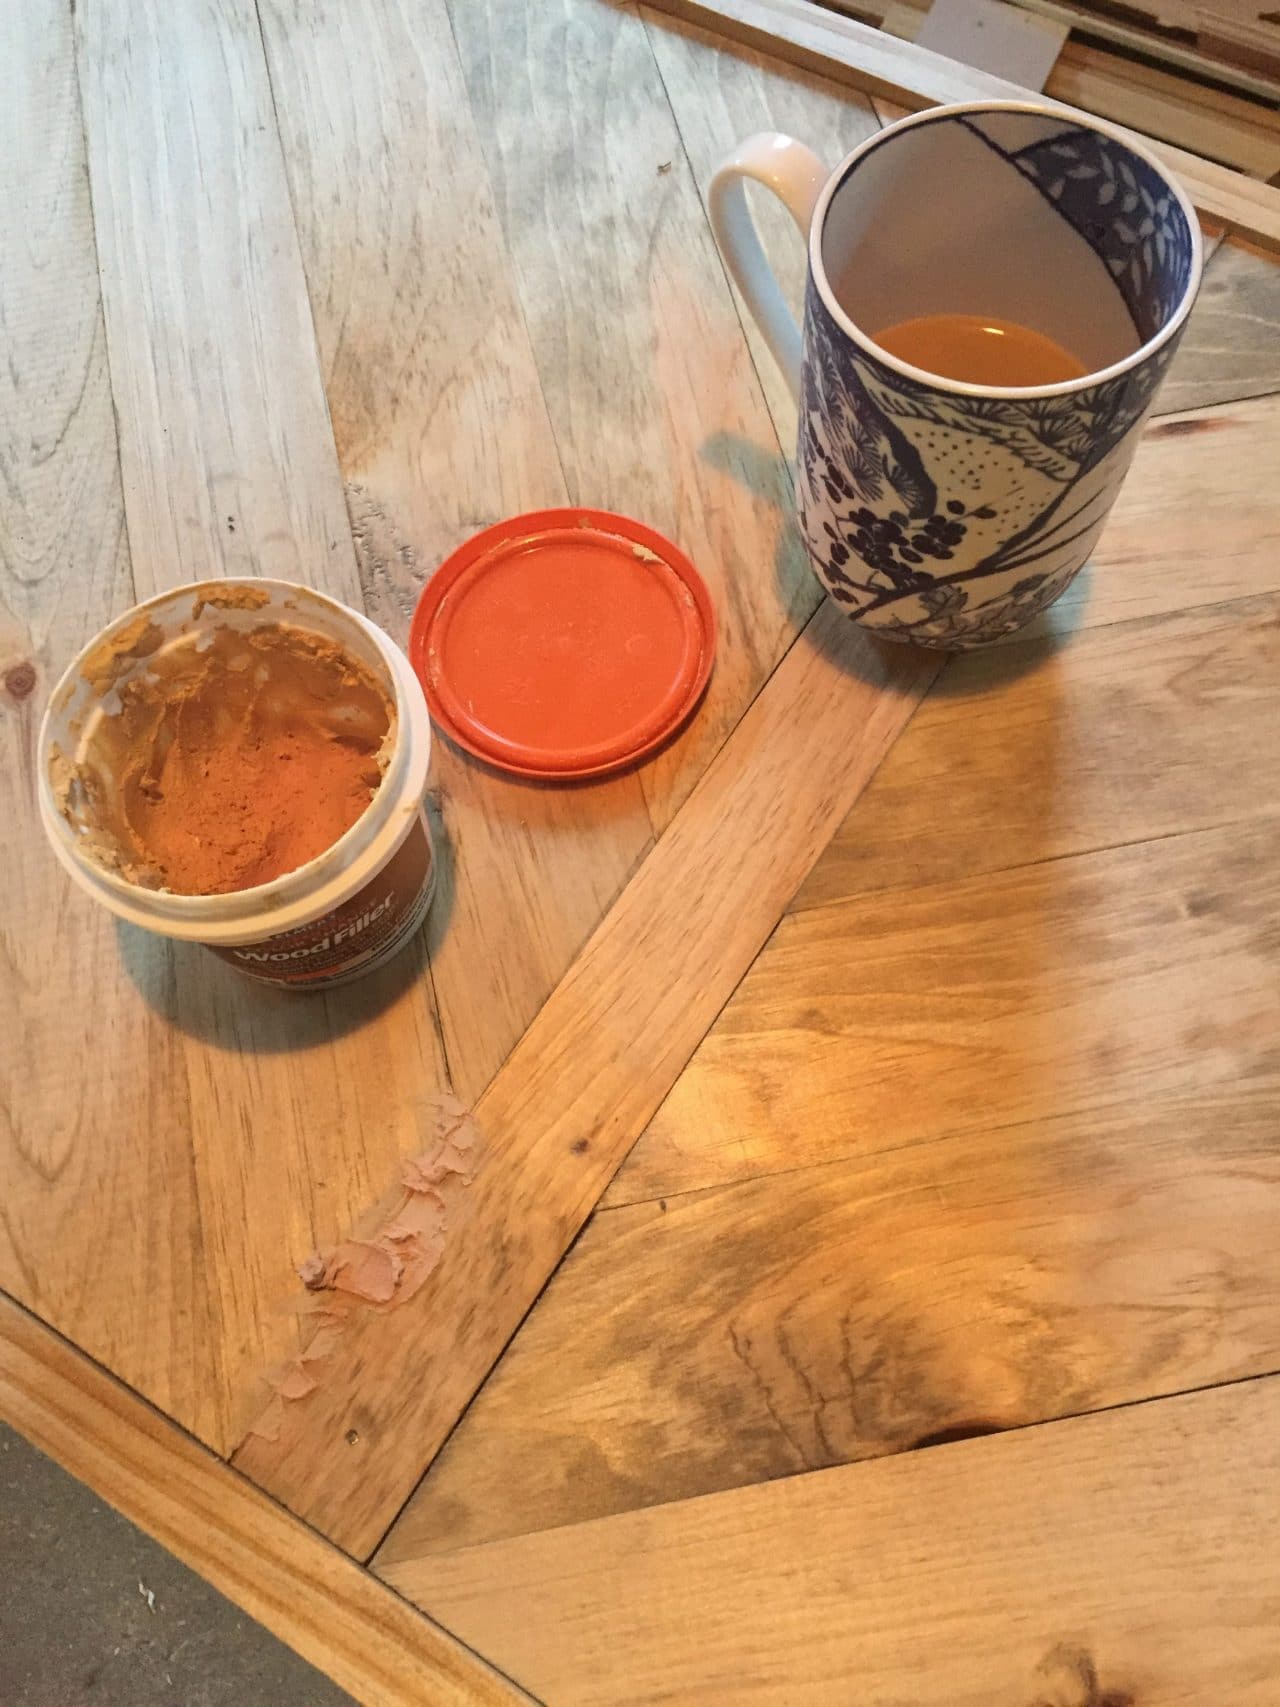
Next up, staining the wood which is always fun!! For the first coat I used Minwax Weathered Oak, which was very light and not all that exciting on it’s own with this species of wood (select pine).
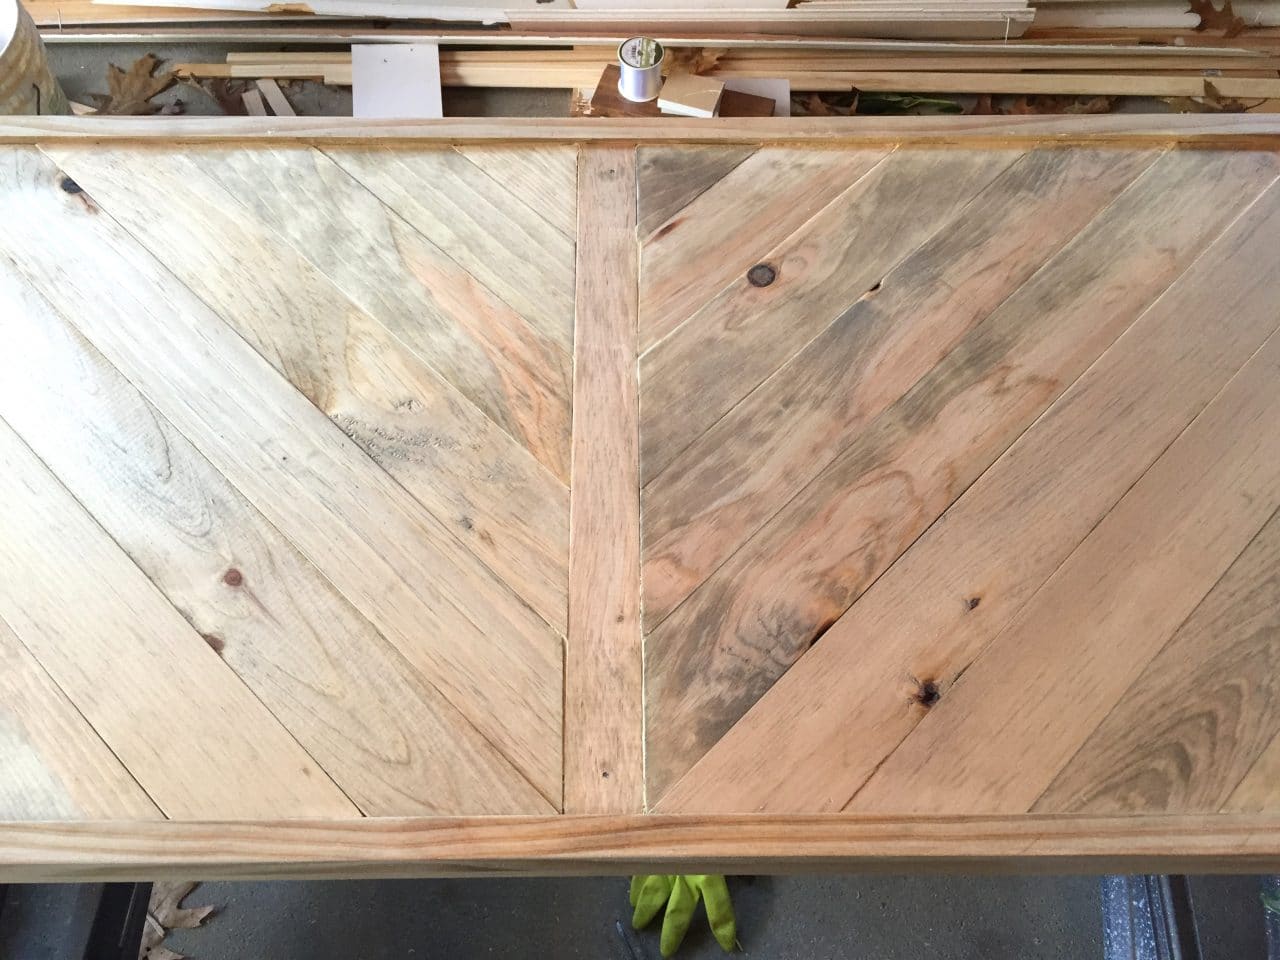
For the second coat I added a bit of Provincial stain (about 70% Weathered Oak, 30% Provincial). That small amount of Provincial brought a little warmth to the wood, I love the combination. It’s always interesting to see how stain goes on wood!
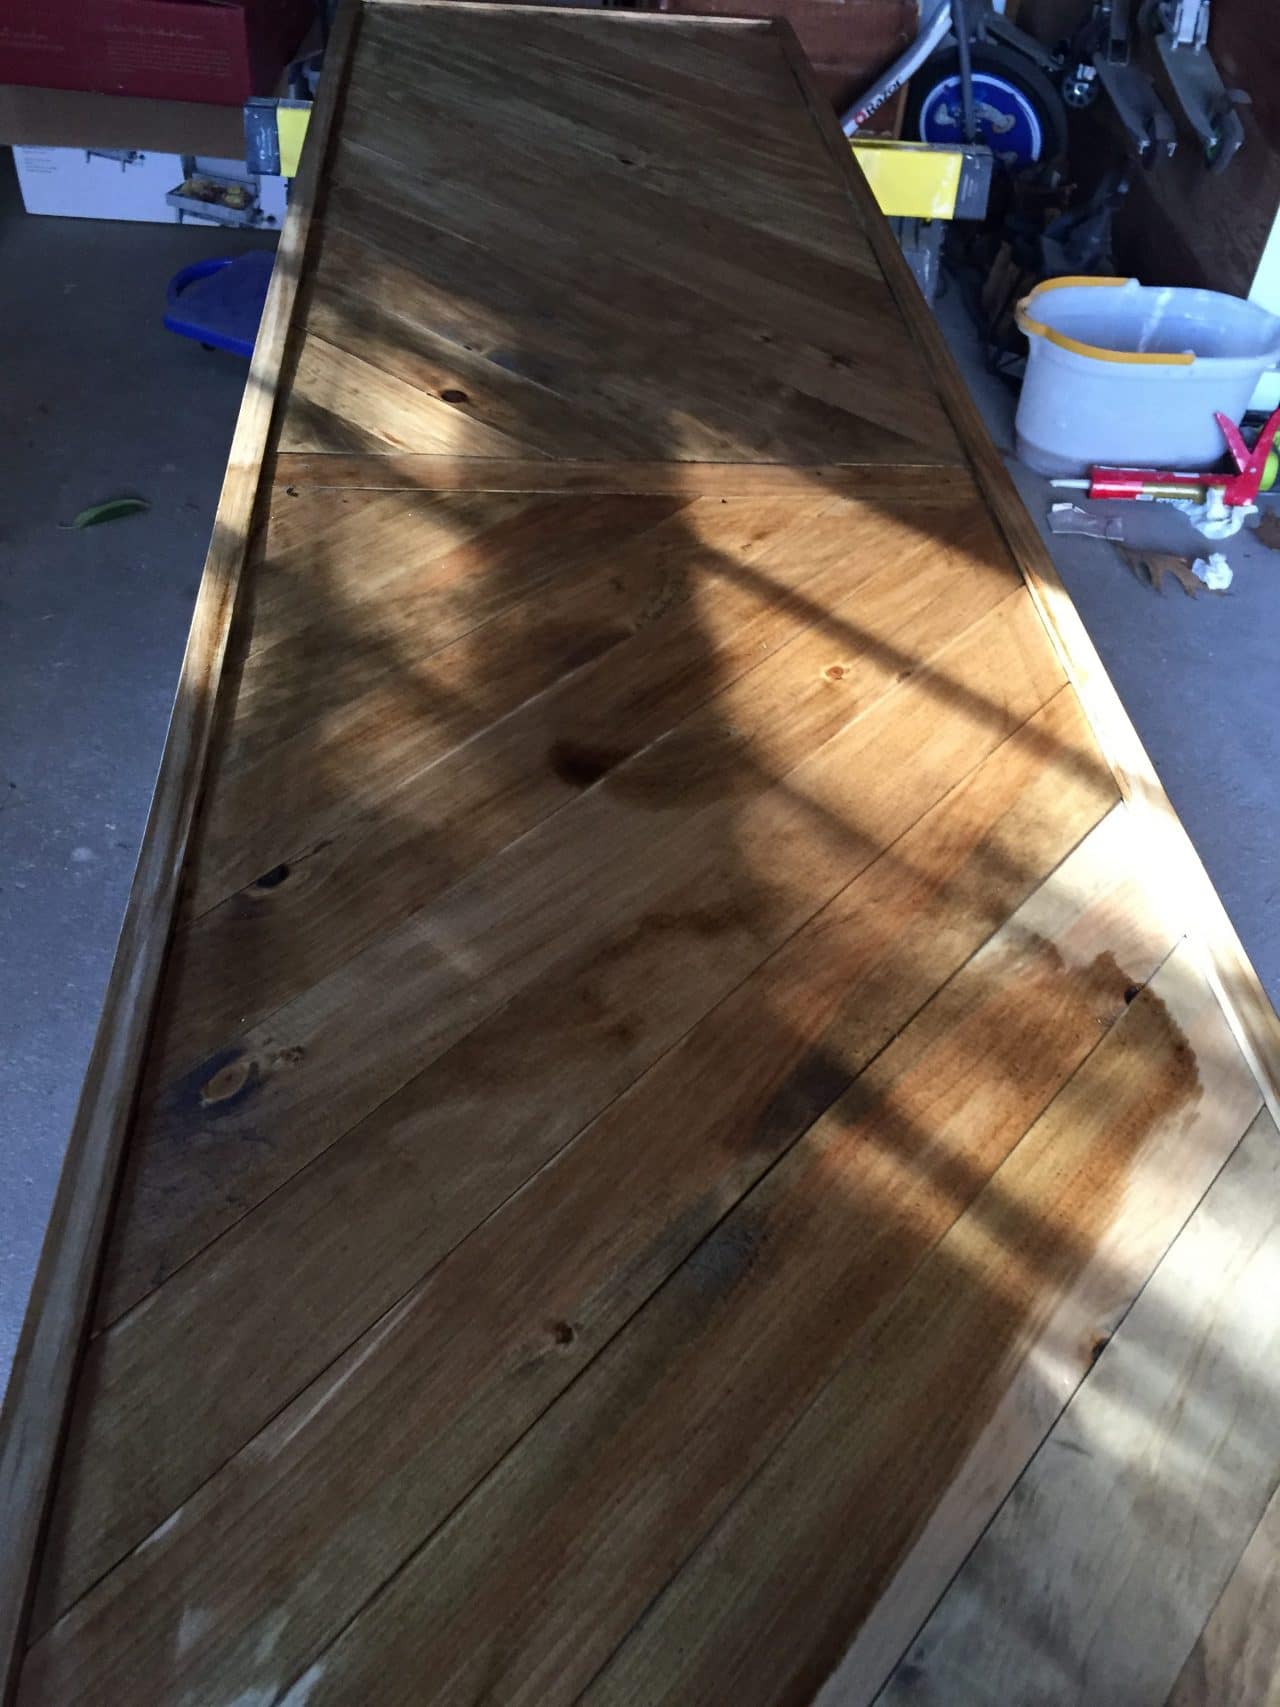
After the stain had a couple days to completely dry, I vacuumed it with a brush to make sure I got all the fine sawdust particles, and then it was time for the epoxy!! I waited and waited for good weather to do this part in the garage, but unfortunately it was too cold, so with time ticking away on the end of the contest, we brought the desktop up to Sean’s room and set it up over a plastic dropcloth.
After watching approximately 77 videos on Youtube on preparing and pouring the epoxy, reading and re-reading the directions, and calling my mom to come over as backup, we got to work!
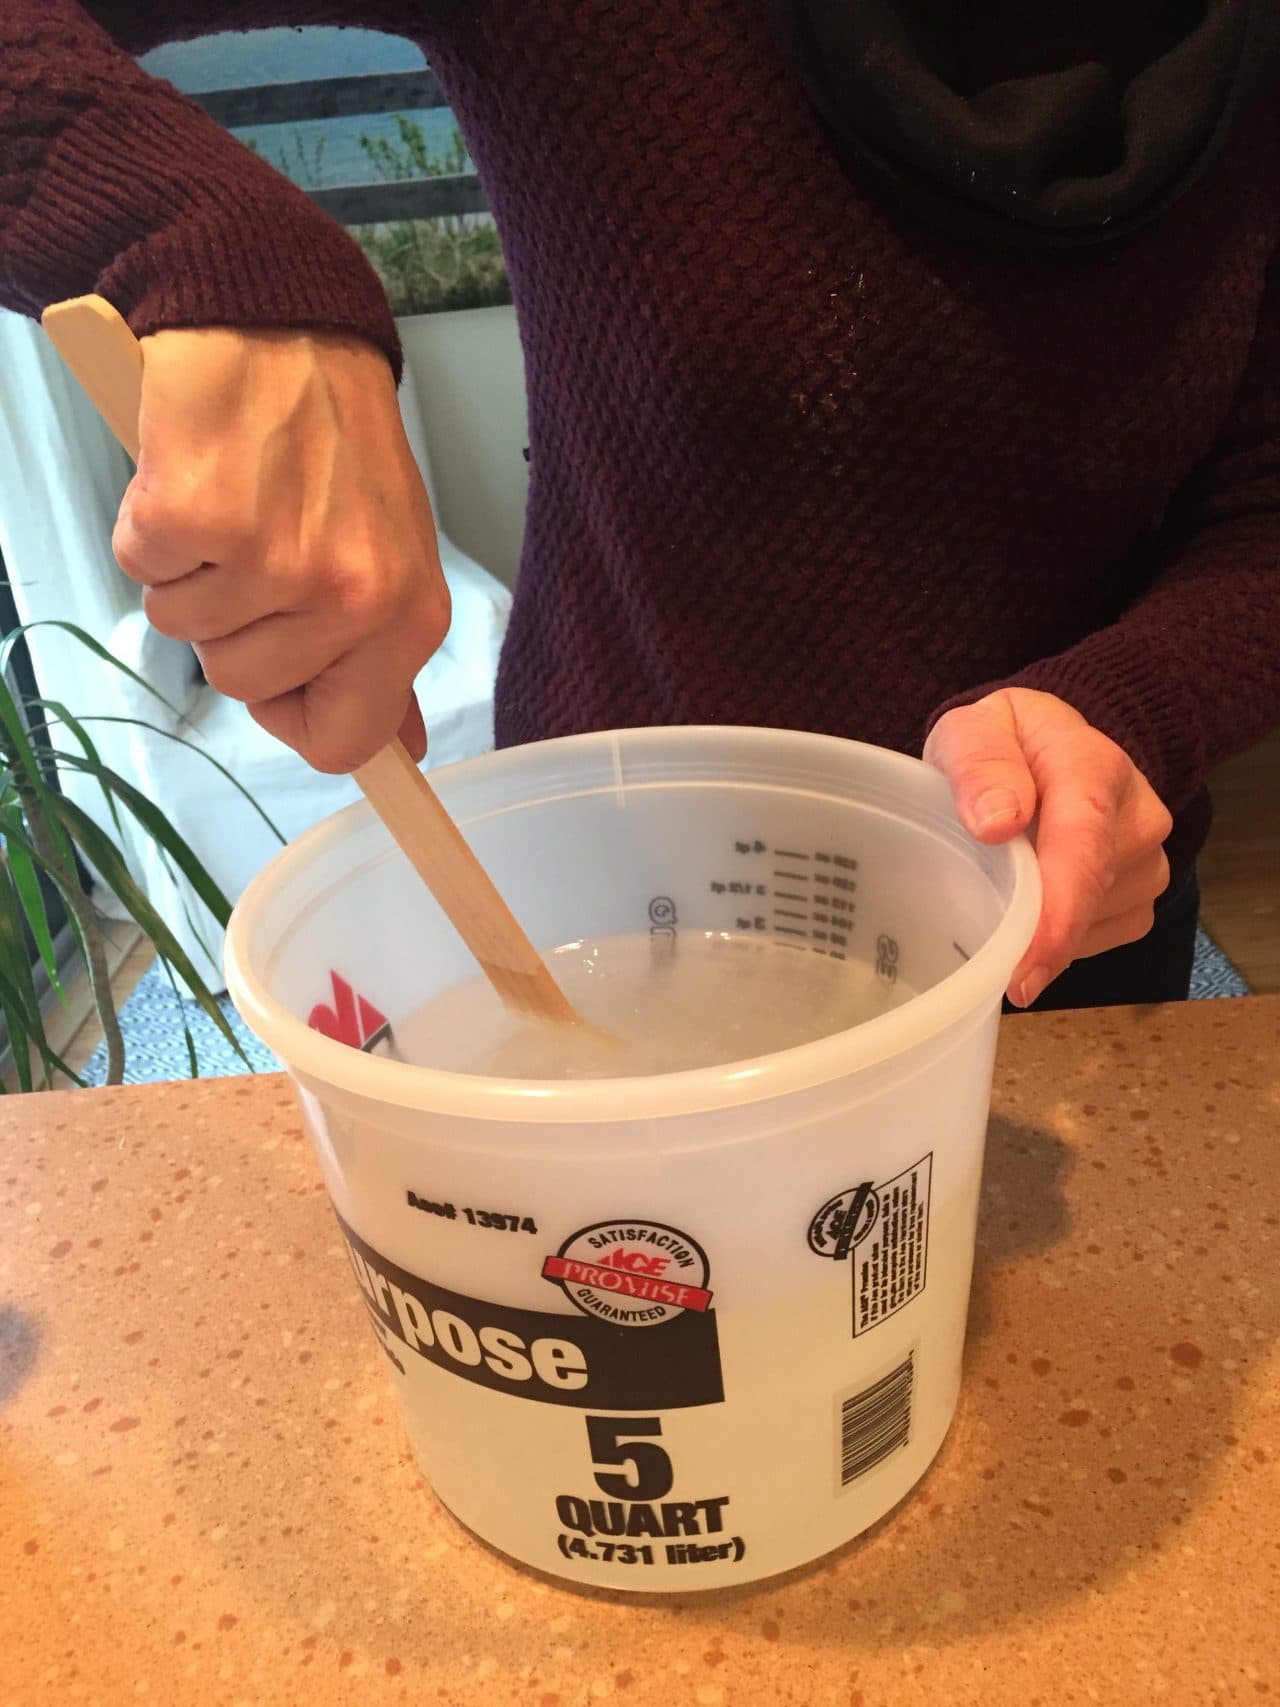
First two parts – the resin and a hardener – are measured and combined (this big bucket has measurements on the side.) It’s really important to have equal amounts of these ingredients for the resin to set correctly.
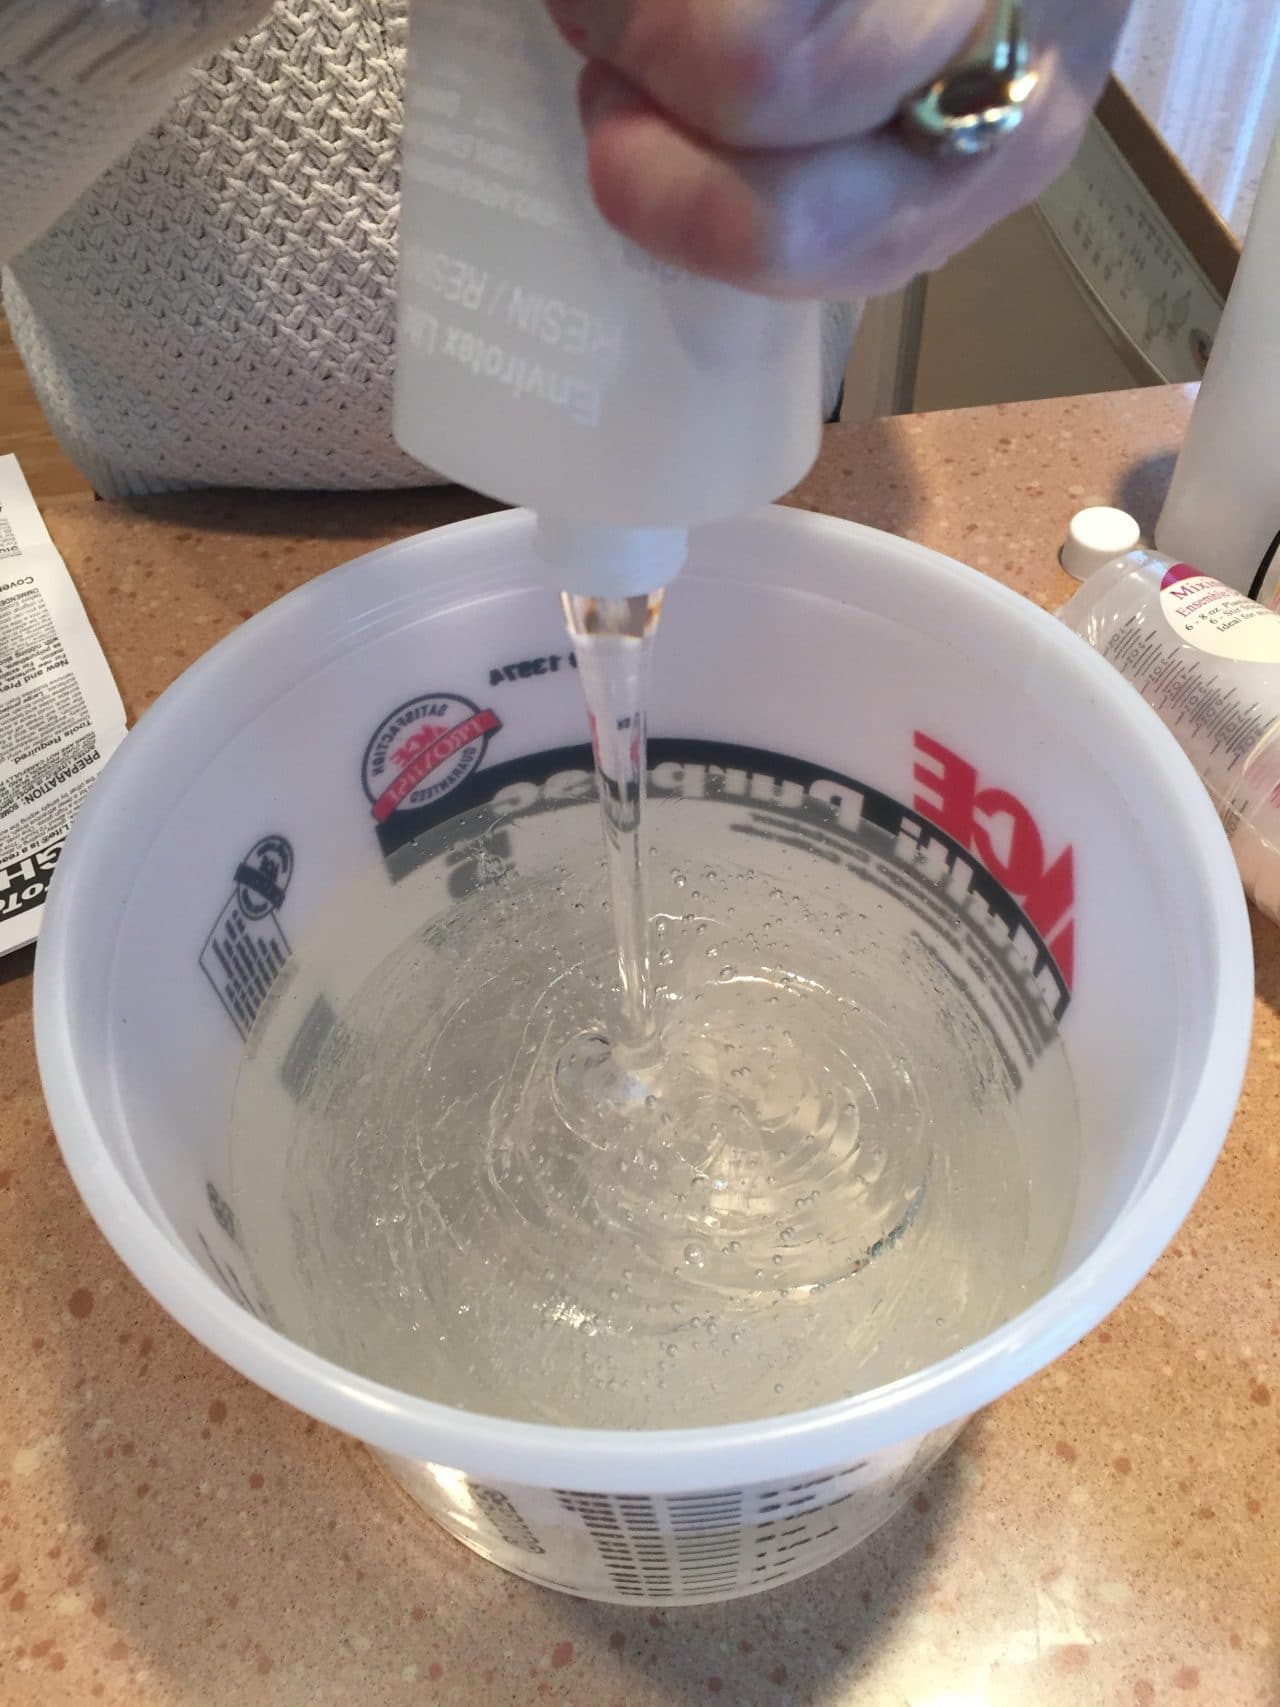
We put the timer on my phone and I briskly mixed the two parts for 2 minutes, then per the directions, poured the concoction into a second bucket and mixed for another minute.
After it was thoroughly combined, it was time to pour the epoxy onto the desktop, back and forth from one end to the other. Mom and I used popsicle-like craft sticks to spread it out. I would highly recommend you use gloves and work clothes for this project by the way – it gets super messy!
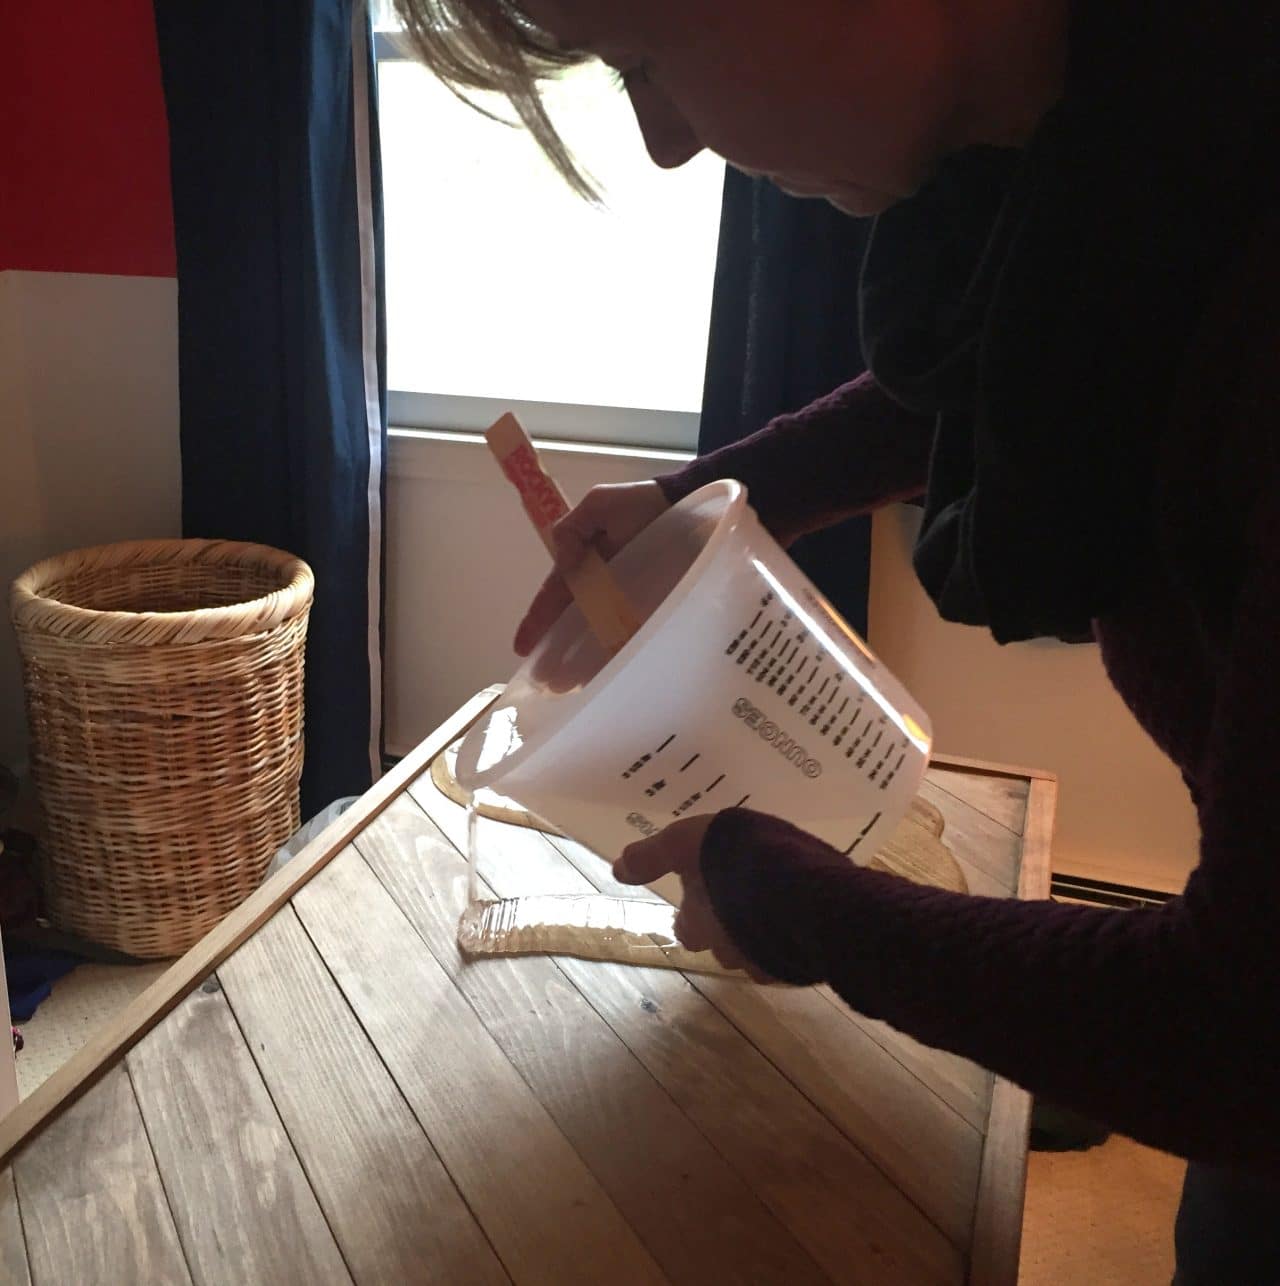
Spreading it together took us about 15-20 minutes of obsessing, but the product self-levels so after all our worrying that it was too heavy here, too light there, the coat came out pretty even. I also used a paint brush that came with my kit to cover the sides of the desktop with excess epoxy still in the bucket.
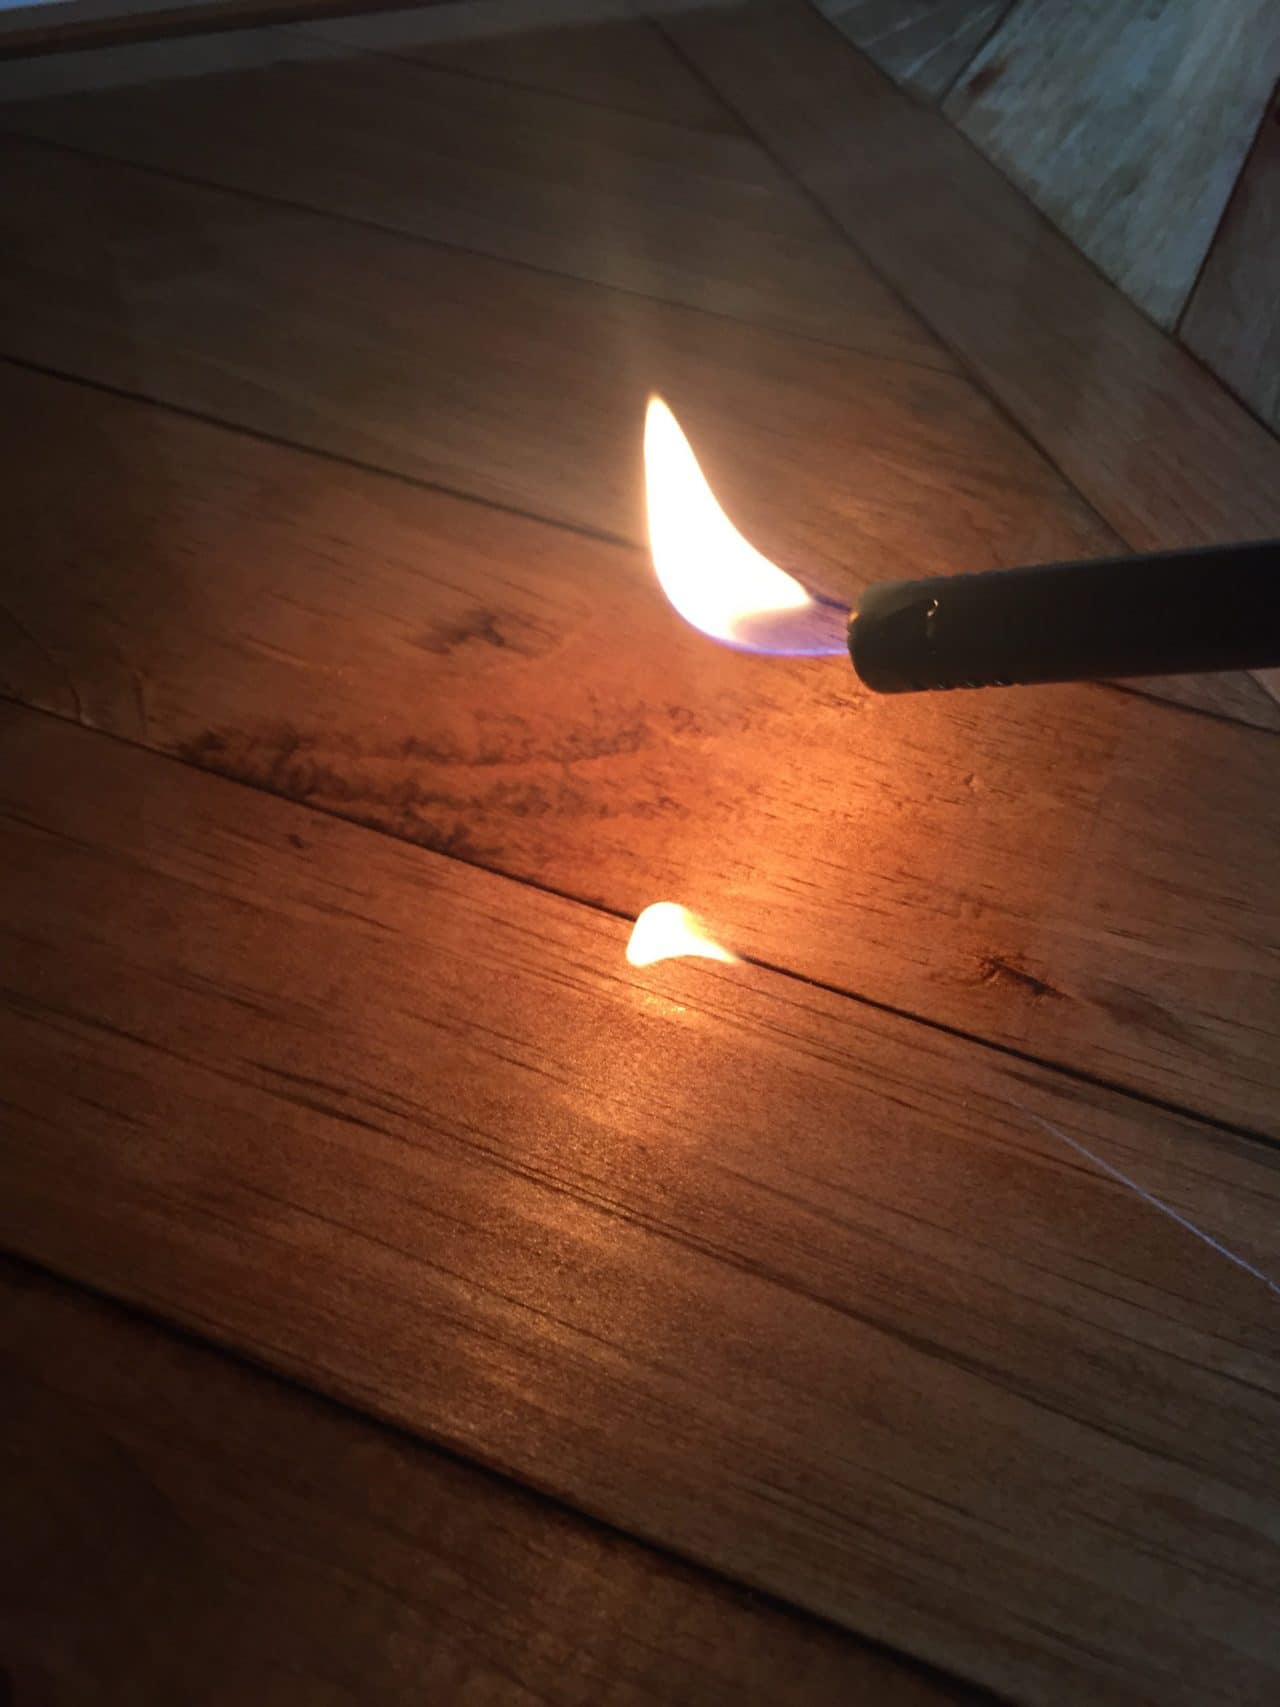
After spreading the epoxy, we had millions of tiny bubbles all over, which is to be expected but slightly alarming! Hand-held lighters easily popped them; we just ran the flame over the epoxy, actually touching it but not lingering in any one spot so as not to scorch it. The bubbles evaporated almost instantly.
The end result is a beautiful, glossy surface.
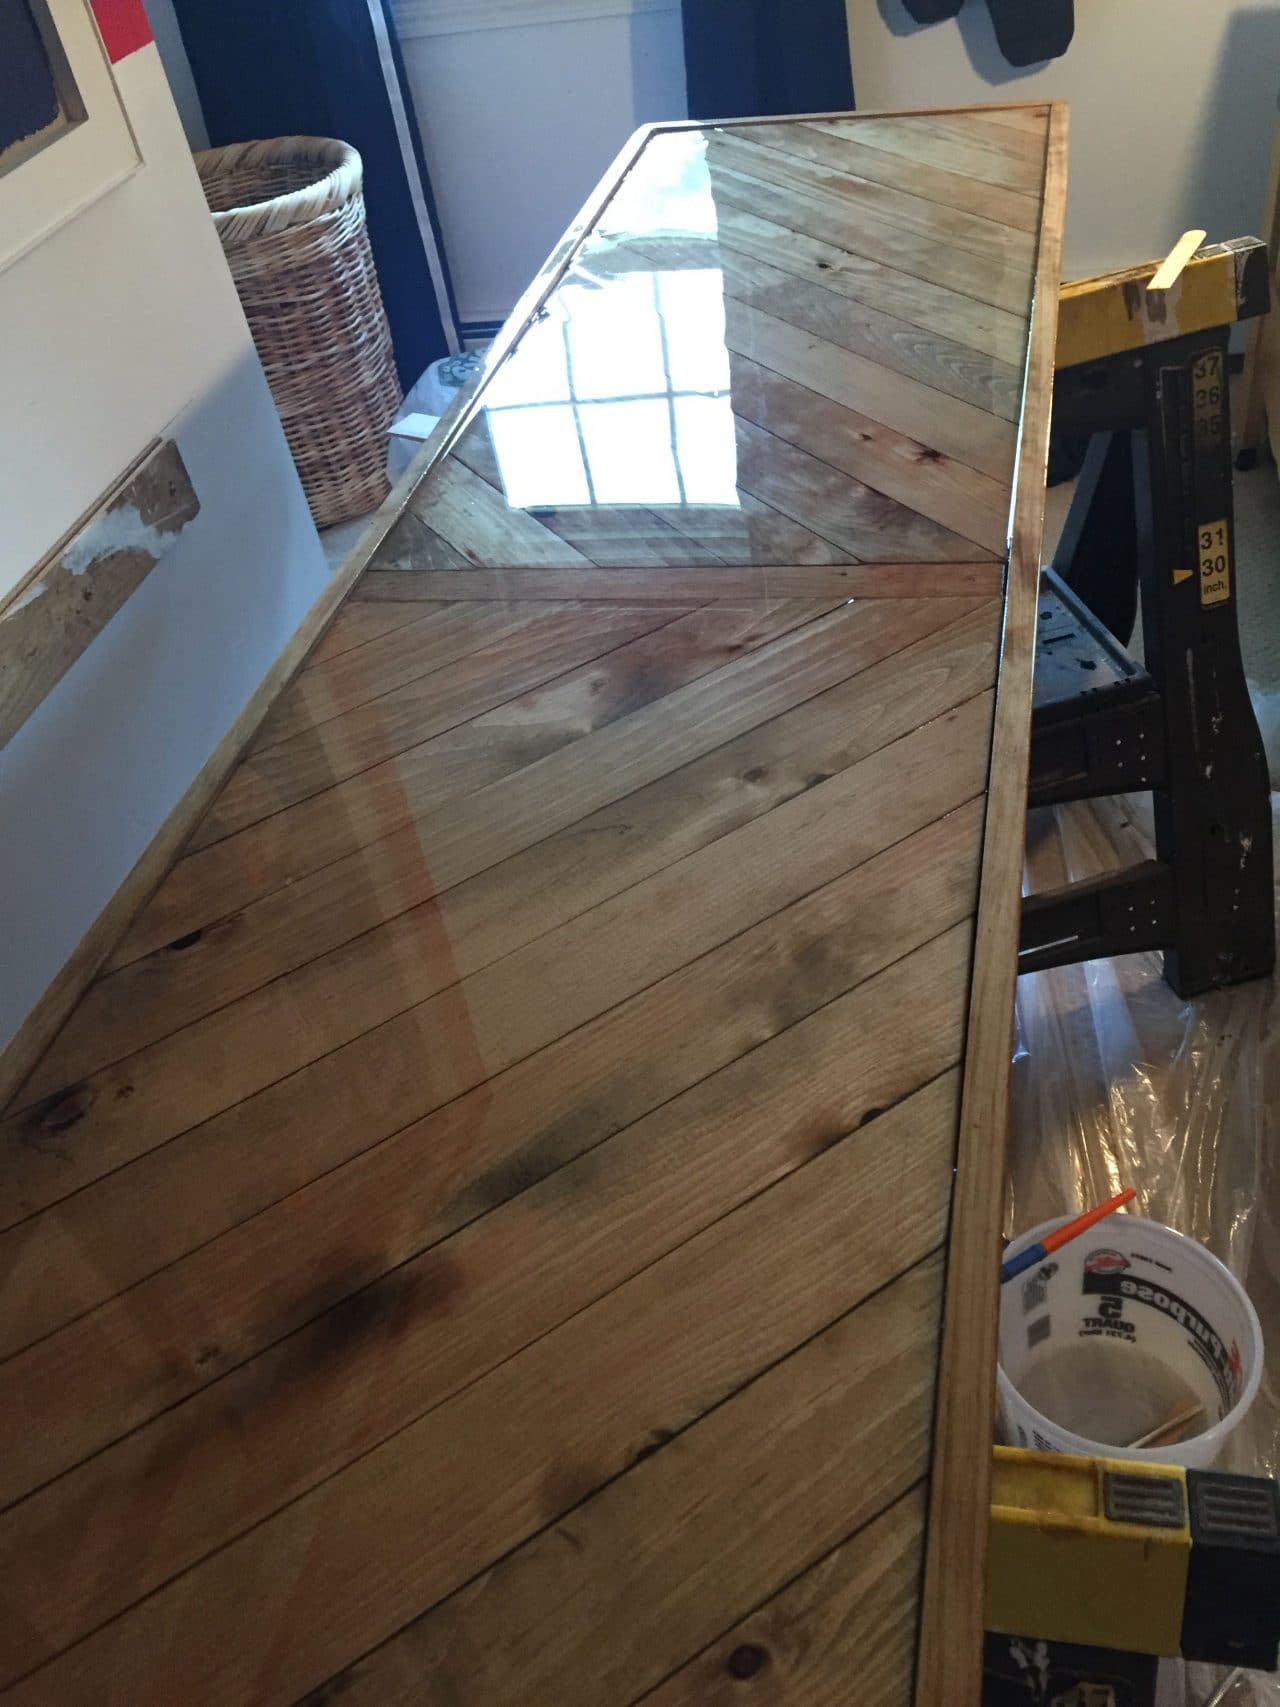
At the time of this post, the desktop is still a bit tacky after 1 day and so my beauty pictures will have to wait (Sean and I are painting the room this weekend too so we’ll have a fun update next week!)
It’s hard to read the color with the red walls reflecting in the surface, but the wood stain is really pretty and I think the resin really enhances it.
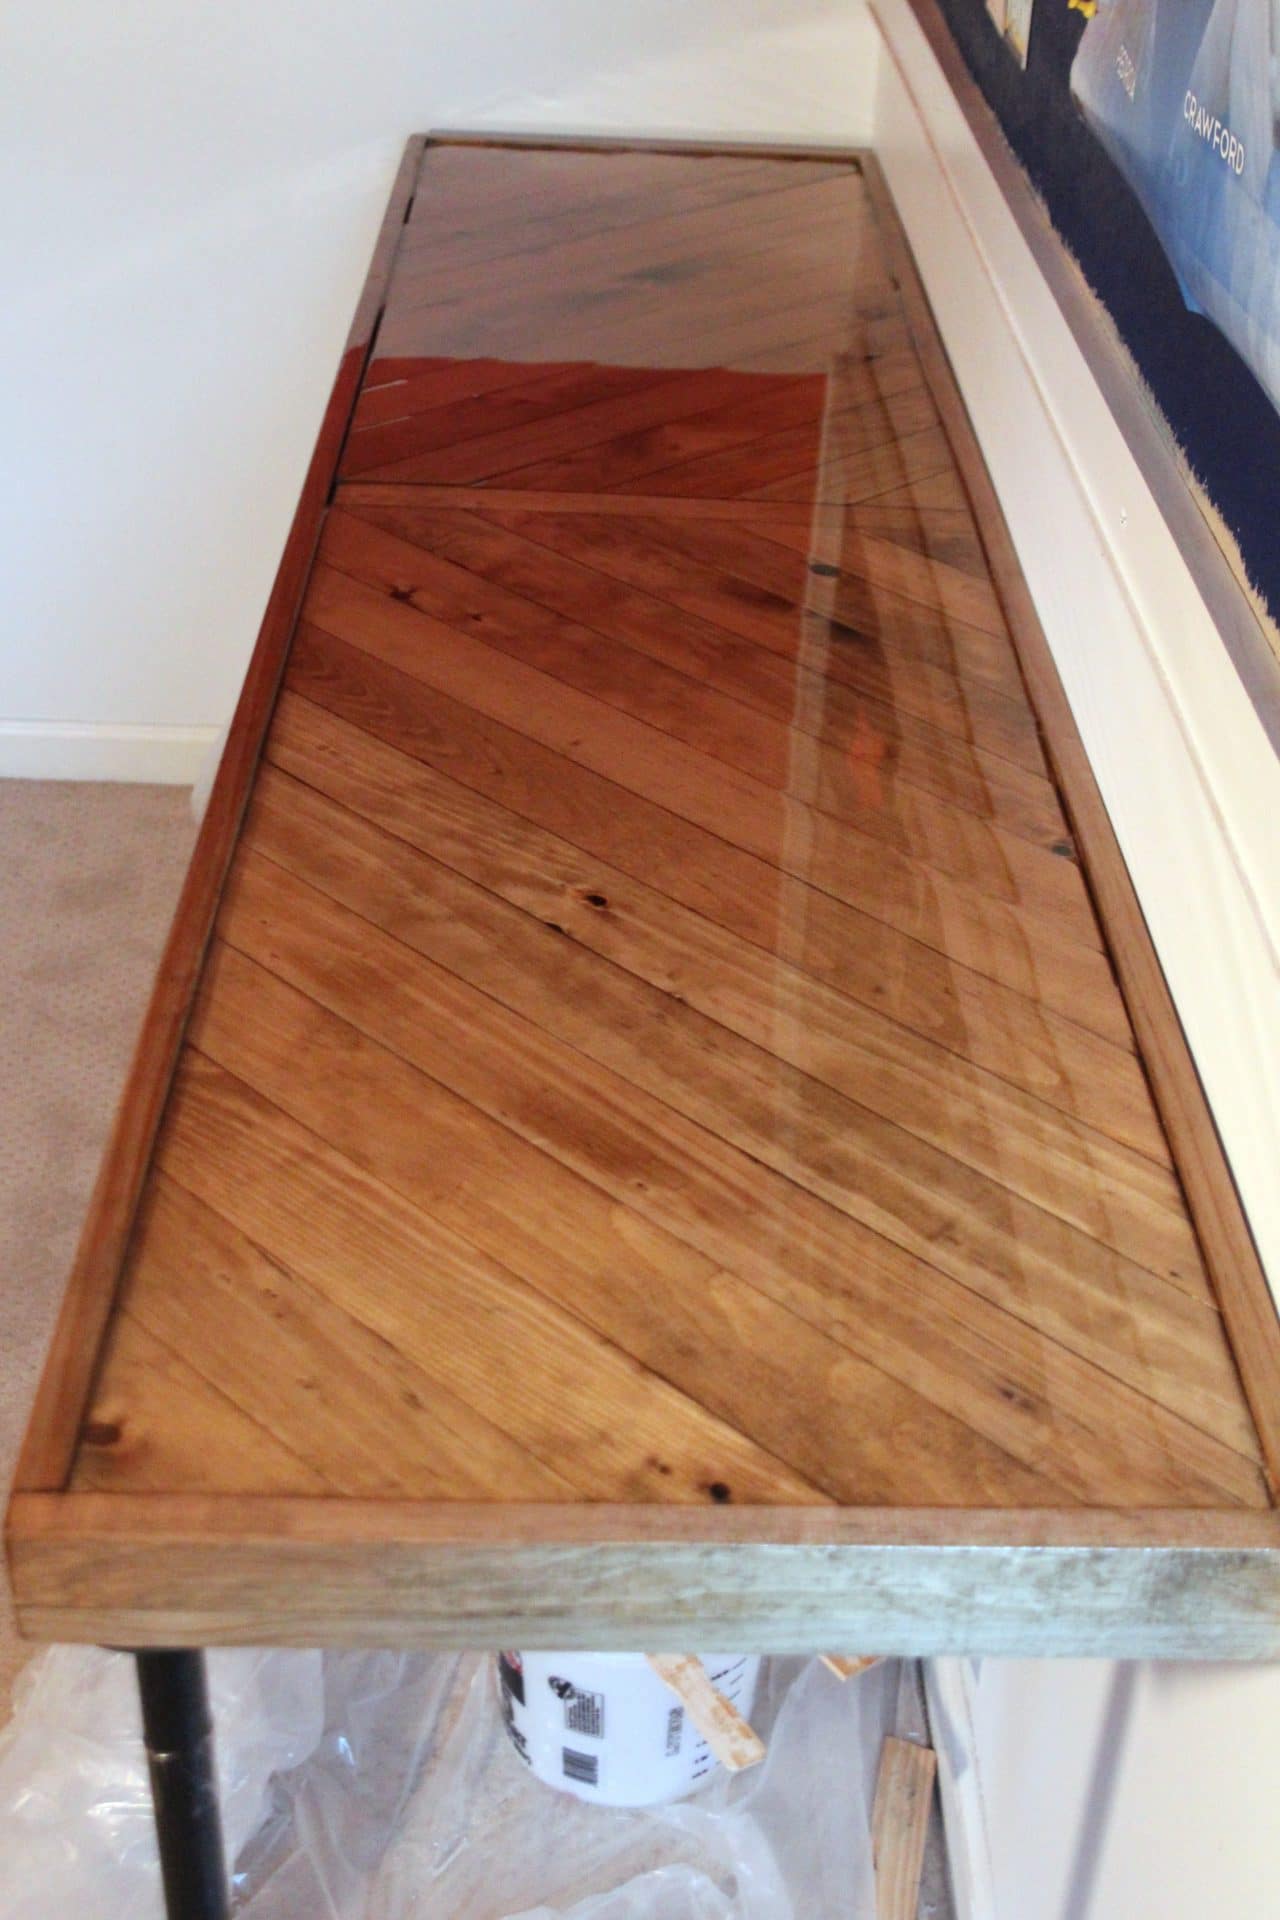
The front legs that you see here are plumbing pipes that are going to be repurposed into shelves after I build the base cabinets for this piece. The back of the desktop is sitting on a cleat (wooden board) I screwed into the wall studs.
I’ll post the progress of this room soon, but love how the desktop came out and wanted to share it with you!
Now come on over to The Fab Furniture Flippin’ site for tons more beautiful showstopping tops made with Envirotex Lite! Many thanks to our sponsor, ETI Envirotex, for providing the product for this contest. Thoughts and opinions about Envirotex Lite in this post are my own and I’m glad to be able to share my experience with you!
Thanks also to our contest creator Evey and hosts Scottie, Christie, Jessica and Sheri! If you’re a blogger interested in joining a future Fab Furniture Flipping Contest, contact Evey at [email protected].
Check out this gallery for more fun furniture makeovers and builds!
Have a wonderful day friends!


Lisa says
Susan thank you so very much!! So kind of you! Brave, or crazy? That is the question 🙂
Aubrey says
Wow! That table is absolutely gorgeous! Props to you for all that measuring and precision.
Lisa says
Thanks Aubrey! It helped that I worked in my garage and the saw was right next to me so I could cut each board one by one!
Erin Andrews says
This is so fantastic! What a lucky kid. I have been thinking of adding resin to my kitchen tabletop as it is soft pine planks with grooves that collect all the crumbs. Your project has inspired me to give it a shot after the holidays! Great job!!
Lisa says
Erin that’s a great idea! The resin did ever so slightly settle into the grooves between the boards, but you’d have to look at it from an angle to see that. It would definitely keep the crumbs from collecting! Thanks so much for stopping by!
Denise says
Beautiful work Lisa! I love that you aren’t afraid to try new things on your own! Very inspiring my friend! Can’t wait to see more of this room!
Emy says
It’s beautiful, Lisa! I love the wood! My son would kill for this desk. 😉 Love the legs!
Lisa says
Thank you Emy! It’s such a nice big surface for projects!
Tilesbay says
Thank you so much, Lisa.
It’s a very informative Post. Please keep it up. 🙂
Shelley | Crazy Wonderful says
Dang, Lisa, is an incredible desk!!! I’ve always wanted to try that epoxy stuff but have been too scared 😀 Always blown away by what you do!
Lisa says
Aww thanks sweet friend!!!!!! You make my day. Maybe I’ll actually finish the project and build the base now the holidays are over! Hope you all had a wonderful Christmas and happy new year!!
Holly says
Your project turned out SO BEAUTIFUL! I love this product, it’s makes things look so high-end!
P.S. I made the same curtains for my sons room (love them!)
Lisa says
Thank you so much Holly! I still have to build the base but the top is already being put to good use for schoolwork! Impressive that you made your striped curtains…..I’m taking the easy way off with store-bought this time around. Thank you for stopping by here and happy new year!
Nicci says
I have a couple of questions:
1. Did you pour the epoxy directly over stained wood with no other finish?
2. How and when did you finish the edges that are holding the epoxy in? Polyurethane? Before the epoxy pour?
Thanks!
Lisa says
Hi Nicci! I stained the wood then poured the epoxy over that without another sealant. I also used the epoxy on the edges and applied it with a brush. It dried to a smooth finish.