In January I showed you a photo of Hawaii that I mounted onto wood.
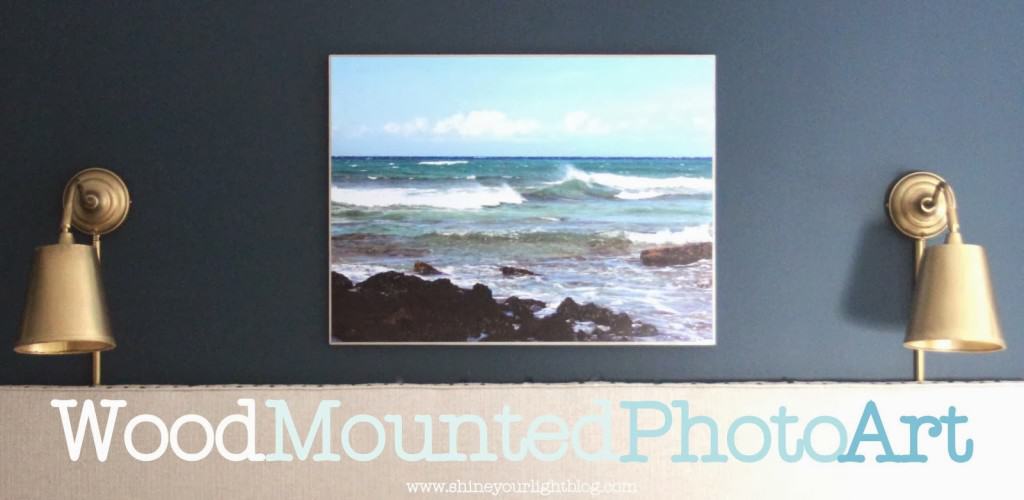
As soon as I finished that one, I loved it so much I started scheming to make another!
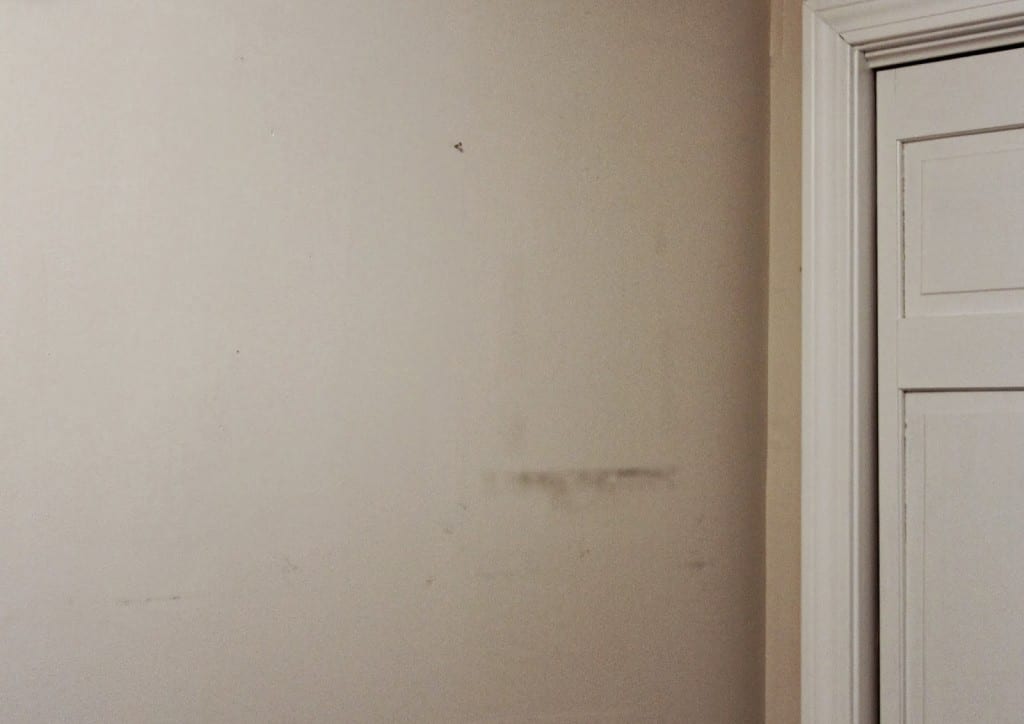
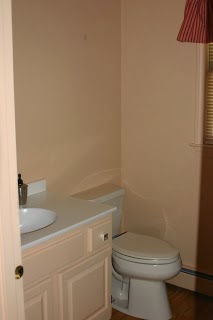
Ever since the fall ORC, when I robbed the walls of my house to create a travel gallery wall in our basement, I have had all sorts of empty spaces. The worst offender is this wall in our powder room/laundry room that is right off the kitchen. Every guest uses this bathroom, including the houseful I had on Christmas Eve, and apparently I have no pride whatsoever because it has been left abandoned, with scuff marks, 8 (8!) nail holes from previous art, and one lone nail. I’m classy like that.


I saved the photo to my computer and uploaded it to Staples for same day pickup. Until March 1 Staples is offering a 50% off sale on posters, so the largest size – 24″x36″ – was $20.
Then, like with the Hawaii picture, I headed to the hardware store to pick up a board and decided to try a 1/2″ thick sheet of MDF this time. MDF is pressed cardboard and is less prone to warping than wood (unless it’s exposed to the elements, and then it decomposes.) It also has a very smooth finish, and it’s cheaper than wood.
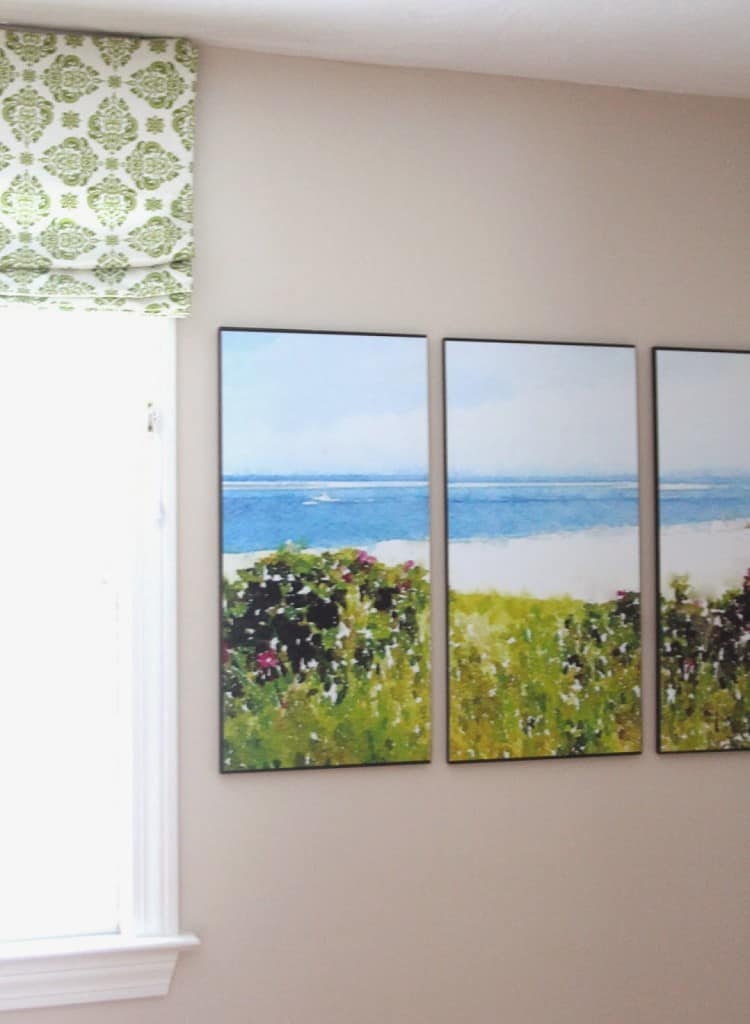
I also had in mind creating a triptych, which, if you are unfamiliar with the term, is simply a singular piece of art that is mounted onto 3 panels, sometimes hinged. I got a 24″x48″ sheet and had the store cut it into 4 12″ pieces, which meant I ended up with one extra piece. I always take the remnants because you never know when you’ll need it!
I used basically the same method as I did for the Hawaii picture, with the exception of dividing the board and poster into thirds. Here’s a quick recap for interested parties (feel free to skip this if you’ve been there/done that!):

1// divide a board the size of your poster up into three even sections
2// lightly sand edges
3// use tack cloth to remove dust (very important for avoiding air bubbles)
4// paint the sides and edges of boards
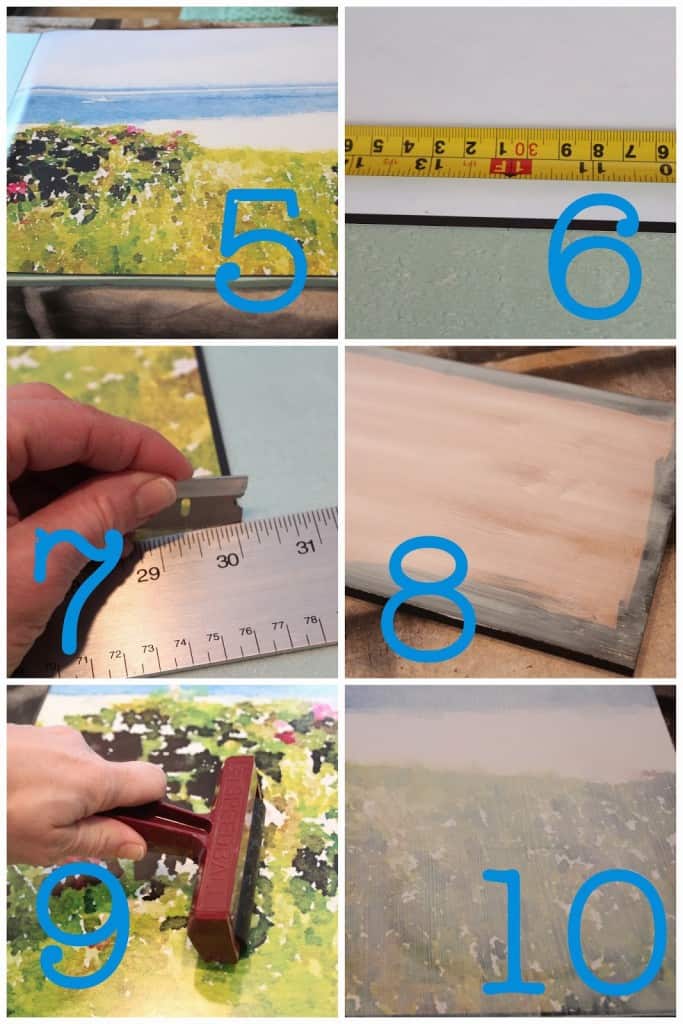
5// put your poster on a cutting surface. I find a piece of insulation left over from my mounted map to be a great work surface.
6// measure your poster into thirds
7// use a T-square and a very sharp utility blade to carefully cut your poster into thirds
8// after the paint has dried on the edges of the boards, apply glue/sealer*
9// place a piece of the poster on the board and use a brayer or a foam paint brush to smooth and push air bubbles to the sides. Run your hand over it to feel for air bubbles, and look at the poster from different angles to ensure you didn’t miss any major bubbles. A slight waviness is okay.
10// apply a thick layer of glue/sealer* to the top of the poster with a nylon paint brush, brushing horizontally and vertically. Use a cup of water to dip your brush in to lengthen the time you have to work with the glue before it starts to set.
Repeat with the other two panels, then set aside to dry. The thicker you coat it, the longer the dry time, but don’t worry, the white glue will dry clear!
*I tried Aleene’s Collage Pauge glue/sealer/finisher to see how it compared to Mod Podge. The products are very similar and are the same price. I don’t really prefer one over the other. I have found that using a wet nylon brush to apply either is helpful in spreading the glue evenly before it starts to set.
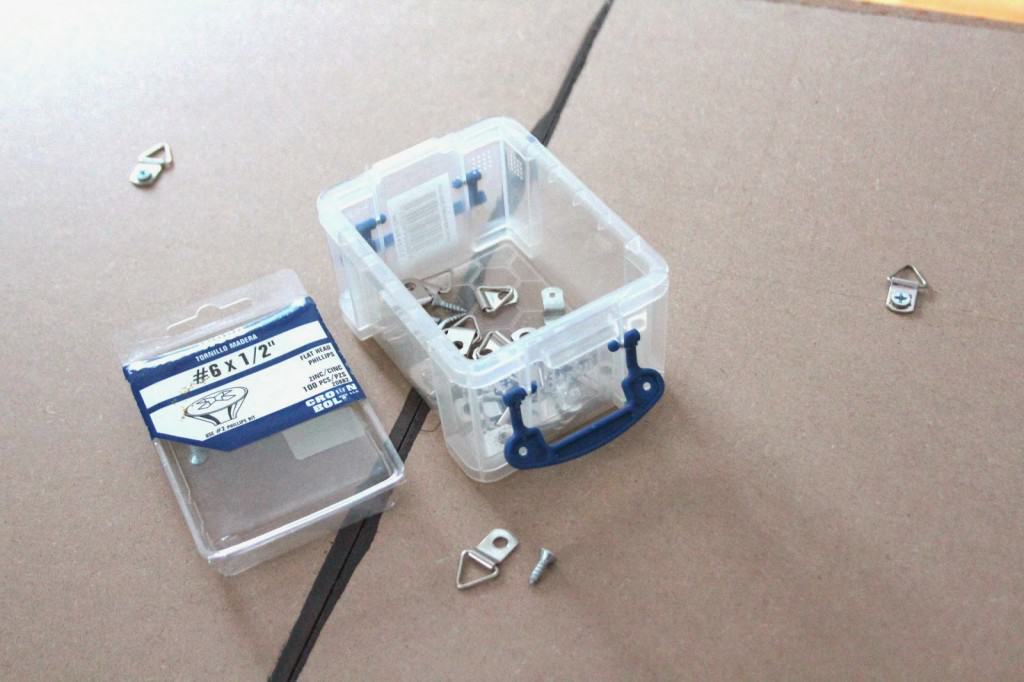
Apply a triangular hook with a screw to the back of each panel. To mark the three panels, I laid them side by sideand used the T-square to draw a line across the top 1/3 of the back of the boards. Then I found the center and marked the line, being careful to install the hook in exactly the same spot on each so they would hang at the same distance on the wall.
{1/2″ screws and triangle hooks can be found at any hardware store and are VERY handy for installing into the back of frames. You can hang wire between them or mount art directly onto the hooks.}

And finally. The powder room has color!
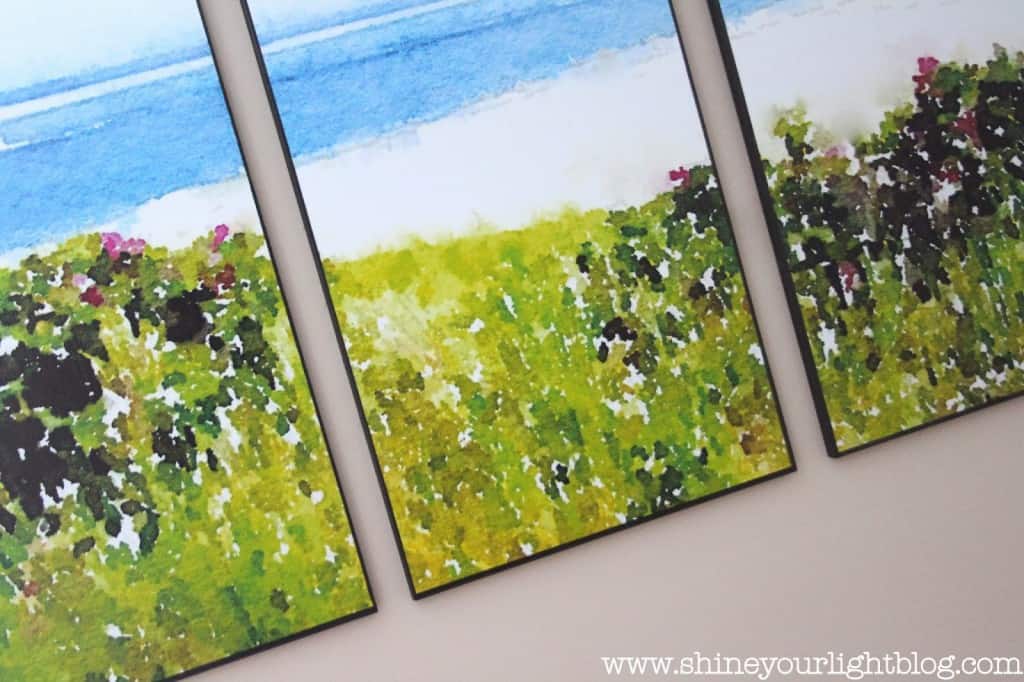

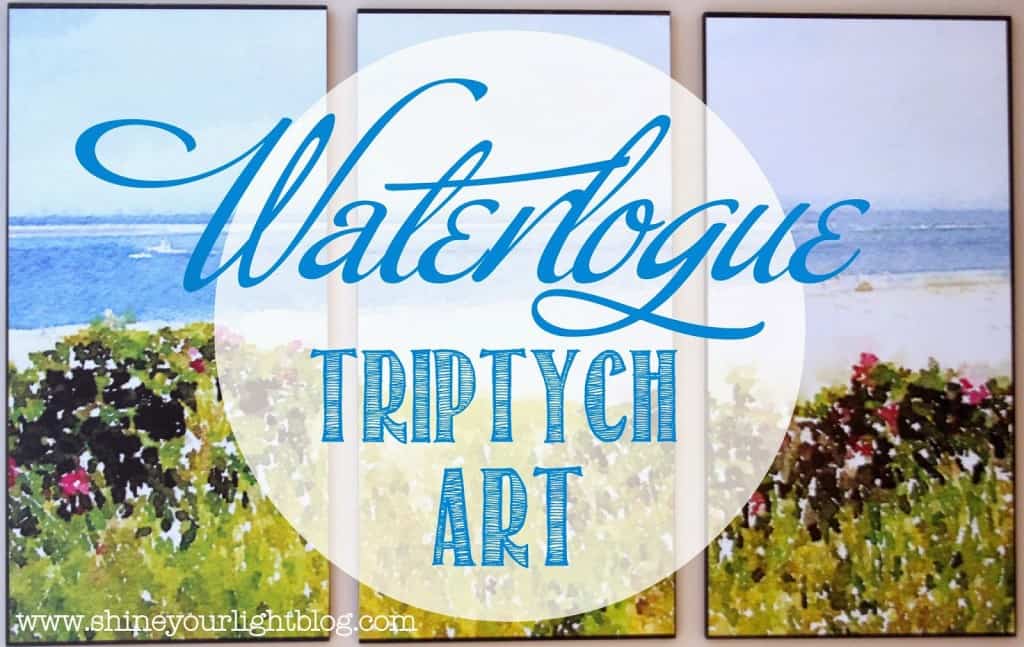
Overall I am very happy with this photo-turned digital watercolor-turned huge poster-turned triptych art!
I am not trying to pass off this watercolor as something I painted myself, because – I didn’t!
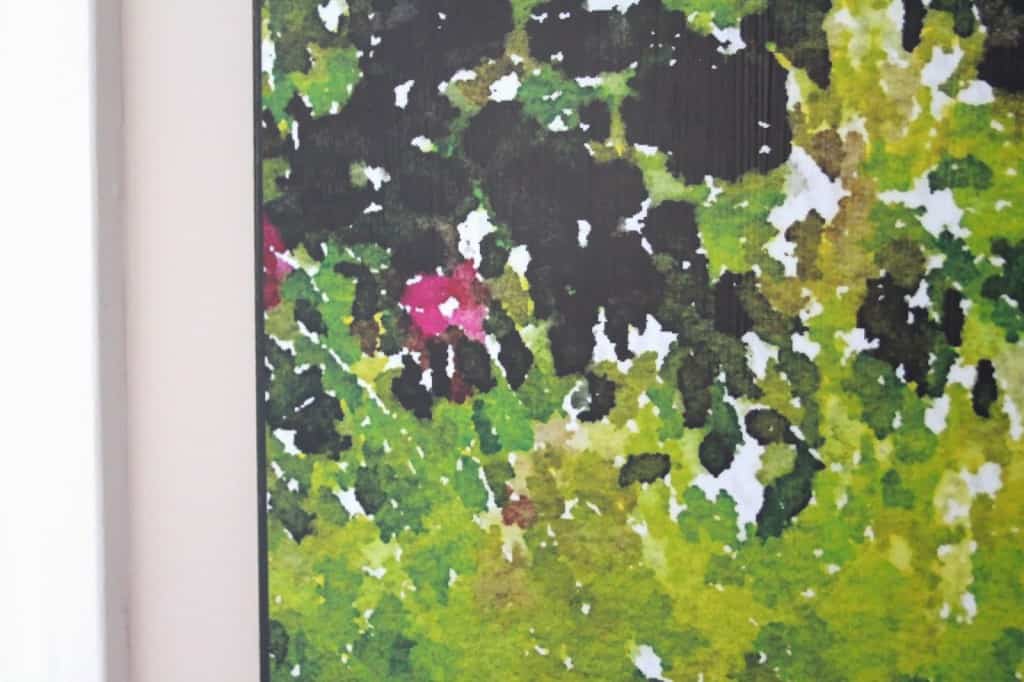
But still it’s kind of cool to be able to create something that you find beautiful and makes your home a little cheerier.

My powder room/laundry room’s happy factor just increased by about 487%!!!!!!
Hey you! What are you bringing to the Best Of The Nest party tomorrow? YES – TOMORROW!!
A little birdie told me you’ve got something great to share.

Come show off your awesomeness, party starts at 8am EST! I’m pretty much dying with anticipation!


Cassie @ Primitive & Proper says
such a great way to bring in some life and color! it has me wishing for spring!
Dana Frieling says
I've been waiting to see someone print something from the app and use it. Totally wondering about quality?! Thanks for being the guinea pig. 😉 Your art turned out fantastic!
Kris @ Driven by Décor says
Can I tell you how much I love this my clever friend? As a serial redecorator, I have the hardest time committing to art so I LOVE how you were able to do this in the colors that worked for your space and at such an amazing price. Totally brightens up the room. Love!
Beth of designPOST Interiors says
Another great use for Waterlogue!! You're on your own for laundry but I would love to hang out in there!
Jennifer @ Dimples and Tangles says
What a fantastic project! Definitely one I'll want to try sometime. Your colors are so beautiful!
pam {simple details} says
I agree completely, I've got my $3 worth of entertainment and then some!! 🙂 What a fabulous idea, such a great price for a beautiful statement and special piece! Watercolors were my favorite even before Waterlogue.
Calypso In The Country says
Looks awesome Lisa!
-Shelley
ND says
Wow- THAT is amazing. I love it. What a neat idea and a great job. I love it-makes you feel really connected to the outdoors! Wonderful job! xo Diana
Alison Fauls says
Another great way to use Waterlogue. Thanks for the inspiration!
Nancy {at} powellbrower at home says
This triptych is fantastic and even better that it was your own photo! This really took your bathroom up 500 notches! Way to go. Xo Nancy
[email protected] says
I love it Lisa!! So fun seeing how everyone is using waterlouge! Yours turned out soooo GOOD! Happy Weekend! xo Kristin
Andrea says
This is so darn cool! I want to make one pronto. I love your DIY tutorials. They are so easy to follow and informative. You never cease to amaze me, Lisa.
Julia Konya says
Such a great idea. I played around with waterlogue myself this month. Love your idea!
Vel Criste says
I really have to try this project of yours one day Lisa! This one is really fabulous, looks store-bought even! Love it dear!
Holly Thomas says
I MUST try this! Thanks for the inspiration!
Susan Maclean says
Oh Wow! So lovely! Well done Lisa, now you just need to paint the walls in sympathy with that lovely tryptich….. Only a couple days work – go on, you know you want to!!
ordinarycreative says
Love this app! Mesmerized watching it work its magic! Love your clever and amazing method of going big and beautiful! Lovely!
-debbie at http://ordinary-creative.com
Tracy Laverty says
Lisa- I love your watercolor triptych art! Great tutorial and you brightened your space! I also LOVE the photo of Hawaii above your bed with your R&B sconces! Clever!
Dawn @ Inspired Living says
Tis is awesome. I've been dying to use vacation photos more in my home. I might try some variation on this ! Great idea. Do you happen to know if the waterlouge app alters the pixel size of the original photos?
Michelle Woeller says
I love this idea! Already thinking of photos I can use…thanks for the step-by-step! Elle
Deb says
This is beautiful! Thanks so much for sharing!