First there was this….
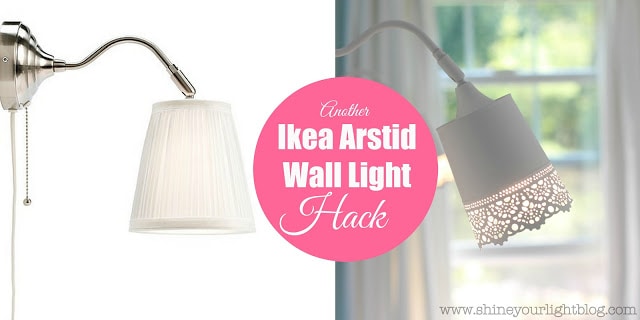
and now there’s this…..
I can’t get enough of these little lights!
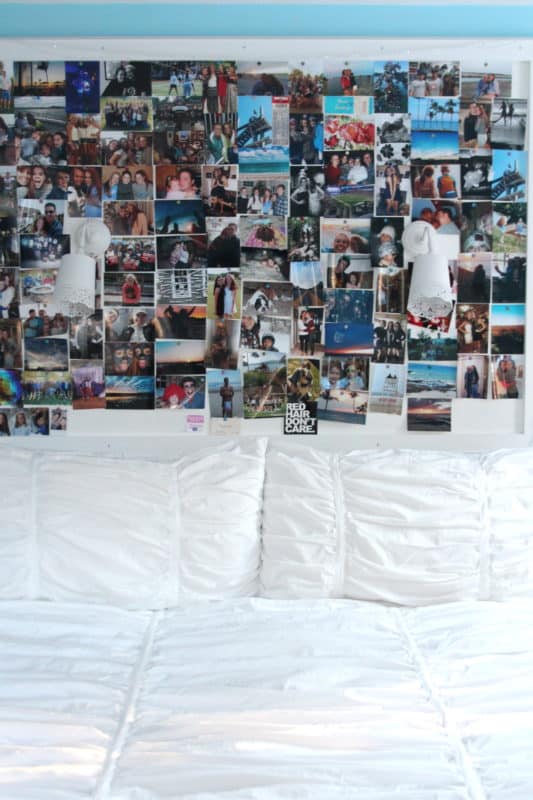
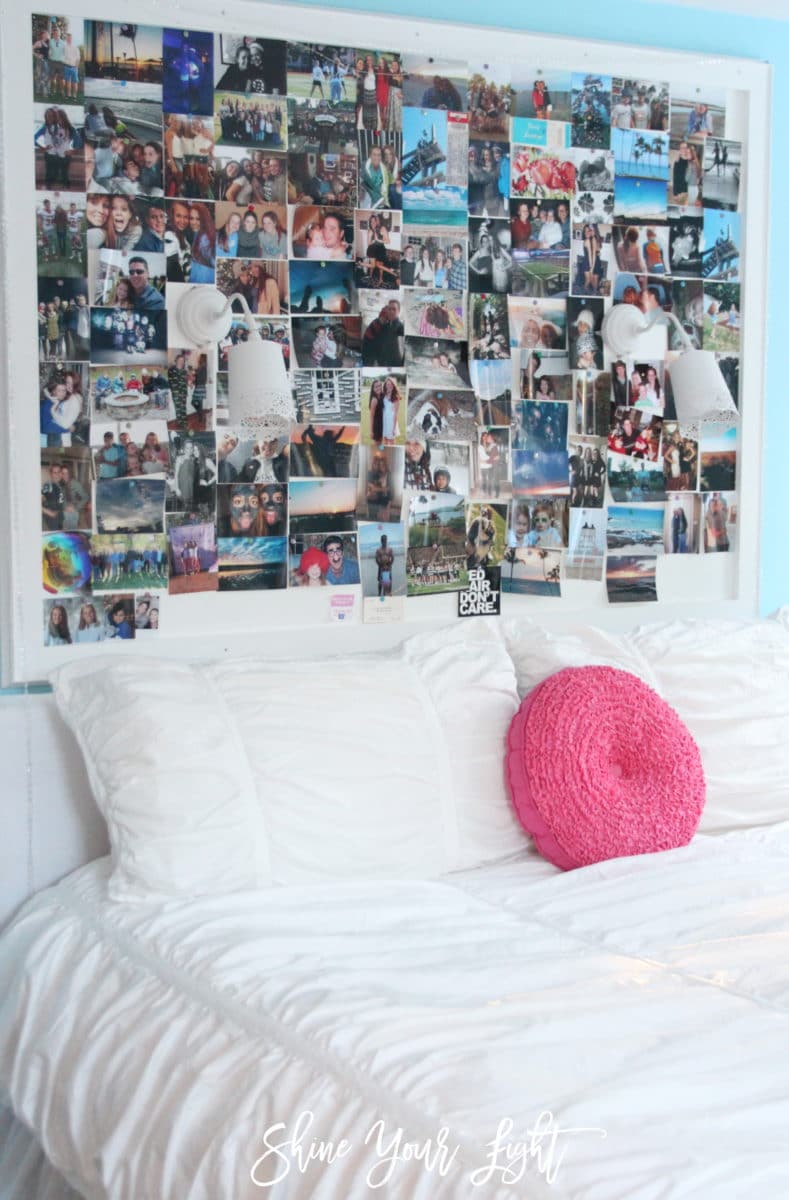
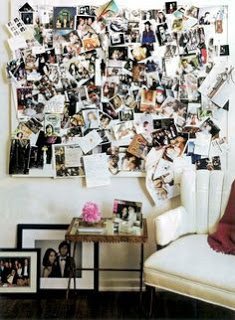
The previous owners of our house used the bedrooms as offices and had installed huge framed bulletin boards. Hannah’s board is almost the same length as her new bed and we both love the idea of photos grouped en masse to serve as large scale art for her room.
{source unknown}
I painted the bulletin board and frame white, and Hannah uploaded and ordered tons of her phone photos to cover it.
Affiliate links are included in this post for your convenience. Read more about affiliate links here.
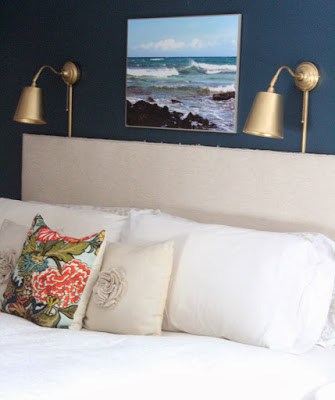
I also wanted to give her some lights for reading in bed. I love how our master bedroom customized wall lights from Ikea came out, how they function for reading in bed, and with a $14.99 price tag they were the perfect choice for this budget makeover. Hannah’s bulletin board provided a great way to hide the cords from plug in wall lights (but you could also hide the cord in these self-adhesive cord covers like I did in my bedroom).
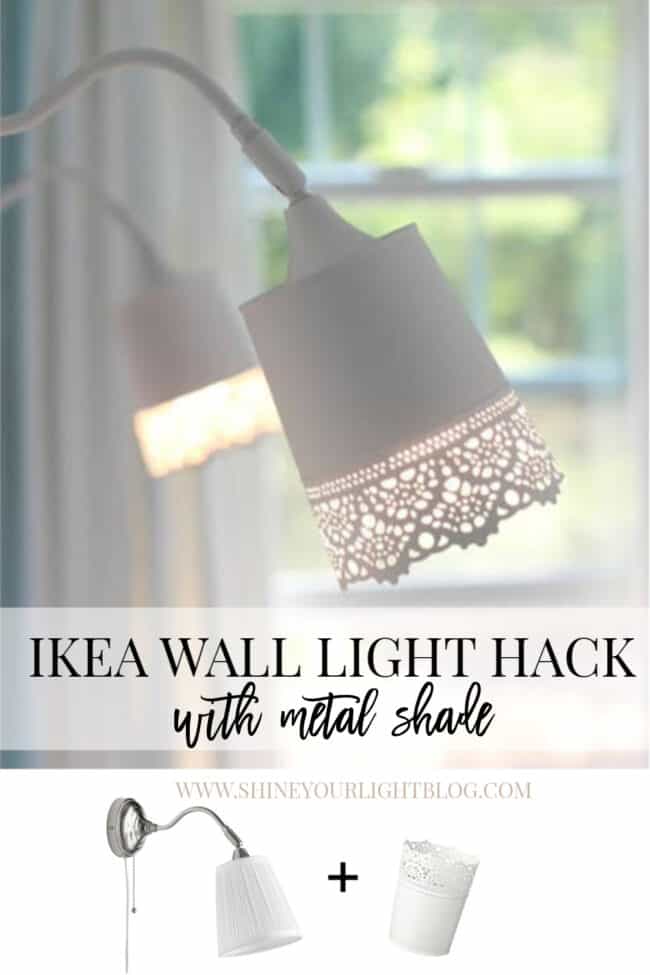
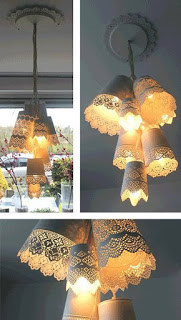
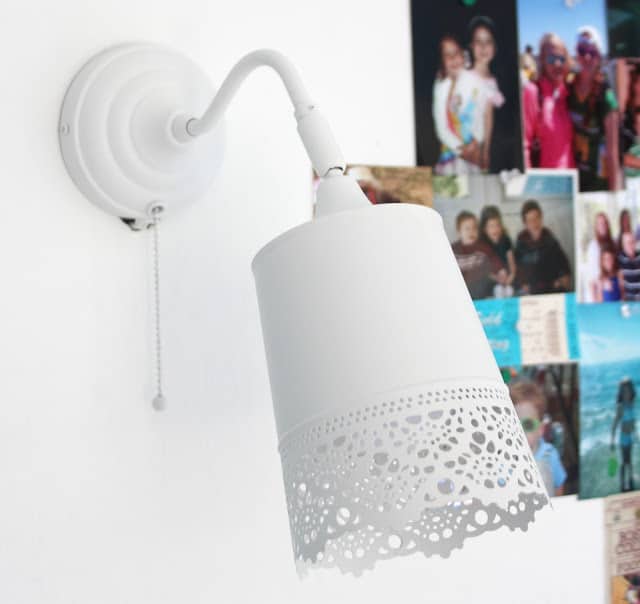
Using the metal Skurar planters for shades was an idea I got from Ikea Hacker Robert van Piggelen and I love these paired with the Arstid wall light. The doily affect is so pretty and feminine for a girl’s room.
Here is how I made my own version of this Ikea hack by marrying the Arstid and the Skurar.
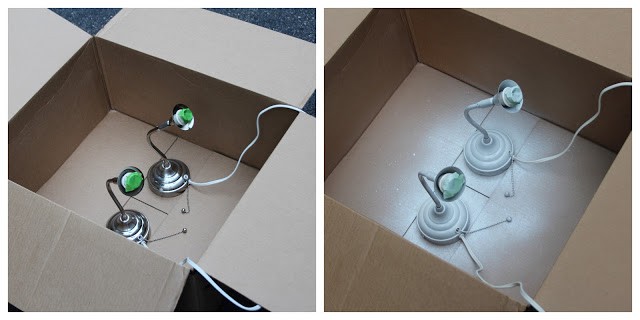
• ONE • Spray paint the fixture if needed.
Tape off the socket and spray paint the light to your desired color.
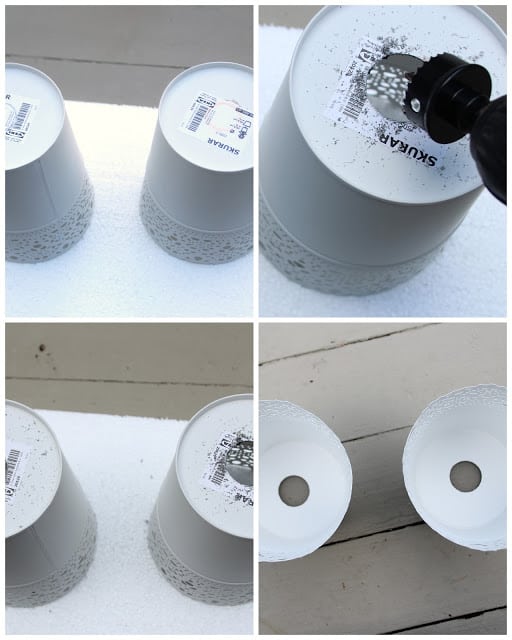
• TWO • Drill a hole in the bottom of the metal planters.
To do this you’ll need a special tool that attaches to a drill called a HOLE SAW that can cut through the galvanized metal.
I took the shade with me to the hardware store to make sure I got the right size. The guy working in the tools department was awesome – he found the right attachment for me ($13 by the way, ouch). He also told me that cutting into metal can create sparks so he recommended doing it outside, making sure to wear goggles and even having a fire extinguisher handy (safety first!) The cut metal produces lots of fine metal shrapnel so be aware of that too if you do this project.
So here we go…..goggles are a must for this project too!
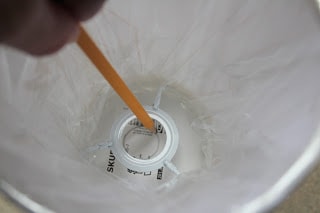
Invert the lampshade that comes with the light onto the bottom of the metal planter and trace a circle in the center,
then place the planters in styrofoam to keep them steady and prevent the lacy edges from getting bent, and cut the holes out.
(I recommend removing the sticker first because it gets all over the hole saw.)
Easy as pie!
• THREE • Hang the light.
Up in Hannah’s room, I measured and marked where the light fixture would be hung – it hangs from the wall from two screws. Placing the head of the screw as close to the wall as possible will keep the light fixture in place really well, but you can also put a bit of double sided 3M tape on the back of the light before hanging.
• FOUR • Hide the cord if mounting onto a bulletin board.
You can use stick-on cord covers that are either painted the color of the light or the color of the wall to give a plug in wall light a more finished look. I did this in our master bedroom.
You can use stick-on cord covers that are either painted the color of the light or the color of the wall to give a plug in wall light a more finished look. I did this in our master bedroom.
If you want to hang the light on a bulletin board and hide the cord, this is how I did it:
(Scroll down for more pretty pictures if you could care less about this part!)
I held the light up to the board where it was going to hang, and marked the bottom of it. The cord comes out of the bottom of this light, so a hole under the light was necessary. I used the same drill attachment to make a hole in Hannah’s bulletin board so that the light plug could fit through it, making sure the bottom of the hole would be UNDER where the light fixture will hang.
(Am I making any sense?)
The plug was fed down behind the bulletin board….
….and pushed all the way down.
Then I drilled screws into the marked spots, hung the lights and voila!
• FIVE • Attach the shades to the fixture.
The light has a little ring that twists off….
then the shade is placed over the threaded part of the socket, and the ring goes back on to hold the shade in place.
See that little hole on either side of the cord? I just filled that in with a little bit of caulking and you can barely see it.
I love the lacy doily girliness of these “shades”!
But the real magic happens with the lightbulb goes in
(make sure you get the coordinating lightbulbs – E12 – at Ikea!)….
Ready?? Here it is…….
….and all lit up in its glory!
Project cost breakdown
(2) Ikea Arstid Wall Lamp – $14.99 each
(2) E12 LED light bulbs – $6.99 each
(2) Ikea Skurar Plant Pot – $3.99 each
Hole Saw (similar and cheaper than mine!) – $10.21
Spray paint (I had on hand but if you need to buy it…) – $5
GRAND TOTAL:
$67.15 (+ tax)
Functional and pretty lights, the satisfaction of creating something cool, and working on this room for and with my beautiful funny joyful messy love bug of a daughter:
PRICELESS!
Thank you to Ikea Hacker Robert van Piggelen for the great idea of using the metal planters for shades.
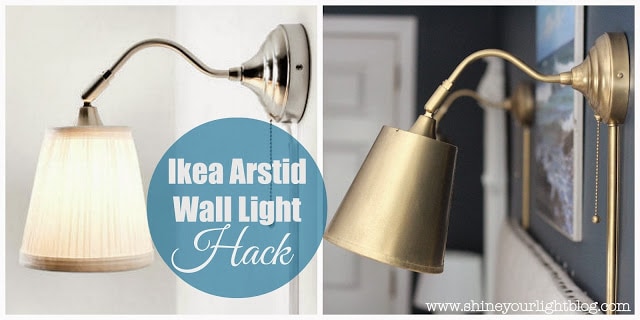
Check out my other Ikea Arstid Hack for an antique brass version of this light
and
Thanks for stopping by and best wishes for a wonderful weekend!

PIN THIS POST TO SAVE!







Cassie @ Primitive & Proper says
seriously this is AMAZING! love love love!
Betsy Dambrosia says
"Girl…You're Amazing"
Beth of designPOST Interiors says
This looks like a photo out of PB Teen! So good Lisa!
Cindy Hattersley says
These are darling Lisa but I LOVE the ones above your bed!! You are so clever!
Vel Criste says
Looks absolutely perfect Lisa!
pam {simple details} says
This is the BEST and you rock! What a perfect choice for her room, unique, functional and so pretty!