Chalkboard lettering has become one of the most charming ways to add personality to any space. From cozy kitchens and cafés to weddings and stylish home offices, it has a timeless, handcrafted appeal. Unlike printed signs or digital fonts, chalkboard lettering feels personal. It carries texture, imperfection, and flair — all of which make it magnetic to look at. If you’ve ever admired an artfully written chalkboard menu or a decorative quote framed in chalk, you already know its magic.
But here’s the truth: chalkboard lettering is not just about writing on a board. It’s a blend of artistry, technique, and a little patience. And the best part? Anyone can learn it. Whether you’re a beginner trying to add charm to your home decor or a creative professional looking to expand your skill set, this guide will walk you through everything you need to know about chalkboard lettering.
What Is Chalkboard Lettering?
At its core, chalkboard lettering is the art of creating stylized text and illustrations on chalk surfaces. It’s often confused with calligraphy, but they’re not the same. Calligraphy uses strokes to form letters, whereas chalkboard lettering builds letters from simple “skeleton” shapes that you enhance with thickness, shading, and decoration. Think of it as drawing letters rather than writing them.
This distinction makes chalkboard lettering much more forgiving and flexible. You don’t need perfect penmanship — you just need creativity, a few tools, and practice.
Essential Materials for Chalkboard Lettering
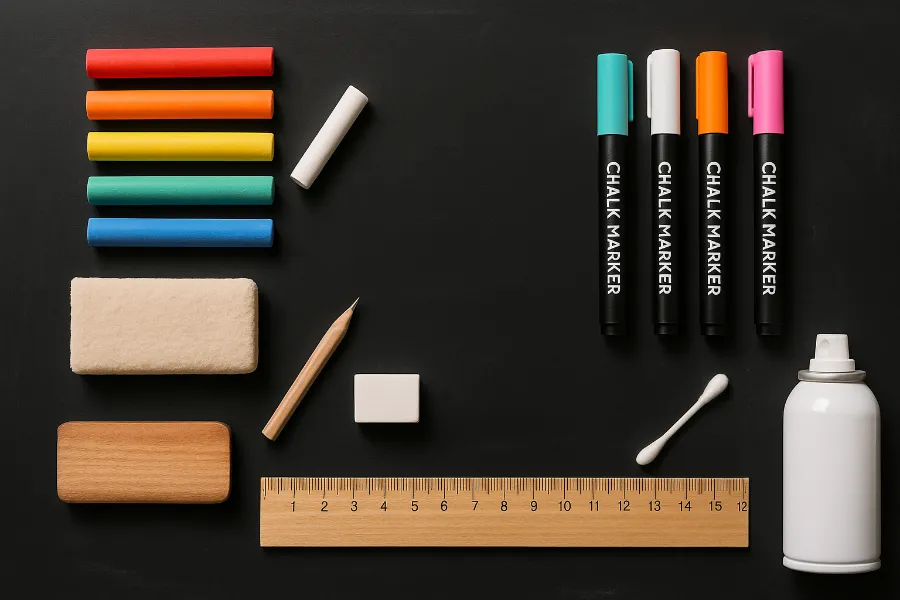
Before you get started, gather your tools. The right materials make a huge difference in how easy it is to learn and how polished your final piece will look.
Chalk
- Traditional chalk: Classic, dusty, and easy to erase. Great for practice.
- Soft chalk pastels: Smooth and blendable, perfect for shading and color gradients.
- Chalk markers: Bolder lines, less dust, and semi-permanent. Ideal for displays that need durability.
Boards and Surfaces
- Classic chalkboards: Black or green boards work, but matte black gives the strongest contrast.
- DIY surfaces: MDF, wood panels, or even walls painted with chalkboard paint can transform into canvases.
- Frames and props: A rustic wooden frame can turn a simple board into a décor statement.
Tools for Drafting and Cleaning
- Pencils and erasers for sketching concepts.
- Rulers or T-squares to set guidelines.
- A soft cloth or damp sponge for erasing mistakes.
- Cotton swabs for detail corrections.
- Hairspray or fixative spray to seal and protect your design once it’s complete.
Preparing Your Chalkboard
A good base ensures your lettering looks sharp.
- Clean the surface. Use a damp cloth to remove old chalk dust. Let it dry fully.
- Season the board. Rub a piece of chalk flat across the entire surface, then wipe it off. This prevents “ghosting,” where past drawings faintly linger even after erasing.
- Plan your design. Sketch out your words and embellishments on paper first before transferring to the board.
Sketching and Guidelines
Don’t just dive in — structure helps lettering look professional.
- Draw guidelines. Use a ruler to lightly mark lines for baseline, x-height, and cap height. This keeps your letters uniform.
- Start with skeletons. Think of each letter as a framework. Draw thin letter outlines, then add thickness where strokes should appear heavier.
- Mind your spacing. Kerning (the space between letters) is critical. Too close, and it looks cramped; too far, and it looks disconnected.
Lettering Techniques
Here’s where chalkboard lettering comes alive.
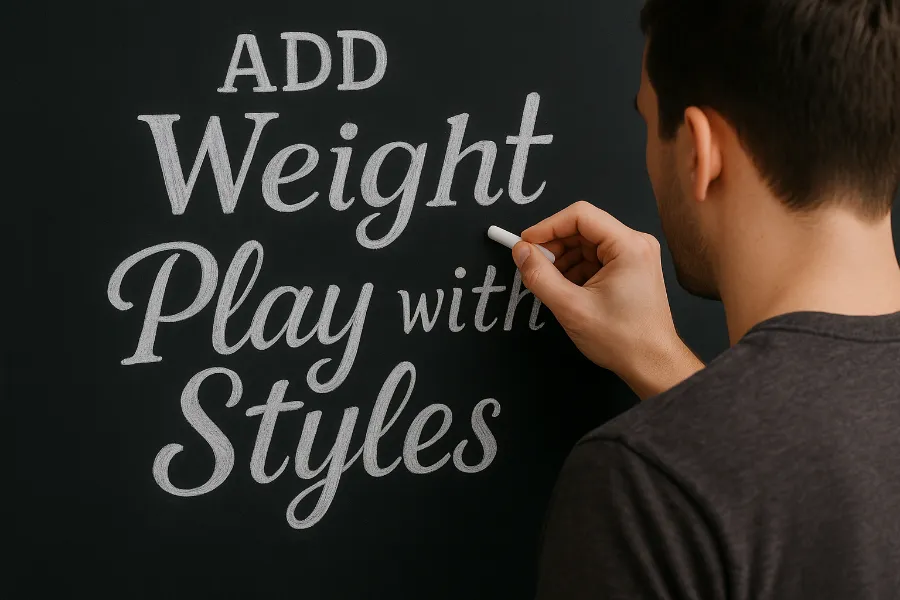
Add Weight
Thicken downstrokes (the parts of letters where your pen or chalk naturally moves downward). Keep upstrokes thinner. This creates rhythm and contrast.
Play with Styles
Mix serif and sans serif fonts. Experiment with scripts, block letters, and whimsical flourishes.
Emphasize Key Words
Use larger sizes or bolder strokes for focal words, while supporting words stay smaller or simpler. This creates visual hierarchy.
Filling and Effects
Plain letters are just the beginning. Effects turn them into art.
- Shading: Smudge chalk gently with your finger or a blending stump to create depth.
- 3D Effects: Add drop shadows by duplicating strokes slightly offset in gray or lighter chalk.
- Highlighting: Erase thin lines within letters to mimic light reflections.
- Textures: Cross-hatching, stippling, or gradients add dimension.
Adding Details and Decorations
Lettering shines when paired with decorative elements.
- Borders: Frames, banners, or simple rectangles around words.
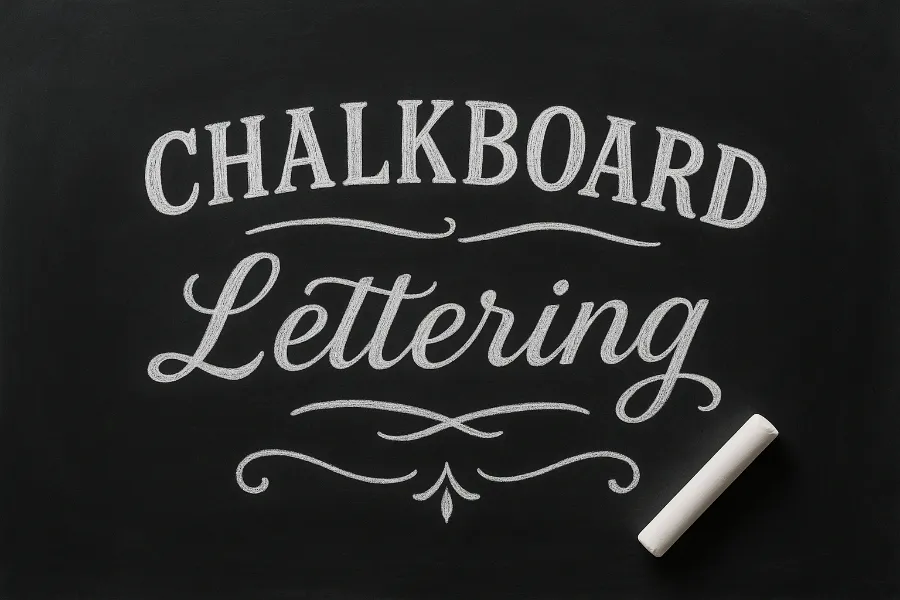
- Flourishes: Swirls, curls, and loops to add elegance.
- Illustrations: Small doodles like roses, leaves, arrows, or stars can complement the words.
- Patterns: Background dots, lines, or geometric accents for balance.
Fixing Mistakes and Preserving Your Work
Even pros make mistakes — the trick is knowing how to fix them.
- Small errors: Use a damp cotton swab or eraser to correct details.
- Large mistakes: A damp cloth will wipe entire sections clean. Let dry before rewriting.
- Preservation: Once happy with your piece, lightly spray hairspray or an art fixative over it. This keeps dust from smudging and locks in your design.
Tips and Tricks for Success
- Use hard chalk for clean lines. Softer chalk blends beautifully but can be messy.
- DIY chalkboards. Paint MDF, plywood, or even walls with chalkboard paint for endless surfaces.
- Layer your work. Start with faint outlines, build layers of shading and decoration, and finish with sharp details.
- Take breaks. Fresh eyes help spot spacing errors or inconsistencies.
- Practice regularly. Just like handwriting, chalkboard lettering improves with repetition.
Chalkboard Lettering in Home Décor
Beyond cafés and weddings, chalkboard lettering can transform home spaces. Imagine:
- A kitchen board for weekly menus, styled with playful fonts.
- An entryway sign with a welcoming quote.
- Kids’ rooms with personalized chalk art that changes every season.
- Office spaces where motivational quotes keep you inspired.
Because it’s erasable, chalkboard lettering offers endless flexibility. You’re not committing to permanent art — you’re creating living, adaptable designs.
Conclusion
Chalkboard lettering is a delightful mix of creativity, technique, and hands-on artistry. With the right tools, a prepared surface, and a few practiced strokes, you can turn a simple chalkboard into a show-stopping piece of décor. Whether you’re scribbling a weekly grocery list or designing a wedding welcome sign, the process is as enjoyable as the result.
So grab some chalk, prep your board, and start experimenting. With each smudge and stroke, you’ll find your style and rhythm. And soon enough, chalkboard lettering won’t just be a hobby — it’ll be one of your favorite ways to add personality and charm to your home.

