The first Wednesday of every month I love teaming up with my friends Jennifer of Dimples & Tangles, Pam of Simple Details, and Kris of Driven By Decor with a new home and garden category to dig into, and it’s even more fun to have a guest host to share yet another perspective. Today we’re beyond happy to have Brooke Christen of Nesting With Grace joining us! If you haven’t met Brooke and her blog her you will love them both, especially after you see this ingenious light hack that is one of my all time favorite “do-able DIYs”!
Thank you for hosting with us today Brooke!
I adore this topic – where to spend to get the most bang for your buck!! Who doesn’t love to do that?! Let’s dive right in!

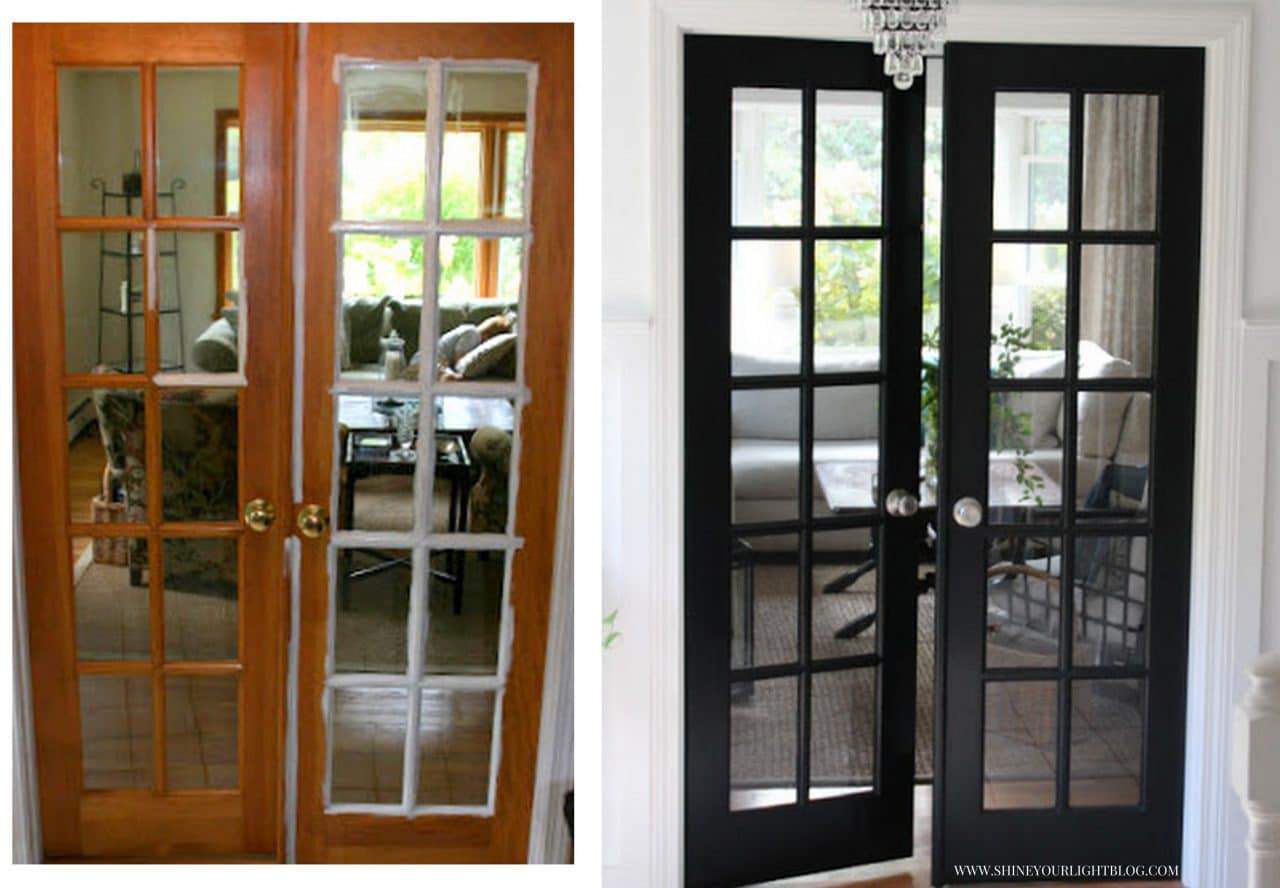
PAINTING INTERIORS DOORS BLACK (OR GREY OR GREIGE!)
PAINT is hands down the GREATEST bang for your buck – it is truly transformative both physically to your home, and in how it makes you feel! I have painted every speck of walls and trim in this house and ridding it of the dated orange oak was beyond gratifying. After a couple of years I painted the first floor doors black to give our cookie cutter house a little spunk and make it feel just a little different than the rest of the houses around us.
Our living room before….
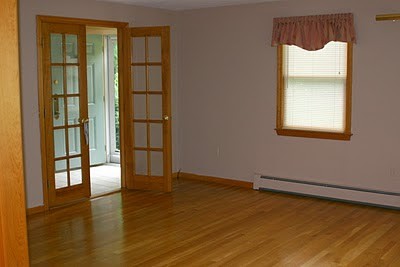
and now (after our Christmas tree came down when one little corner of our house was empty but gloriously clean! It’s just crying out for a moulding project, don’t you think?)
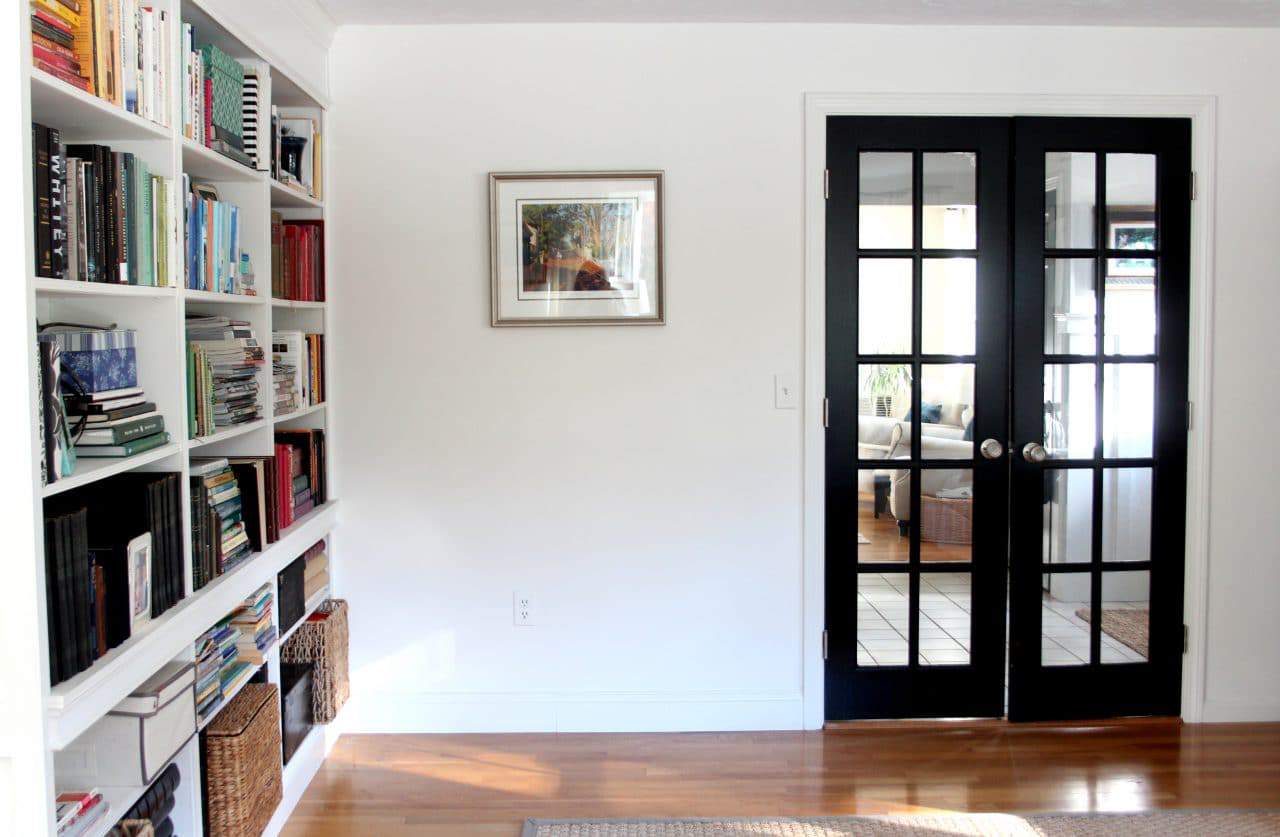
4 wall colors later, I ended up with Simply White on our walls and that too has given new life to our dated abode (even with that foyer tile hanging on for dear life!!)See more of Simply White throughout the house here.
The black doors definitely give this house that is bereft of architectural details a little interest. For less than a gallon of paint for 10 doors, a HUGE bang for the buck! Check out this beautiful door color that I can’t get out of my head.

PAINTING GARAGE OR BASEMENT STEPS
Another dramatic way paint changed a part of our house – our garage steps!
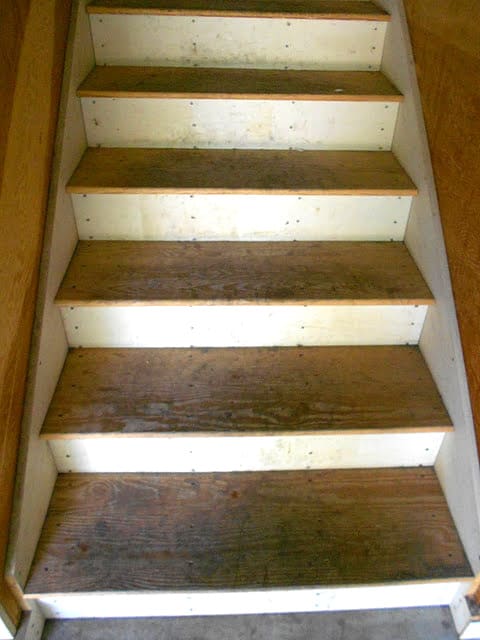
For the cost of one quart of porch & floor enamel in “Cilantro” (that also covered the adjacent mud room floor) the happy factor of this spot that we use every single day is exponentially increased!
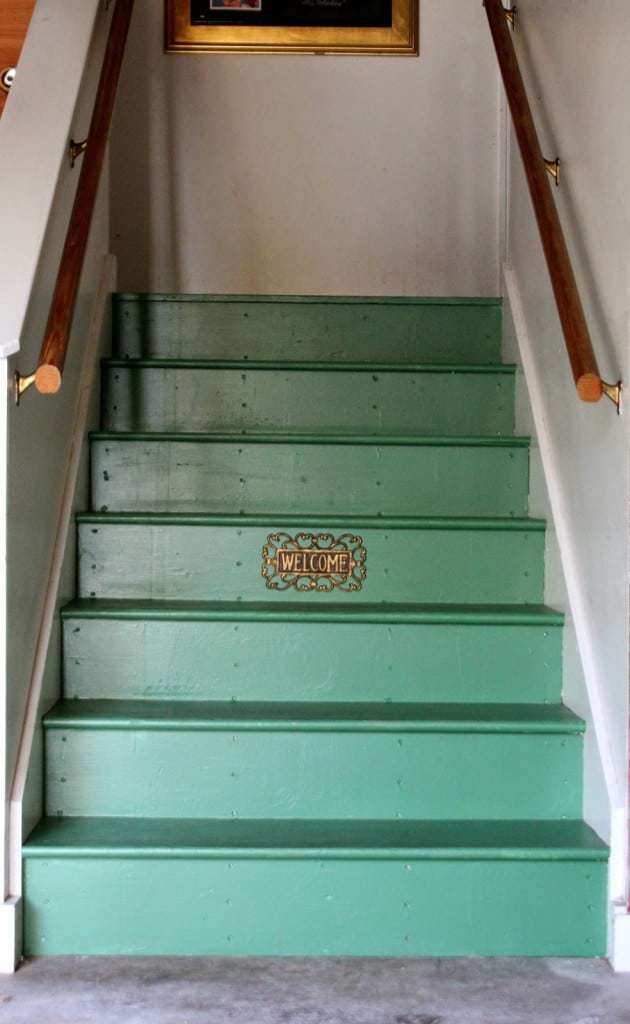
See the first version of these painted stairs here, and check out the before and after of our foyer steps right here!

USING PEA STONE FOR A PATIO OR WALKWAY
Years ago Mark and I went to Italy and one of my favorite nights began with a glass of wine under the stars on a small vineyard’s pea stone patio. It was so beautiful! I started noticing pea stone in decor magazine photos of European villas and landscapes, and catalogs like Ballard Designs and Pottery Barn, and grew more and more enchanted with them through the years. You can imagine my delight when I first started planning our DIY patio and firepit area and discovered that pea stone is one of the most affordable materials to use for an outdoor space!

We spent less than $200 on the pea stone; along with renting a sod cutter to remove grass, garden edging, weed preventative landscape fabric and tools our patio came in right around $400.
The spirea and ornamental grasses are starting to fill out the space, and eventually we want to add cobblestones to the perimeter and a tree that would add some dappled light to the edge of the patio.
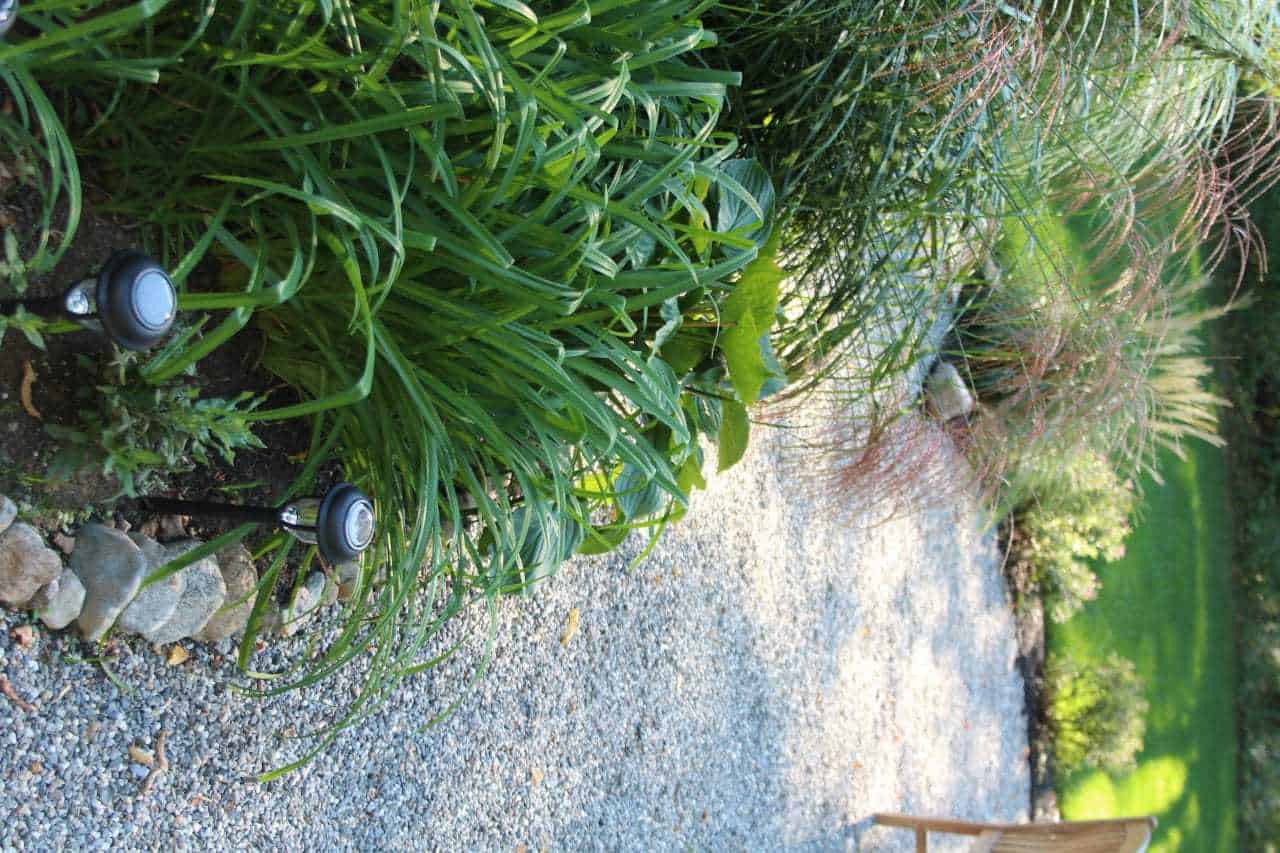
You can see all the steps to DIY a pea stone patio and build a stone fire pit all right here.


FURNITURE MAKEOVERS
Giving new life to old or dated furniture is such a great way to stretch a dollar, and often you end up with a piece with more character than you could have found in a furniture store.
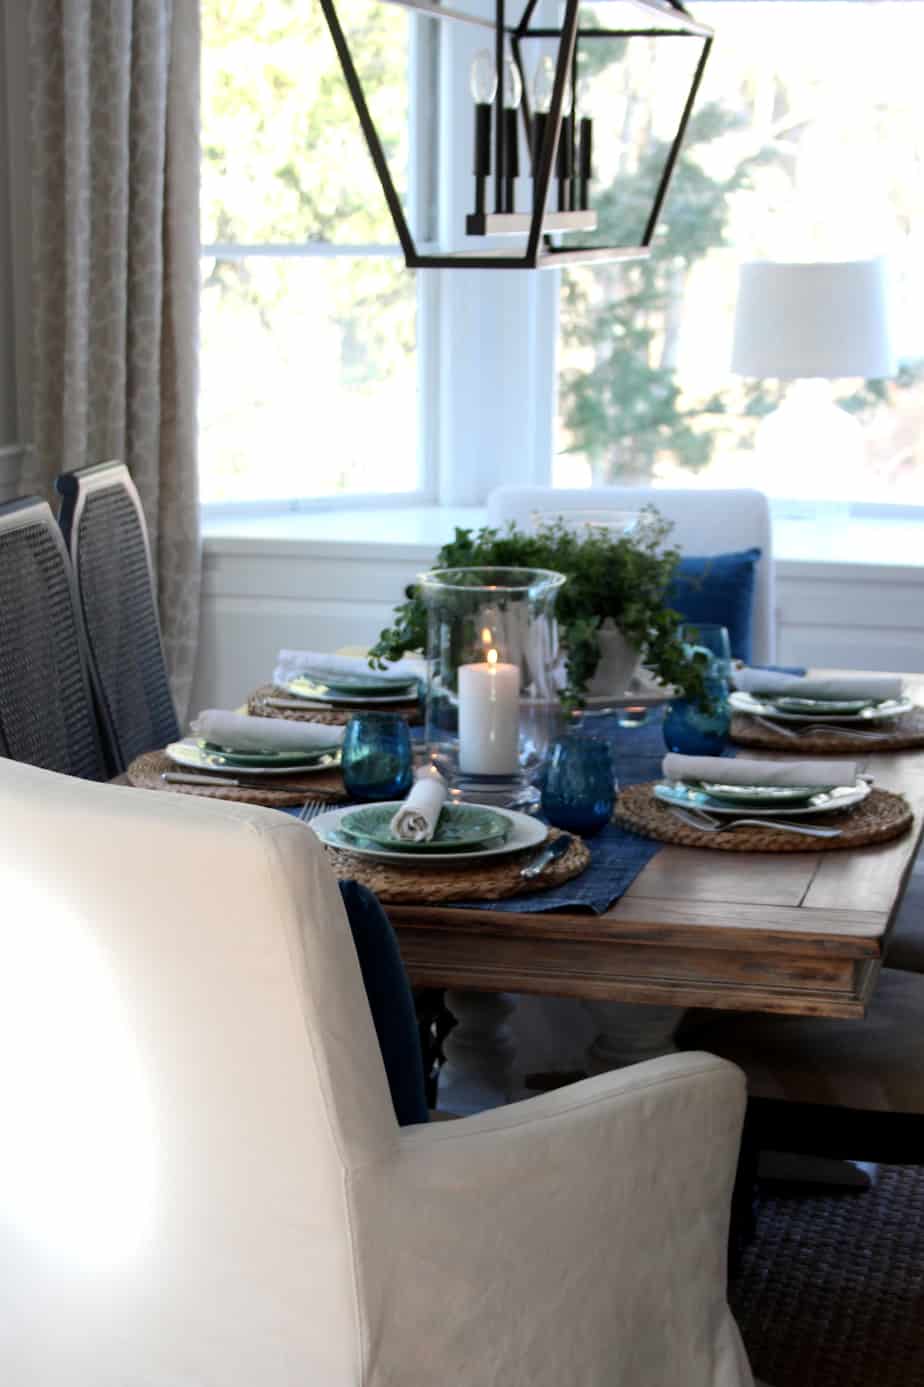
Our dining room table started out in Germany; it was brought back to the States by a US Army soldier in the late 60s. I had been searching for the perfect table, new or old, for 2 years when I bought it off of Craigslist from his son. The top is solid oak with two leaves.
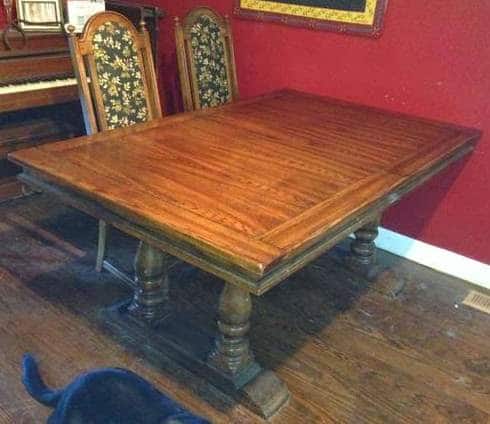
I stripped and stained it to a walnut finish, and then a few years later stripped, stained and limed it into it’s current state.
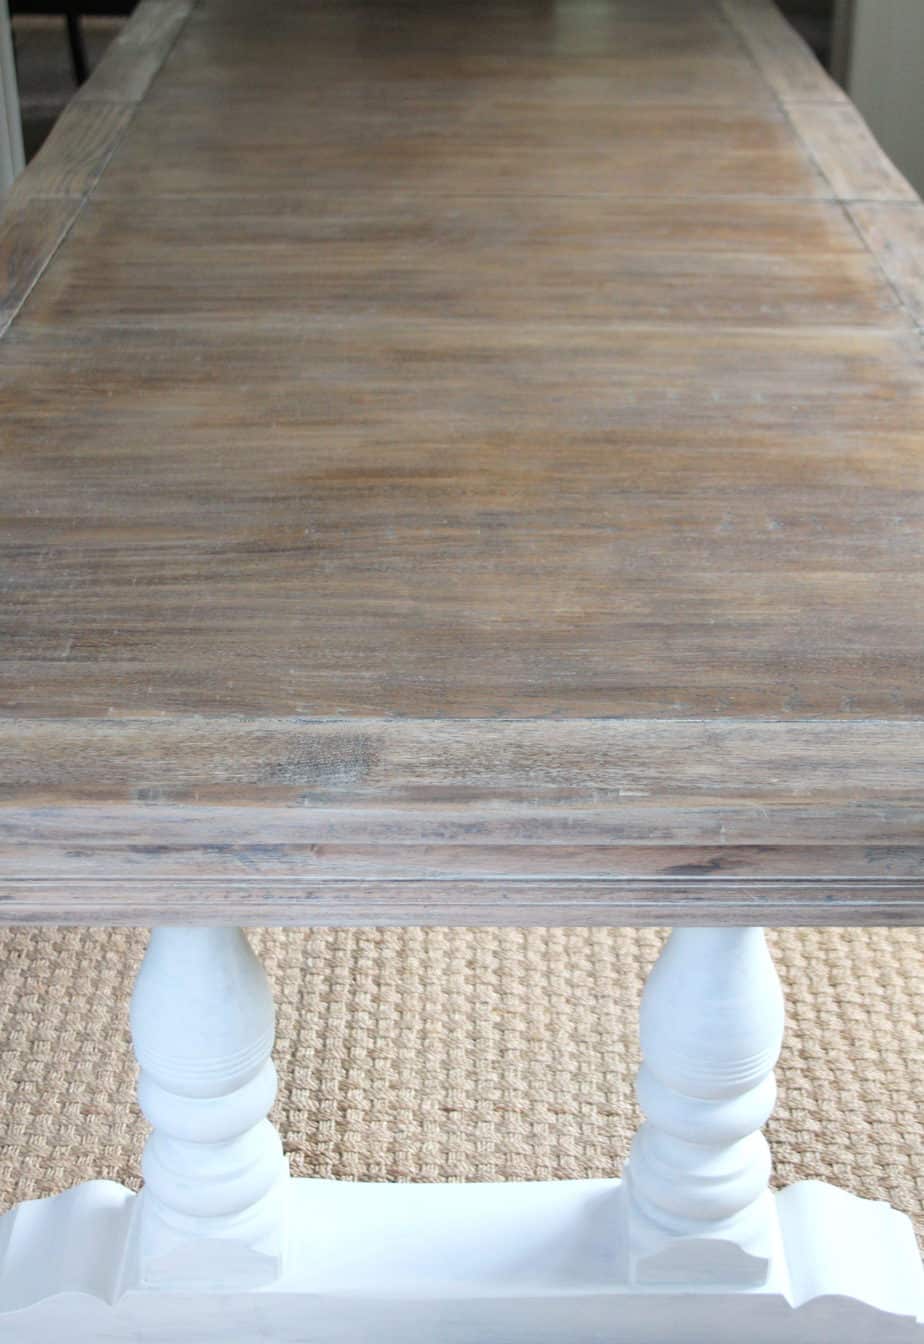
I love it’s patina and that it has history – and it also can seat 12, 14 if we squish, and that makes me happy!!
Check out a few more ways to get some serious furniture bang for your buck.

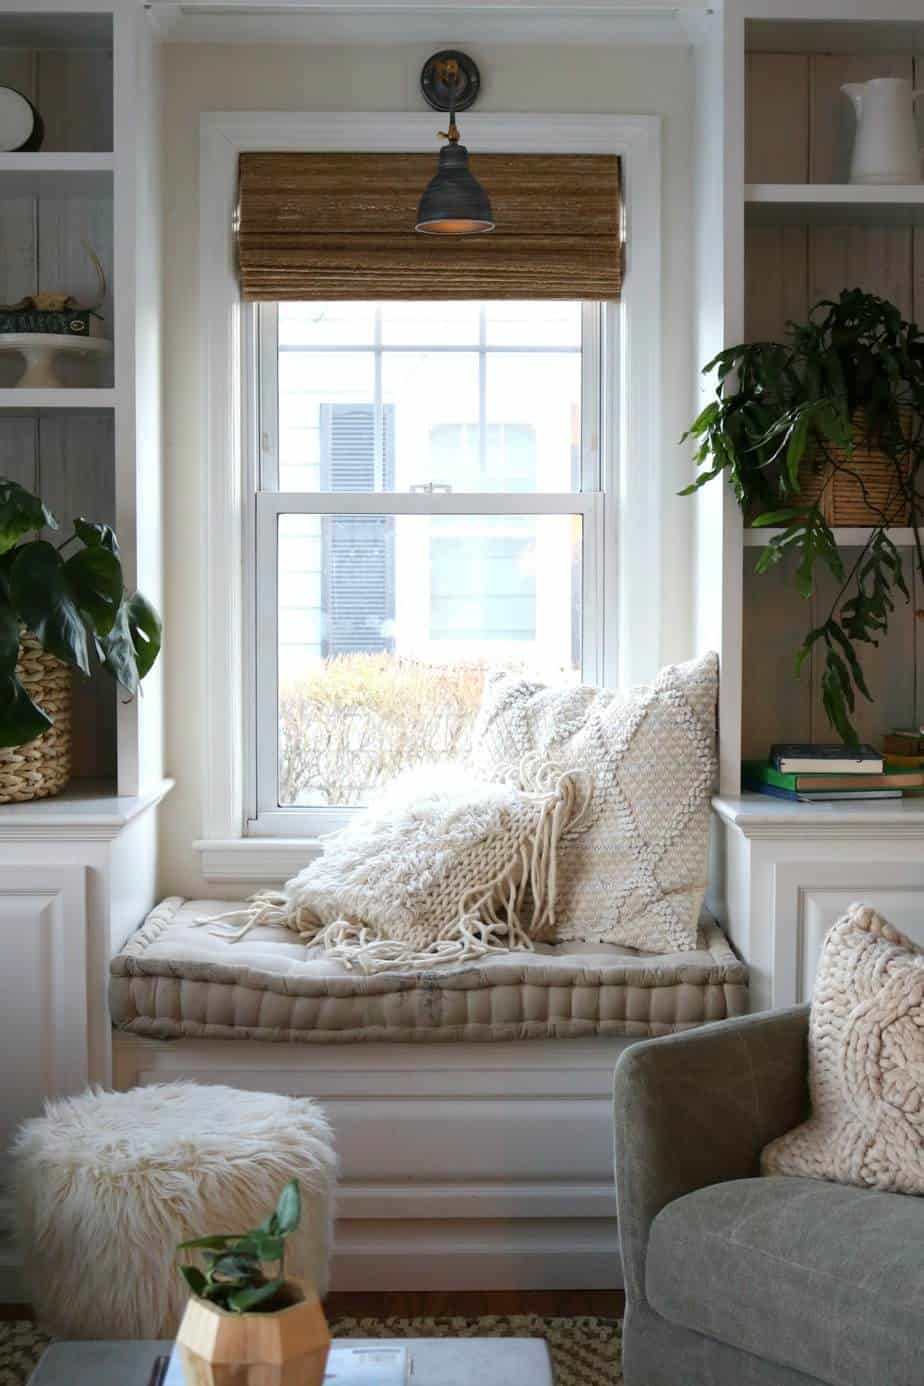
ADDING FRESH GREENS OR FLOWERS TO YOUR SPACE
I was going to make my #5 about how adding simple white linen curtains from Ikea to our kitchen slider made the space instantly feel about a millions times more pulled together, finished and cozy, (so consider that a bonus!) but what really jumped out at me from a lot of my pictures of our home is how much plants and flowers bring to a space!
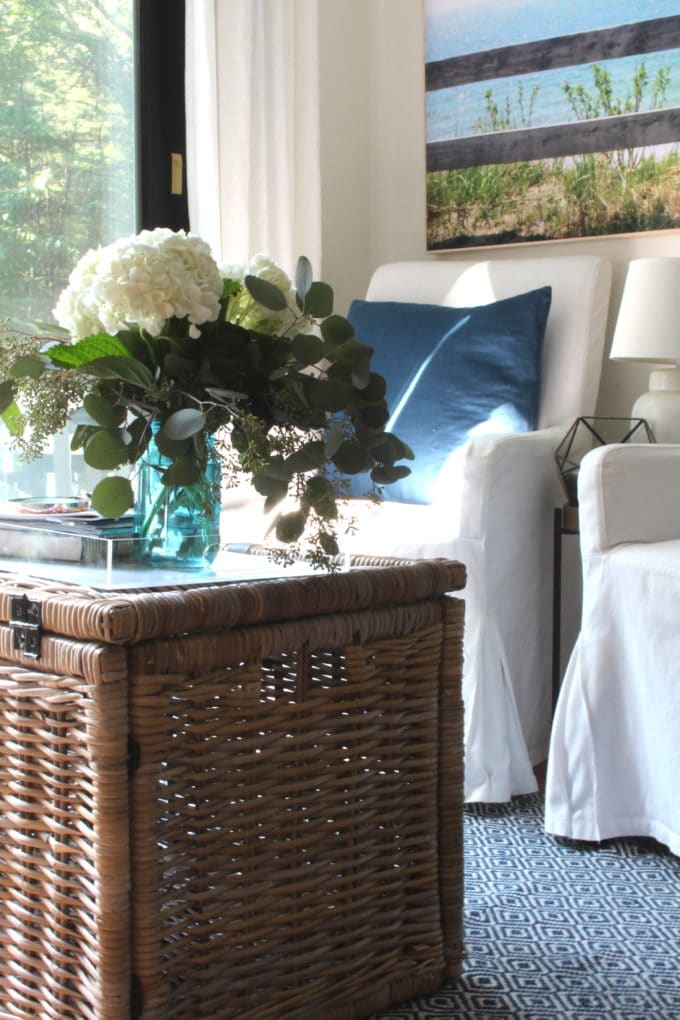
Don’t wait for someone else to buy you flowers if you love them! Buy them for yourself!

Even the bathroom benefits from some fresh greens or a plant!
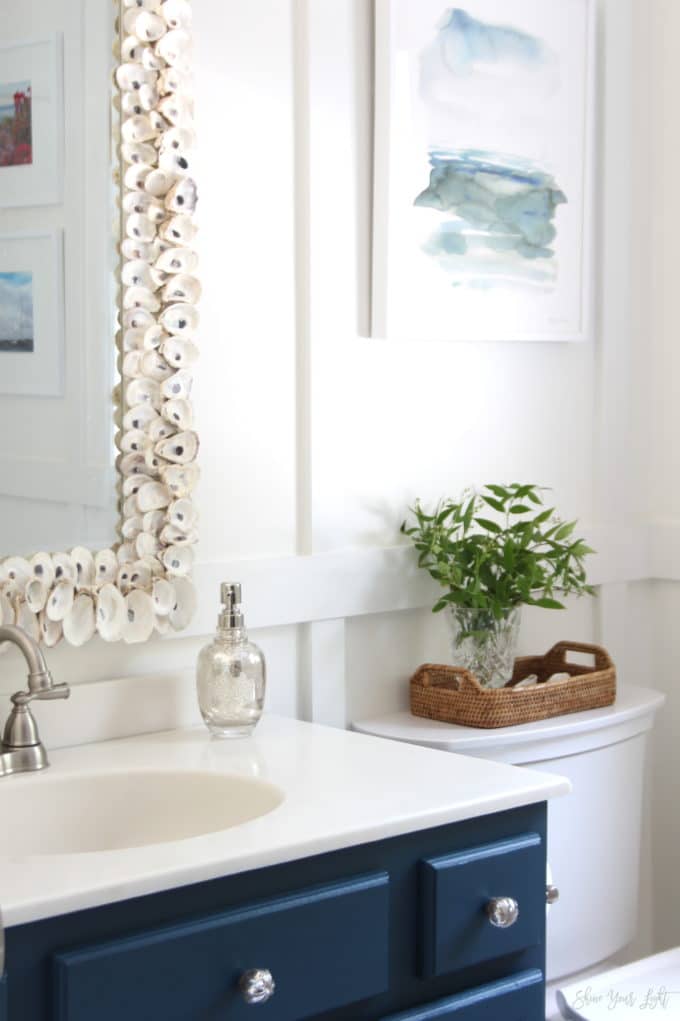
Flowers and greens are the best bang for the buck – especially if they’re picked right from your yard (bonus points for viney weeds that are not poison ivy!) Free always fits in the budget!
Thanks so much for stopping by today.
Visit the rest of the MFF crew for more great ideas!
I’ll be back here tomorrow with all the before and afters of the amazing Bloggers Heart Habitat project from January!


Theresa B. says
Love your 5! A question regarding your pea gravel, how do you handle raking or blowing the leaves in the fall? Do you lose a lot of gravel? We’re considering it, but have a lot of established trees around the area. Yours is just lovely! Thanks for your help!
Lisa says
Hi Theresa! We live in Massachusetts surrounded by trees, and just use a leaf blower to clear the patio when need be. Every once in a while we rake the stones to smooth them out but overall they have a rippled texture from being walked on, kind of like sand at the beach. In the winter we shovel a little path through the patio without going all the way down to the pea stone. We haven’t had an issue at all with the stone traveling into the garden beds or grass (unless we are a little aggressive with the weed wacker where the grass meets the stone :)) Some people don’t like that the stones can get caught in shoes and brought into the house but even that hasn’t really been as issue for us! It’s actually been less maintenance than I anticipated, we love it!
Jennifer Griffin says
Your fire pit gets me every time, Lisa. We want to do something similar one of these days… may this year! You do an amazing job with thrifty makeovers!
Lisa says
Oh you should Jennifer – you have such a great space in your backyard for a fire pit! It’s already a dream back there!
Debbie - MountainMama says
Your home is just lovely, Lisa! I always enjoy my visits to your beautiful blog! That stone patio gets me every time – I just adore it!
Lisa says
Thank you Debbie, you are always so kind and supportive! Your comments just make my day!
Sharon says
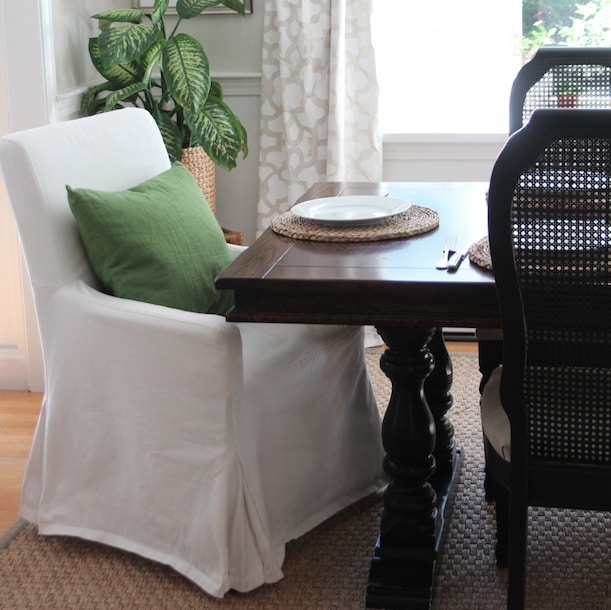
Your blog is one of my daily obsessions. Can you please tell me what kind of paint and the method you used to paint your dining chairs black? I have almost the same chairs with caning and want to paint them, but I want to make sure I get it right the first time. Many thanks.
Lisa says
Hi Sharon! Thank you so much, you are the sweetest! I sprayed these chairs with my paint sprayer – this is the one I have and love because it’s not very heavy: http://amzn.to/2E99EgI. Spraying is definitely the way to go for caning – it’s hard to get good coverage without making the caning all goopy and filled with paint when you use a brush. You could use spray paint but it might take a lot of cans. The sprayer gives a nice smooth finish. I just used thinned out black paint I had on hand from painting my interior doors (I think it was Ben Moore in semi-gloss) and then after they were dried and light distressed along the edges, I used Minwax Wipe On Poly to protect them from nicks and bumbs, and they have held up beautifully. I’m looking at this as I type this and they look just the same as when I first painted them several years ago! Good luck with your project, I’d love to see the outcome!
Pam @ Simple Details says
I agree with Jennifer! That fire pit is the BEST, totally worth every bit of your hard work! It’s amazing how quickly all the foliage has filled in. Every time I see it I picture you sitting out there with your friends and wine! 🙂
Lisa says
If only this friend I have in Colorado could magically appear out there for a visit, all would be right with the world! 🙂
Jessica says
Your ideas are genius!! I love the pea gravel fire pit and those green steps are darling!!! Such a fun space to use a bold color.
Lisa says
Aww you’re sweet, thank you friend!! The steps are fun, and they are a million times better than the yucky dirty unfinished version. Plus the painted steps can be mopped so they’re easy to clean!