This post has been so long coming! At the suggestion of one of my lovely readers ages ago, I rounded up all the posts about our fireplace renovation and put them together in one place as a reference guide.
If you feel like you’re never going to get through all the projects your house needs, take heart. I started this in November 2015 and finished it….last week! 
All set with fireplace makeovers? Check out the pea stone patio and fire pit build here, or perhaps you’d enjoy one of these furniture flips!
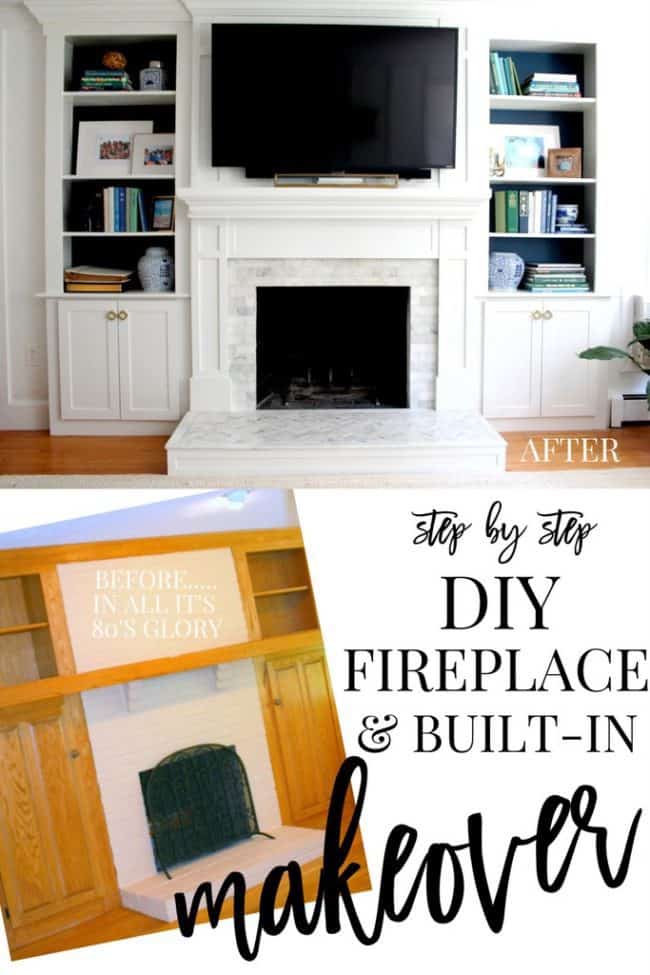
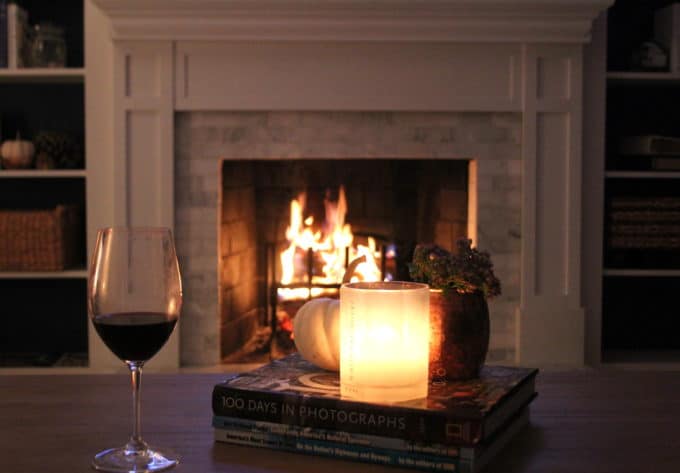
If you’re looking to update your fireplace, here are all the steps I took to giving our outdated fireplace and built-ins a much needed makeover.

DEMOLITION AND RECONSTRUCTION
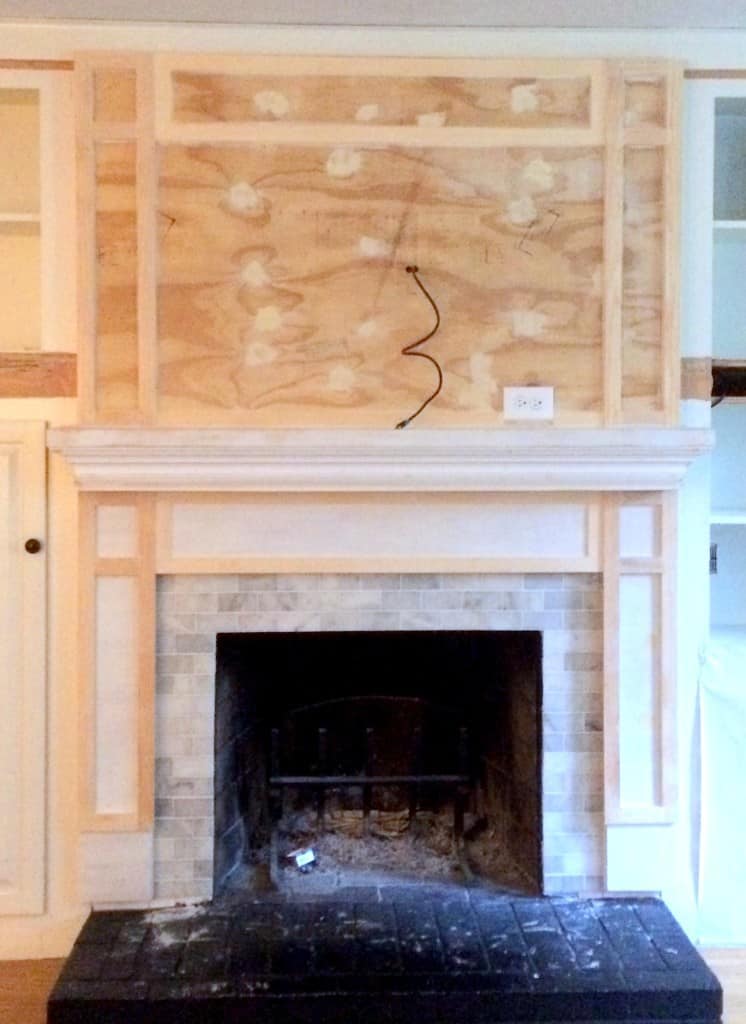
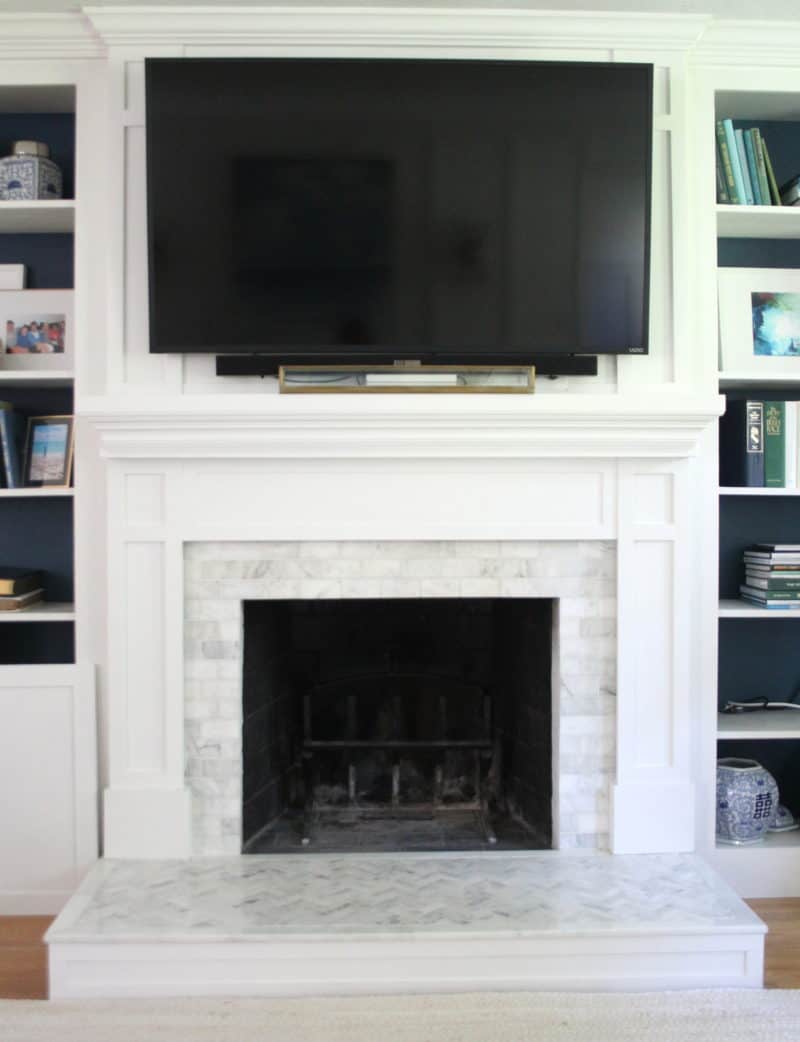
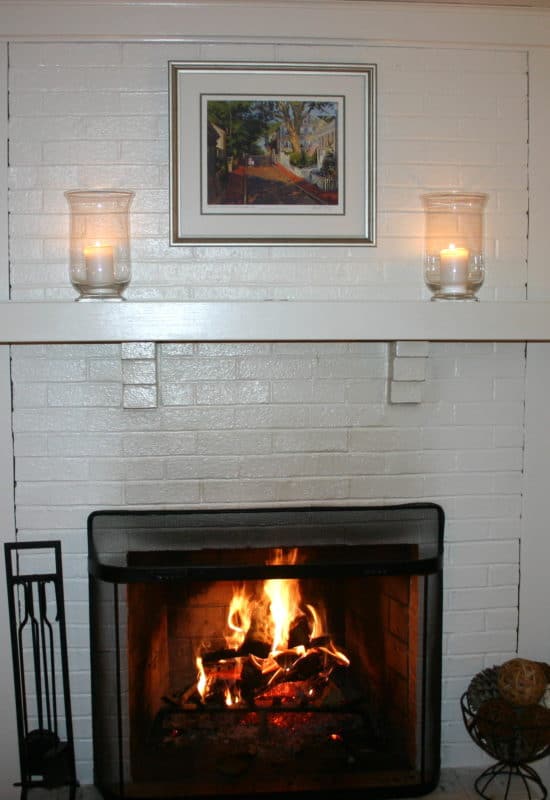
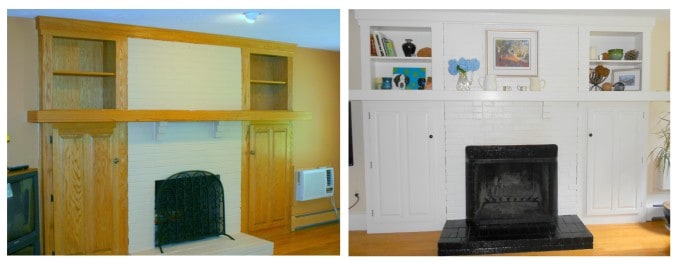
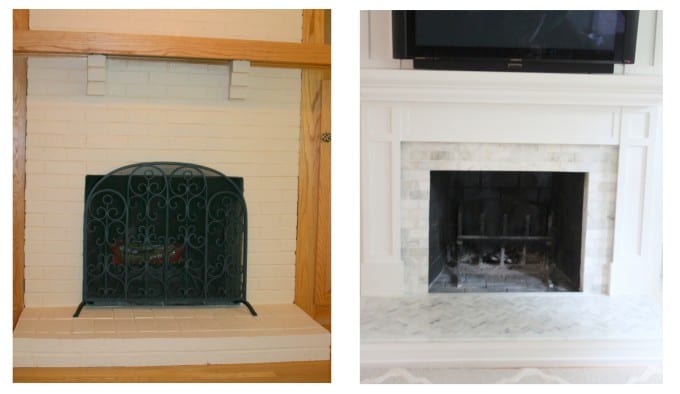
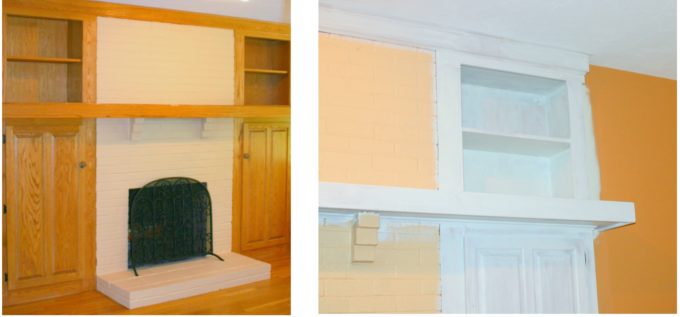
We started with a peach painted brick fireplace and cabinets on either side. While we loved having built-ins, the mantle was weirdly high and objects on those shelves always felt out of balance.

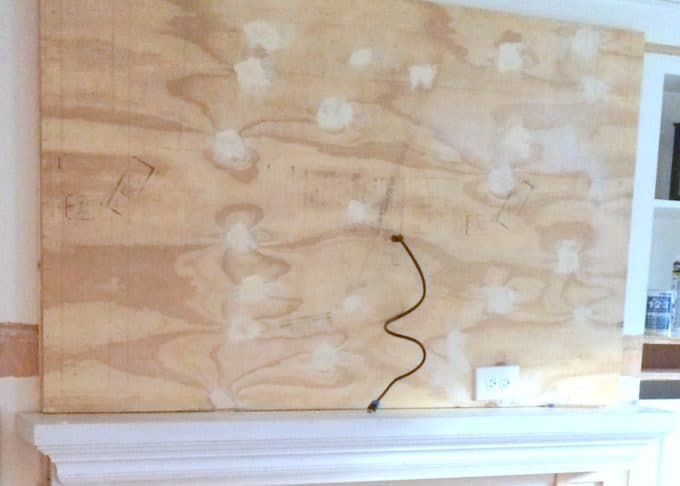
We also decided to mount our TV over the mantle (not my favorite choice design-wise, but it was really the best option for this room). You can see how we wired the TV behind a new upper mantle and relocated an outlet in PART 2 of the reconstruction posts.

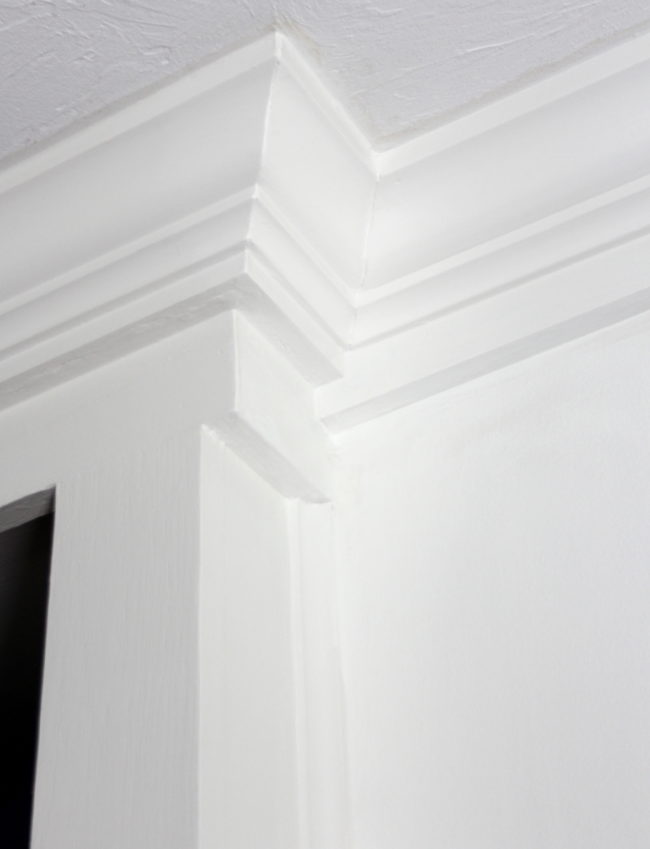
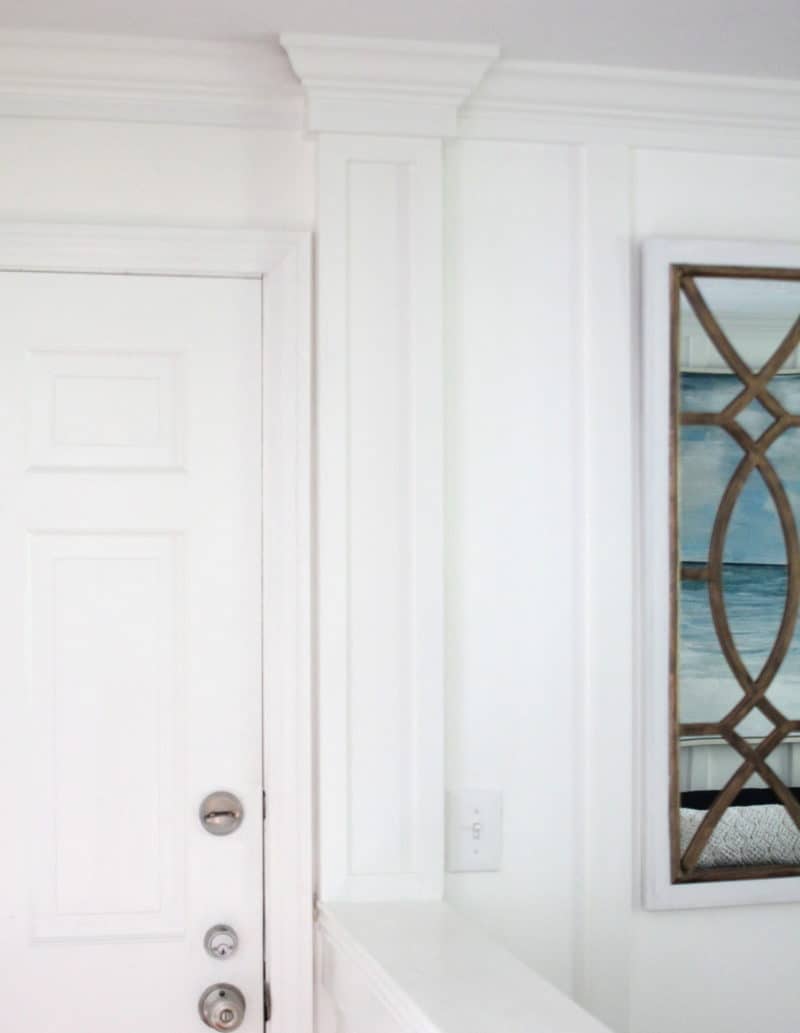
I installed the upper mantle so that it would extend out from the bookcases a bit and give this wall some definition. The crown moulding I added really accentuates this and is a little detail I love.

PREP, PRIMING & PAINTING
Every nook and cranny of the newly rebuilt surround, built-ins and trim got caulked, putty-filled, sanded and painted after tarping off the rest of the room. Using a paint sprayer required a lot of prep, but made the project SO much quicker and easier than brushing and rolling on the paint, and the finish is really smooth and beautiful.

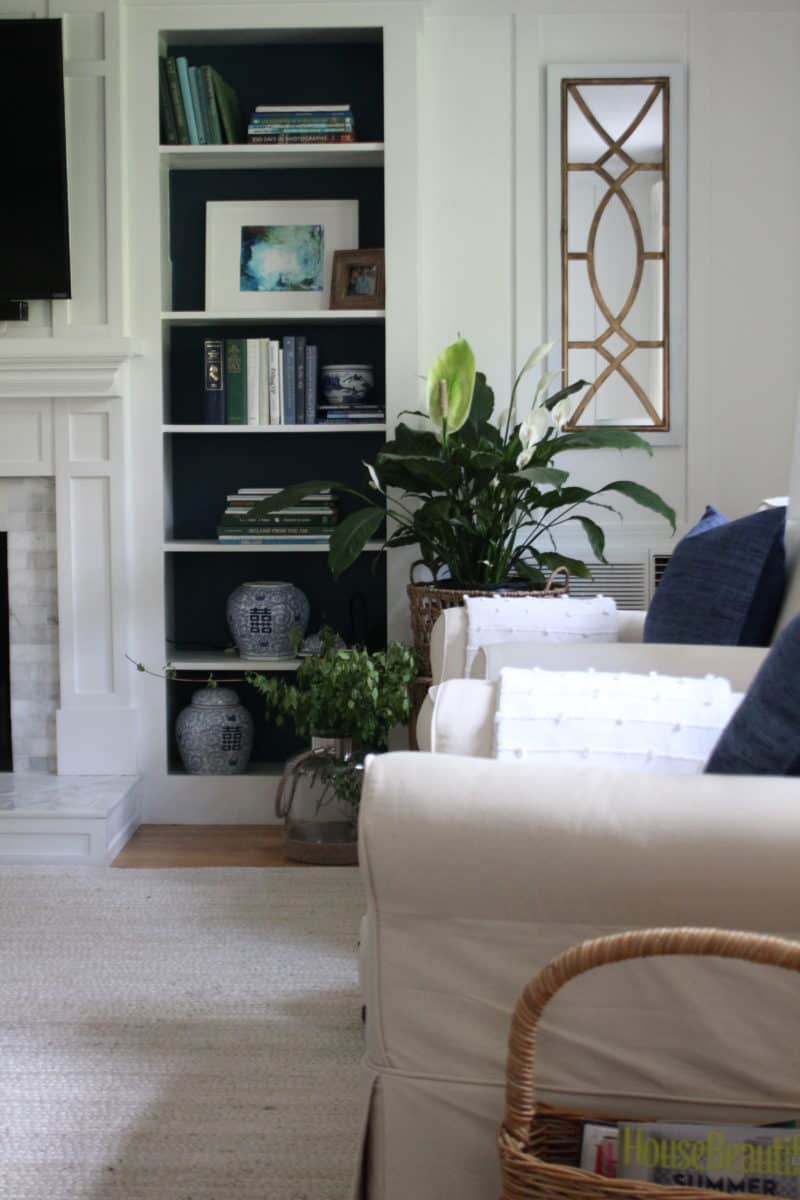
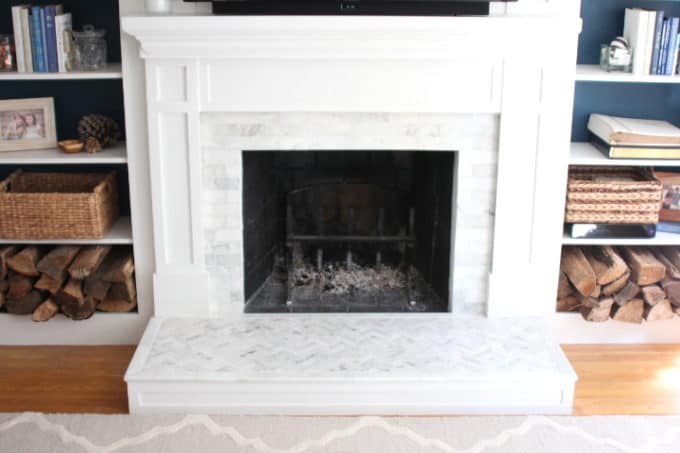
The fireplace surround and bookcase paint color is Benjamin Moore White Dove OC-17 in semi-gloss.
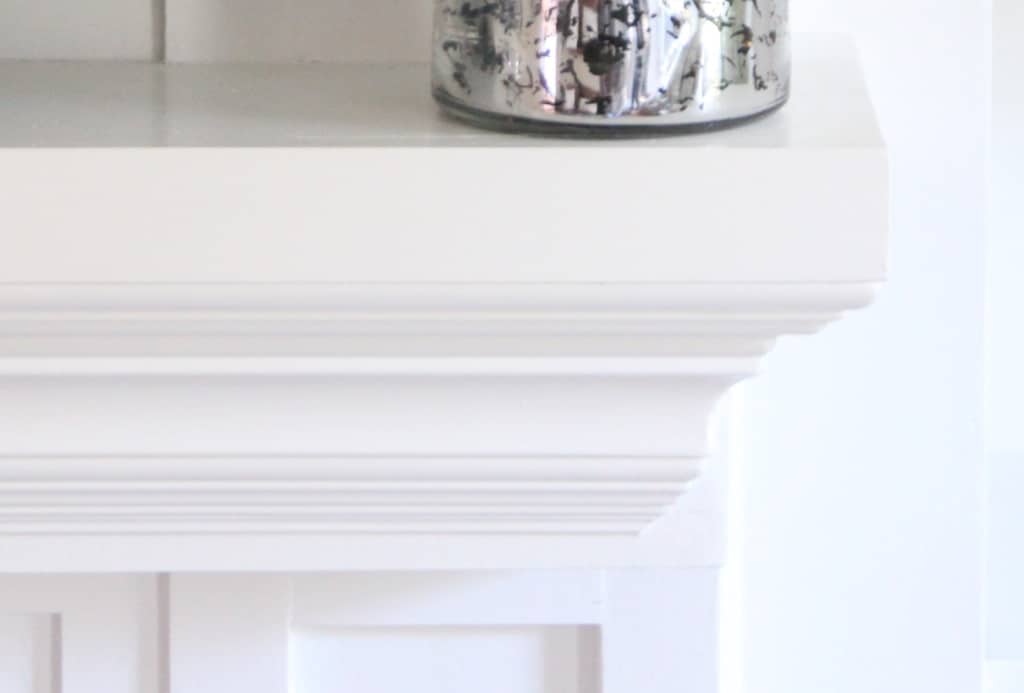
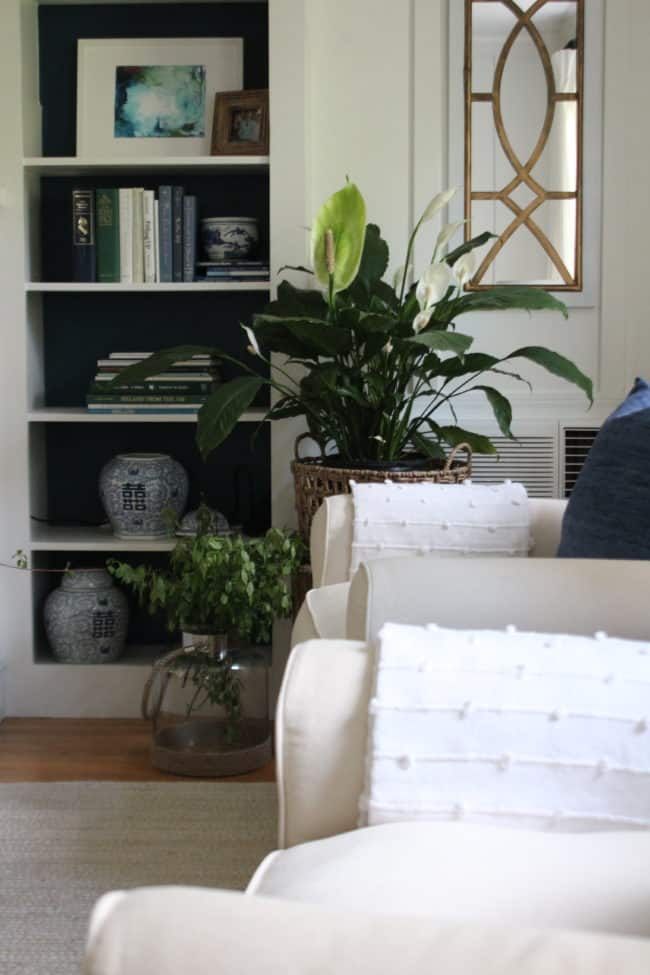
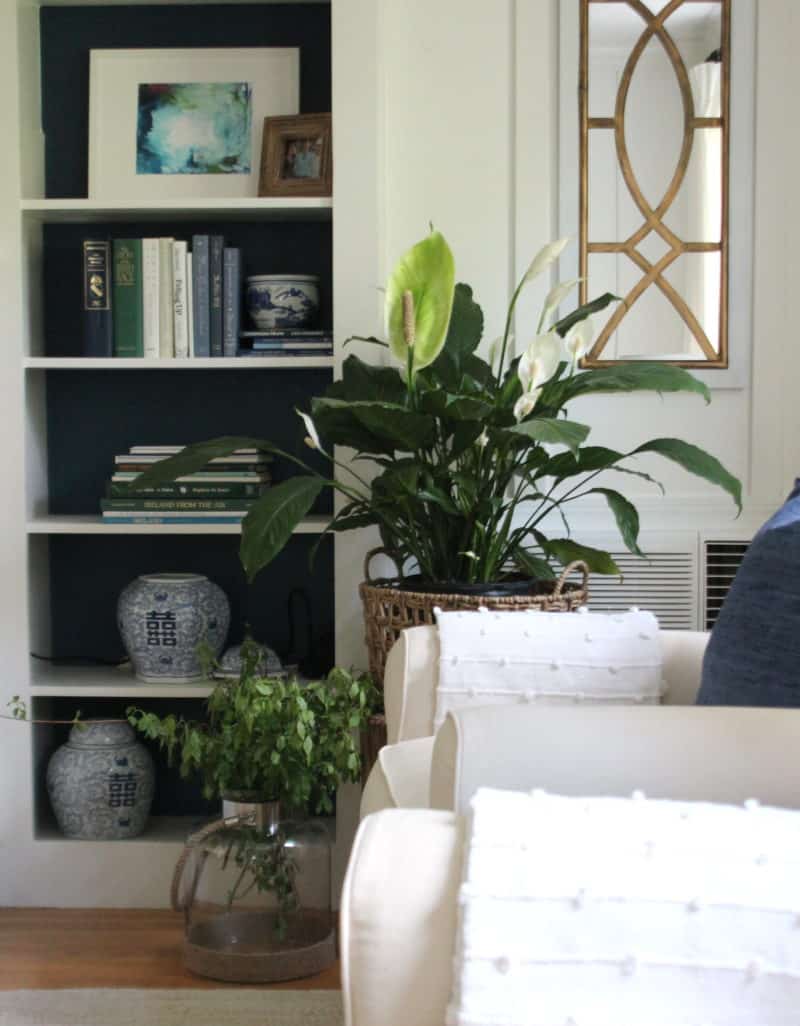
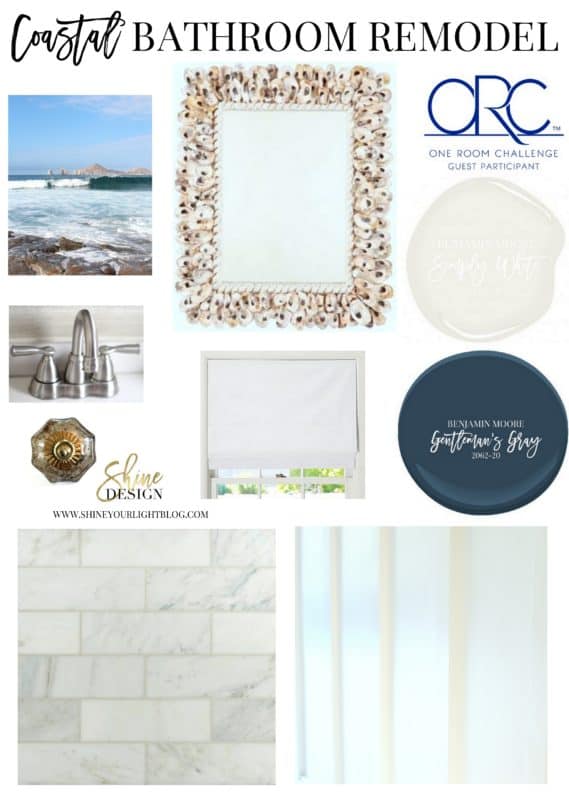
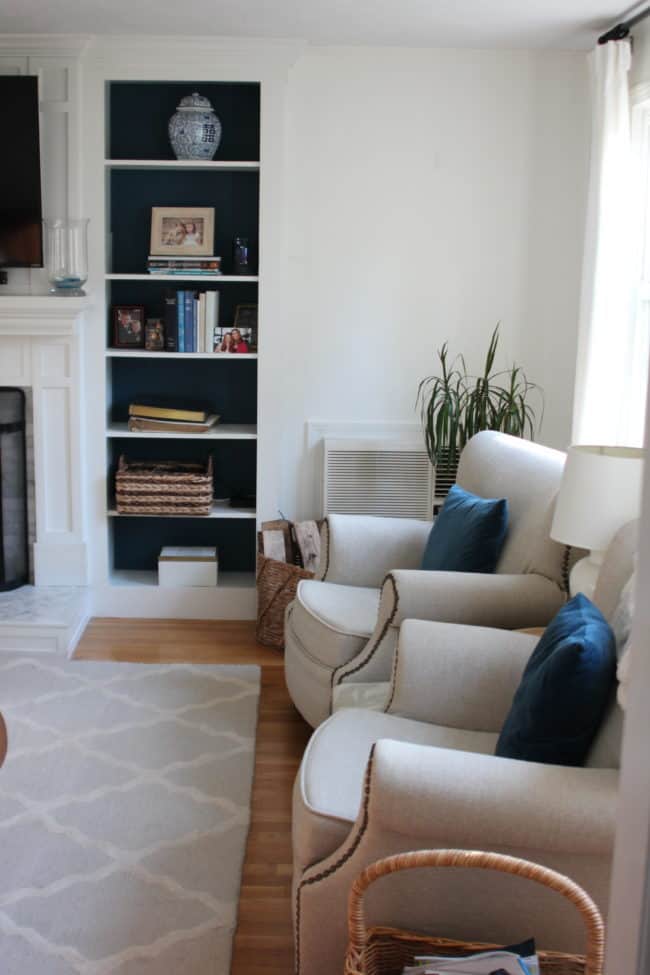
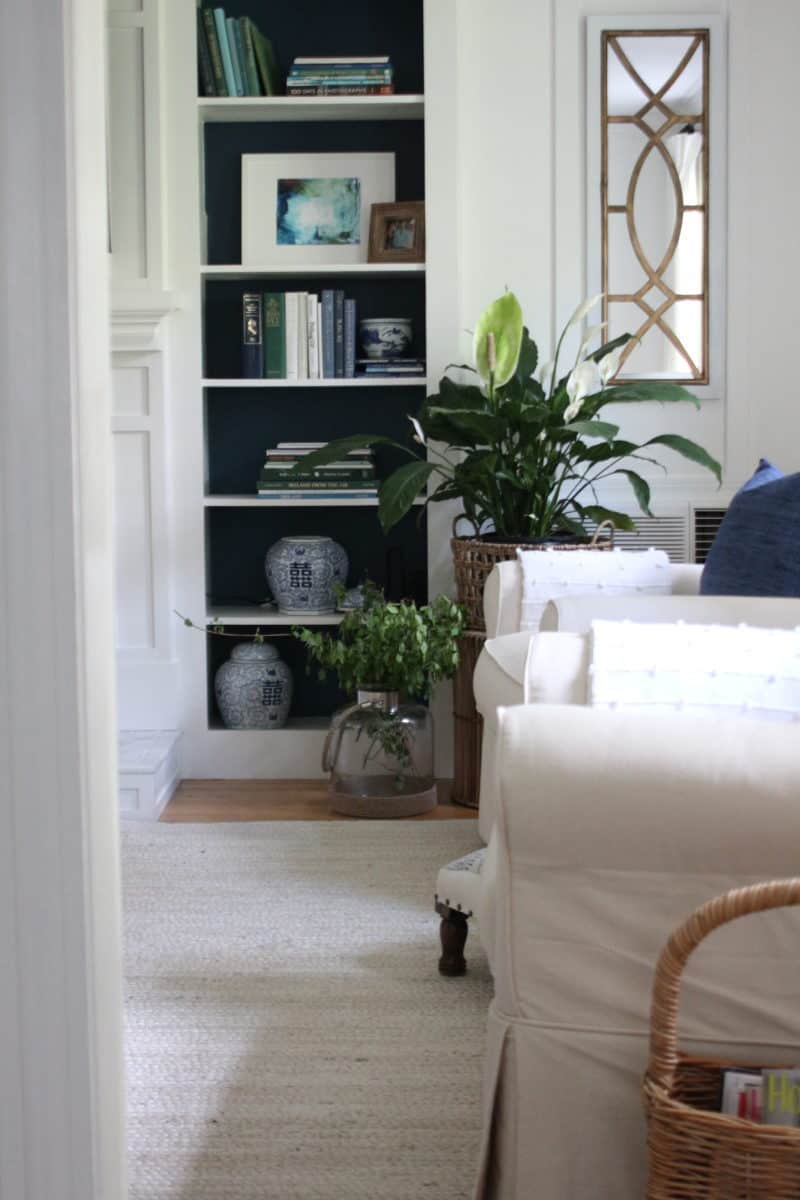
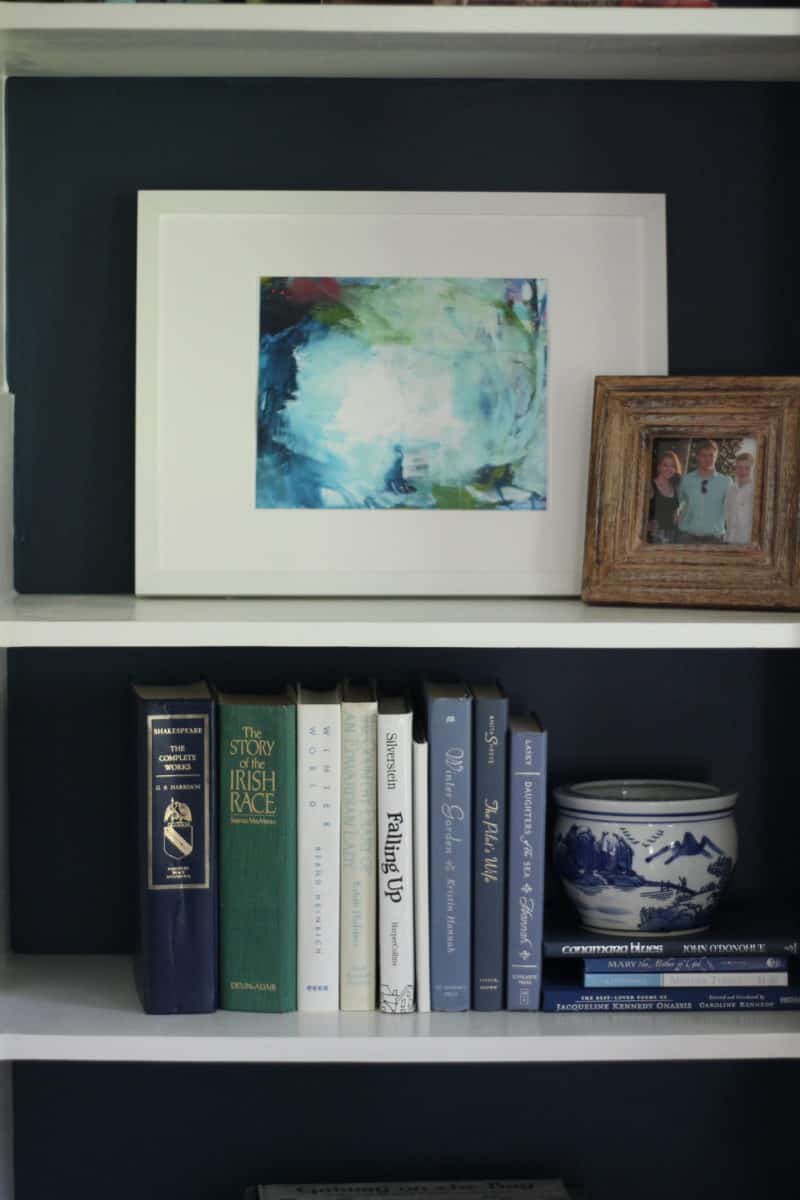
I also painted the bookcase backs with Benjamin Moore Gentleman’s Gray 2062-20 (leftover from our master bedroom and also used on the coastal bathroom vanity).
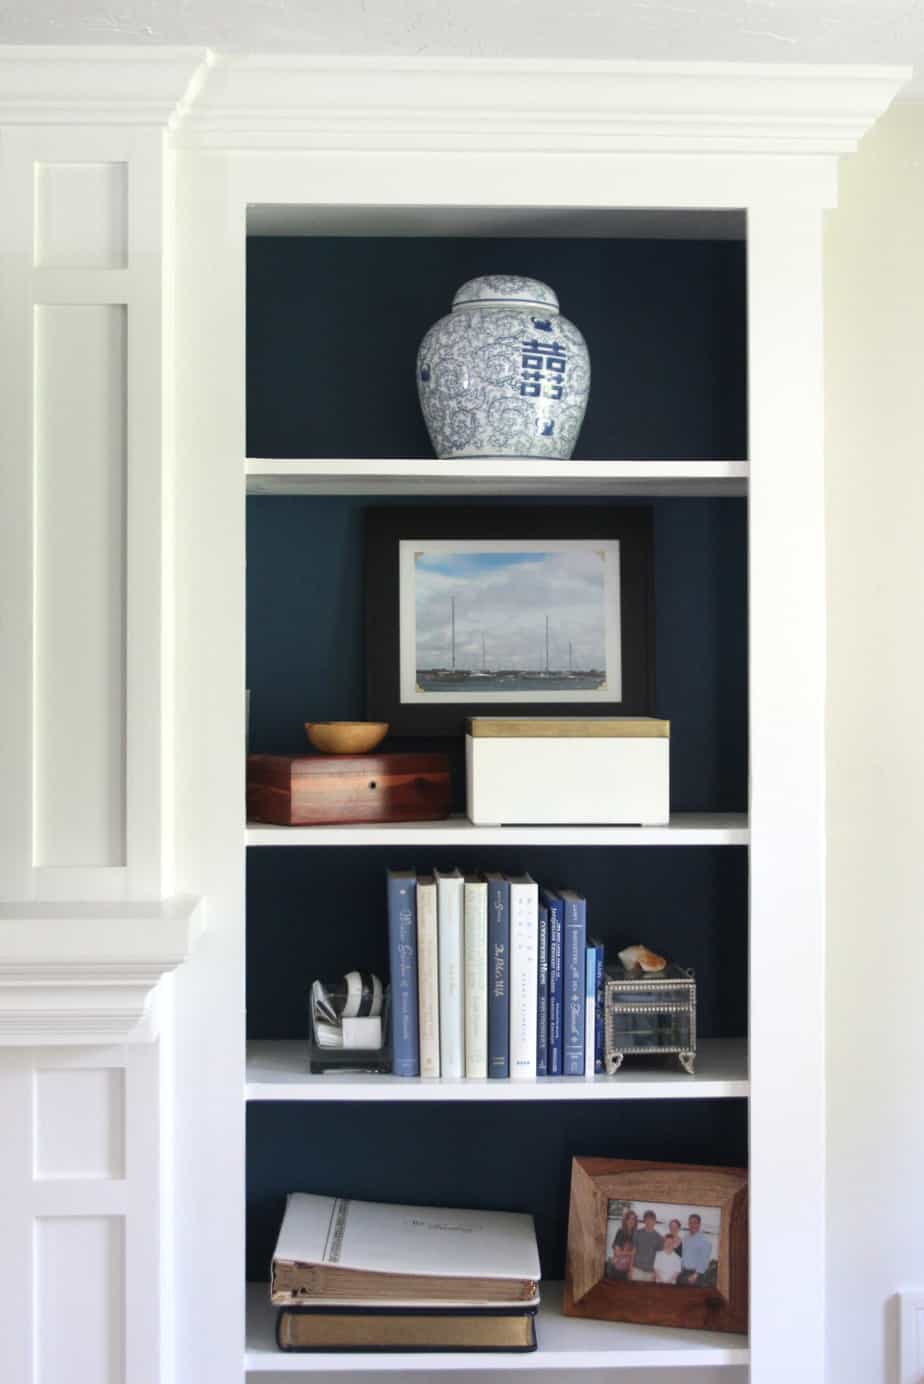
You may notice that one of the boxes of the bookcase is bigger than the others; that’s the result of removing the old mantle. The shelves are built into the sides of the bookcase and are not removable without cutting them out with a saw, a task I decided wasn’t worth making the shelves all uniform!

TILING THE SURROUND
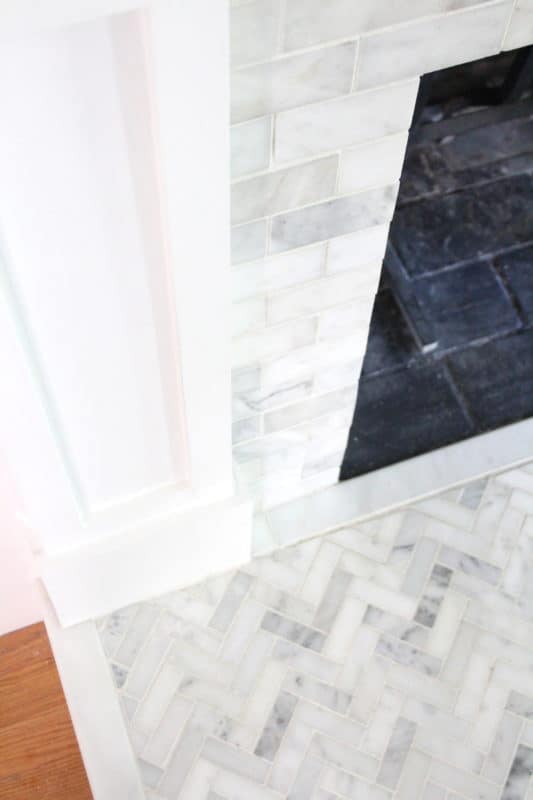
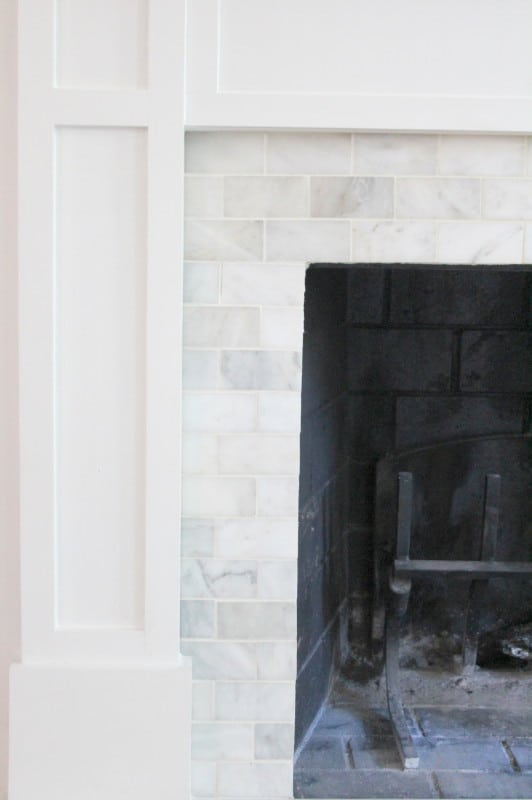
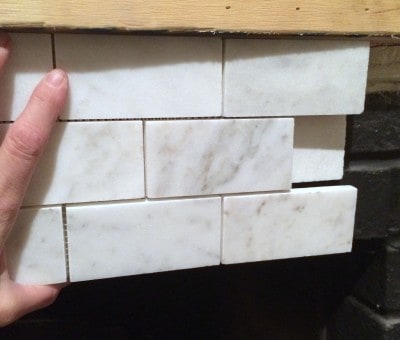
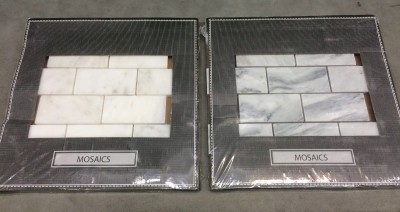
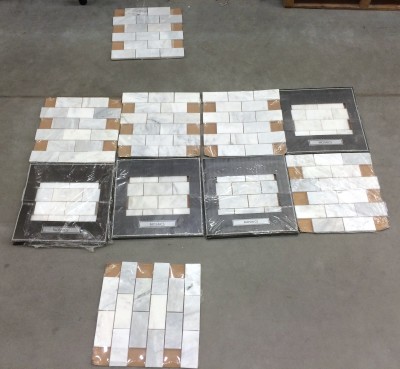
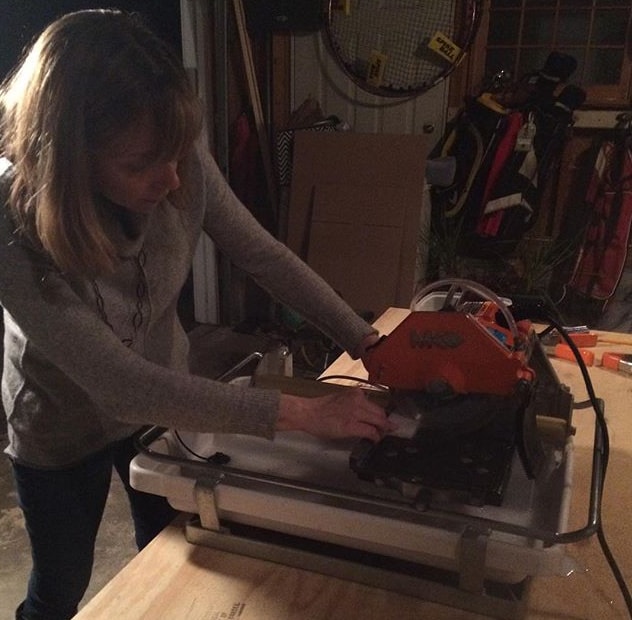
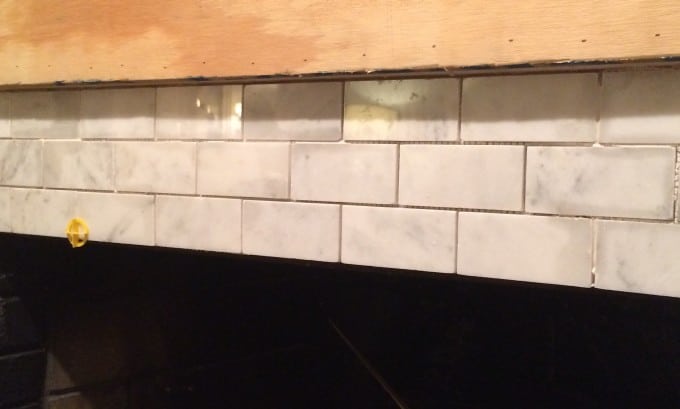
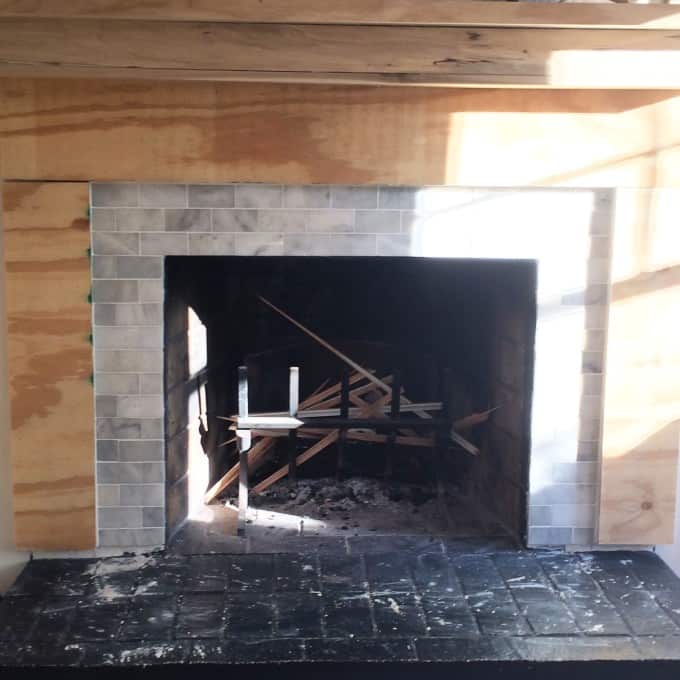
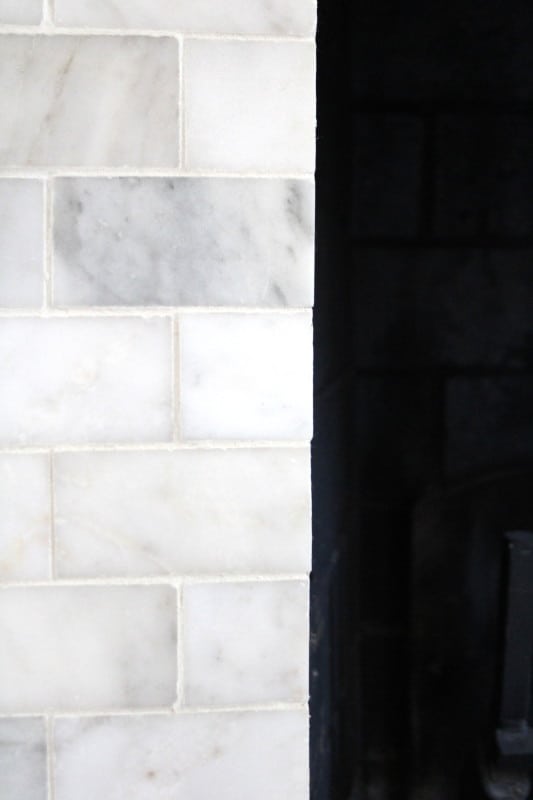
I tiled right over the existing brick surround with these marble tiles and this completely transformed the look of our fireplace! Love at first site!!
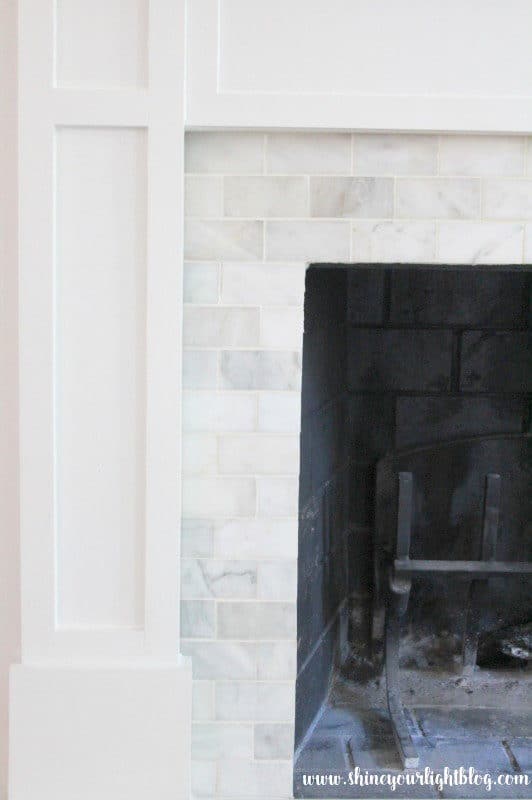

TILING THE HEARTH
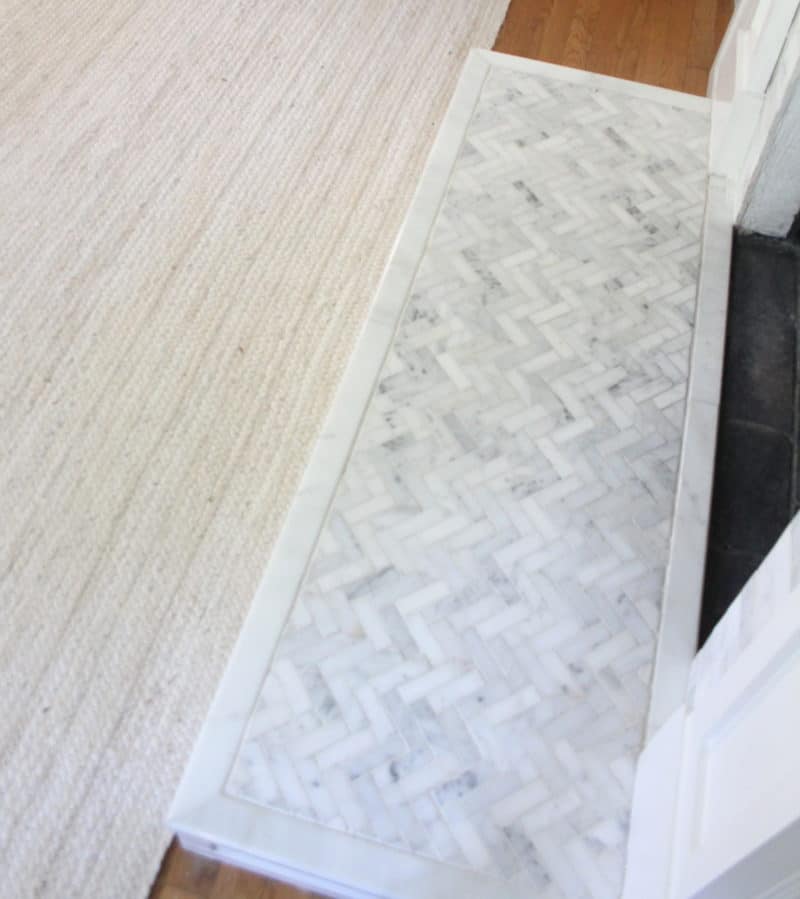
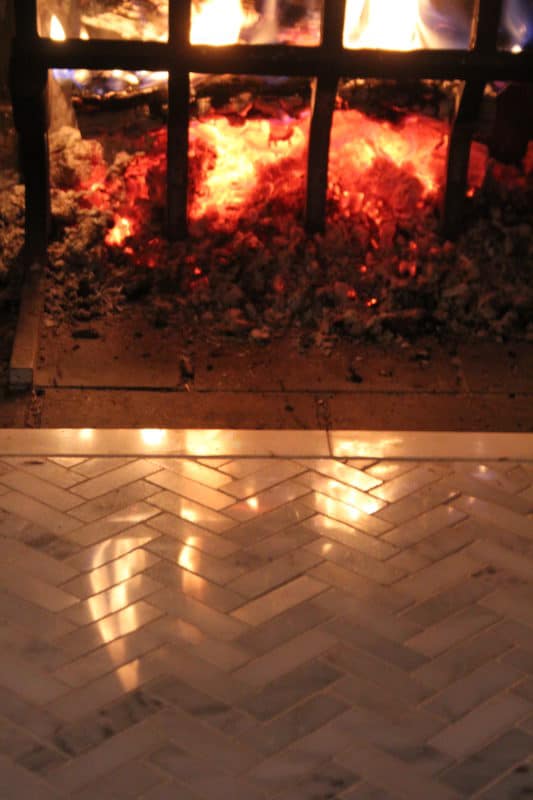
We were planning to have a thick slab of slate or honed granite cut, but in the end I went with my heart and tiled over the brick hearth with this herringbone marble, and created a border with marble threshold. I also framed and trimmed out the base of the hearth.
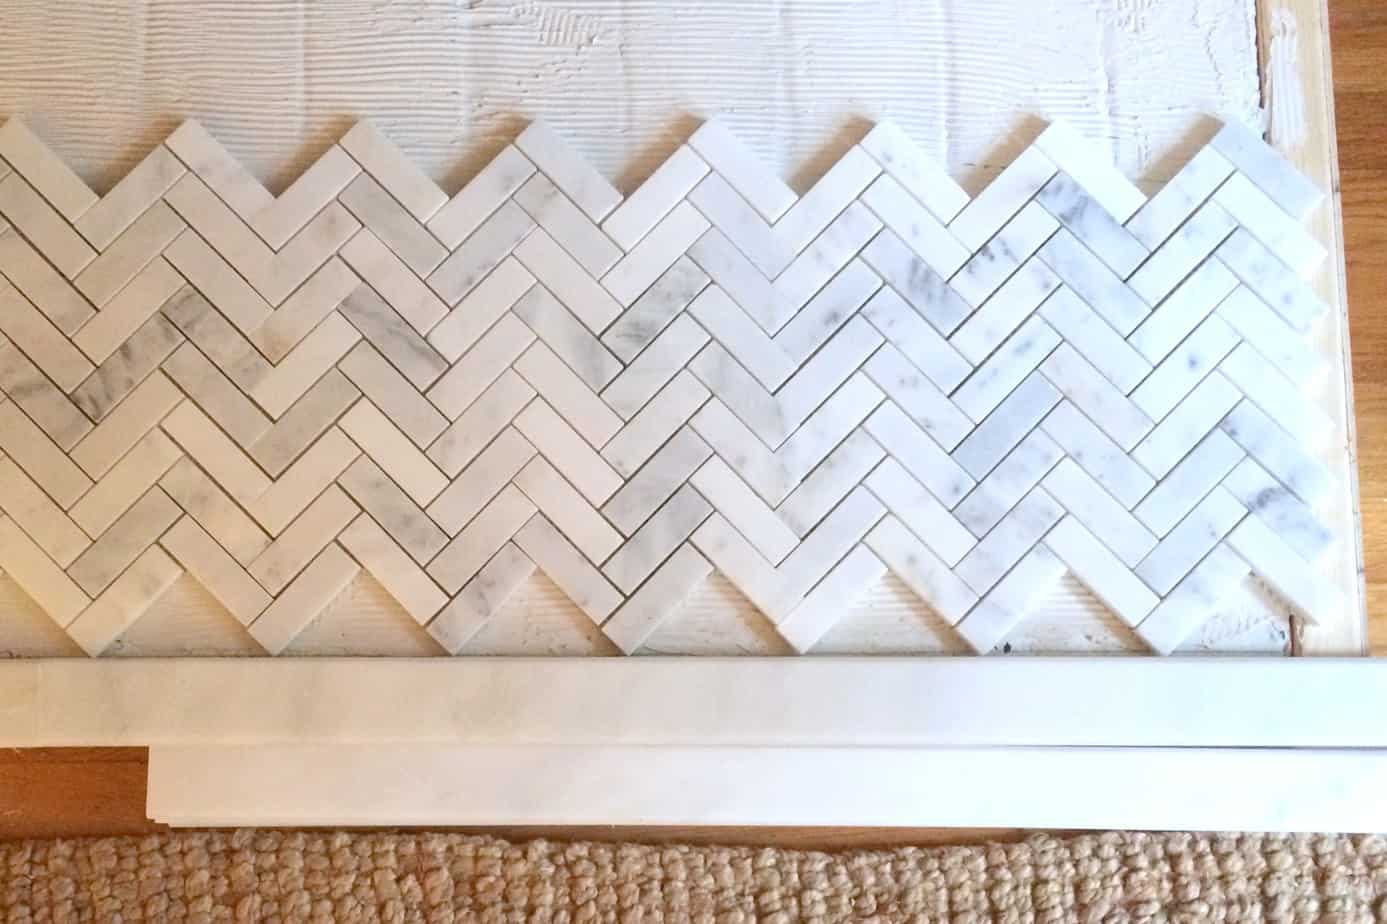 I had to install cement backer board to even out the surface of the existing hearth, but if your hearth is level you can go right over brick with tile adhesive.
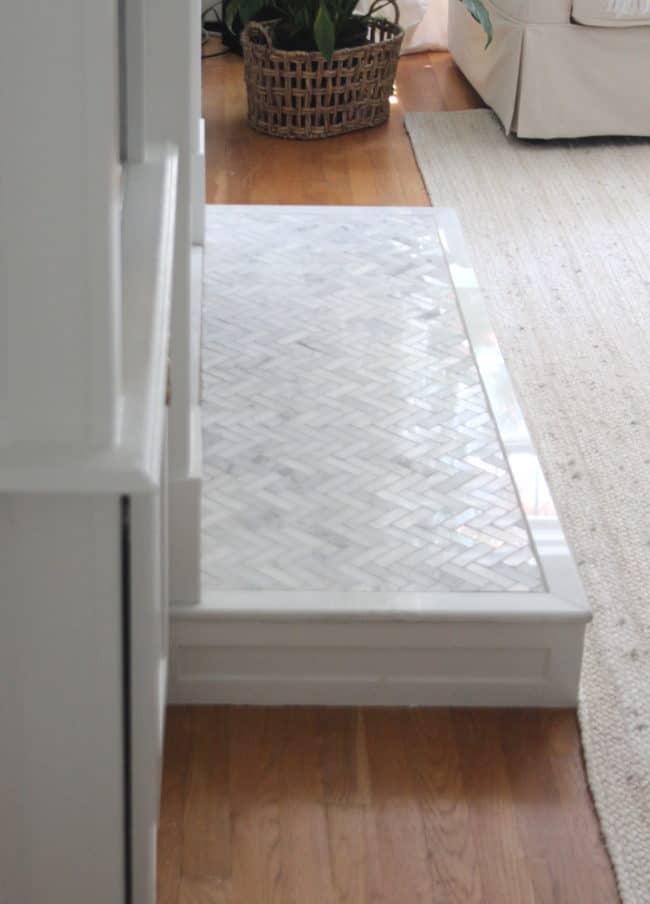

SEALING THE MARBLE
This is a really important step when using marble tile around a fireplace or near a cooktop! I had a bit of a trial and error experience my first time around – you can read about what I did wrong and the best product to use to seal marble tile in this post.


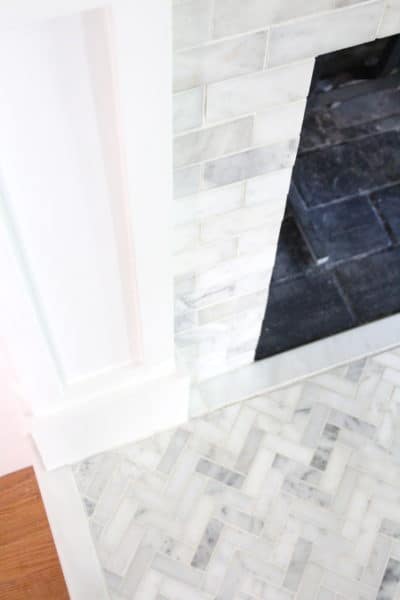

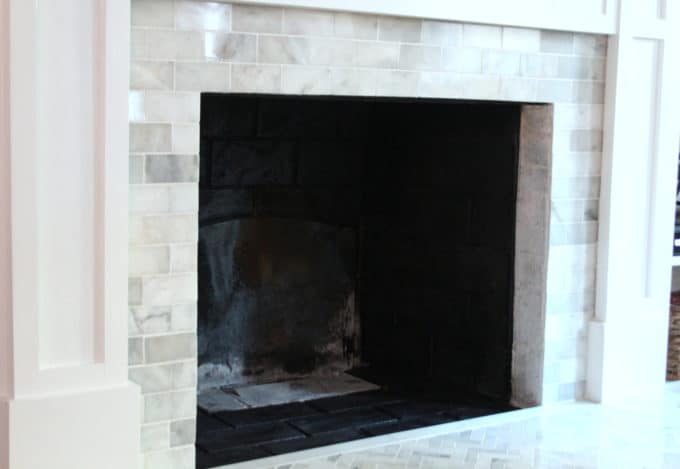
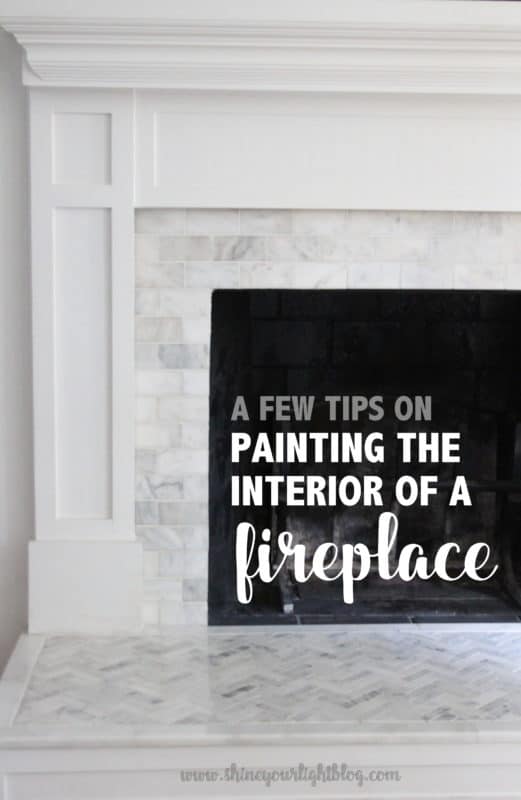
PAINTING THE INTERIOR OF THE FIREPLACE BOX
Our fireplace is wood burning, and we use it all the time from October through April, so I did a lot of reading about the best practices of cleaning a fireplace box. Read all about what parts of the fireplace box to paint and what to avoid.

ADDING CABINET DOORS
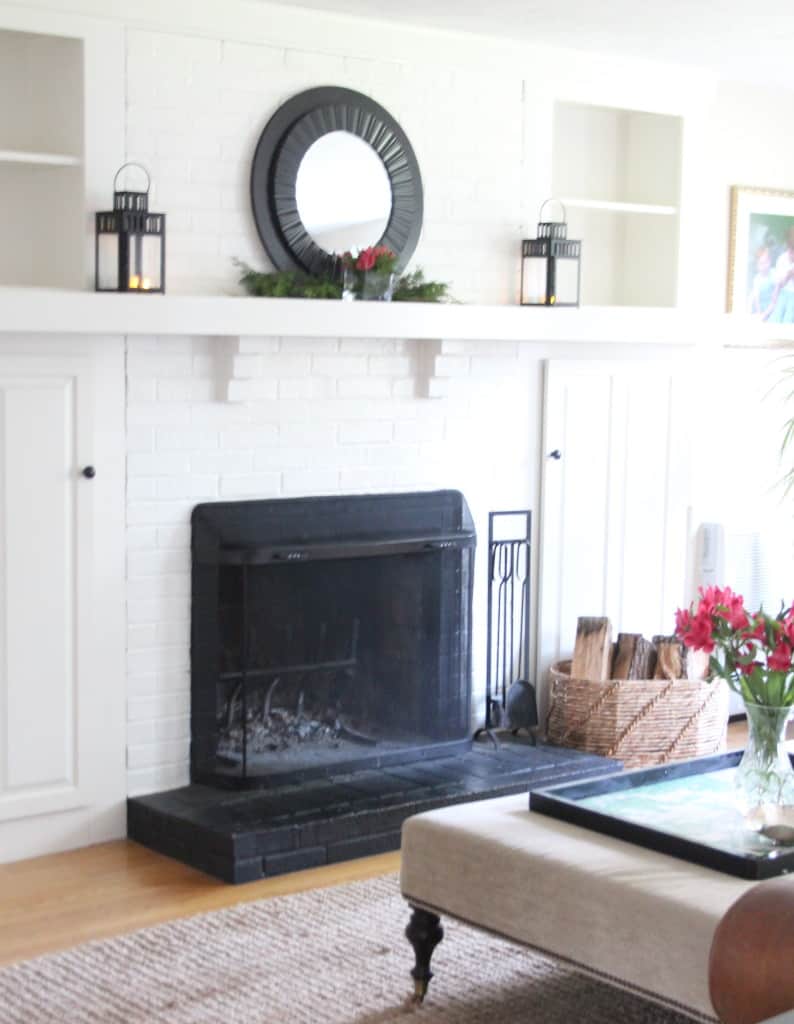
We liked the bookcases open from floor to ceiling, but eventually I grew super weary of having to keep all those shelves styled and pretty – plus what house couldn’t use a bit more storage space?
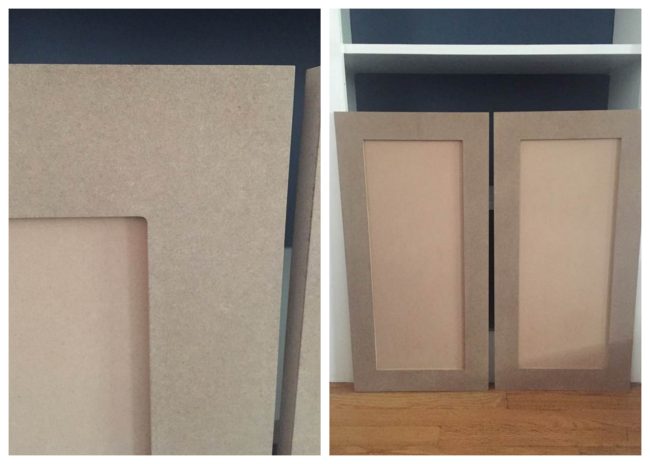
I bought these MDF cabinet doors online, made to my exact specifications (not that expensive!), primed and painted them, and……
voila! The fireplace reno is finito! Only took me two years and six months to complete 🙂
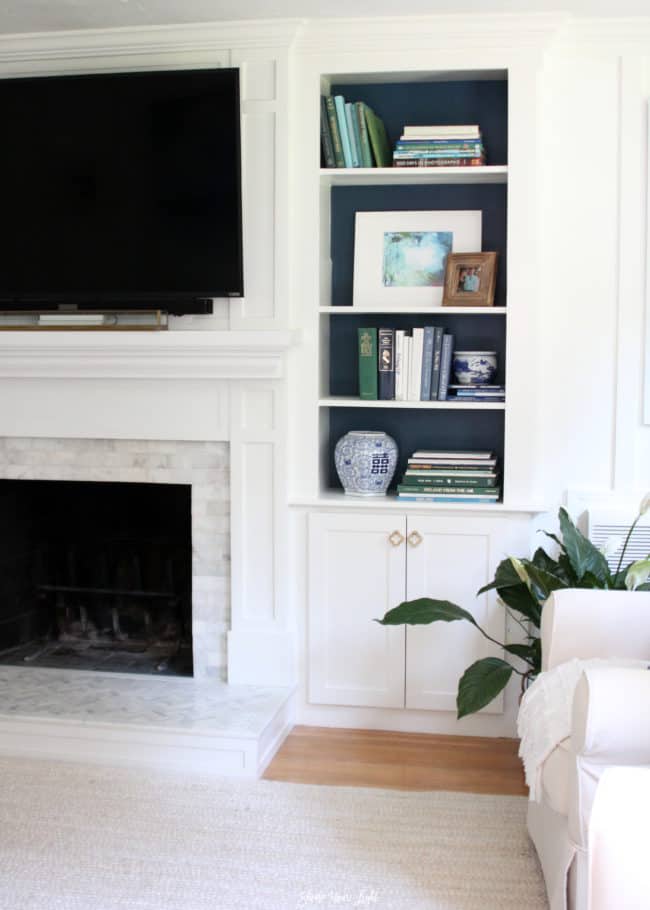
You can read about adding the cabinet doors in this post.
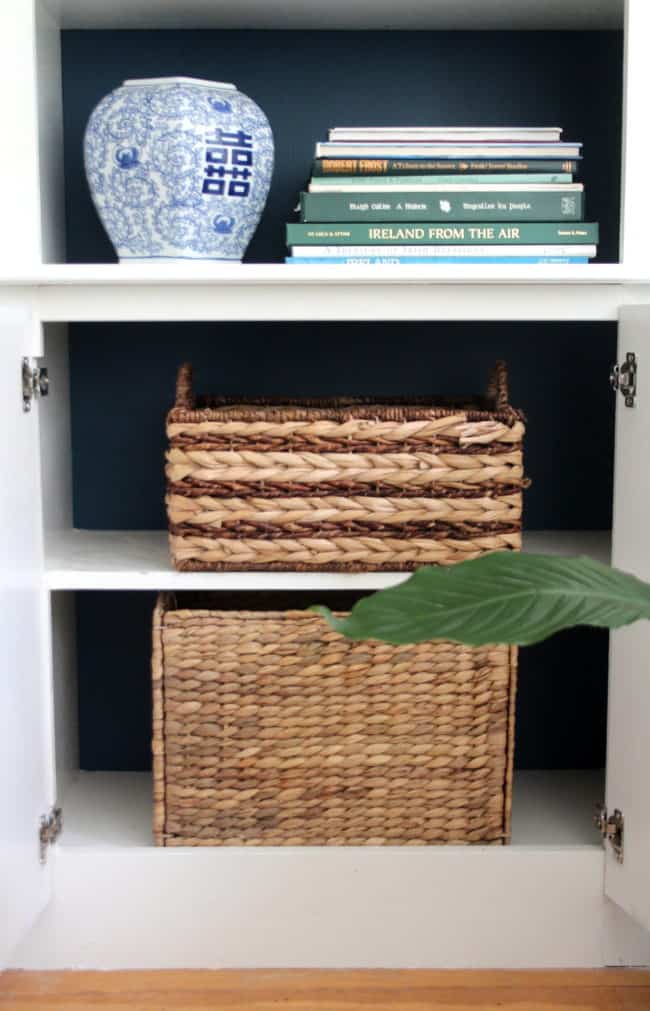
Can we talk about this glorious hidden storage?!! I’m actually looking forward to cleaning out junk drawers, organizing random household things and taking advantage of this newfound space this summer!
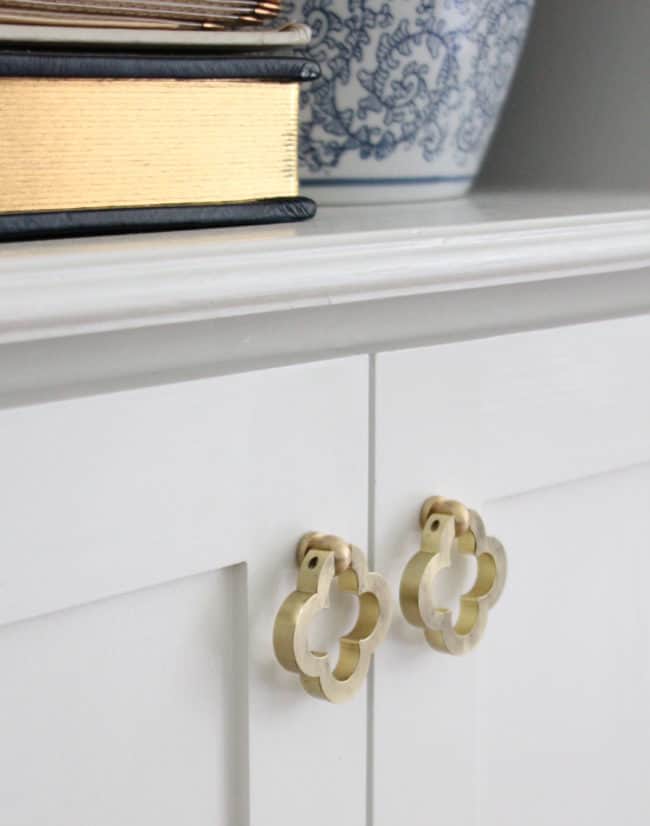
And the pretty new pulls don’t kill me either!
One last look at the before and after!

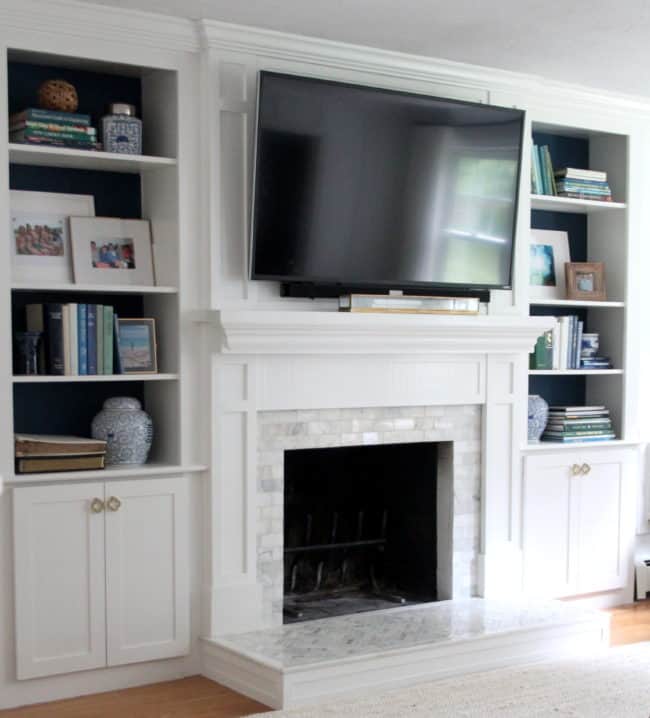
See the whole family room makeover reveal here!
SOURCE LIST
Rectangular marble tiles on surround
Find all the materials used for the various projects within each post I linked to.
If you have any questions I haven’t covered just let me know!
Wishing you a wonderful day!

PIN THIS POST TO SAVE!











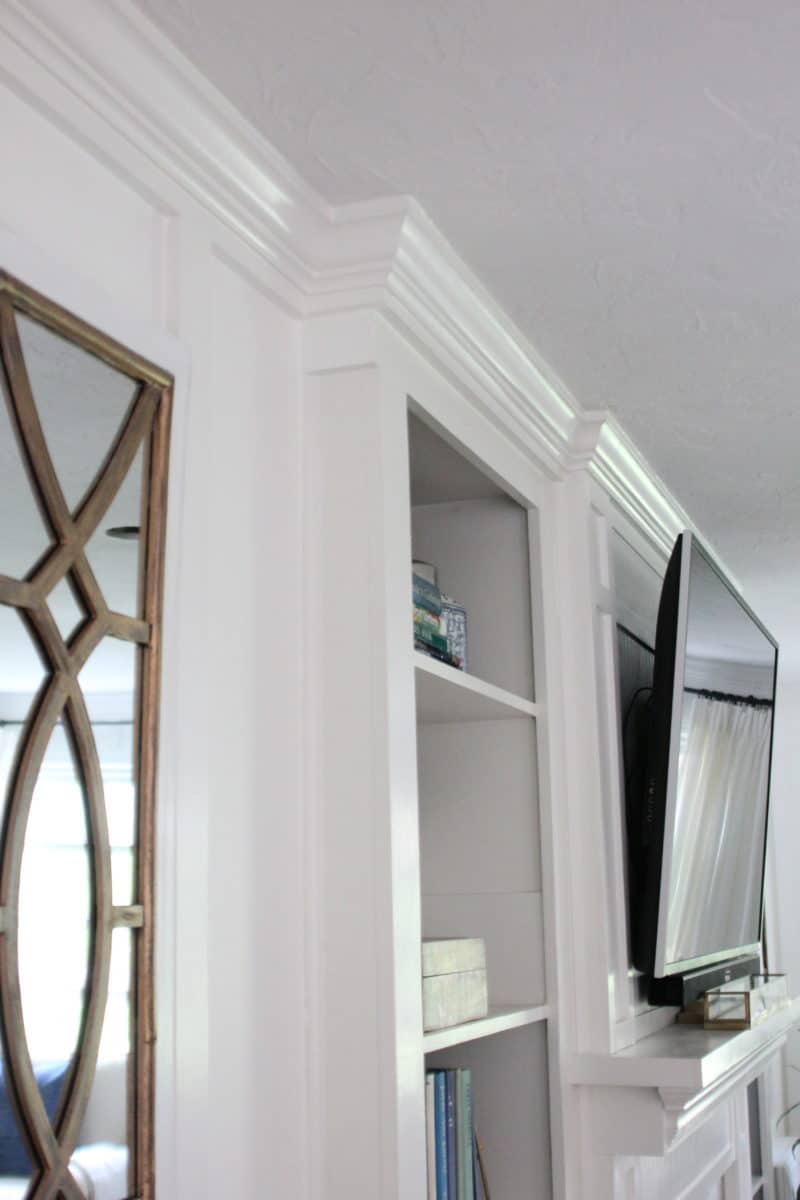




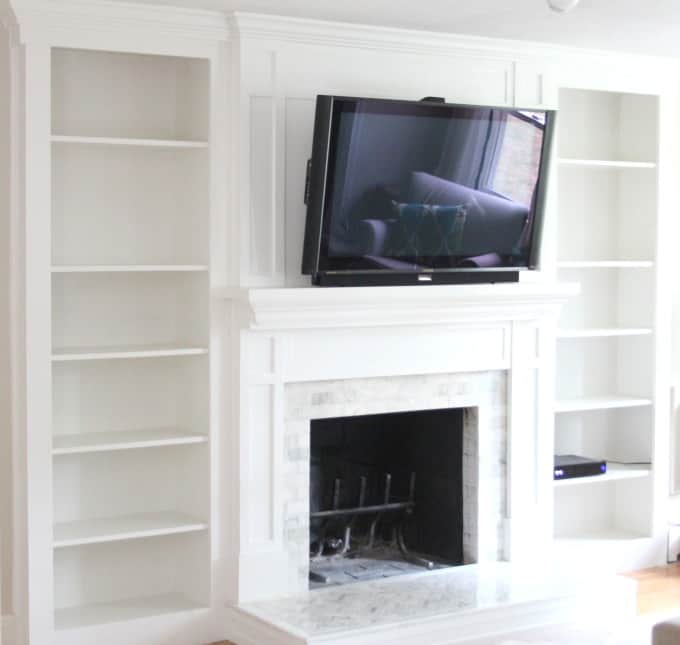



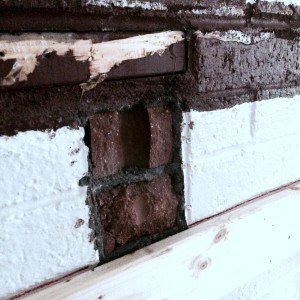


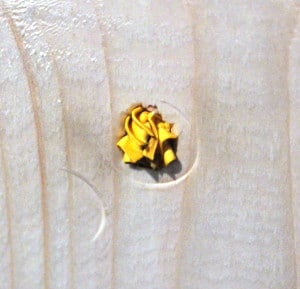


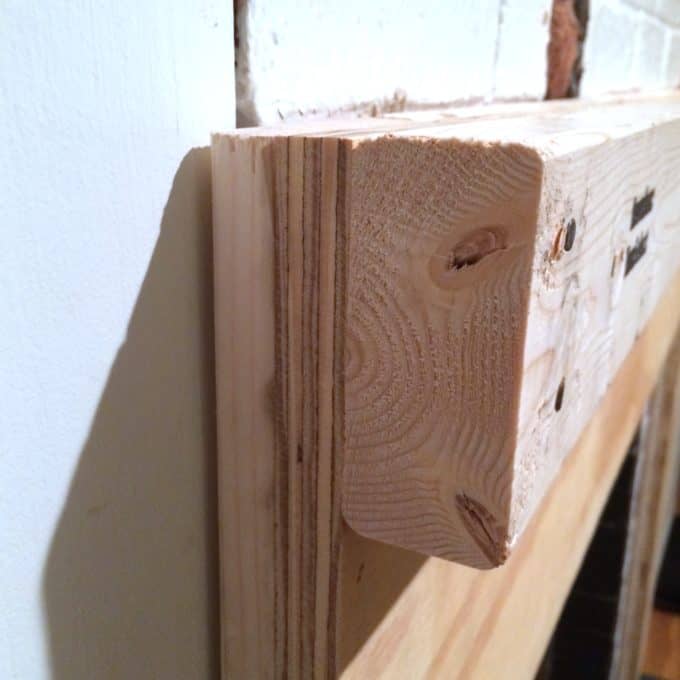
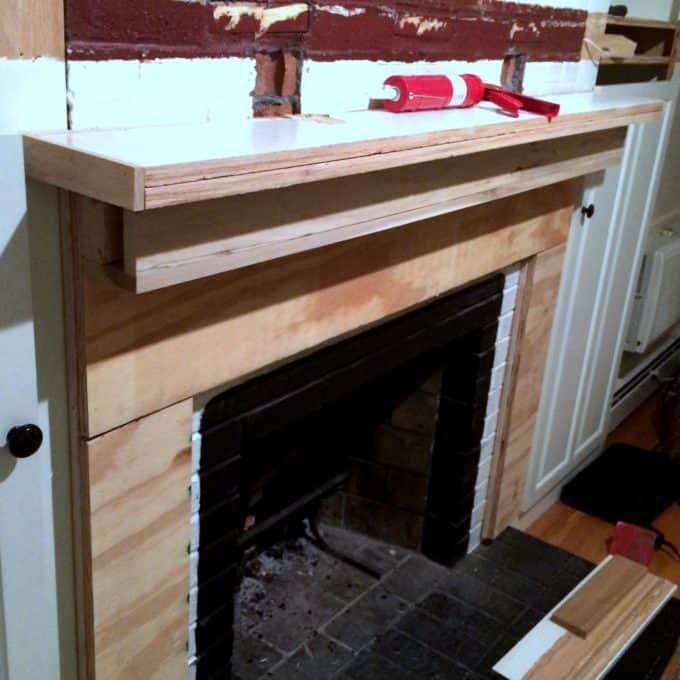
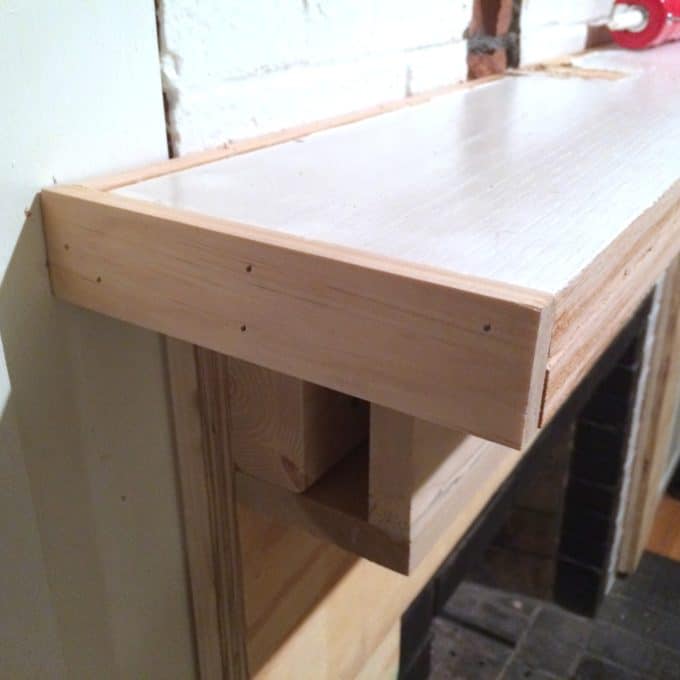
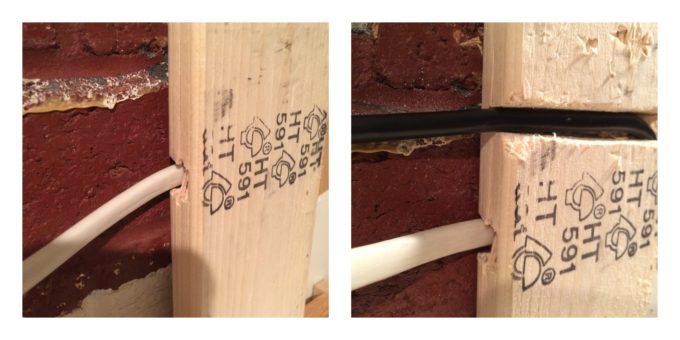 We cut down plywood to attach to the furring strips over the brick, and drilled a hole large enough for the cable for the tv to be pulled through, then we attached the plywood to the furring strips to create the uppermantle.