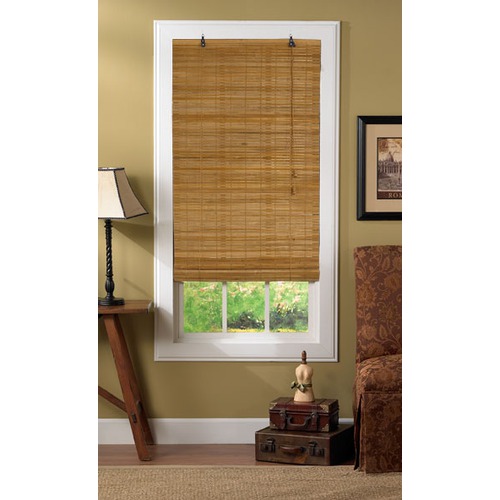


BAMBOO ROLL UP SHADE HACK SUPPLIES


Remove the triangle hooks that are already on the shade: using two sets of pliers, clamp onto either side of the hook, pull it apart and discard.
Now add new triangle hooks a little further down so that they will be hidden behind the shade. You want the screws to go into the stacked layers at the top of the shade. Measure, mark and pre-drill holes for your screws (without pre-drilling the bamboo cracks when you install the screw.)

The shade came with only two hooks, but since these shades will be pulled up and down on a daily basis, I placed four across the top of my shades for durability.

Find the center of your window, mark it, and mark your hook measurements accordingly.
Place four screws on the markings….

then hang the triangle hooks, and voila.

Now lets talk about the cleat that holds the cord.

Does anyone on this earth like these things? Those tiny screws that come with it??? The fact that you have to wrap the cord around it 75 times??? However, they are important if you have young kids in your home since shade cords present a risk of strangulation. I also feel like the dangling cord detracts from the look of a shade.
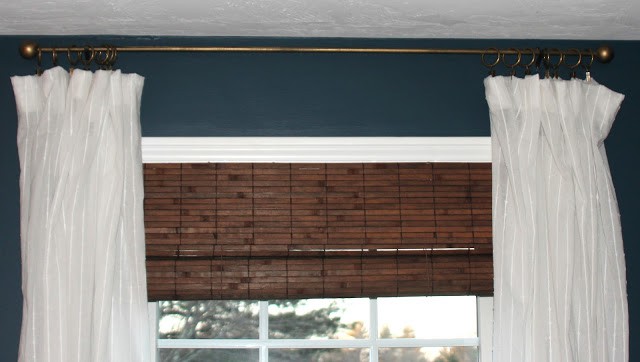
If your shade will be flanked by curtains, forgo the little annoying cleat, and simply hide the cord (and more importantly, keep the younguns safe) by screwing two longer screws into your window frame, about 10-12″ apart. The cord wraps around the two screws only 2 or 3 times and takes about 5 seconds when I pull up the shades in the morning.

The final affect is a less cluttered, more finished look.
The hardware is hidden on the bamboo shades, but what about this curtain rod???? Wow, sweet right?!!!!!


Have a wonderful day!


NanaDiana says
Well, aren't YOU a clever girl? Great idea- xo Diana
Kim@Chattafabulous says
Lisa, you are so smart. I love bamboo blinds too for the texture. Thanks for the tutorial!
http://www.chattafabulous.blogspot.com
Jennifer @ Dimples and Tangles says
You are brilliant! I always thought that the hardware that comes with those shades is definitely lacking. I'm in the market for some in my bedroom, and I may need your trick!
Linda {Calling it Home} says
I love this stuff….never boring to me. A very creative solution, and they look expensive. Sad rod, can't wait to see how you fixed that one.
Something Nice and Pretty says
Thanks for the this post, I'm thinking of buying them for my livingroom!
Anonymous says
So THAT'S how to do it!! Maybe I should reconsider those inherited blinds.
-Rebecca
pam {simple details} says
Well, it isn't exactly the WOW! of newly painted black doors, or one of your mouthwatering recipes, but SO helpful and it looks SO much better! I wouldn't have even thought about it until it was too late!!
Privet and Holly says
LOVE the look of
these bamboo shades
and your tweak really
does make it look much
more custom. You are
certainly the Queen of
DYI in my book, Lisa!
Hugs,
xo Suzanne
Andrea says
You are full of great tricks and tips. What a smart idea. I love your blinds too!
Tiffany says
Awesome! Thanks for sharing. This may prove very helpful in the near future.
Kelly @ View Along the Way says
Great idea! Looks SO much better with that hardware hidden.
roman blinds says
Very Clever Idea.. I think i can do it now.. Thanks